You must remove the controller module from the chassis when you replace a component inside the controller module.
Make sure that you label the cables so that you know where they came from.
A video for this task is available at:
- If you are not already grounded, properly ground yourself.
- Unplug the controller module power supplies from the source.
- Release the power cable retainers, and then unplug the cables from the power supplies.
- Remove the storage and networking cables.
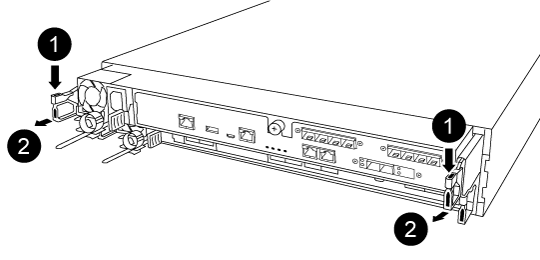
- Insert your forefinger into the latching mechanism on either side of the controller module, press the lever with your thumb, and gently pull the controller a few inches out of the chassis.
If you have difficulty removing the controller module, place your index fingers through the finger holes from the inside (by crossing your arms)
- Using both hands, grasp the controller module sides and gently pull it out of the chassis and set it on a flat, stable surface.
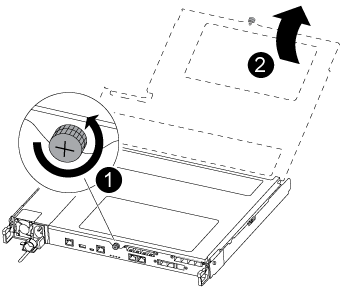
- Turn the thumbscrew on the front of the controller module anti-clockwise and open the controller module cover.

 | Thumbscrew |
 | Controller module cover |
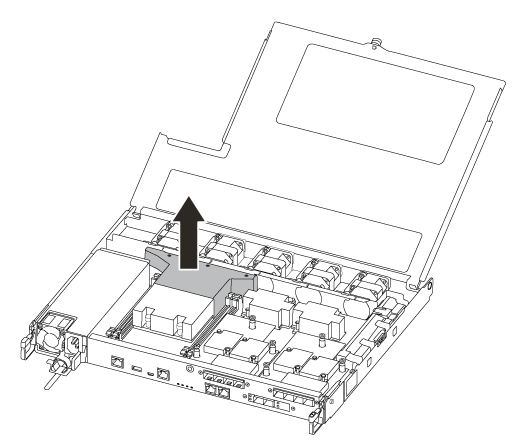
- Lift out the air duct cover.


