Installing Lenovo Inventory Tool
This topic describes how to install Lenovo Inventory Tool.
There are two methods for installing Lenovo Inventory Tool for Microsoft System Center Configuration Manager. The first method uses the Lenovo Inventory Tool for Microsoft System Center Configuration Manager setup package (.exe file). The second method uses the Lenovo XClarity Integrator Installer for Microsoft System Center. For more information about the Lenovo XClarity Integrator Installer for Microsoft System Center refer to Lenovo XClarity Integrator Installer for Microsoft System Center.
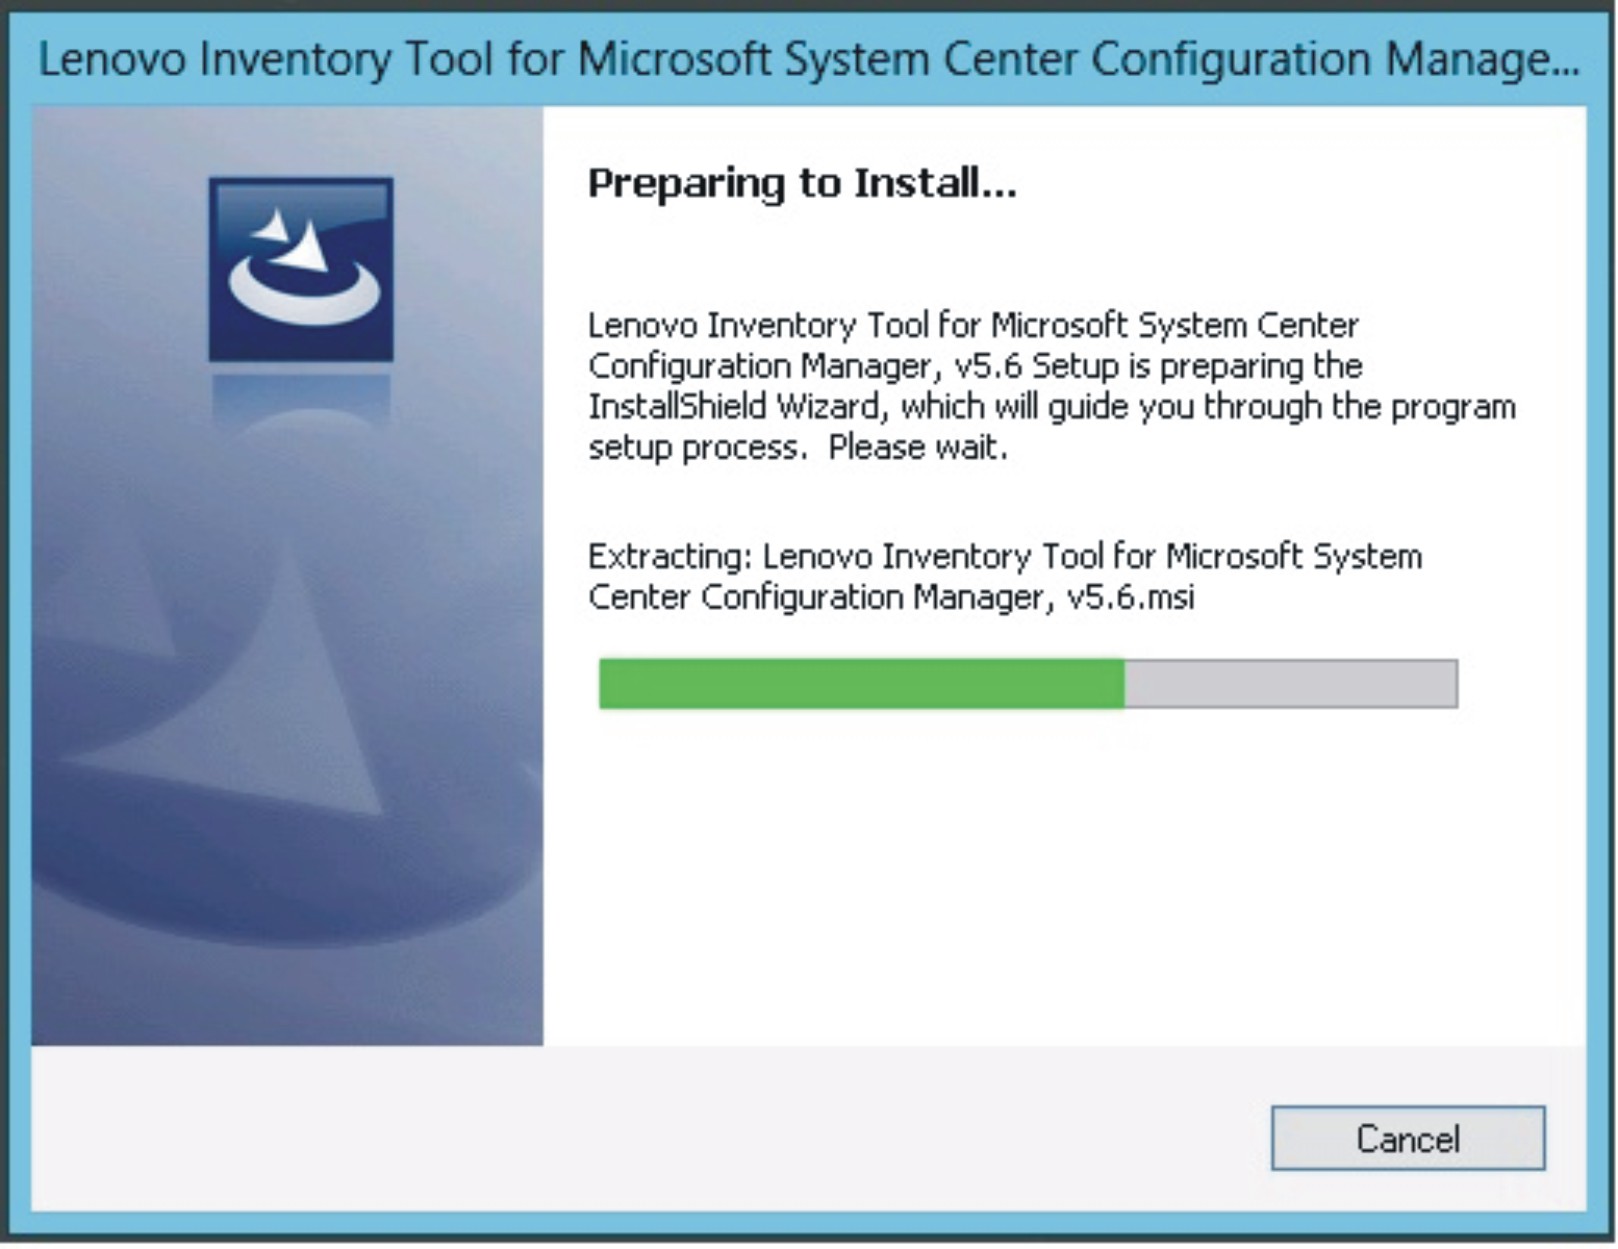
- Click Next.The InstallShield Wizard page opens. If for some reason you need to stop the installation, click Cancel.Figure 1. Preparing to Install Lenovo Inventory Tool
 NoteIf
Microsoft System Center Configuration Manager 2007 or later is not installed on your system, the following message is displayed. Click OK to stop the program and complete the installation. Figure 2. SCCM 2007 or later not installed message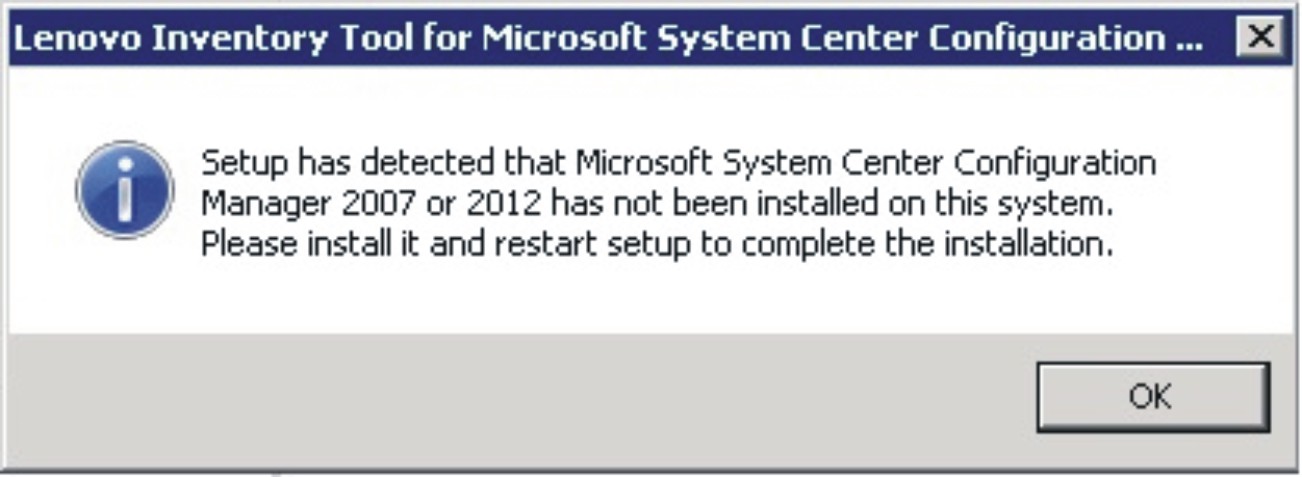
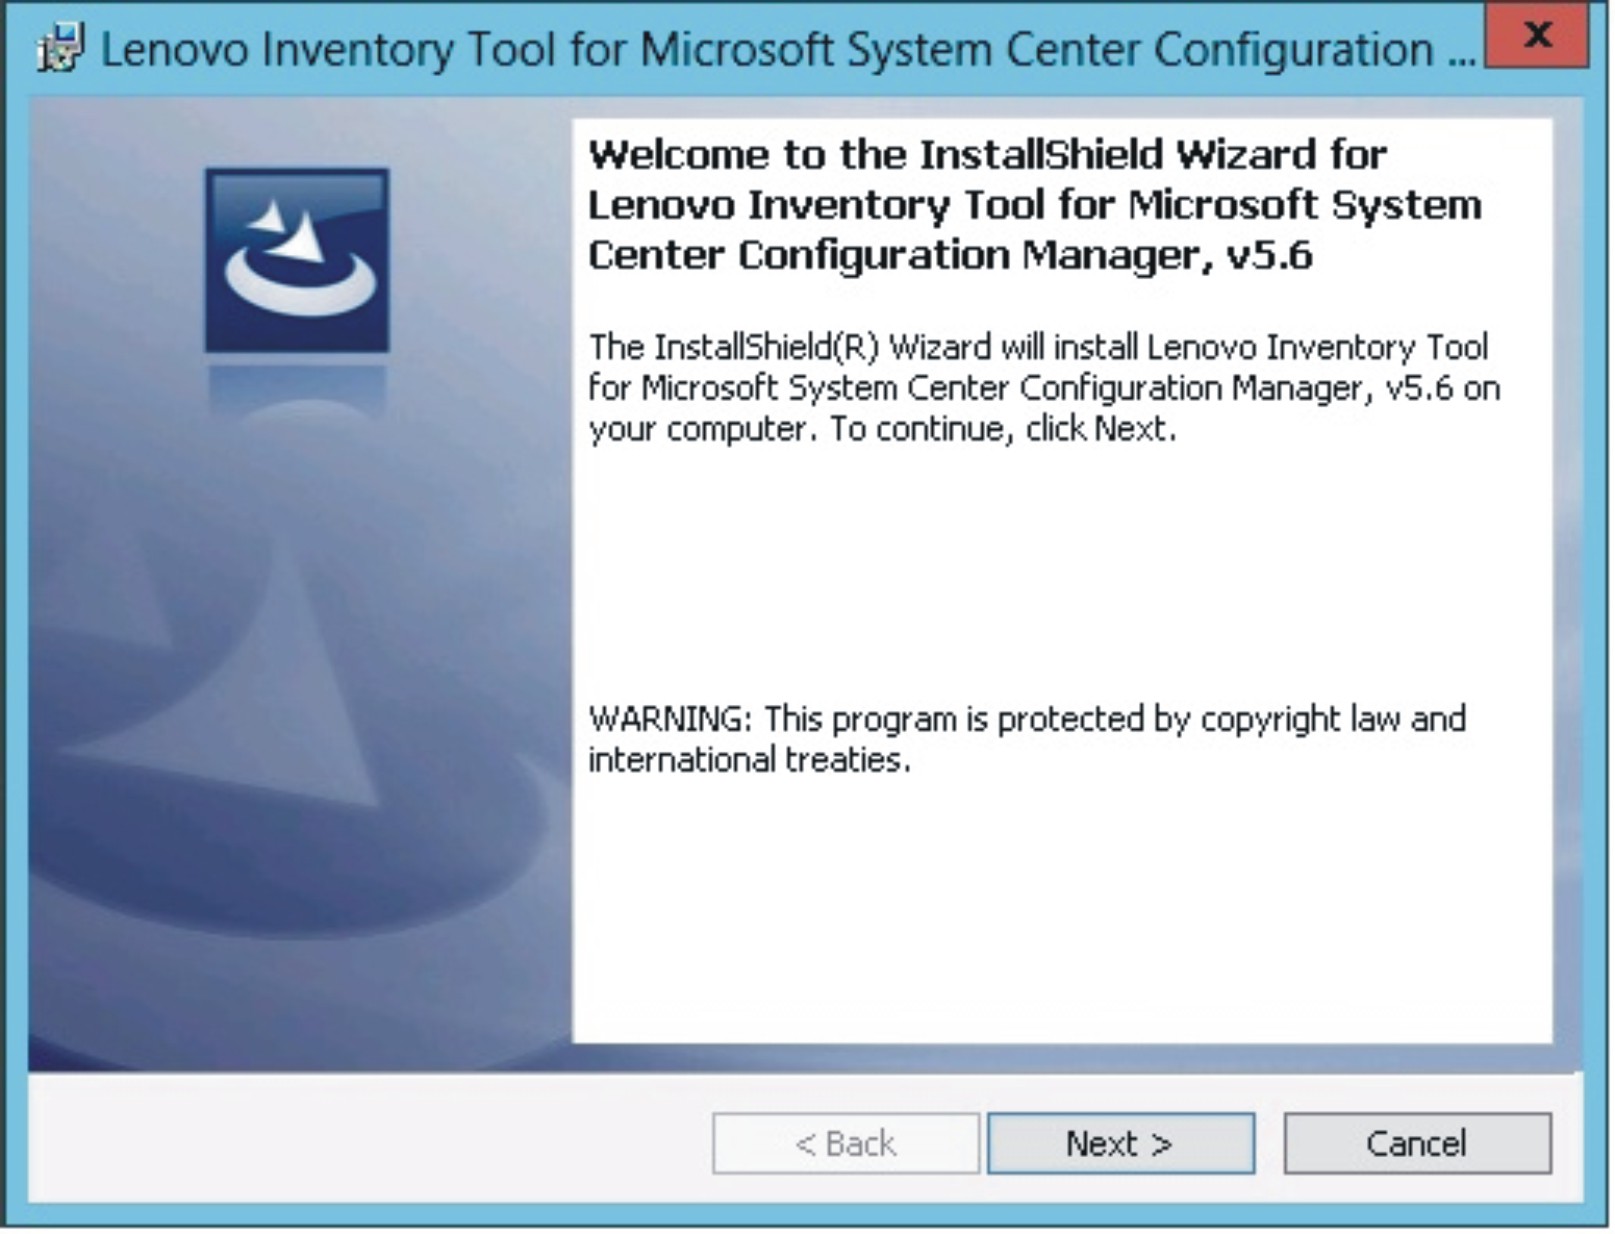
- While the program installs, click Next to proceed to the License Agreement page.Figure 3. InstallShield Wizard Welcome page for Lenovo Inventory Tool
- Read the license agreement terms, and then select I accept the terms in the license agreement. Click Next.Figure 4. Software License agreement

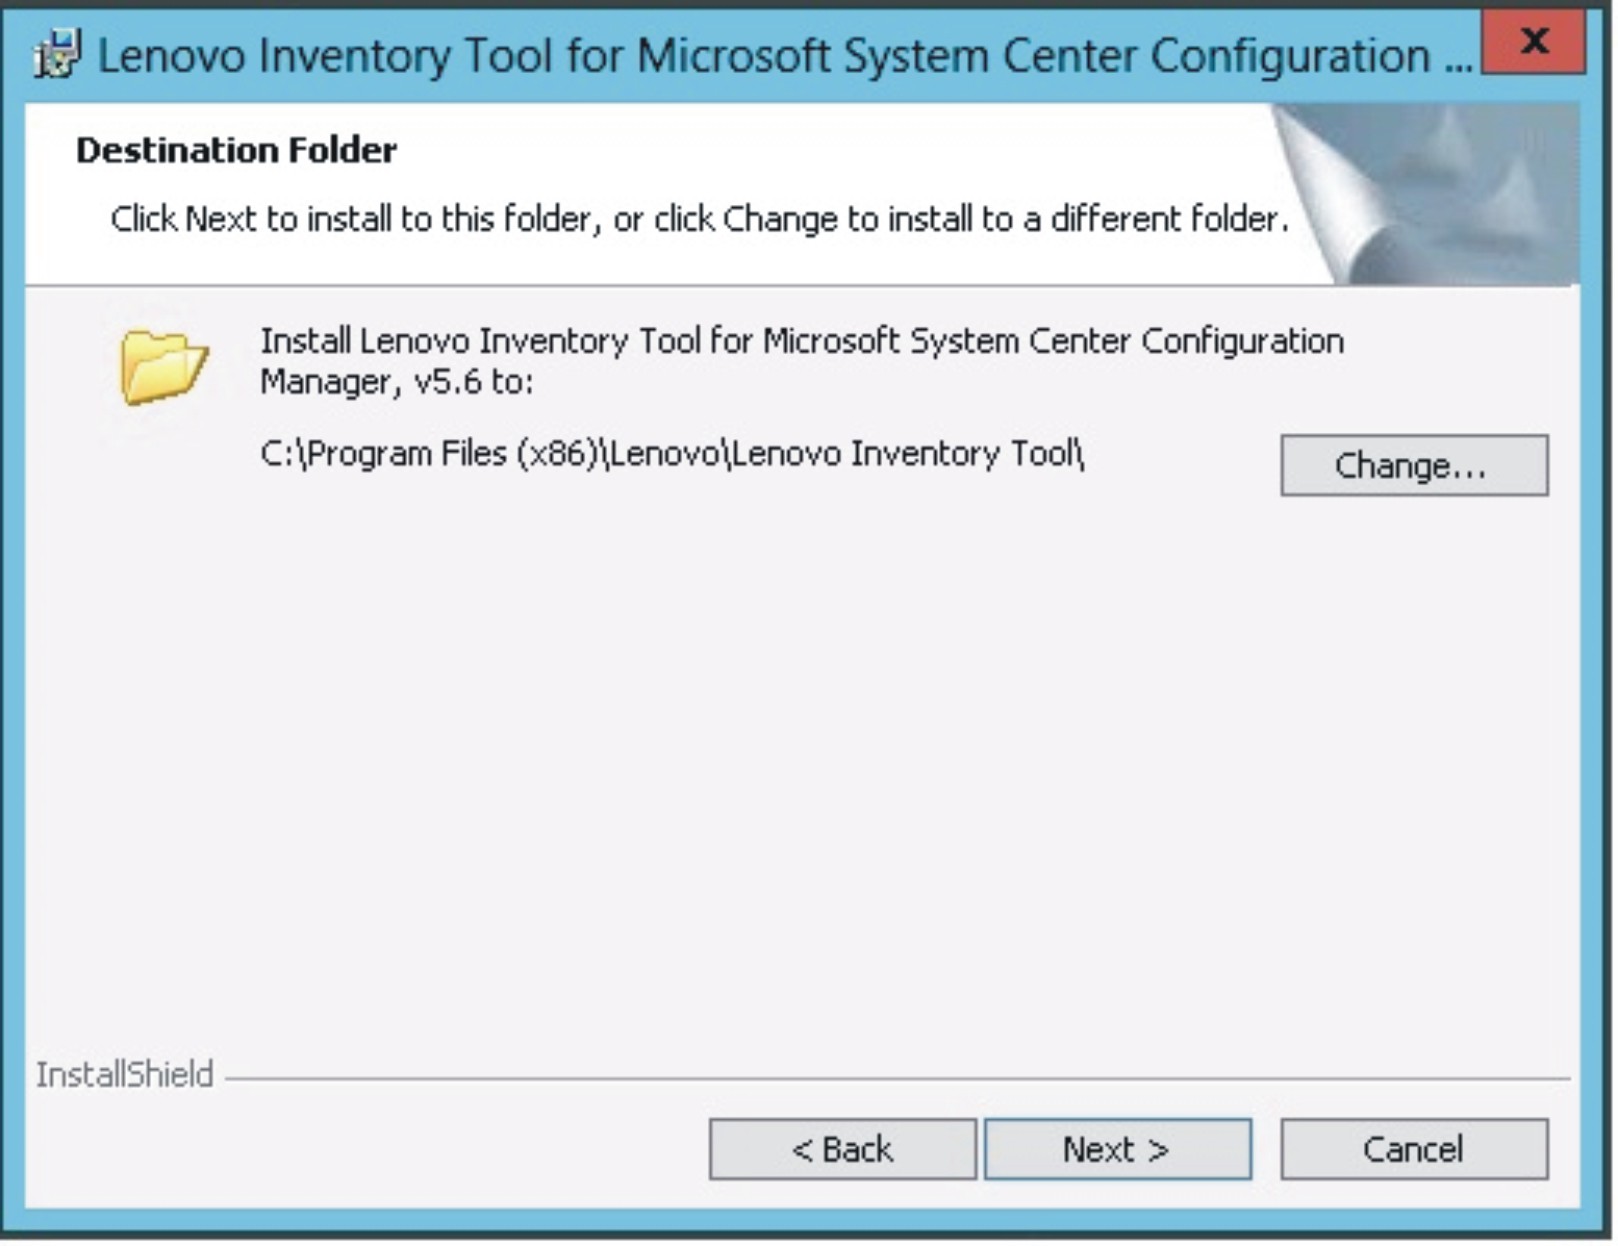
- On the Destination Folder page, either click Next to accept the default installation directory, or click Change and enter a new location. Figure 5. Destination folder
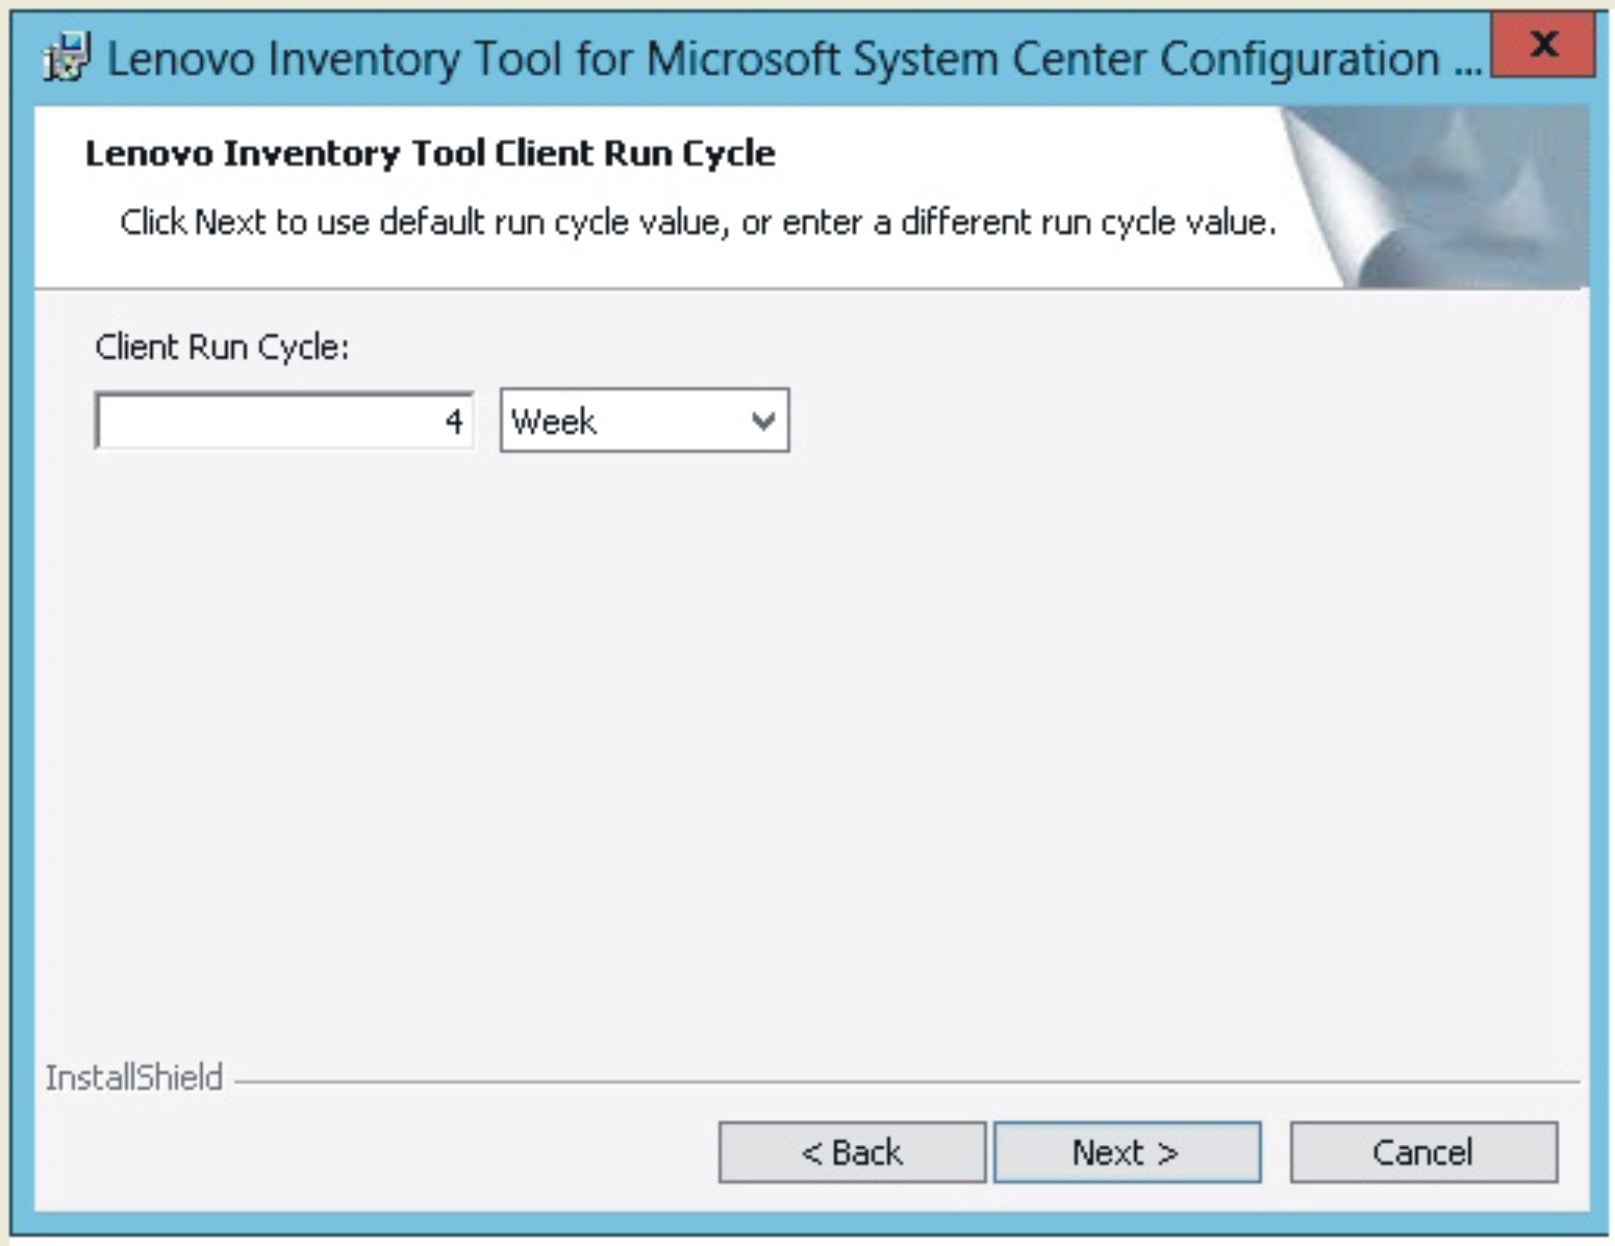
- On the Lenovo Inventory Tool Client Run Cycle page, either click Next to use the default run cycle value, or enter a different run cycle value.Figure 6. Lenovo Inventory Tool Run Cycle
 NoteThe value ranges for the client run cycle are
1 through 65 for Day and 1 through 52 for Week. If you enter a value that is not valid, the installation will not continue. Figure 7. Example of invalid value for Week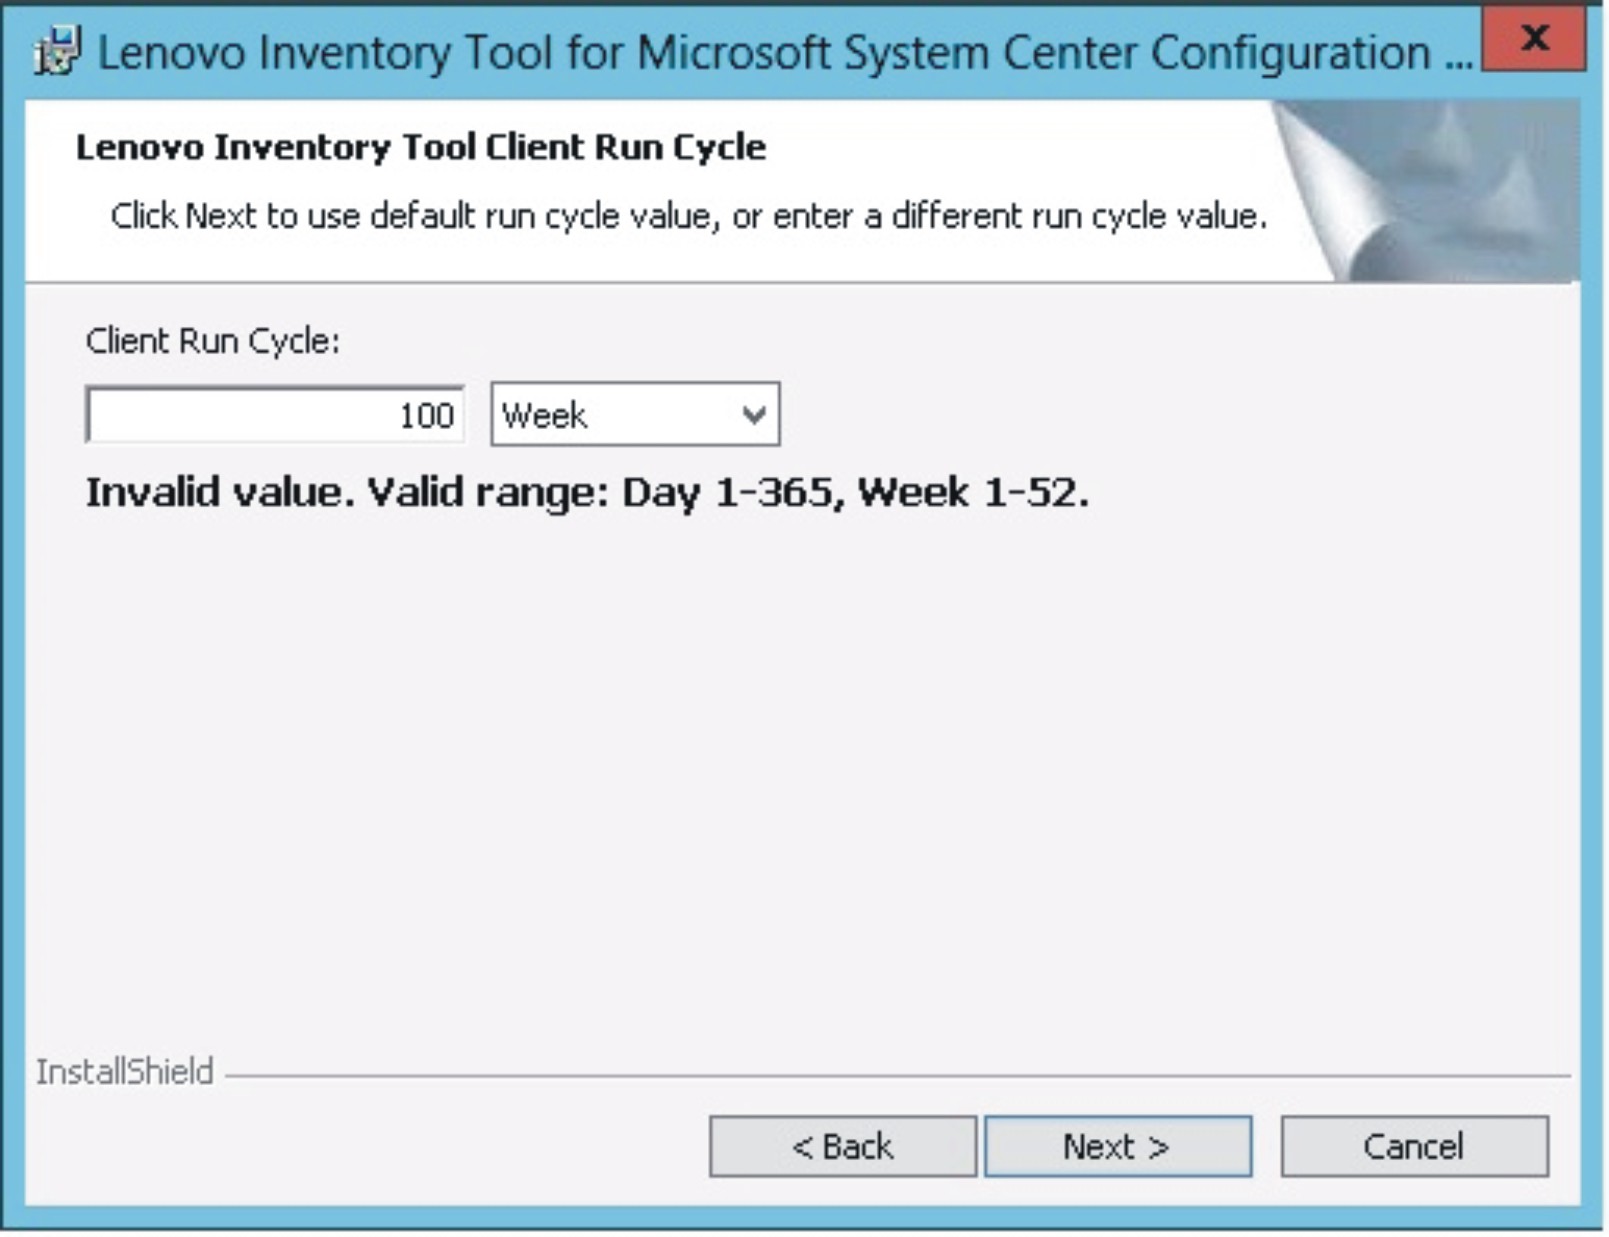
- On the Ready to Install the Program page, click Install to begin the installation. If you want to review or change any of your installation settings, either click Back to change them, or click Cancel to exit the wizard.Figure 8. Ready to install the program page
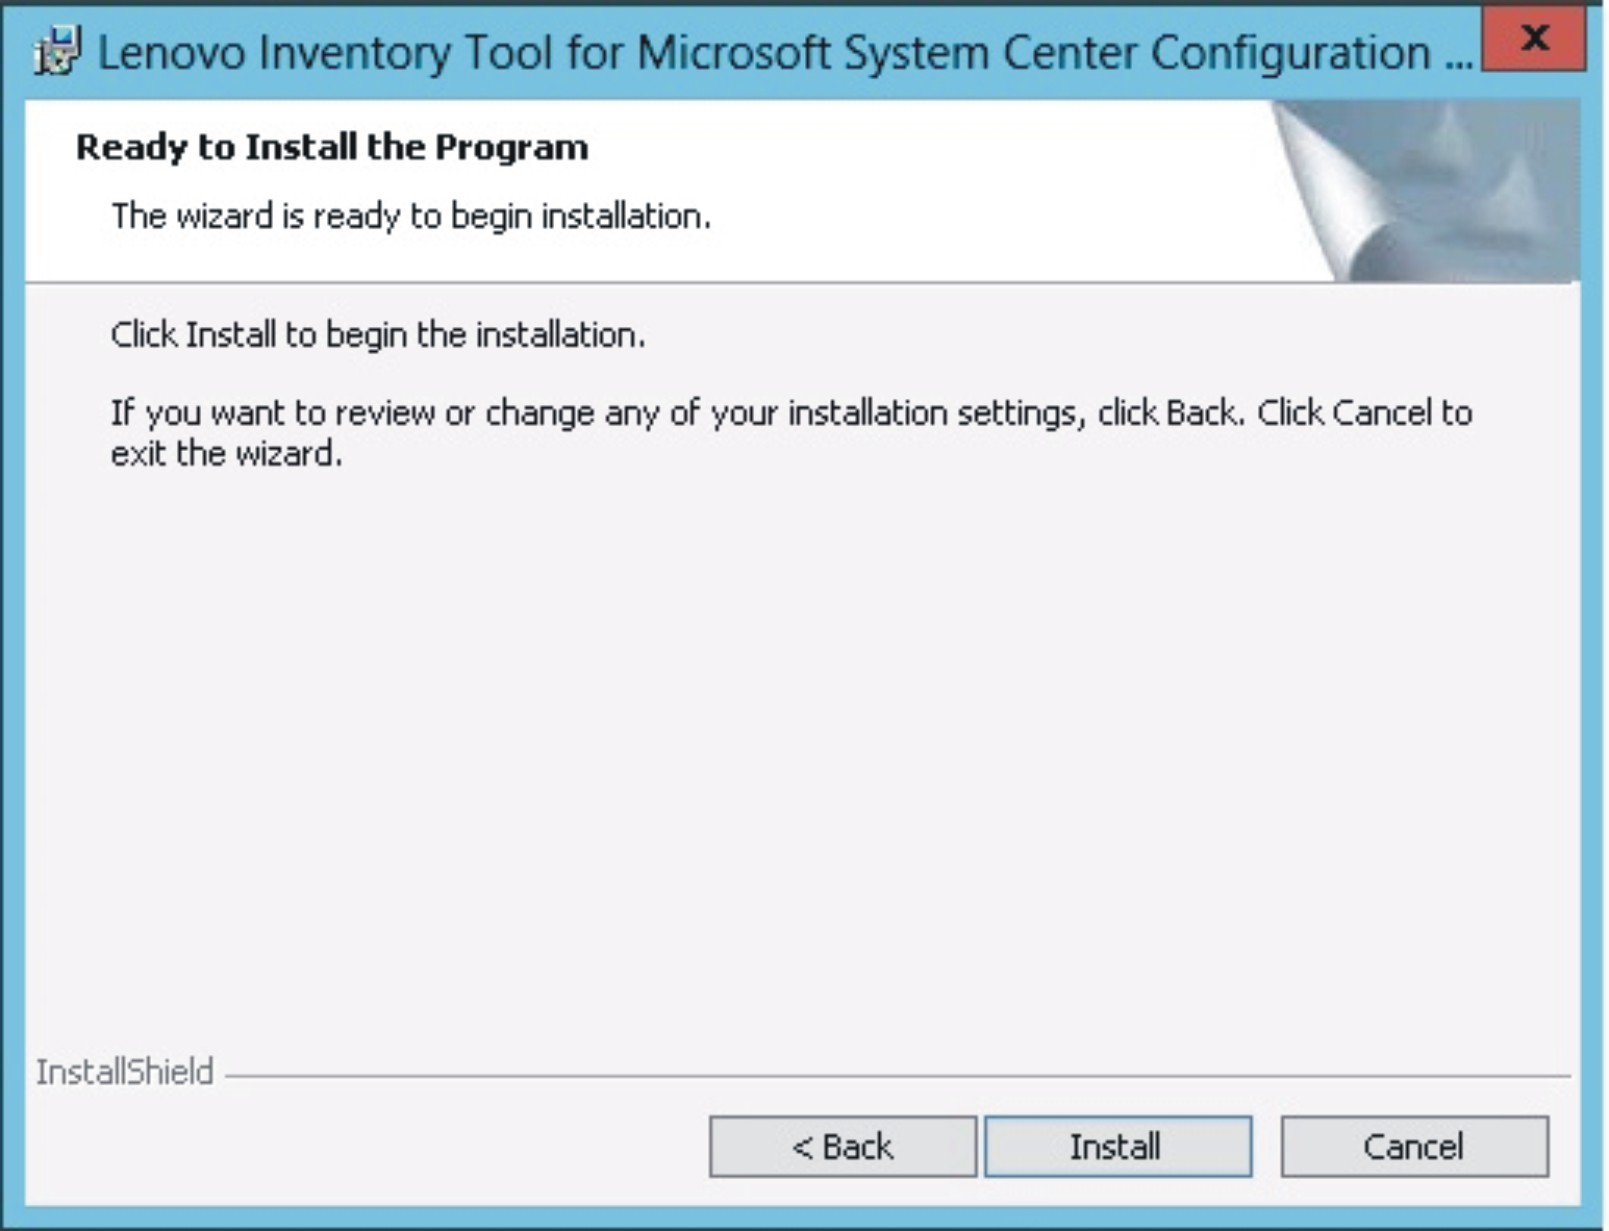 Figure 9. Installation progress being depicted
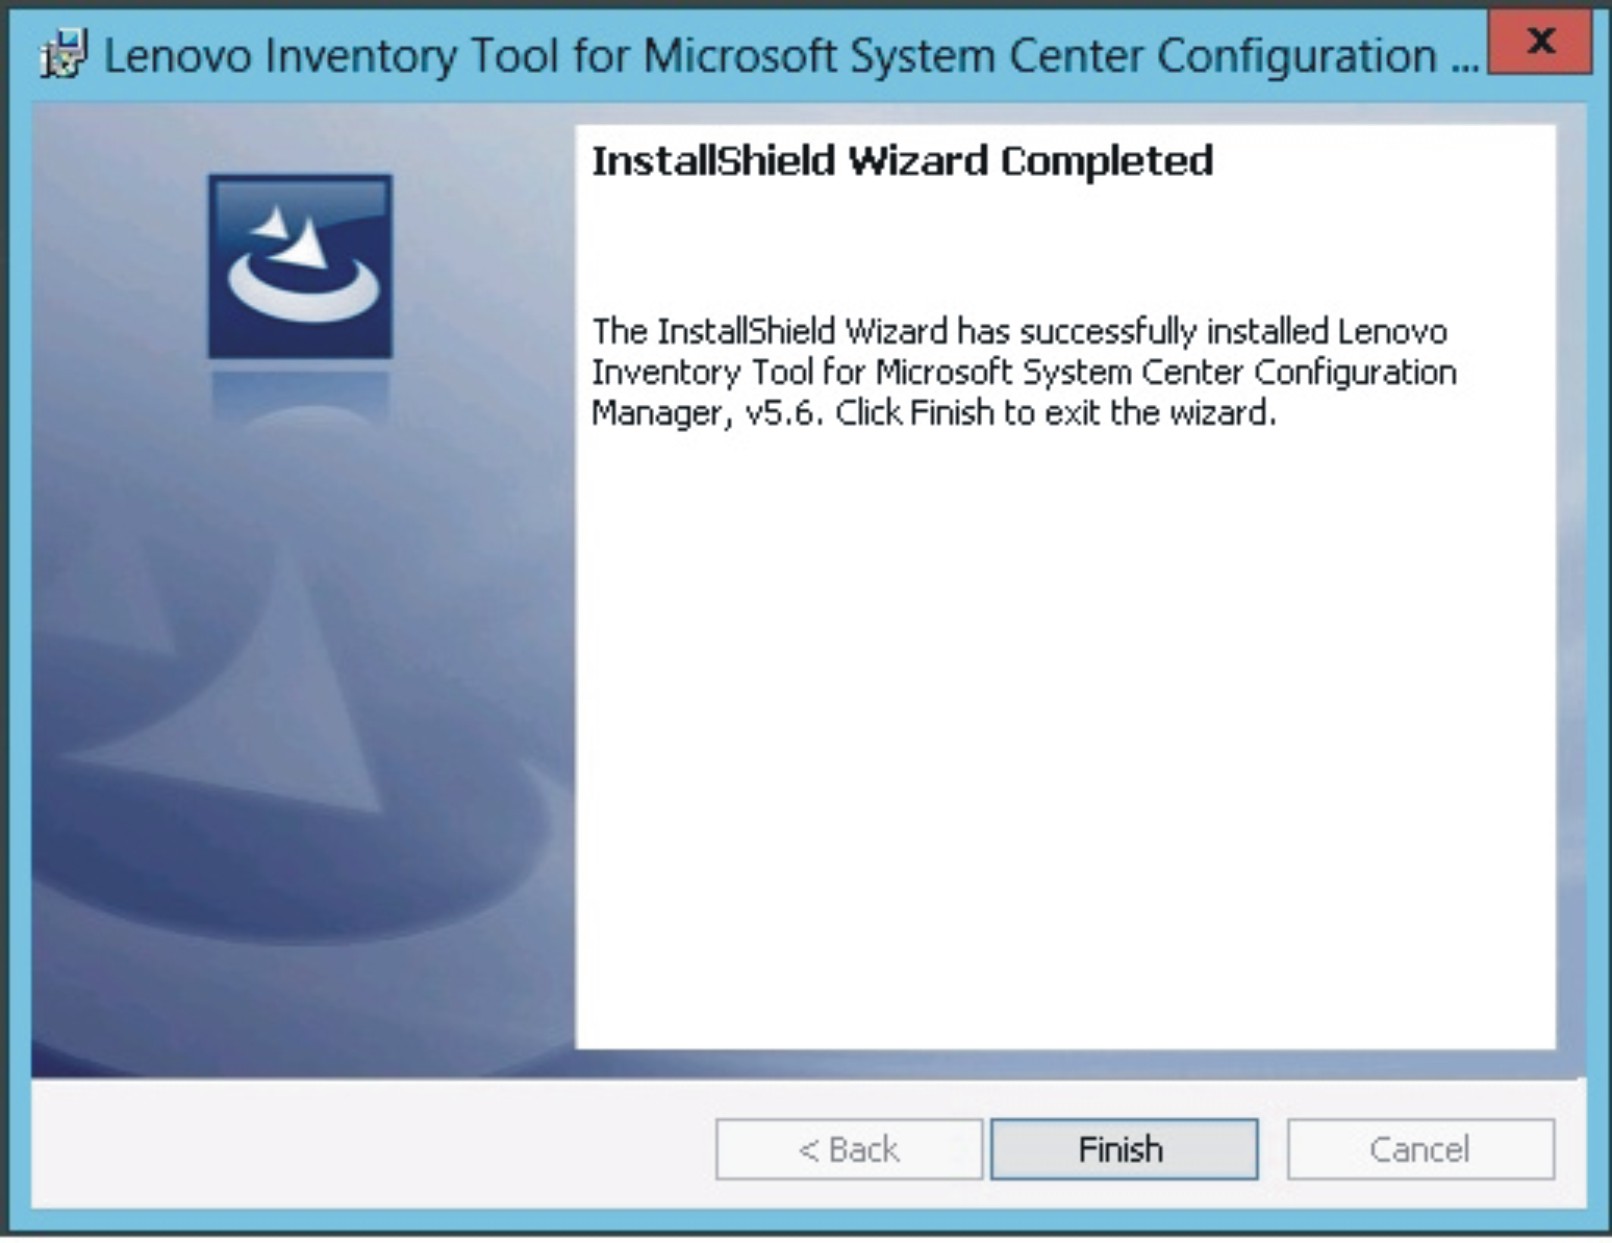
- When the installation is complete, the InstallShield Wizard Completed page opens. Click Finish to exit the wizard.Figure 10. InstallShield Wizard Completed
Give documentation feedback