Adding a blueprint
You can add a blueprint for the existing Orchestrator workflows as follows.
Procedure
- On the vRealize Automation-Cloud Services Console, under My Services, click Service Broker. The vRealize Automation- Service Broker page is displayed.
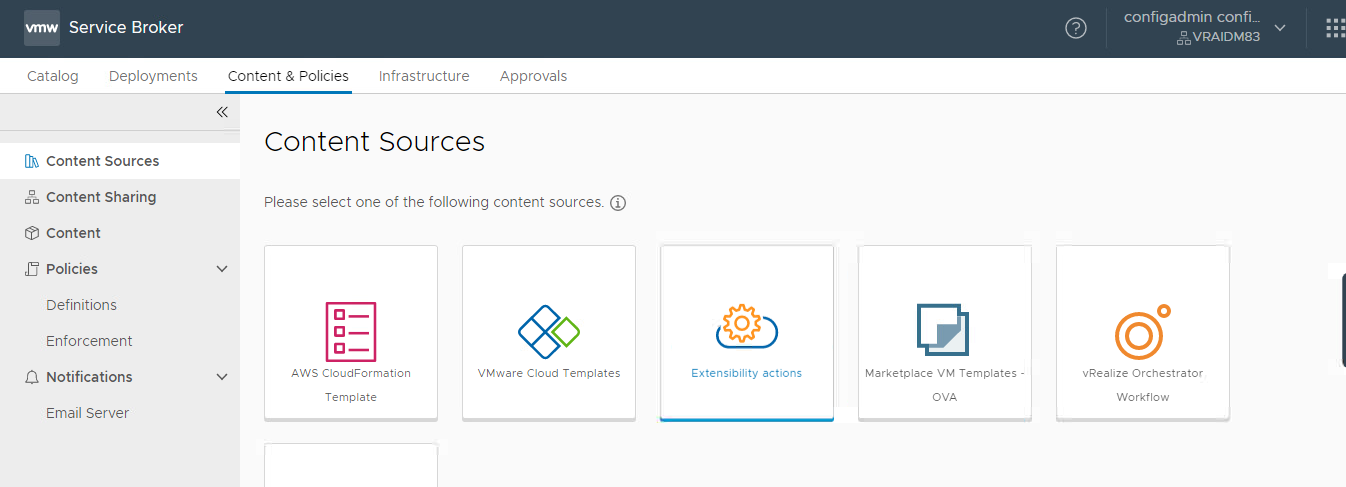
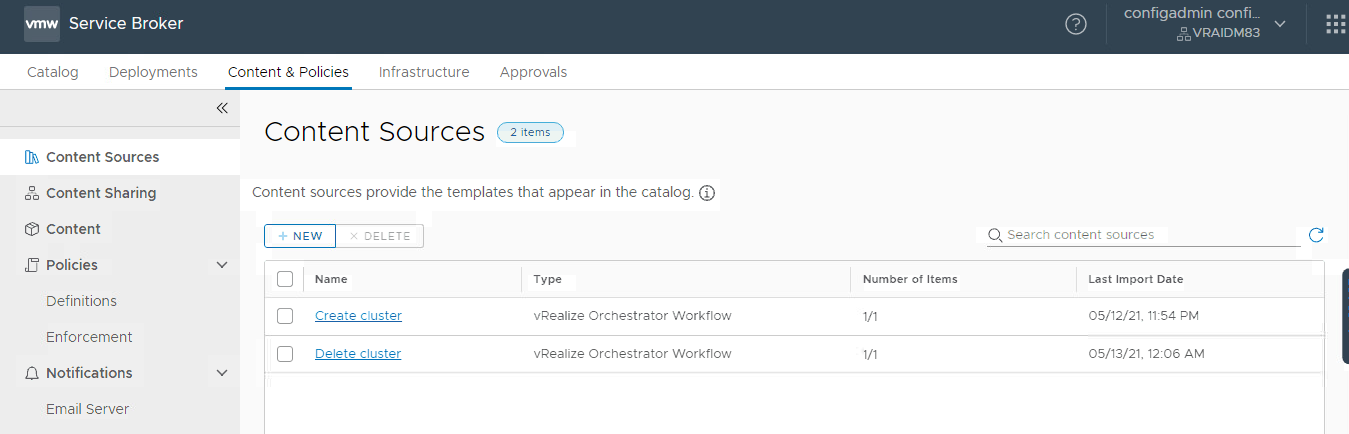
- Click the Content & Policies tab. The Content Sources page is displayed.
- To create a template, click NEW > vRealize Orchestrator Workflow. The New Content Source page is displayed.
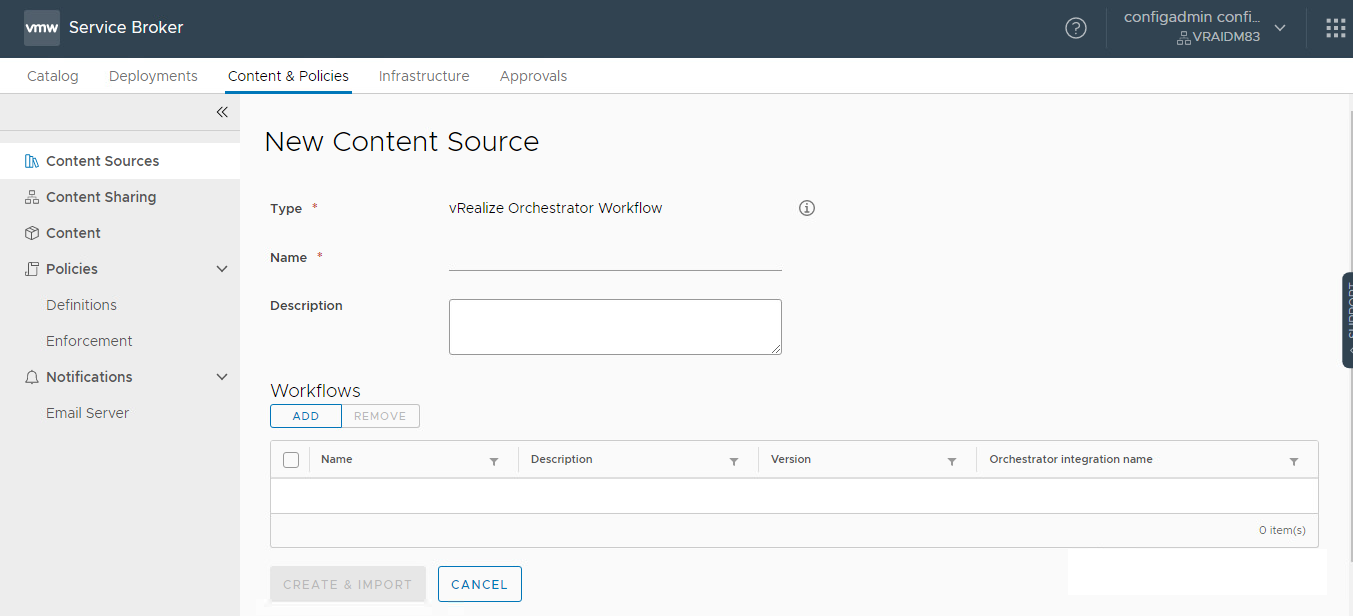
- Click ADD. The Add workflows page is displayed listing the orchestrator workflows.
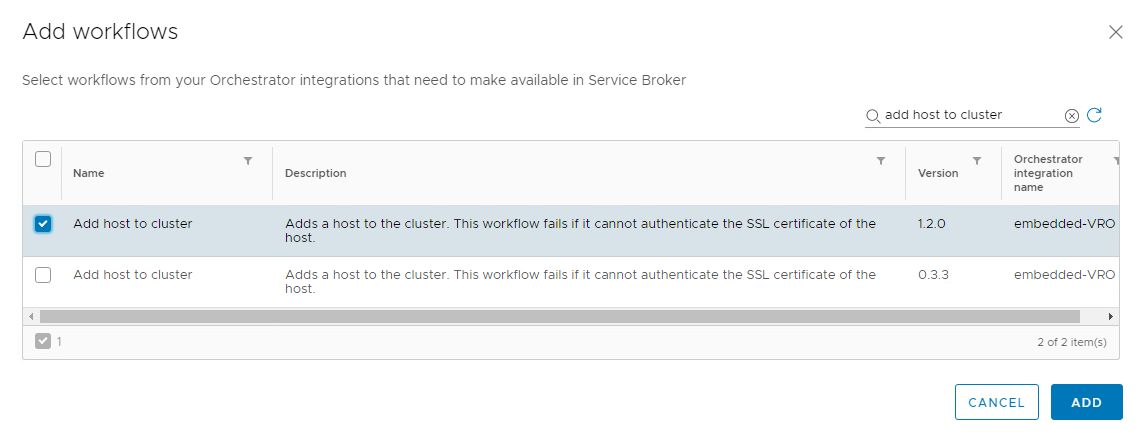
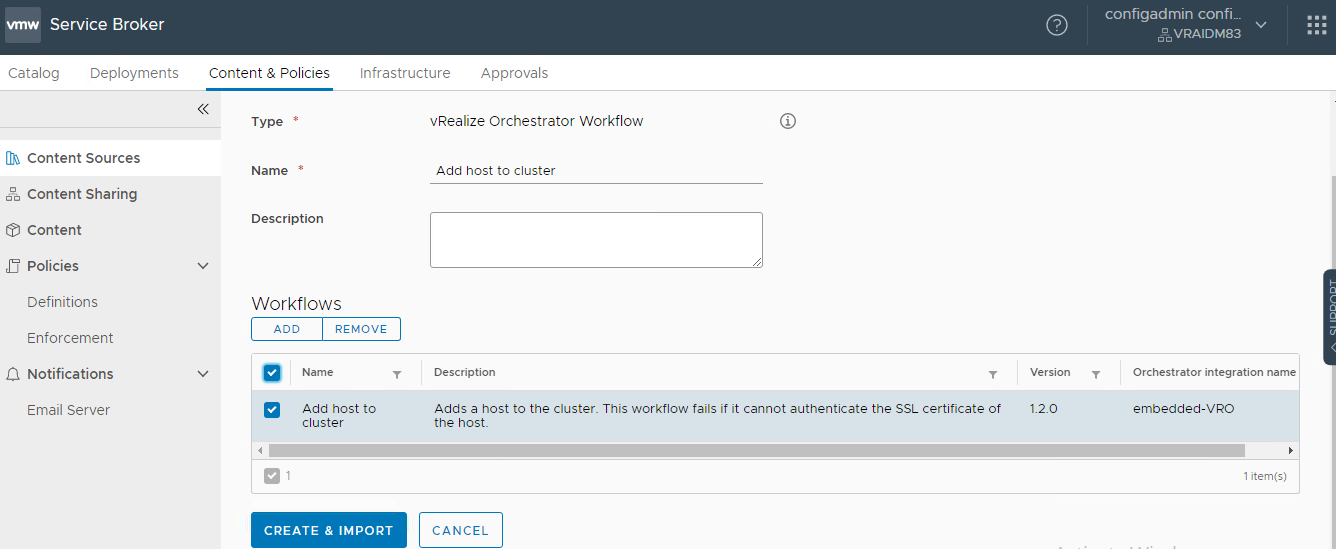
- Select the check box of the required workflow on the extreme left, and click ADD. The selected workflow is listed as follows.
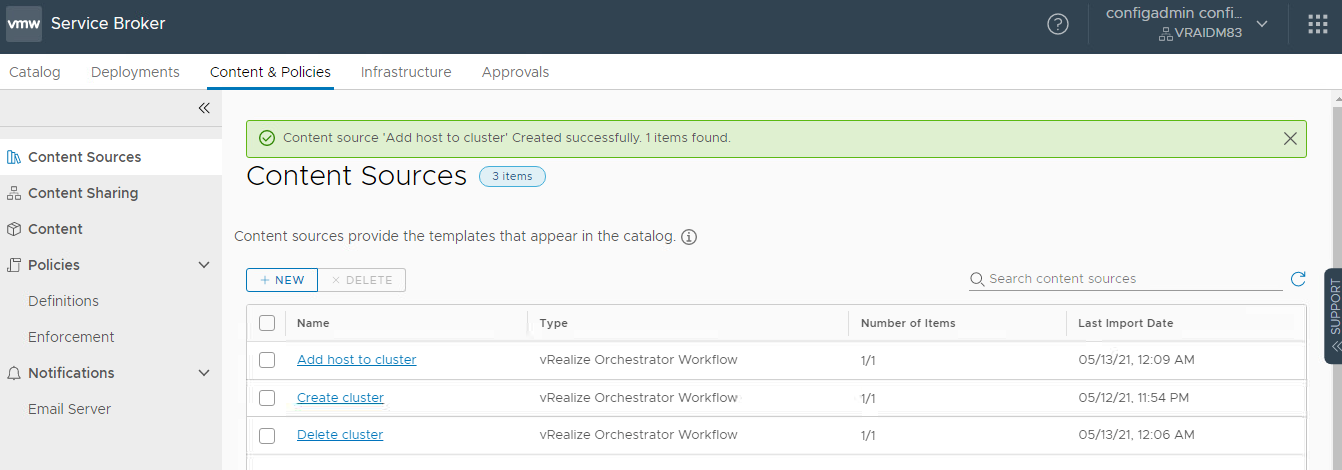
- Click CREATE & IMPORT to create a blueprint. A notification is displayed with the name of the blueprint that is created on the top of the screen.
Give documentation feedback