Remove a hot-swap power supply unit

Use this procedure to remove a hot-swap power supply unit.

S002
disconnect all power
CAUTION
The power-control button on the device and the power switch on the power supply do not turn off the electrical current supplied to the device. The device also might have more than one power cord. To remove all electrical current from the device, ensure that all power cords are disconnected from the power source.
S029

DANGER
danger
For -48V dc power supply, electrical current from power cords is hazardous.

To avoid a shock hazard:

  • To connect or disconnect -48V dc power cords when you need to remove/install redundancy power supply unit(s).
To Connect:To Disconnect:
  1. Turn OFF subject dc power source(s) and equipment(s) that are attached to this product.
  2. Install the power supply unit(s) into the system housing.
  3. Attach dc power cord(s) to the product.
    • Ensure correct polarity of -48 V dc connections: RTN is + and -Vin (typical -48 V) dc is -. Earth ground should be connected very well.
  4. Connect dc power cord(s) to subject power source(s).
  5. Turn ON all the power source(s).
  1. Disconnect or turn off the subject dc power source(s) (at the breaker panel) before removing the power supply unit(s).
  2. Remove the subject dc cord(s) and make sure the wire terminal of power cord(s) is insulated.
  3. Unplug the subject power supply unit(s) from the system housing.
S035
shock hazard
CAUTION

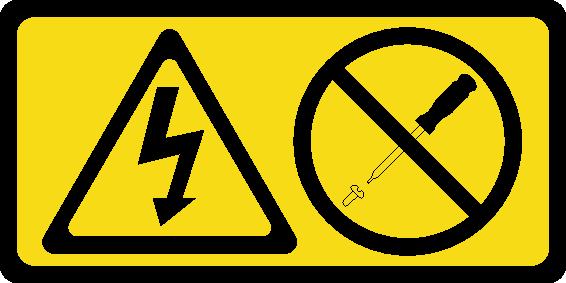
Never remove the cover on a power supply or any part that has this label attached. Hazardous voltage, current, and energy levels are present inside any component that has this label attached. There are no serviceable parts inside these components. If you suspect a problem with one of these parts, contact a service technician.

Before removing a hot-swap power supply unit:

  1. Read the safety information and installation guidelines (see Safety and Installation Guidelines).

  2. If the server is in a rack, adjust the cable management arm (CMA) to gain access to the power supply bay.
    Figure 1. CMA adjustment

    If you have installed the 2U CMA Upgrade Kit for Toolless Slide Rail or Toolless Slide Rail Kit with 2U CMA, do the following:
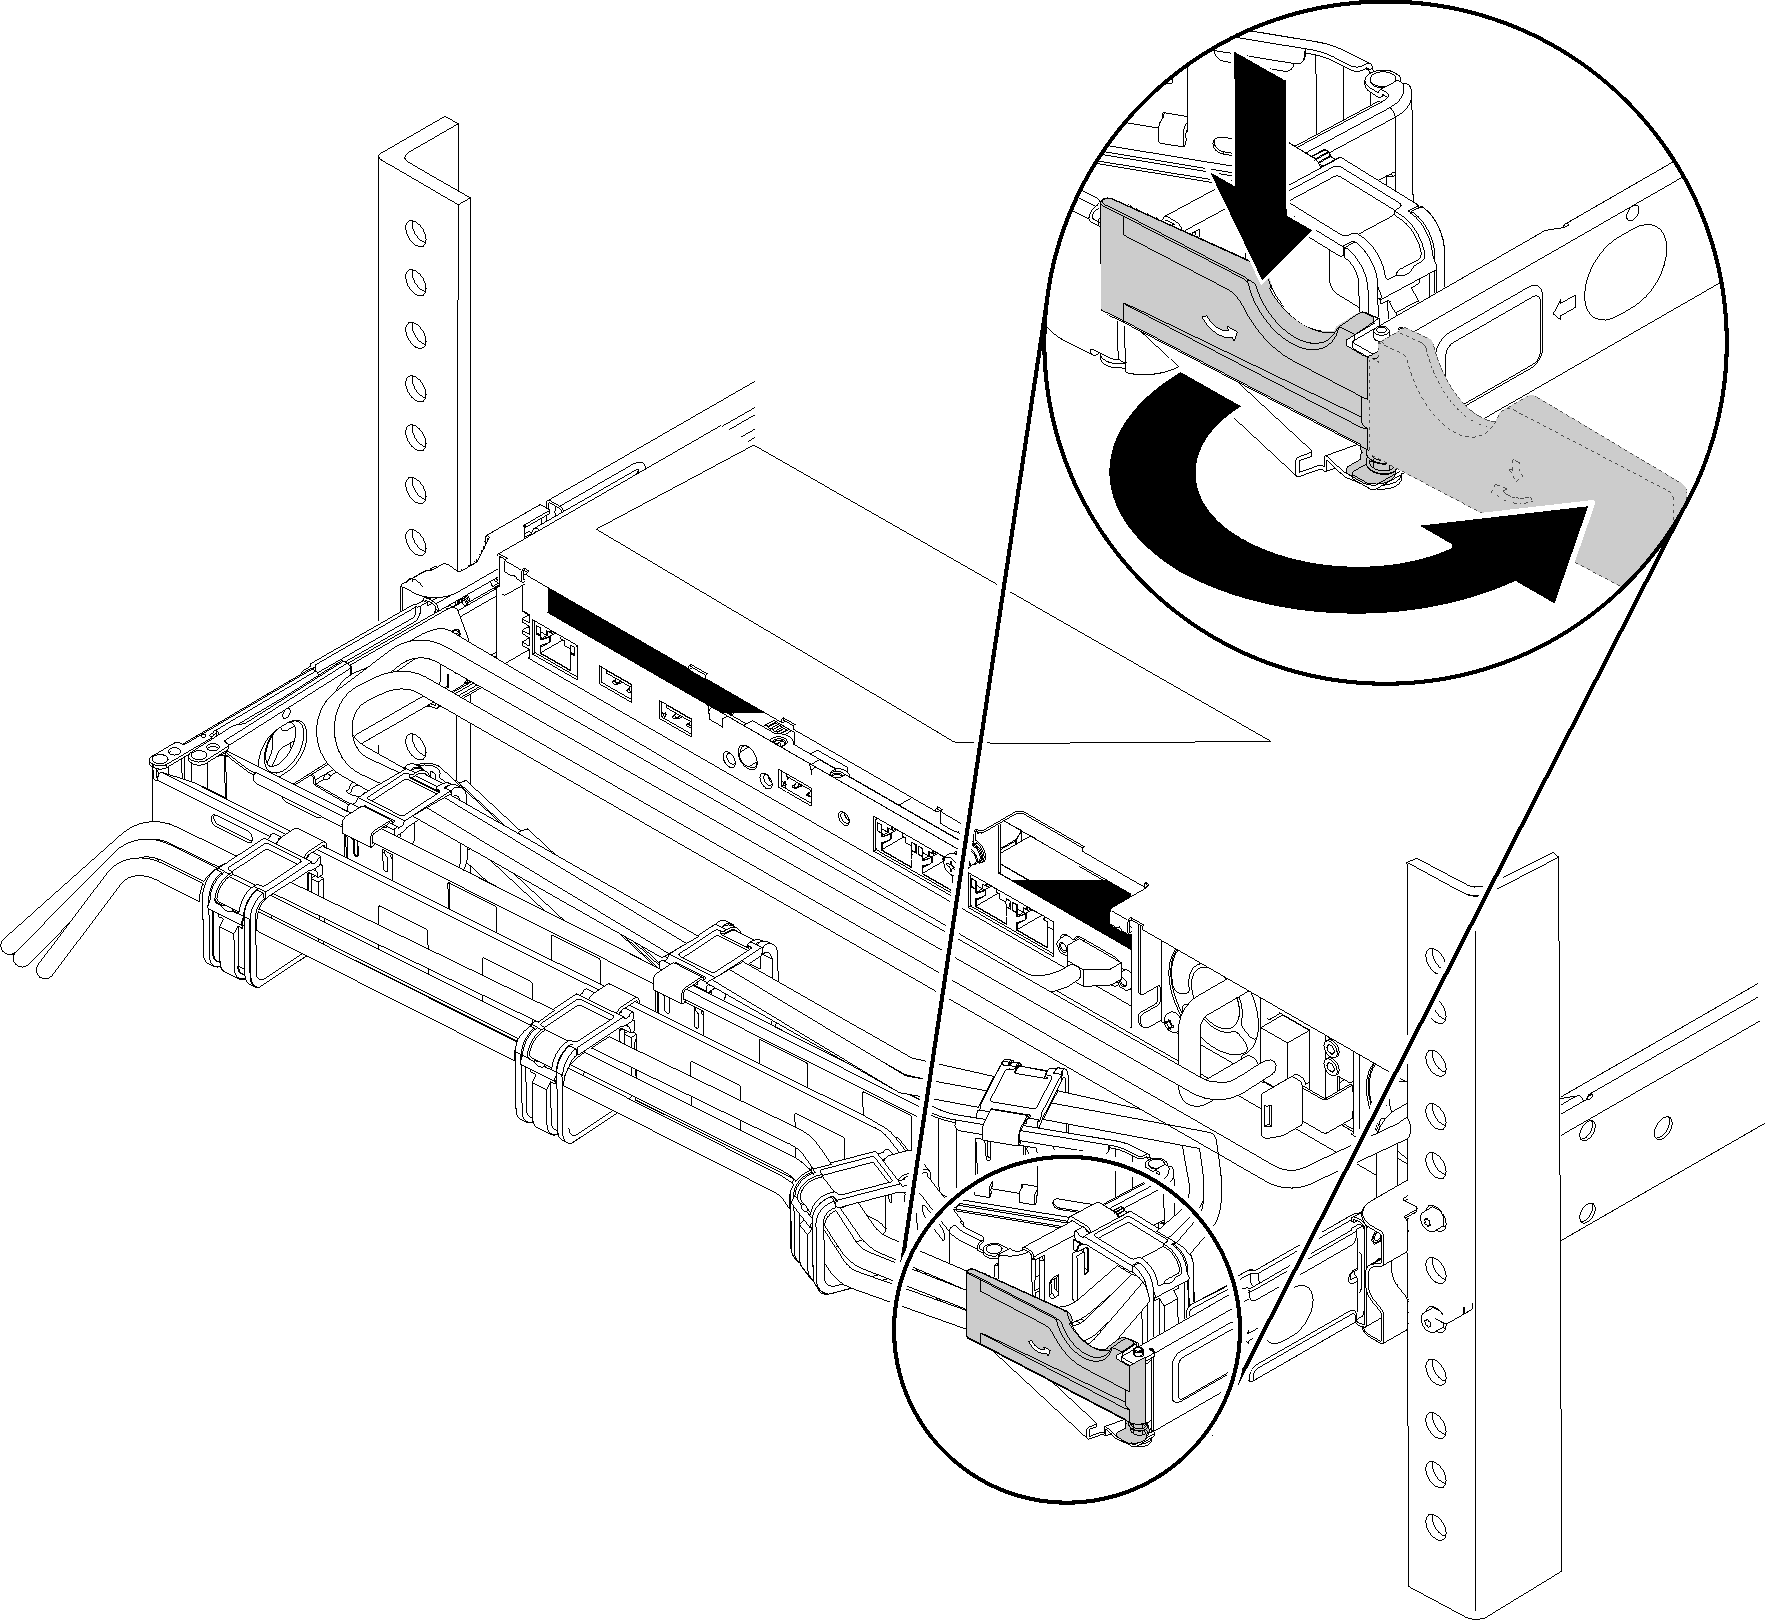
    1. Press down the stop bracket and rotate it to the open position.
    2. Rotate the CMA out of the way to gain access to the power supply bay.

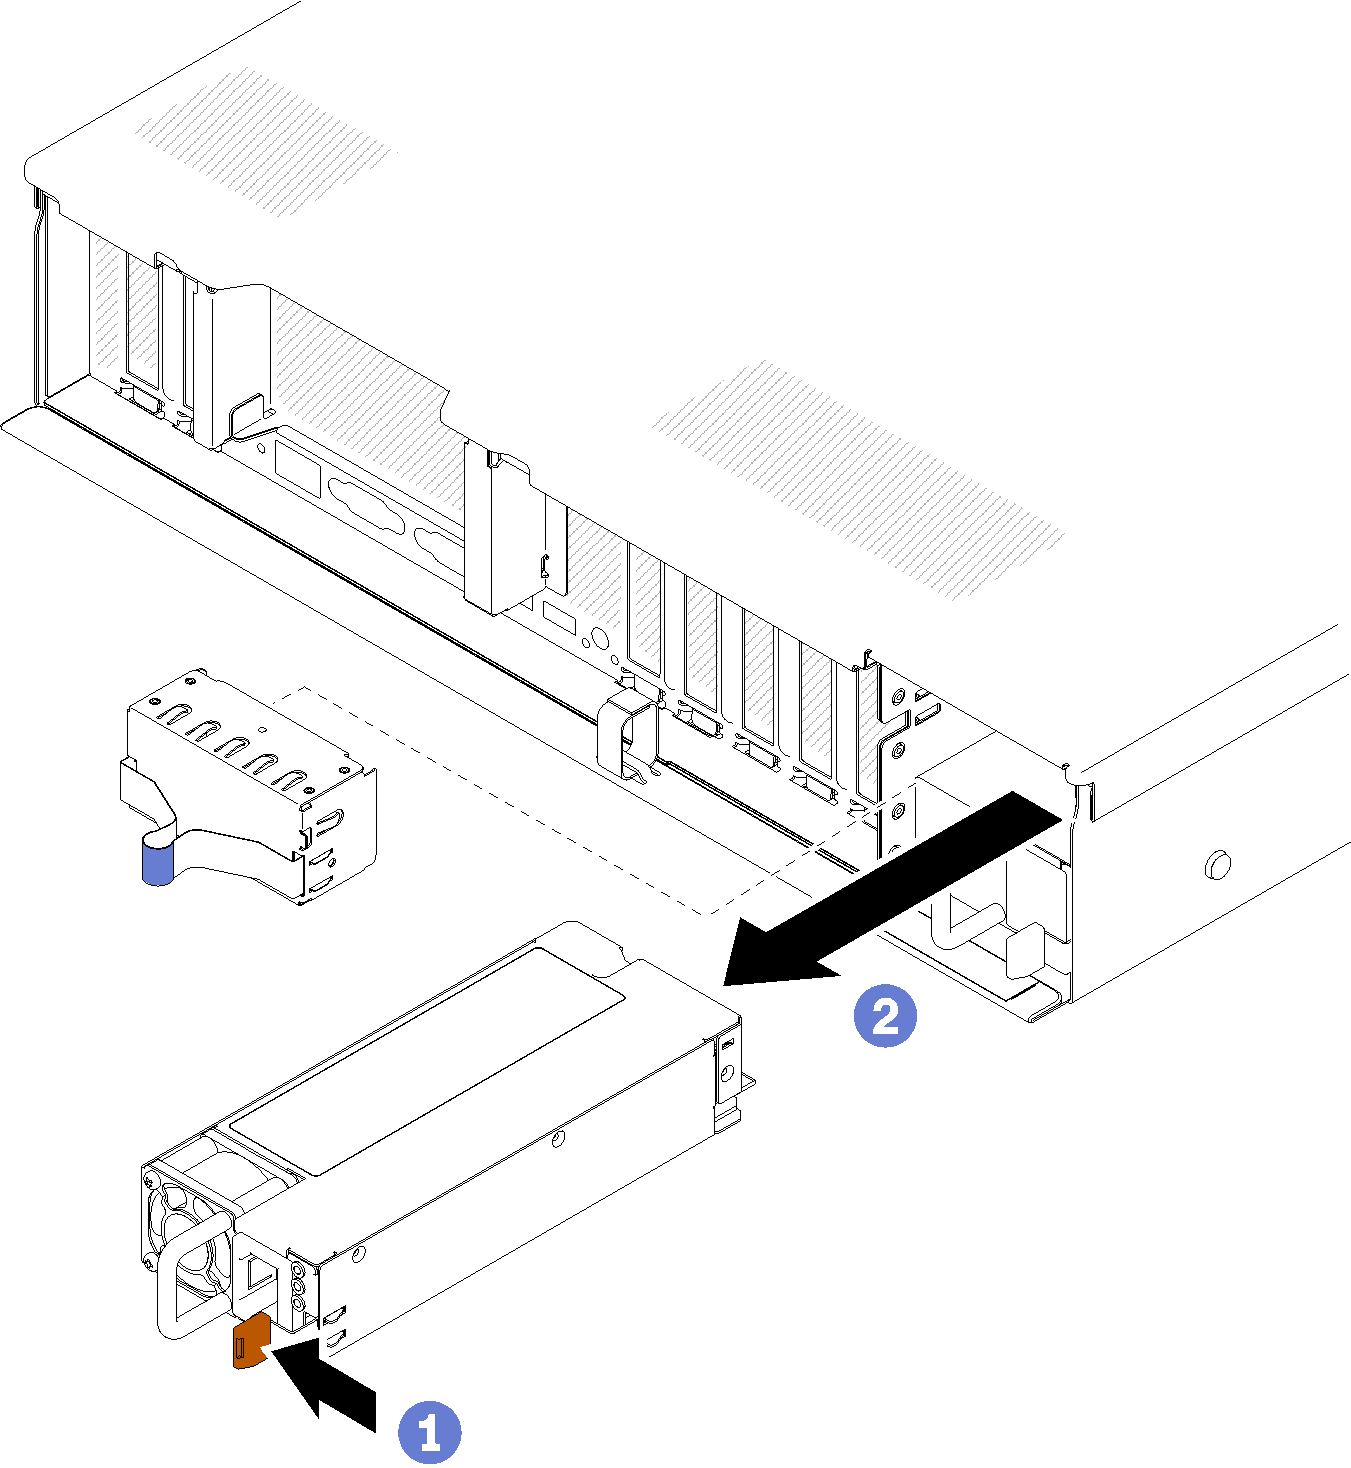
To remove a hot-swap power supply unit, complete the following steps:

  1. Press and hold on the orange release tab.
    Figure 2. Power supply unit removal


  2. Grasp the handle, pull the power supply out of the server and set it aside.
    Note
    Fill the power supply bay with a filler if you are not replacing a new power supply immediately.

If you are instructed to return the component or optional device, follow all packaging instructions, and use any packaging materials for shipping that are supplied to you.

Demo video
Watch the procedure on YouTube