Install battery
You must install the battery into the replacement controller canister. You can install the battery that you removed from the original controller canister or install a new battery that you ordered.
Before you begin
- You have the battery from the original controller canister.
- You have the replacement controller canister.
- Move the battery latch up to secure the battery. When the latch clicks into place, the bottom of the latch hooks into a metal slot on the chassis.
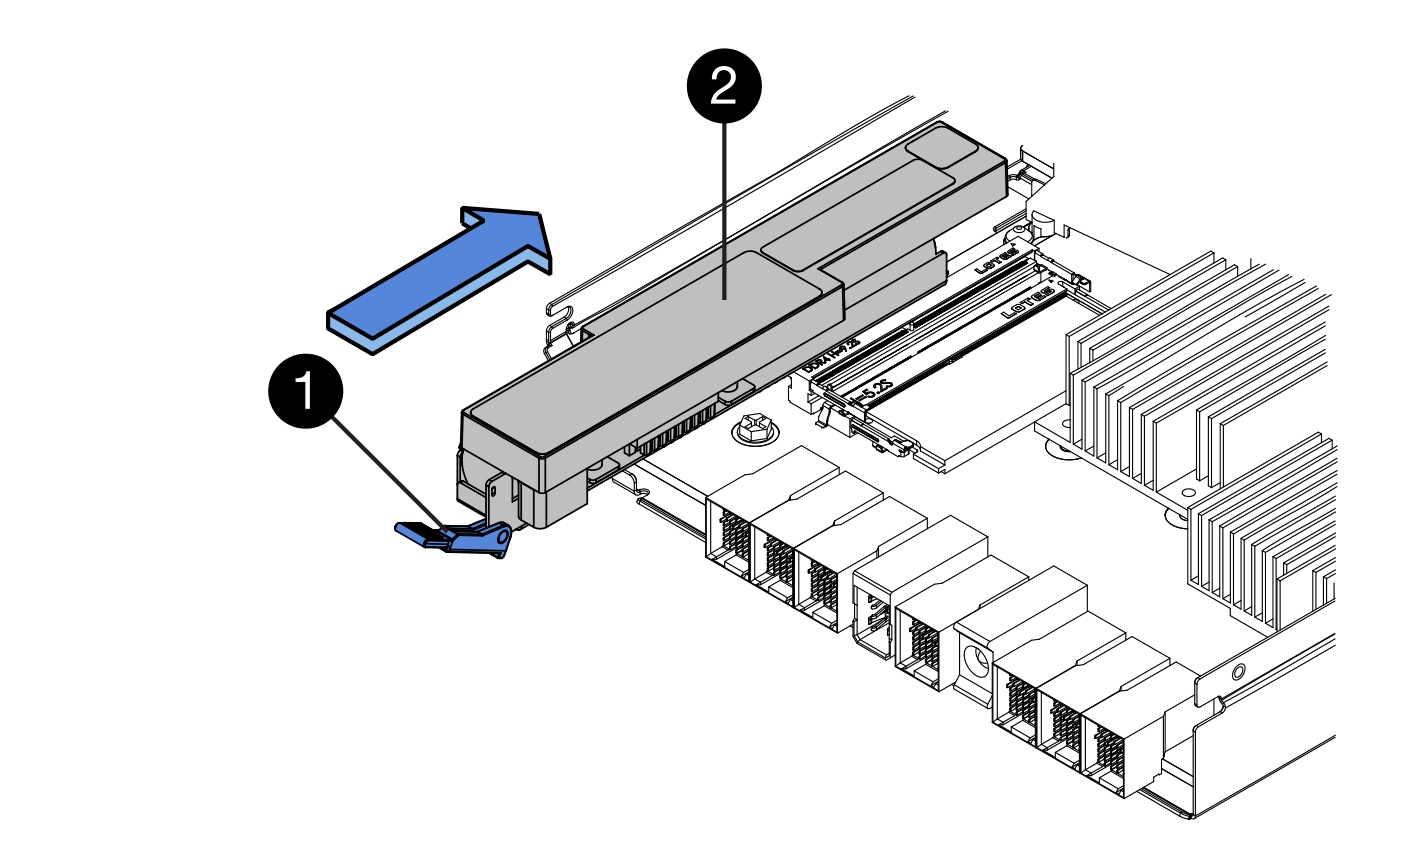
 Battery release latch
 Battery
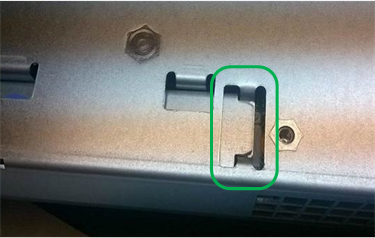
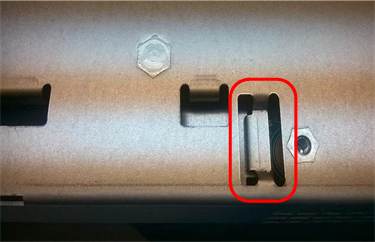
 - Turn the controller canister over to confirm that the battery is installed correctly.AttentionPossible hardware damage – The metal flange at the front of the battery must be completely inserted into the slot on the controller canister (as shown in the first figure). If the battery is not installed correctly (as shown in the second figure), the metal flange might contact the controller board, causing damage to the controller when you apply power.
- Correct – The battery's metal flange is completely inserted in the slot on the controller:
- Incorrect – The battery's metal flange is not inserted into the slot on the controller:
Go to Install host interface card.
Give documentation feedback