
Installing the controller module

After you have replaced the component in the controller module, you must re-install the controller module into the chassis, and then boot it to Maintenance mode.

You can use the following steps to install the replacement controller module in the chassis.

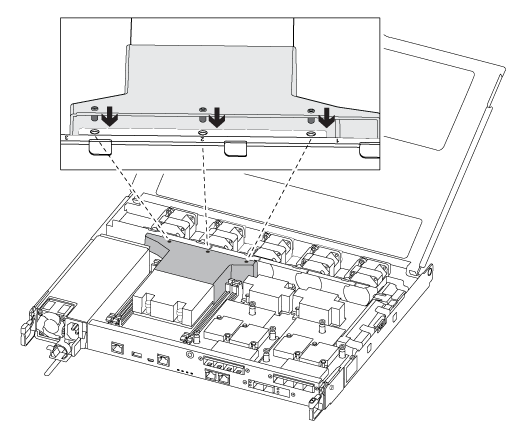
  1. If you have not already done so, close the air duct.


  2. Close the controller module cover and tighten the thumbscrew.


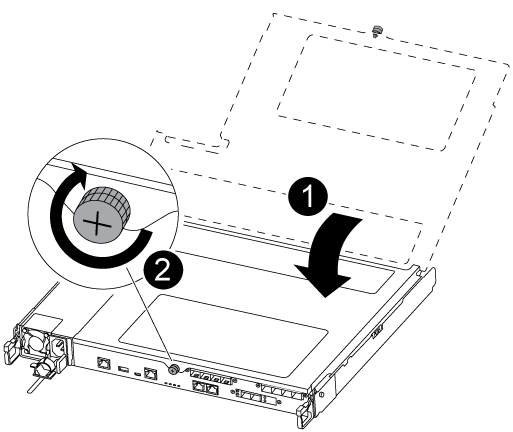
    Controller module cover
    Thumbscrew
  3. Insert the controller module into the chassis:
    1. Ensure the latching mechanism arms are locked in the fully extended position.
    2. Using both hands, align and gently slide the controller module into the latching mechanism arms until it stops.
    3. Cross your arms and place your index fingers through the finger holes from the inside of the latching mechanism.
    4. Press your thumbs down on the orange tabs on top of the latching mechanism and gently push the controller module over the stop.
    5. Release your thumbs from the top of the latching mechanisms and continue pushing until the latching mechanisms snap into place.
      The controller module begins to boot as soon as it is fully seated in the chassis. Be prepared to interrupt the boot process.
    The controller module should be fully inserted and flush with the edges of the chassis.
  4. Cable the management and console ports only, so that you can access the system to perform the tasks in the following sections.
    Note
    You will connect the rest of the cables to the controller module later in this procedure.