Deploy the Lenovo Inventory Tool client package from the Microsoft System Center Configuration Manager server to theMicrosoft System Center Configuration Manager client
This topic describes how to deploy an Lenovo Inventory Tool Client package from theSCCM server to theSCCM client.
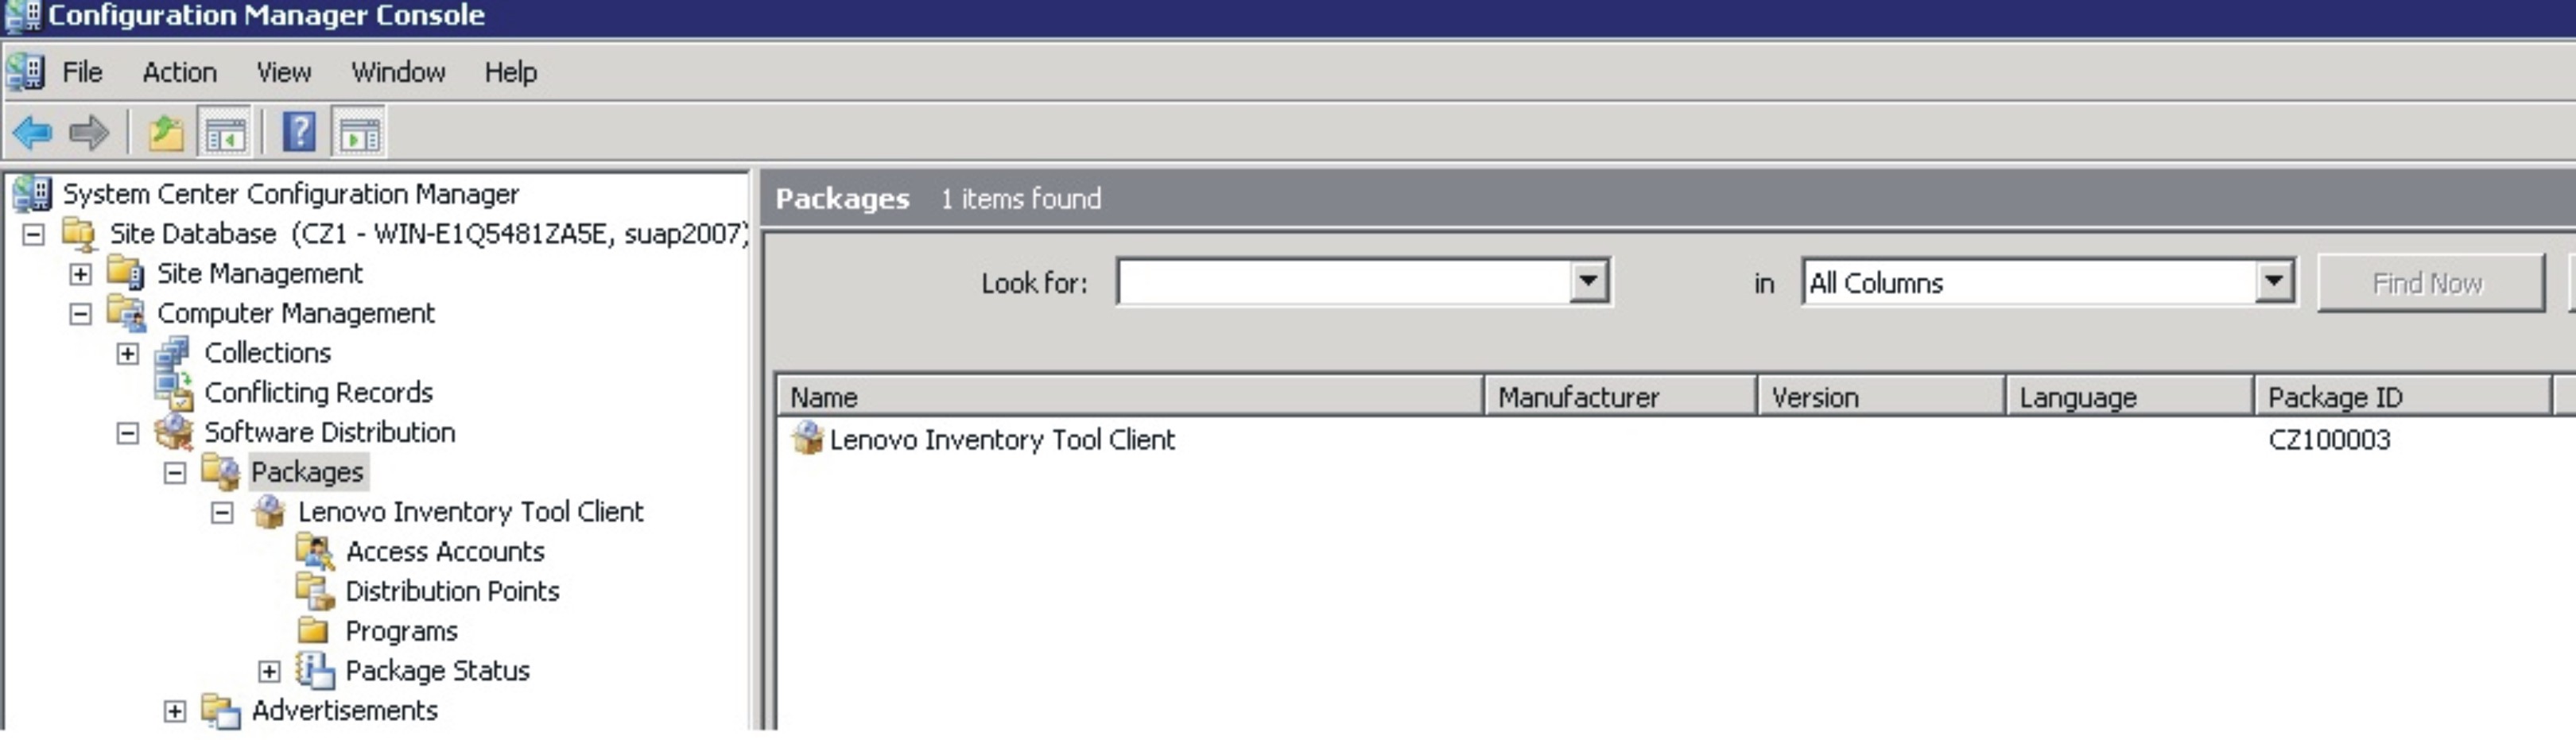
The Lenovo Inventory Tool Client package contains the file Lenovo Inventory Tool Client Setup.msi, which is used to install Lenovo Inventory Tool Client to the target machine.
- Expand and then right-click Lenovo Inventory Tool Client.Figure 1. Lenovo Inventory Tool Client package
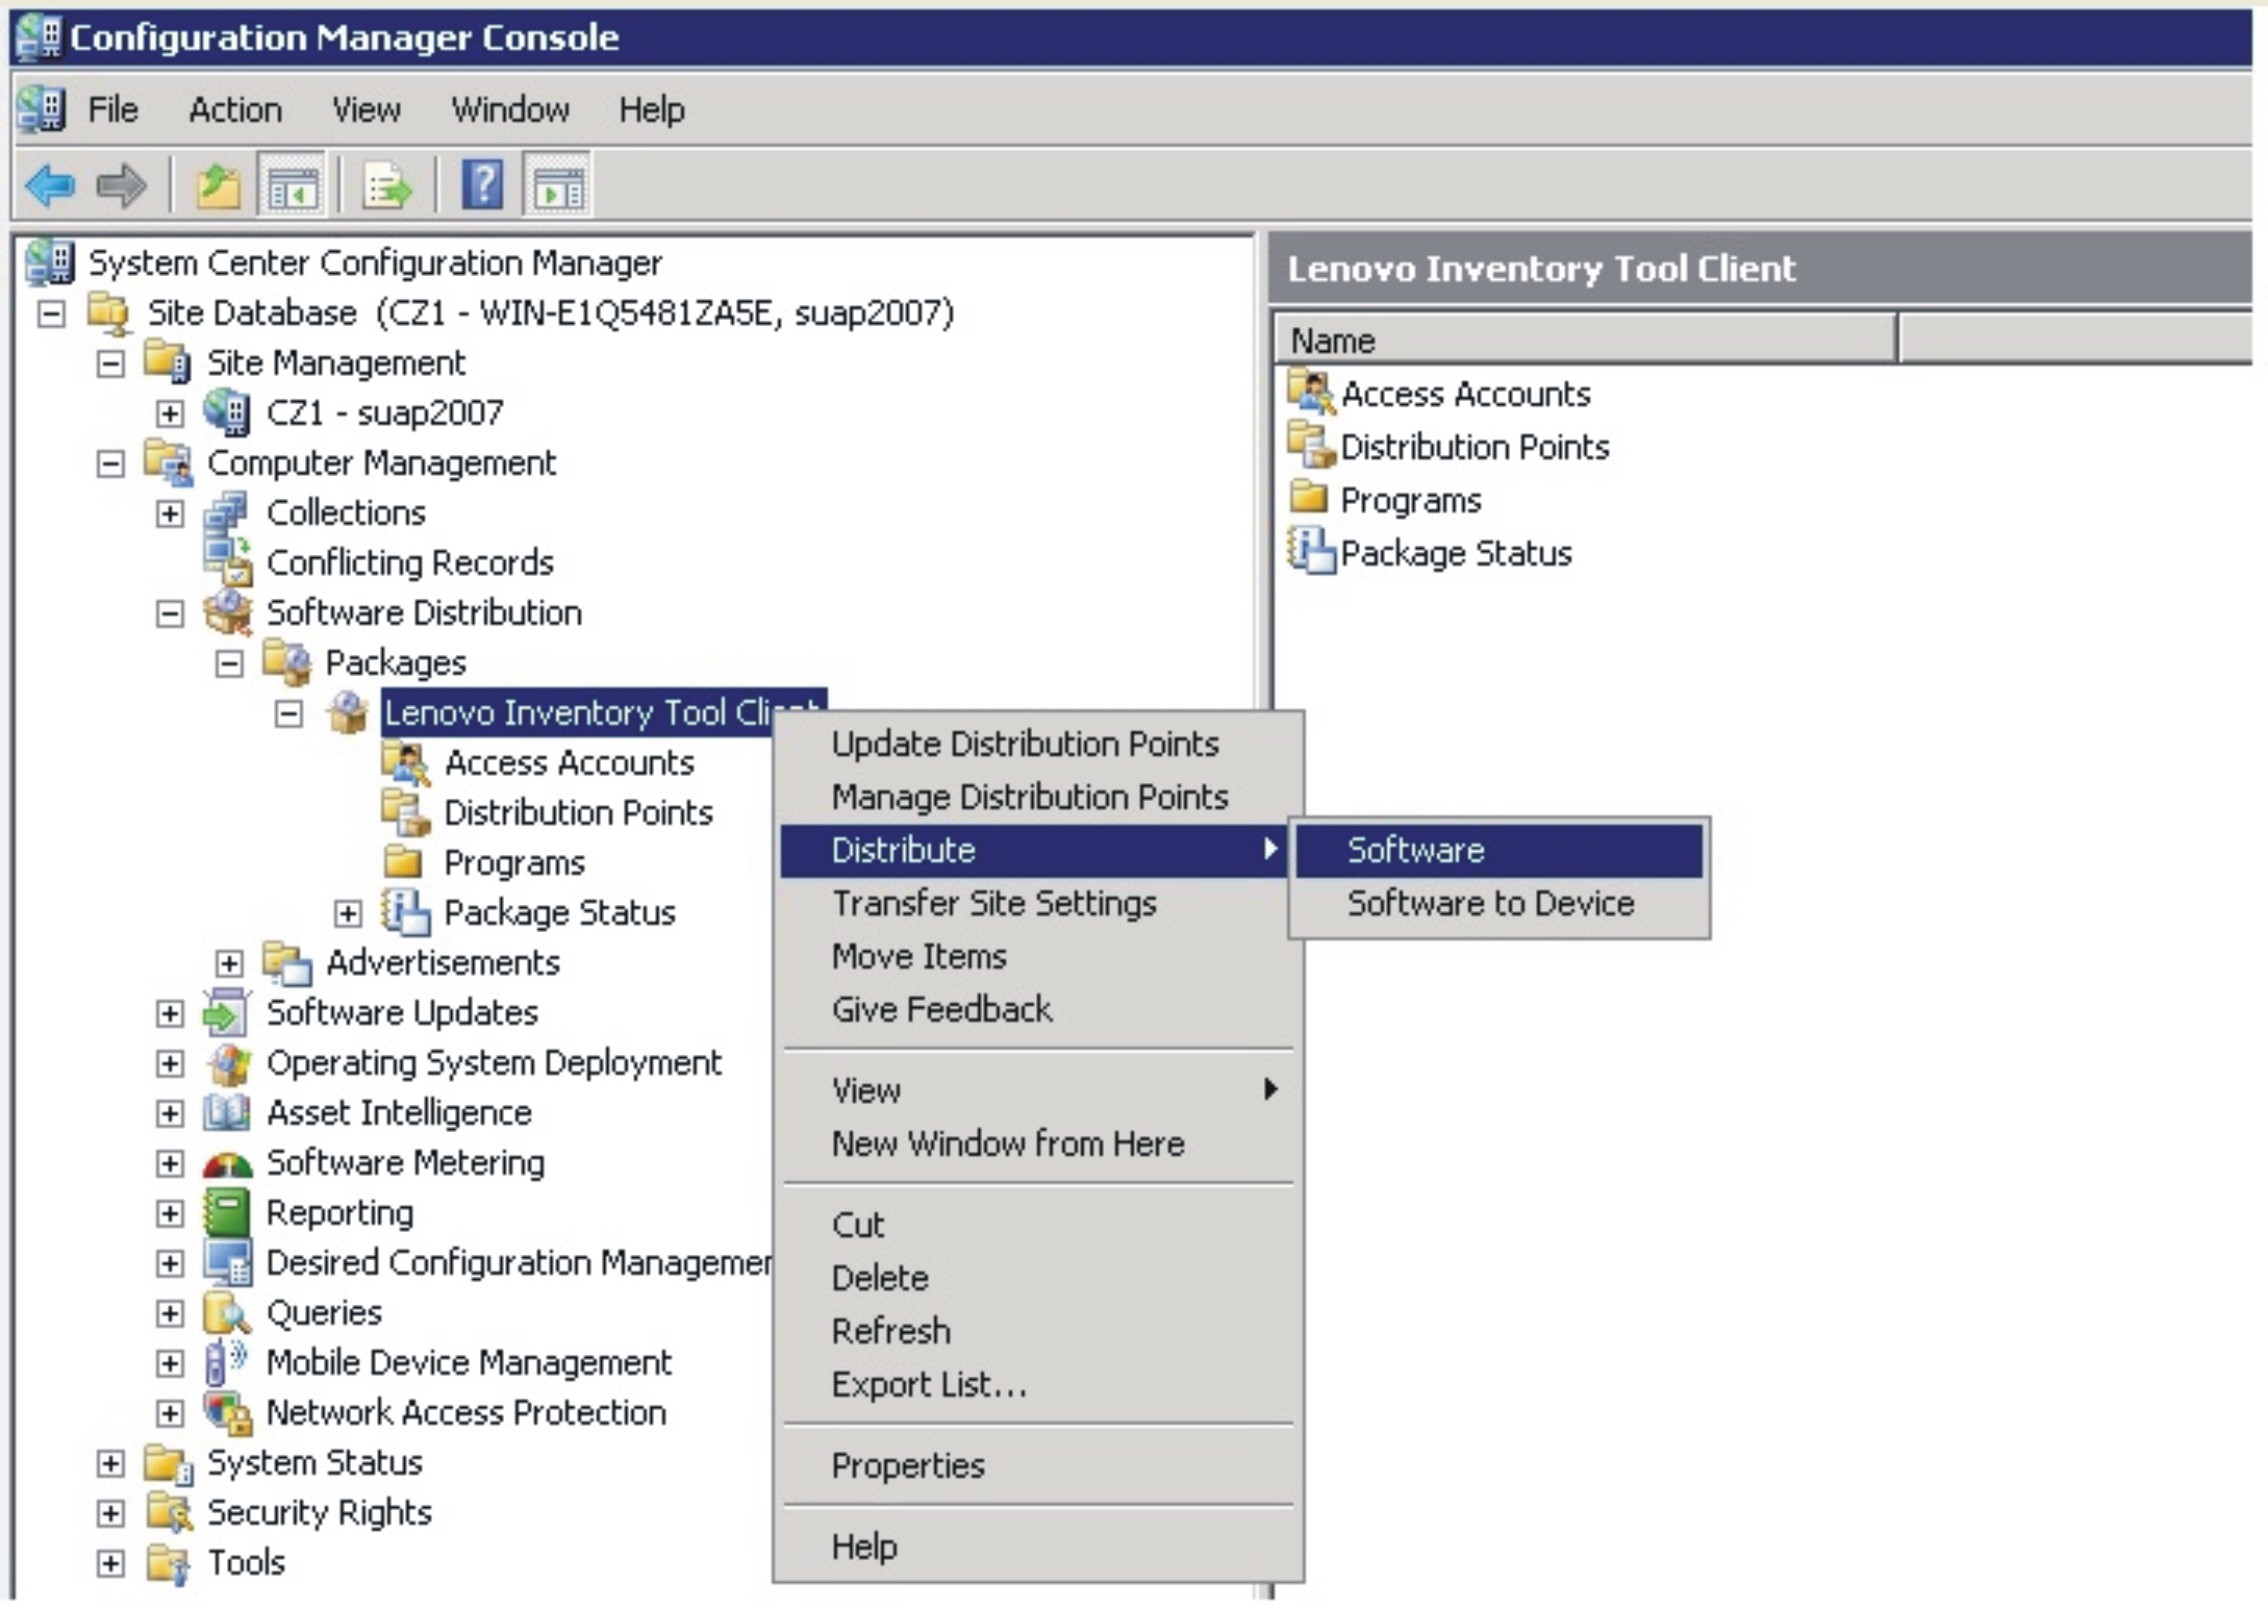
- Click Distribute, then select Software.Figure 2. Distribute Lenovo Inventory Tool Client package
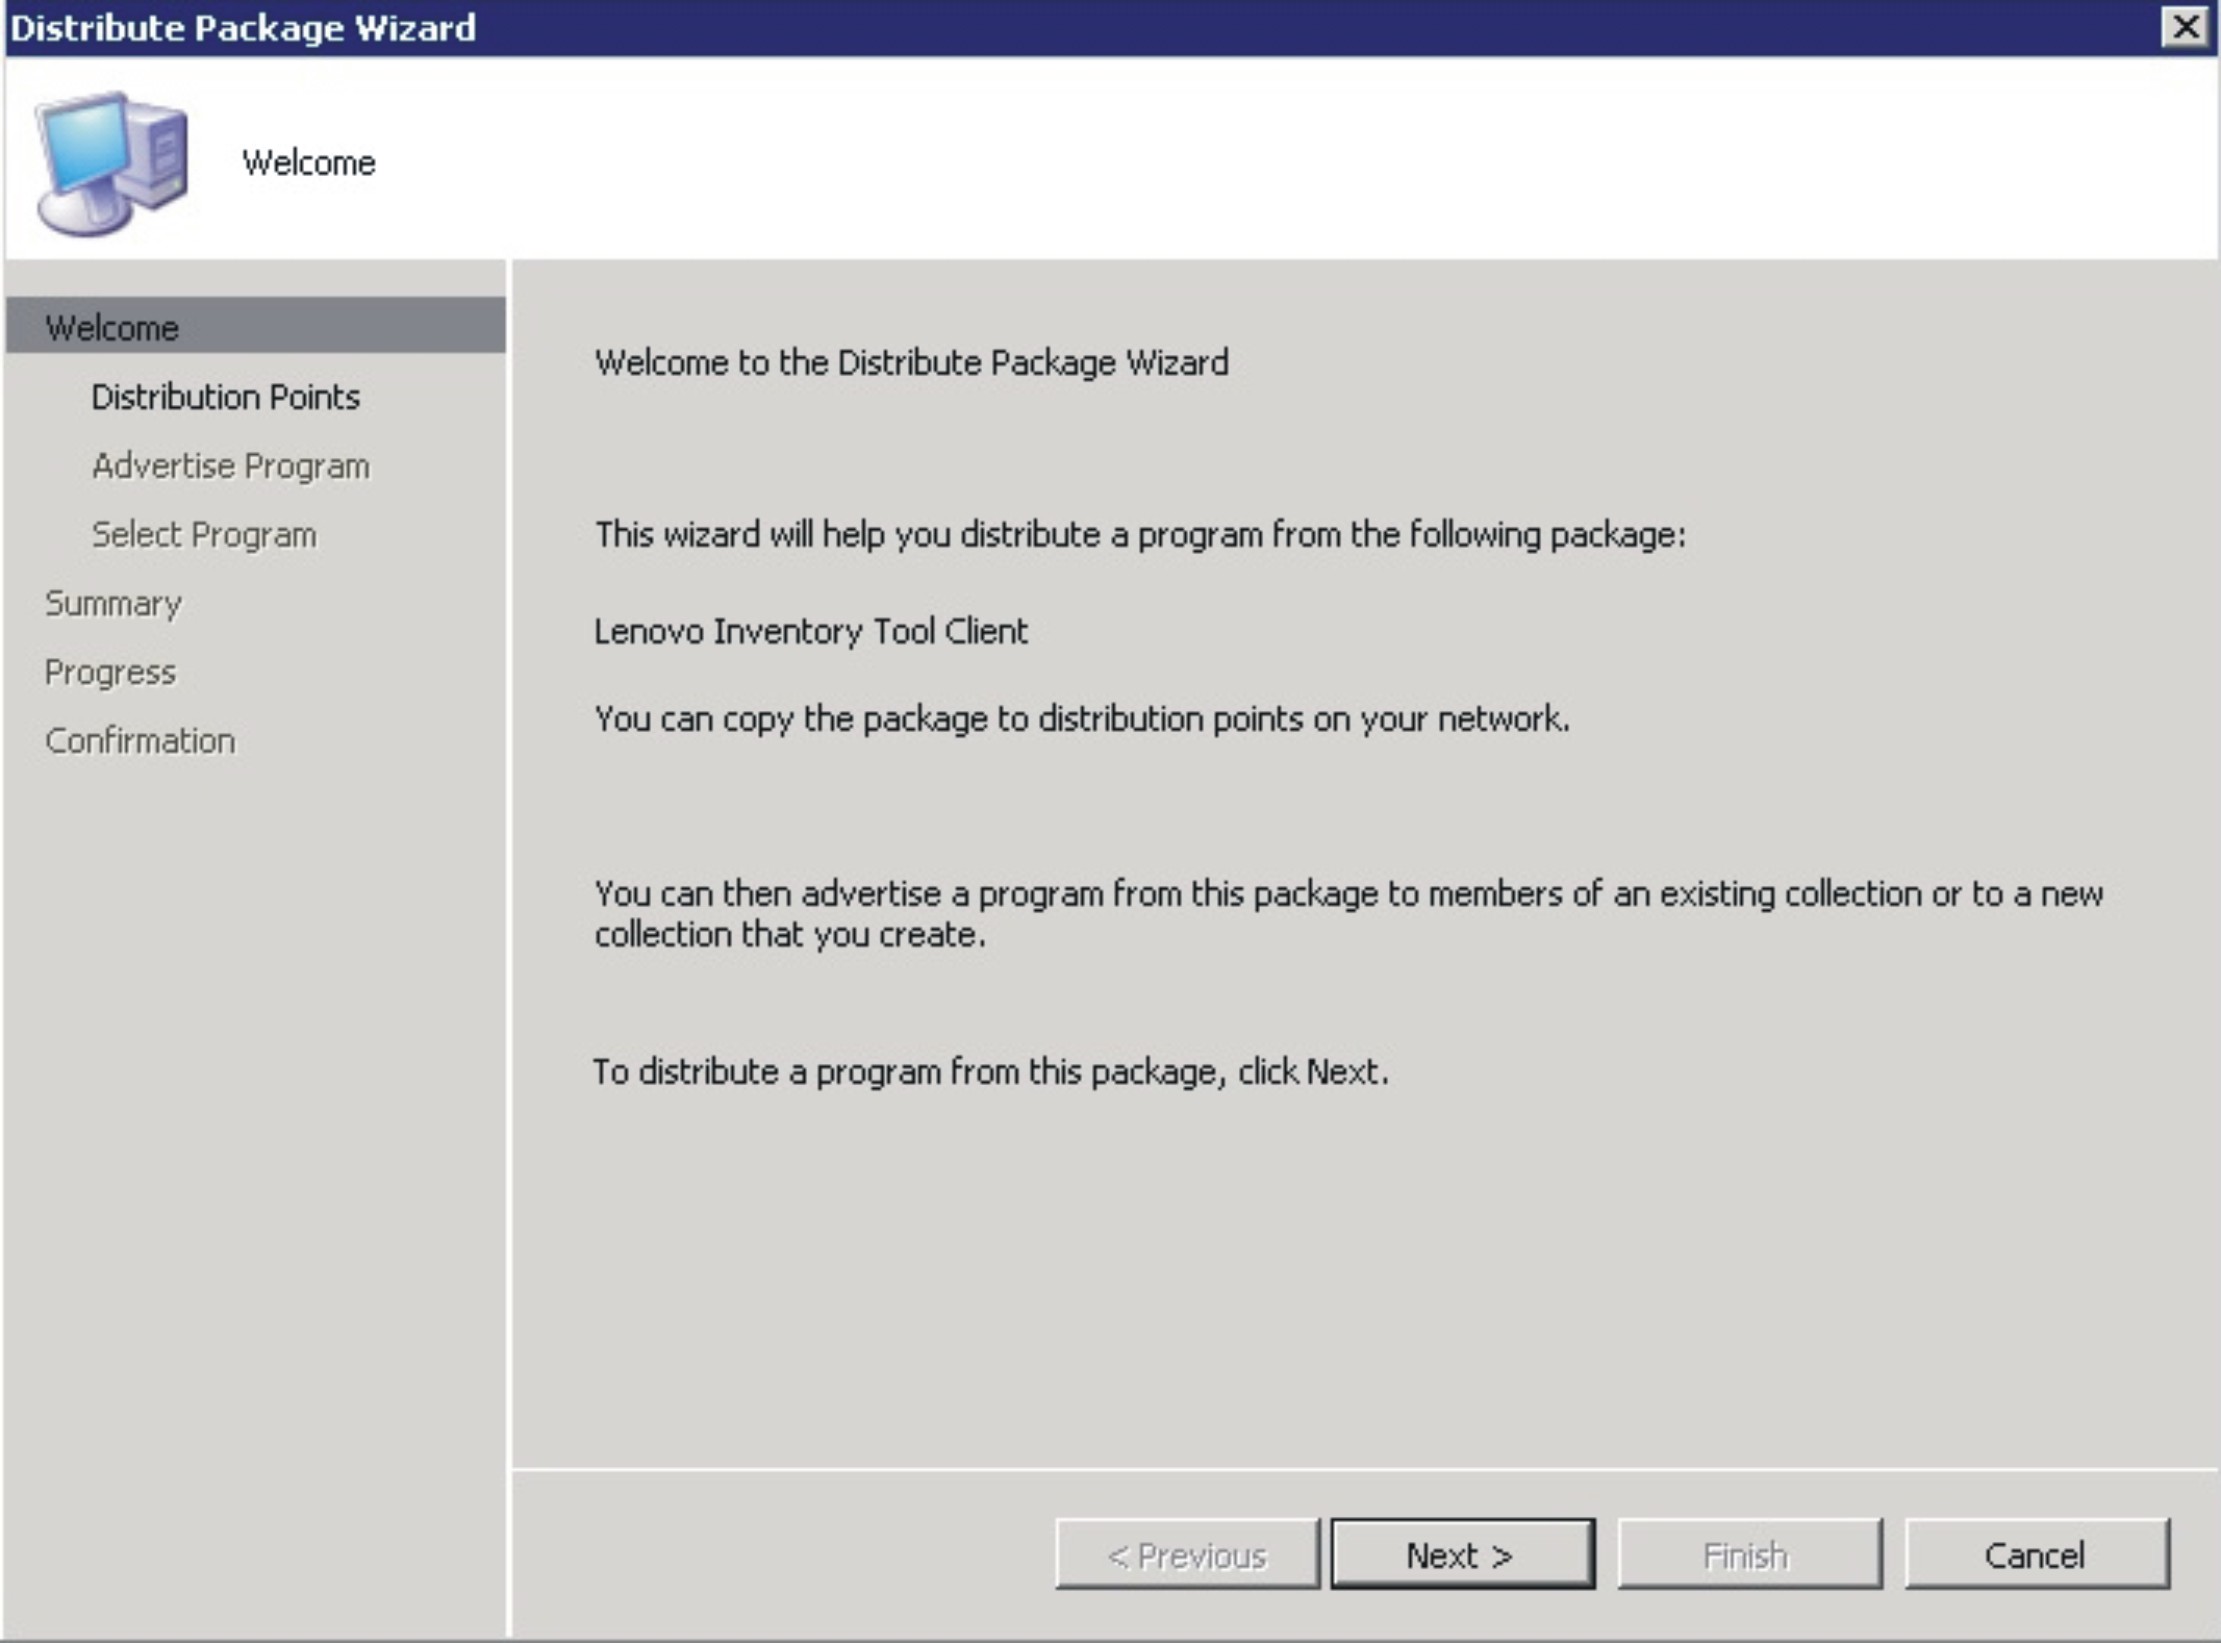
- On the Welcome page, click Next to distribute the software from the package.Figure 3. Distribute Package Wizard welcome page
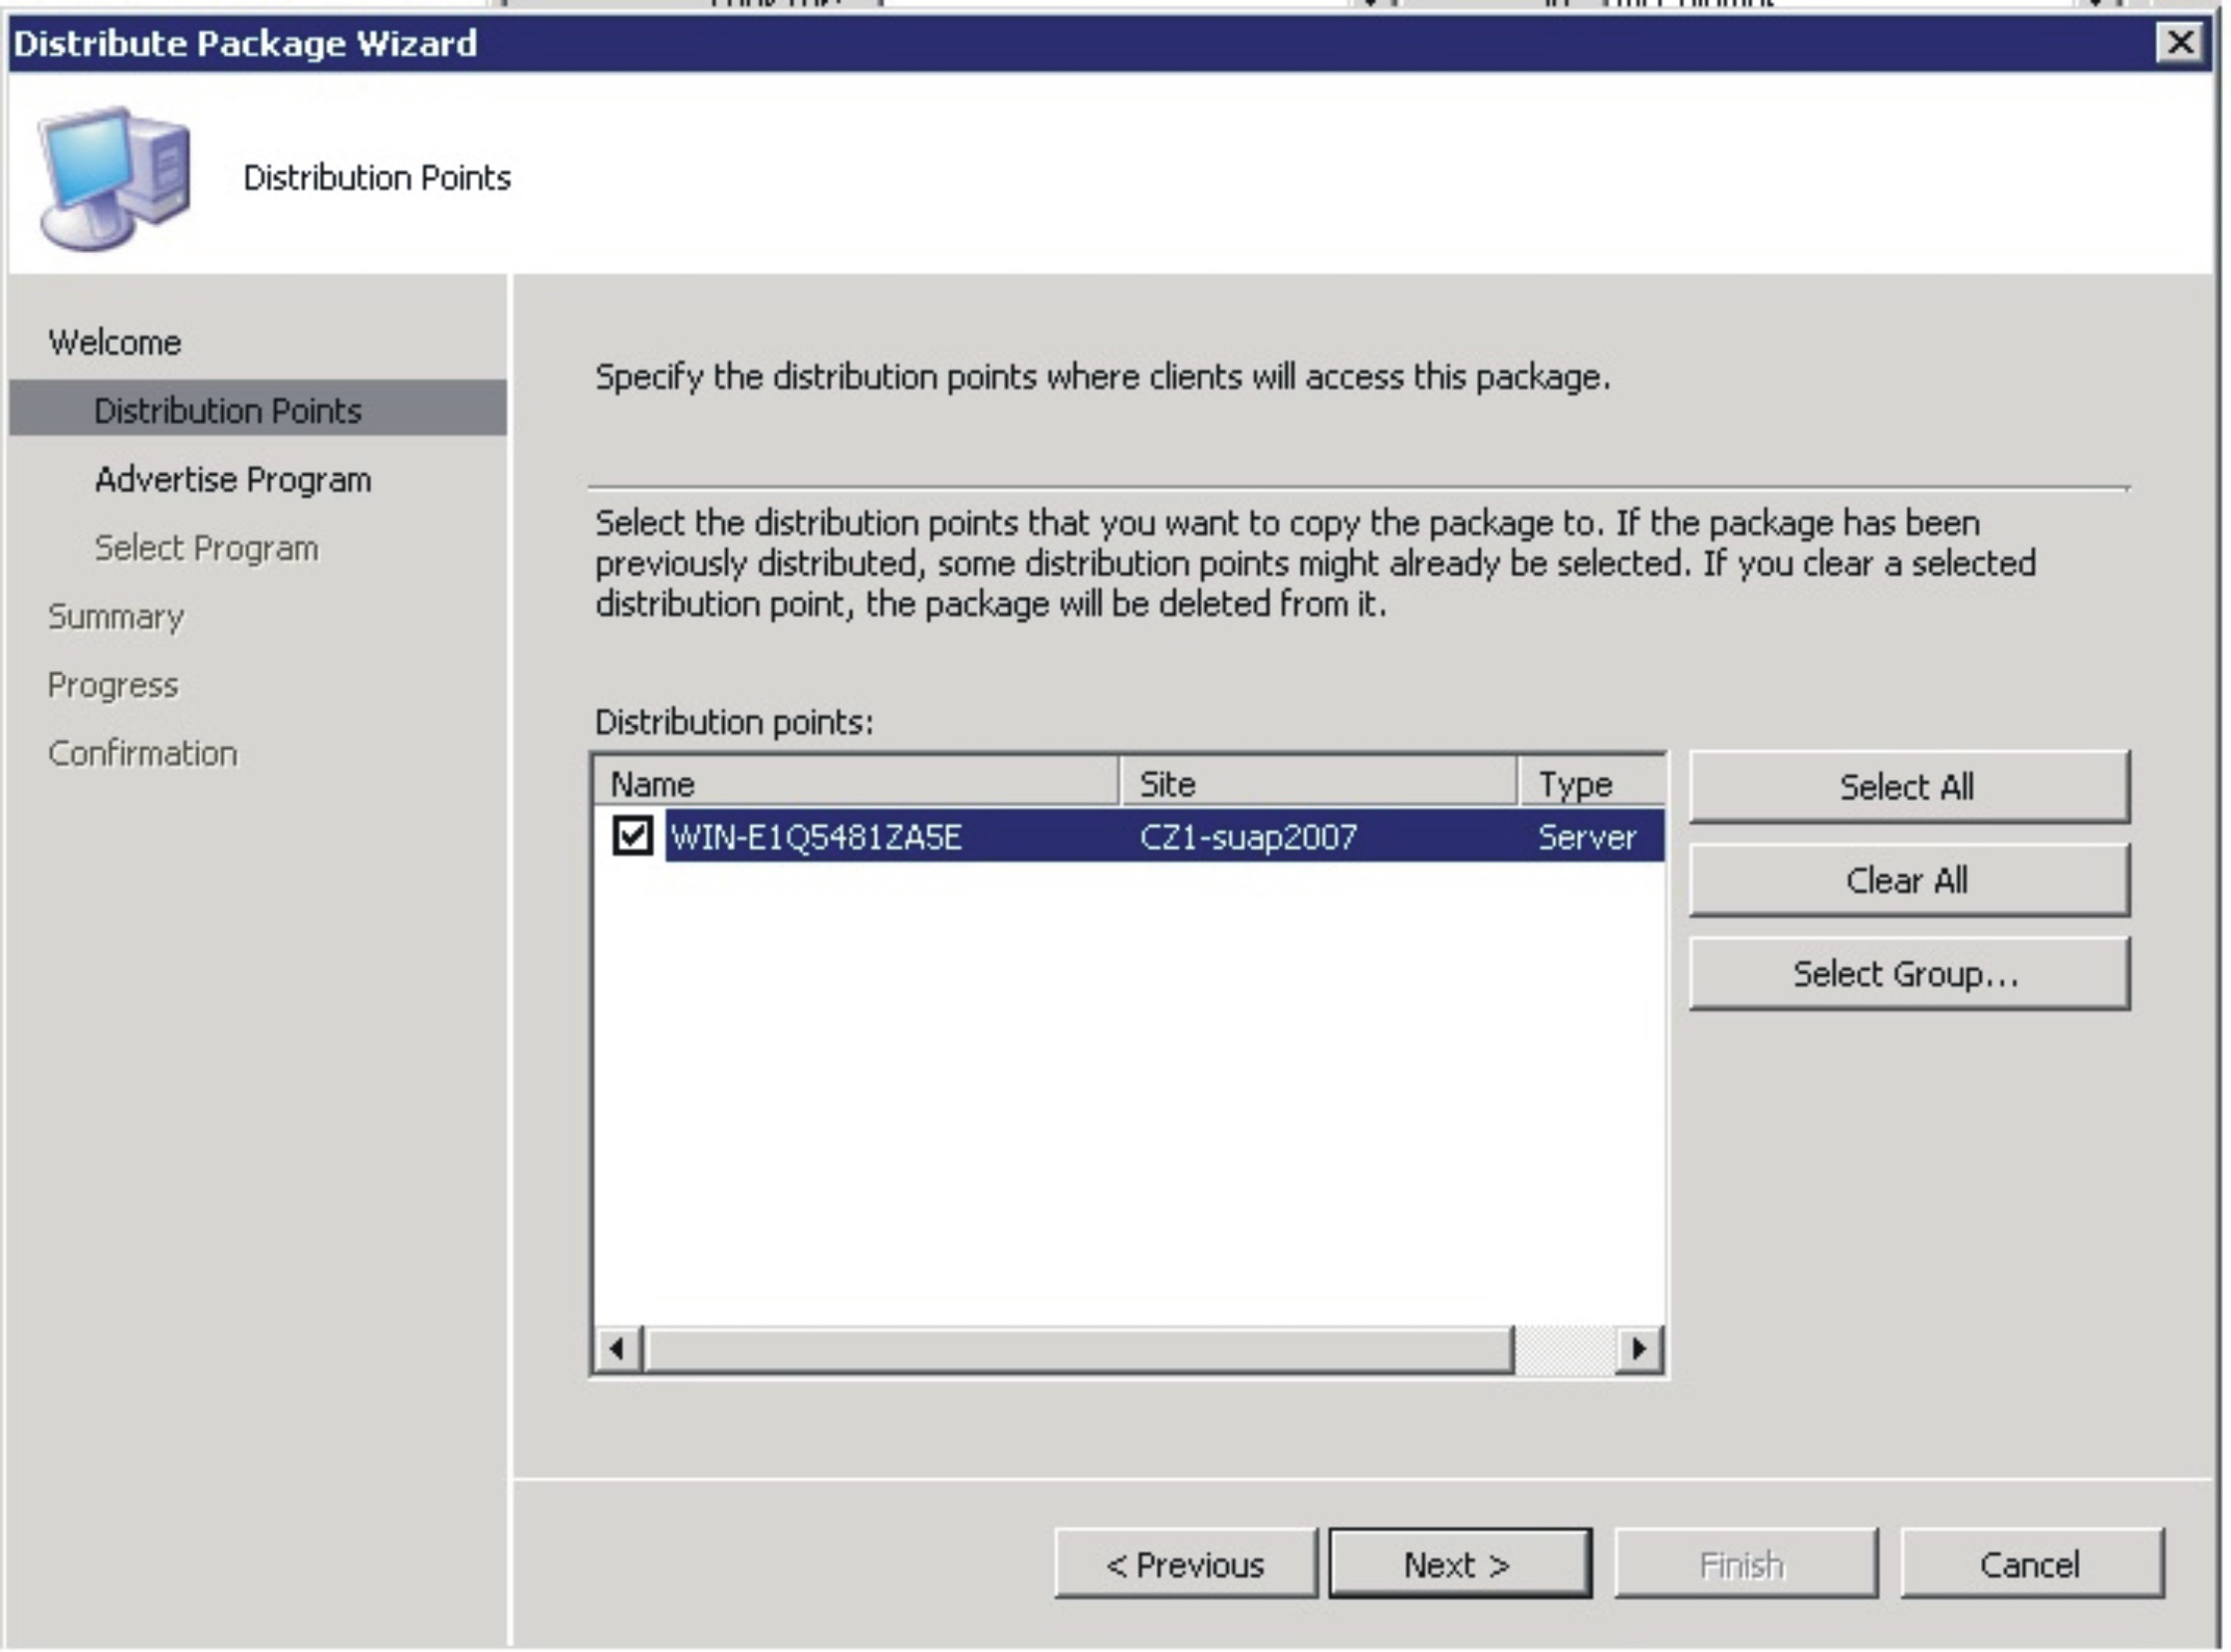
- On the Distribution Points page, select the distribution points where the client accesses this package, and then click Next. Figure 4. Distribution Points page
- On the Advertise Program page, specify whether to advertise a program from this package to client resources. Select Yes and click Next.Figure 5. Advertise Program page

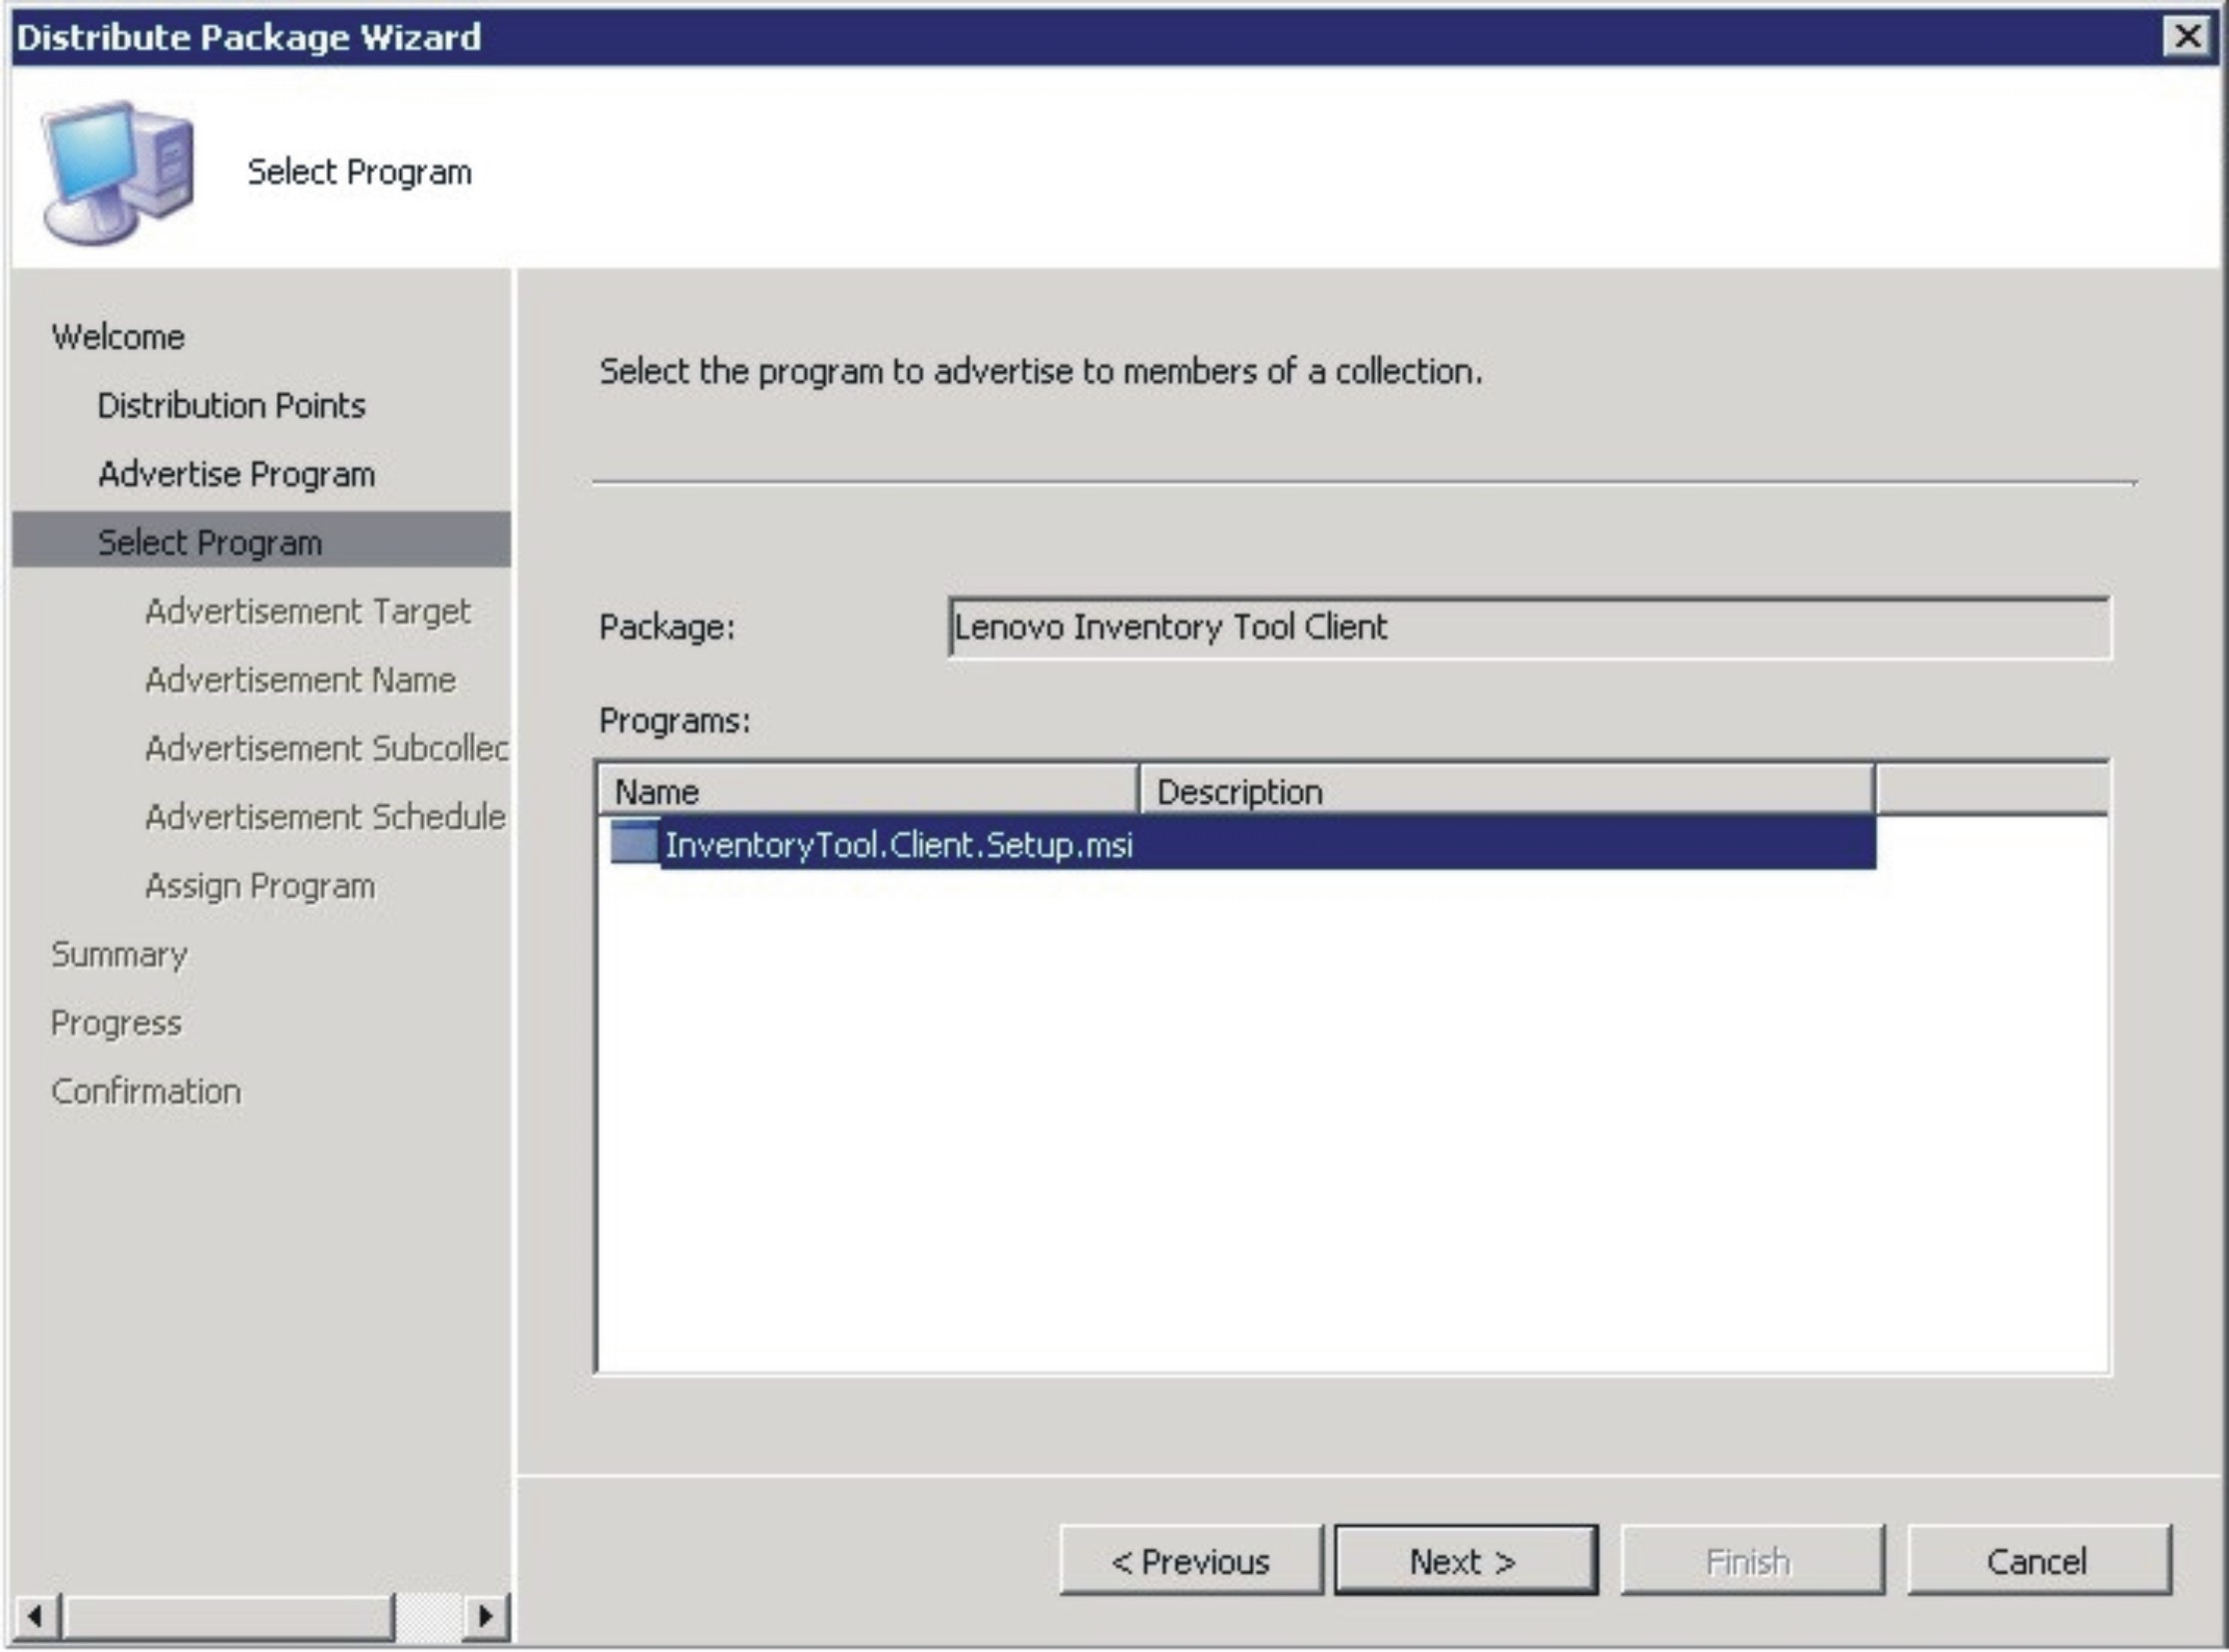
- On the Select Program page, select the program to advertise to members of a collection, and then click Next. Figure 6. Select Program page
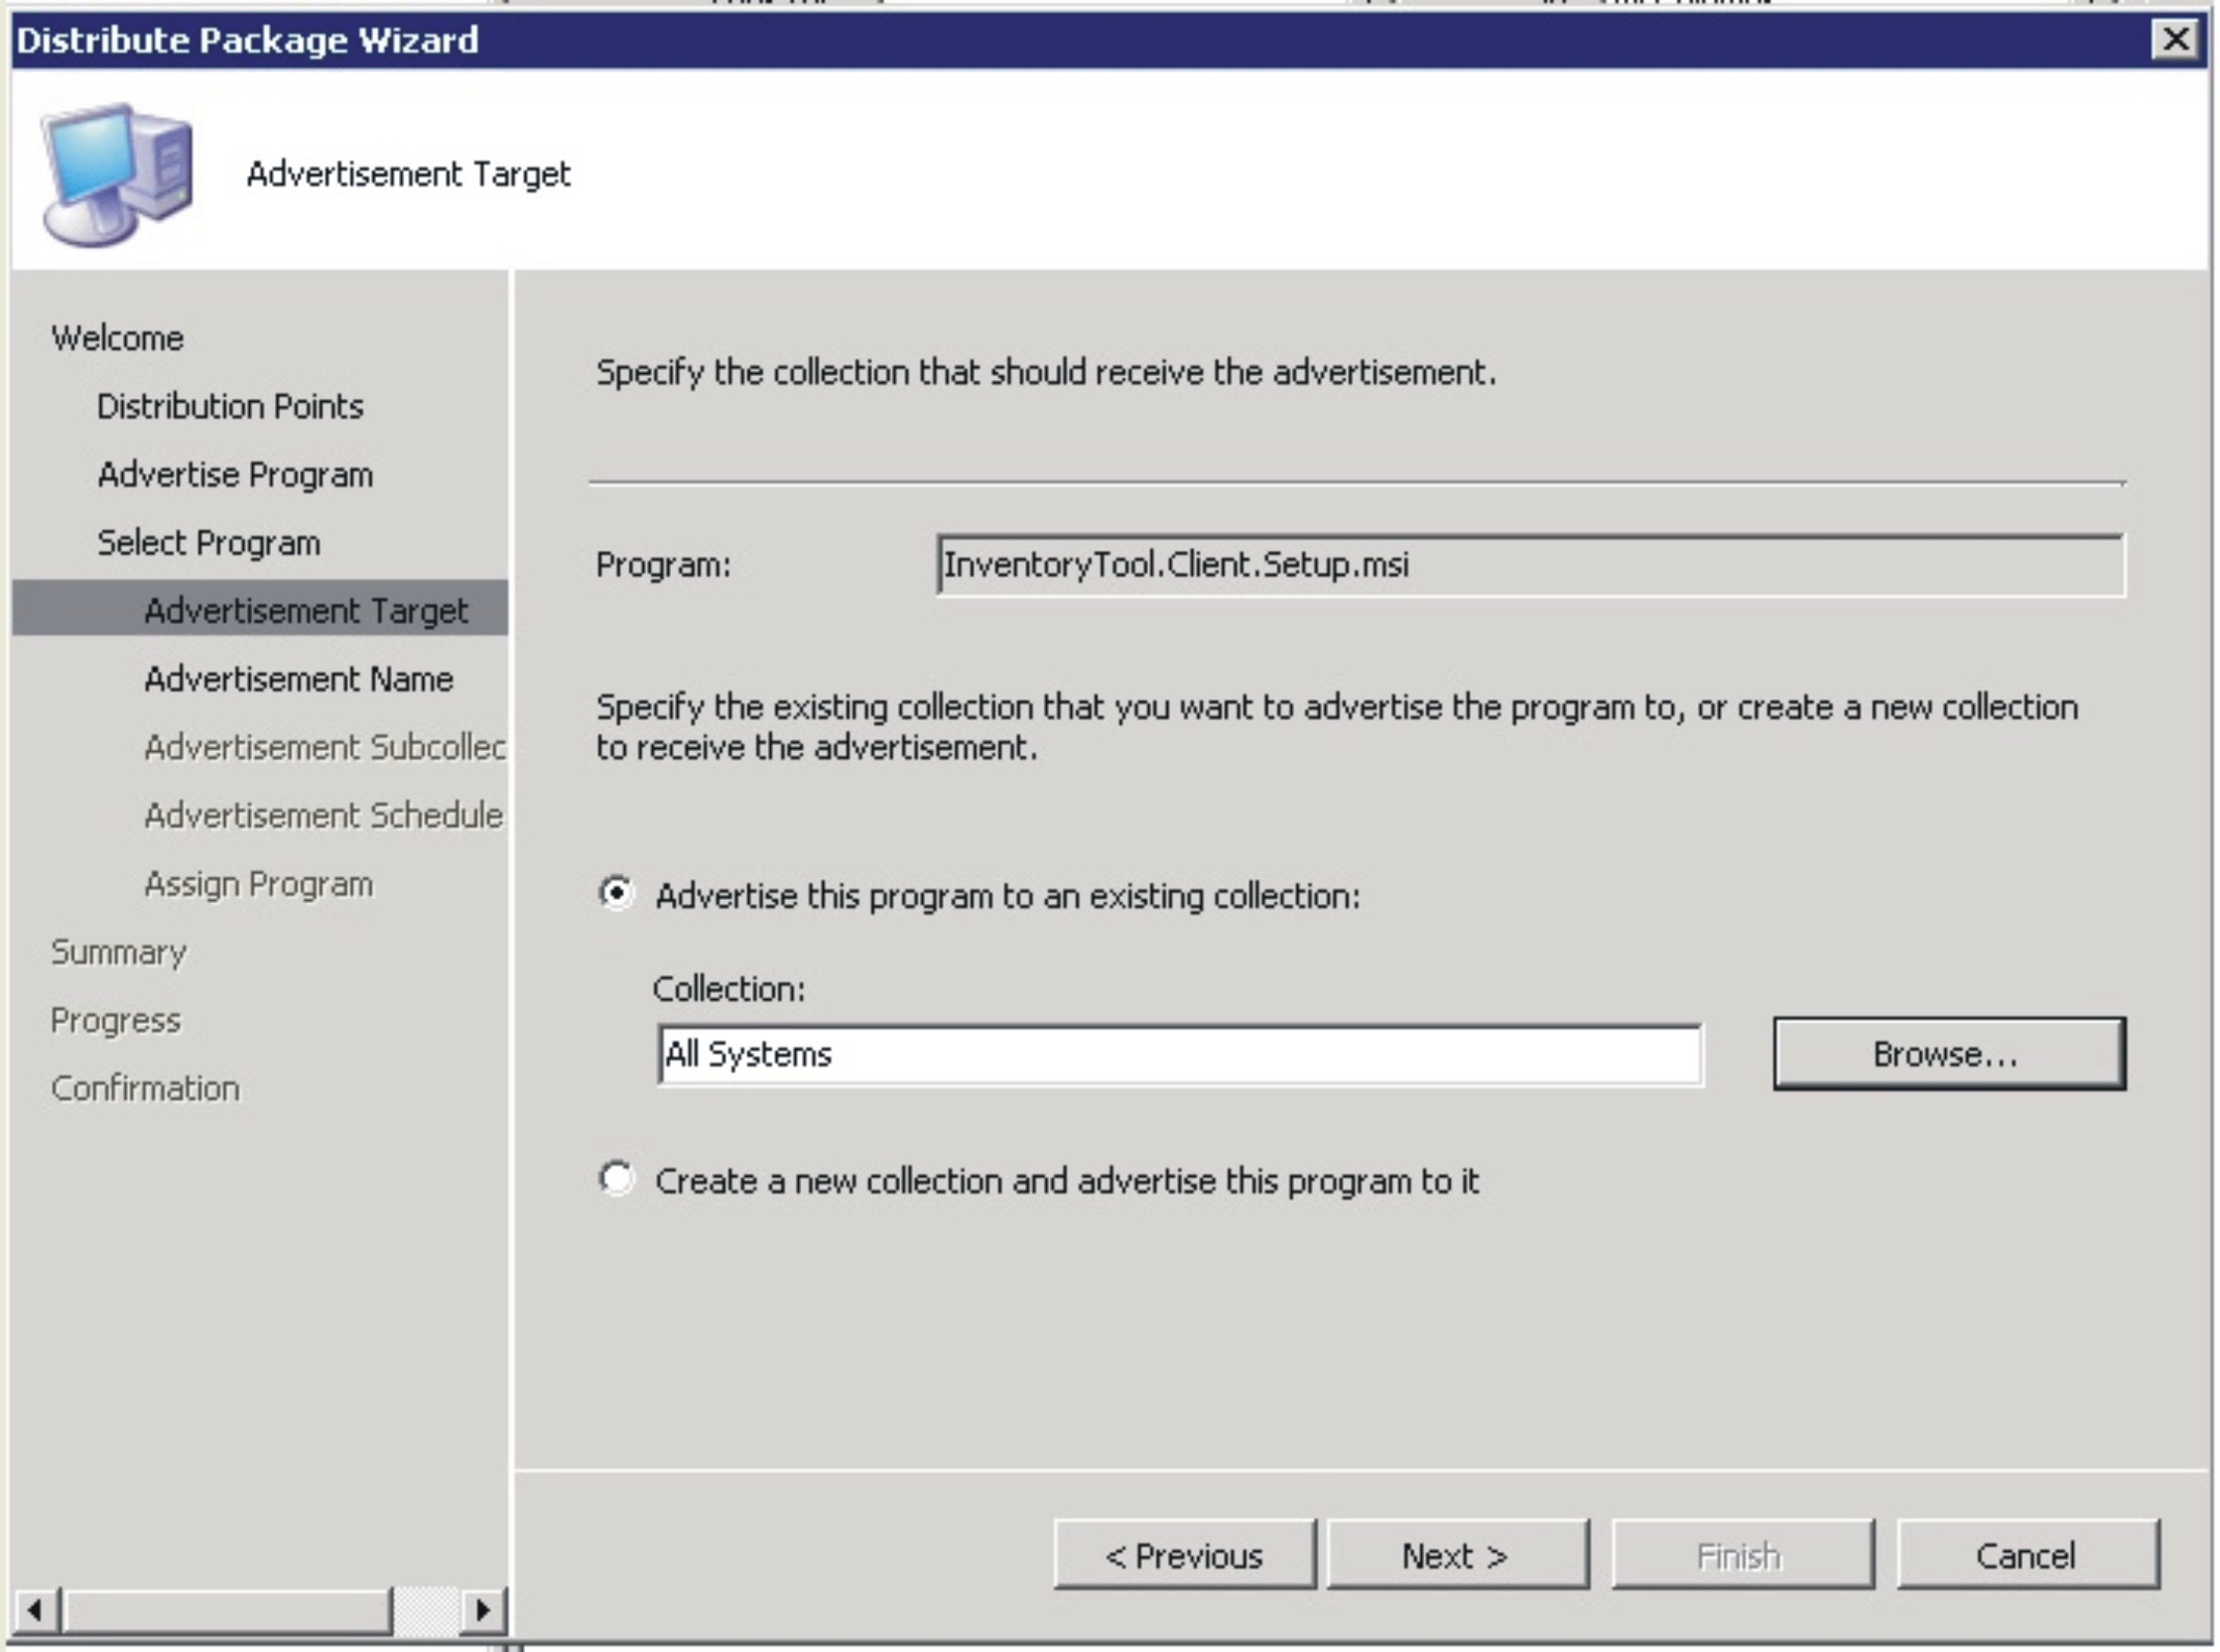
- On the Advertisement Target page, select the existing collection that you want to advertise, and then click Next.Figure 7. Advertisement Target page
- On the Advertisement Name page, choose whether to modify the following information, and when you are finished, click Next.
- Name
- Enter a different name if you do not want to use the default name that is provided.
- Comment
- Enter a detailed description that will help you to identify the advertisement.
Figure 8. Advertisement Name page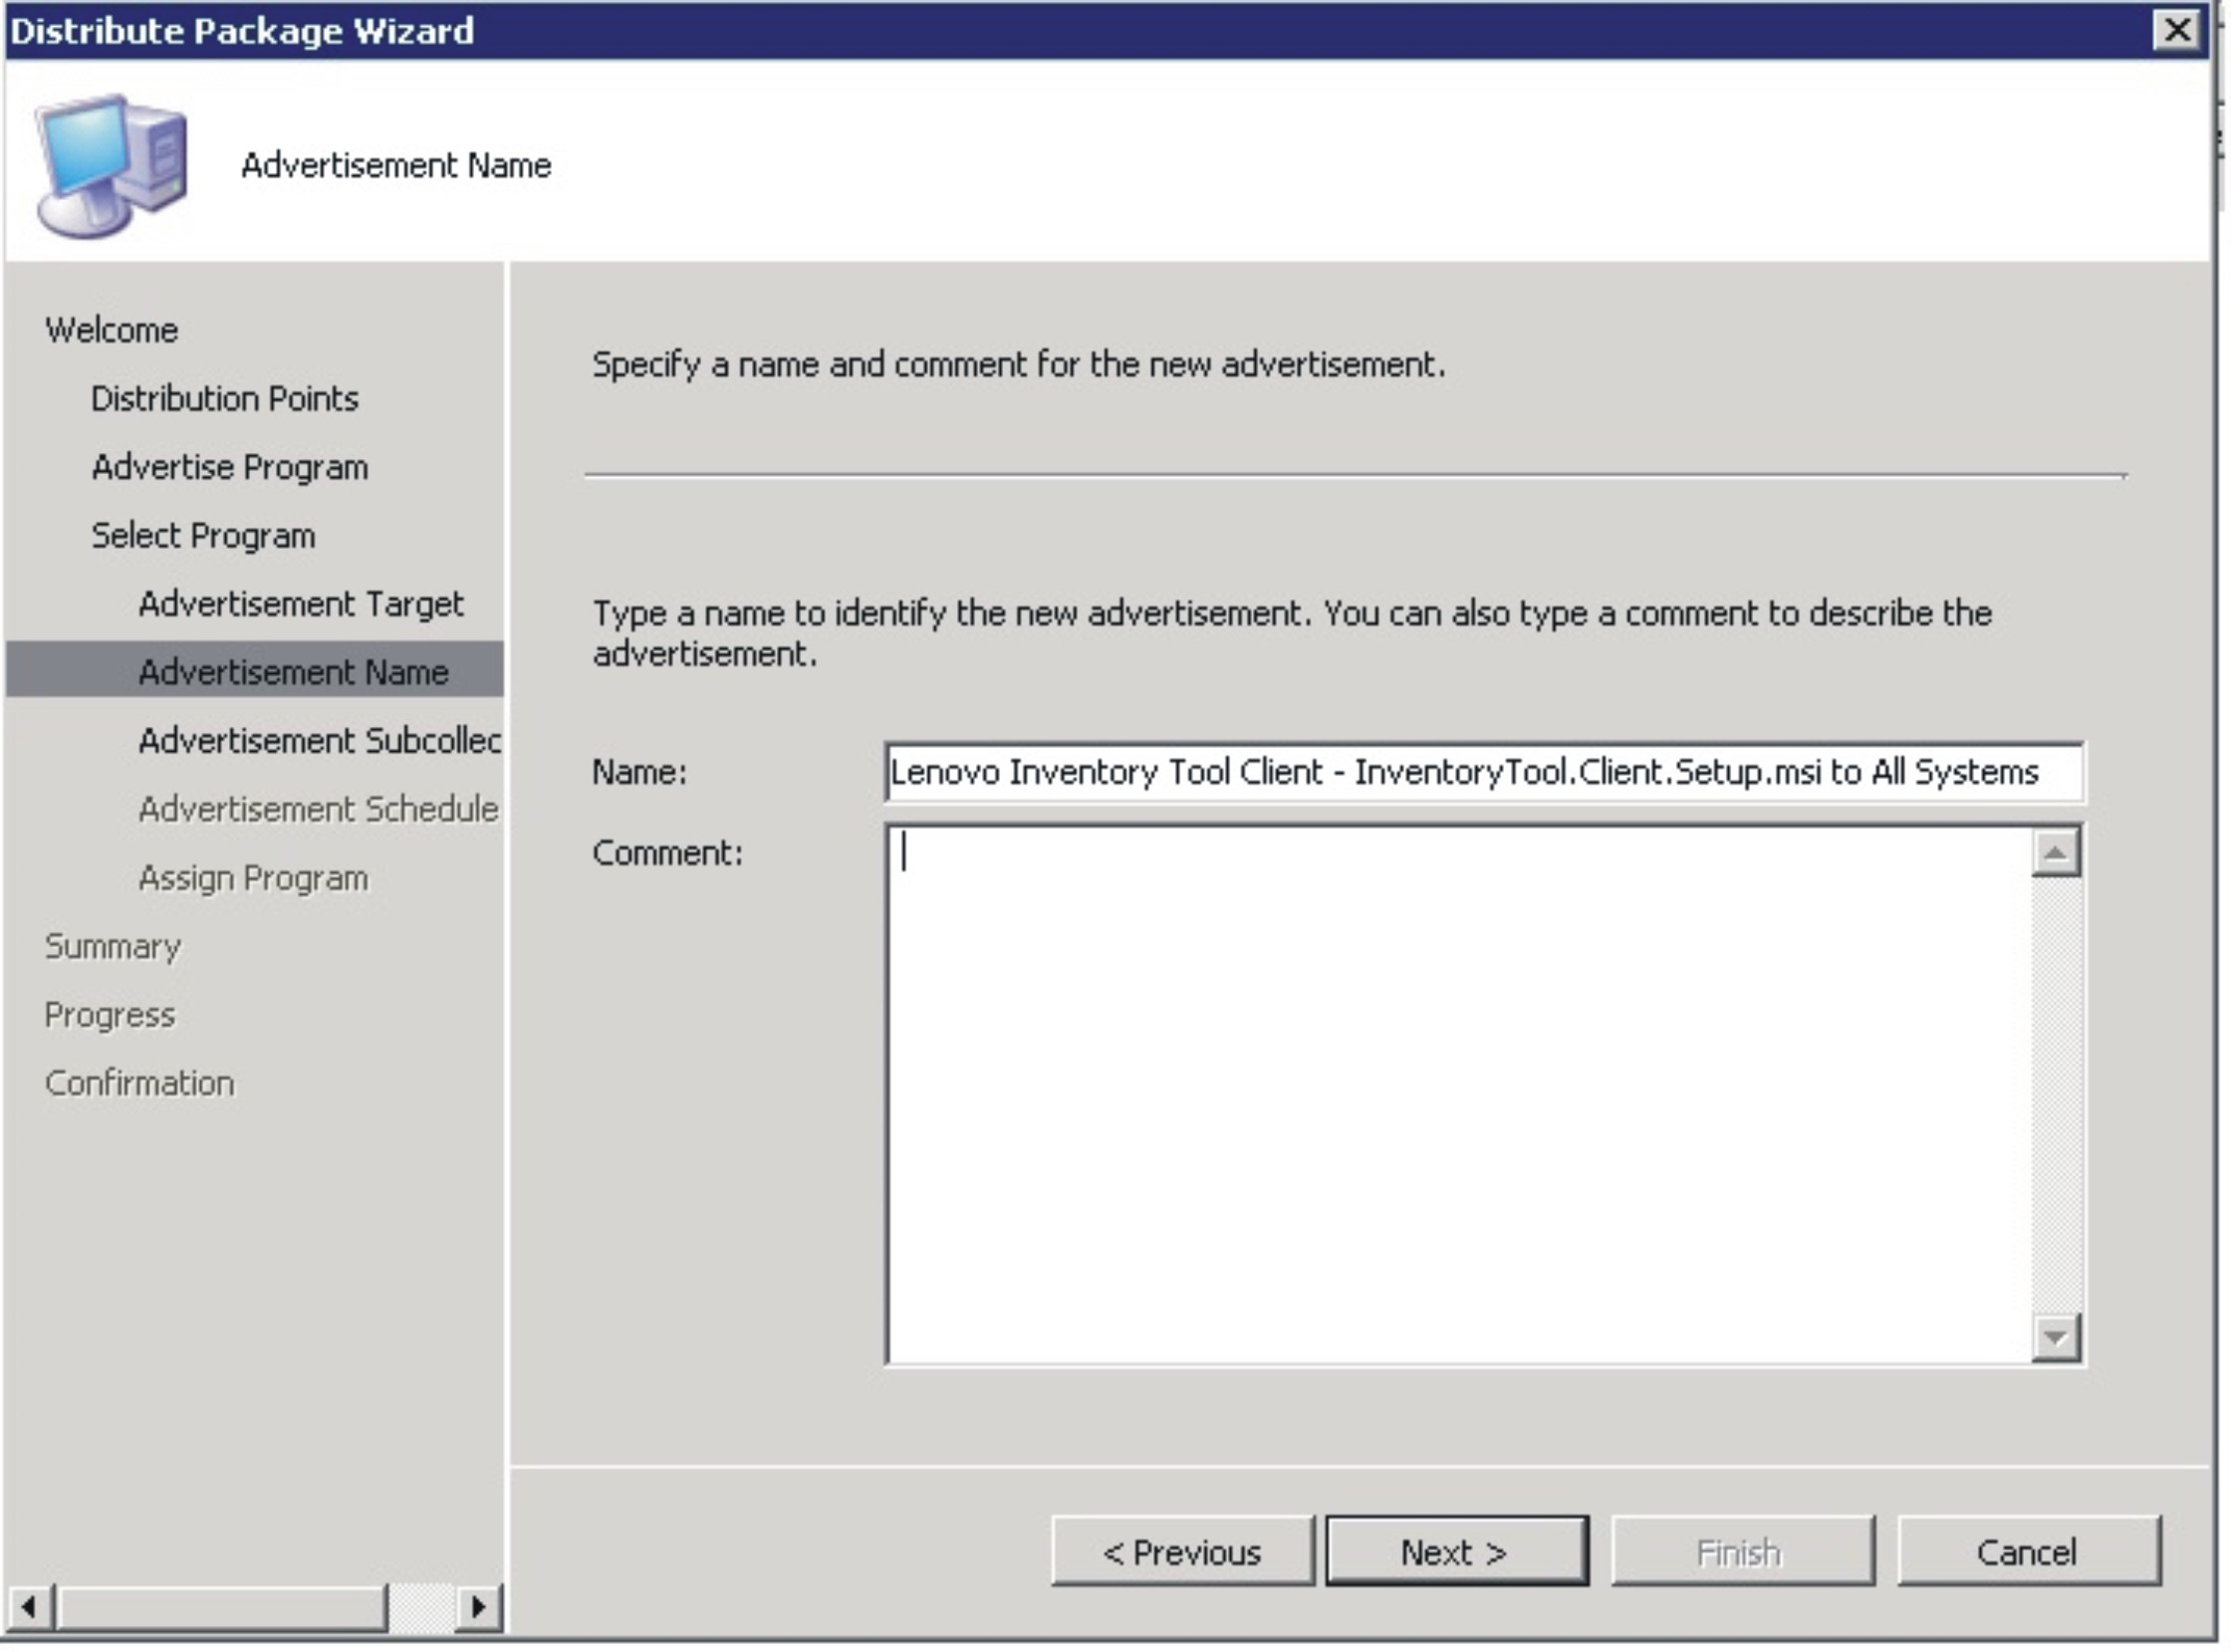
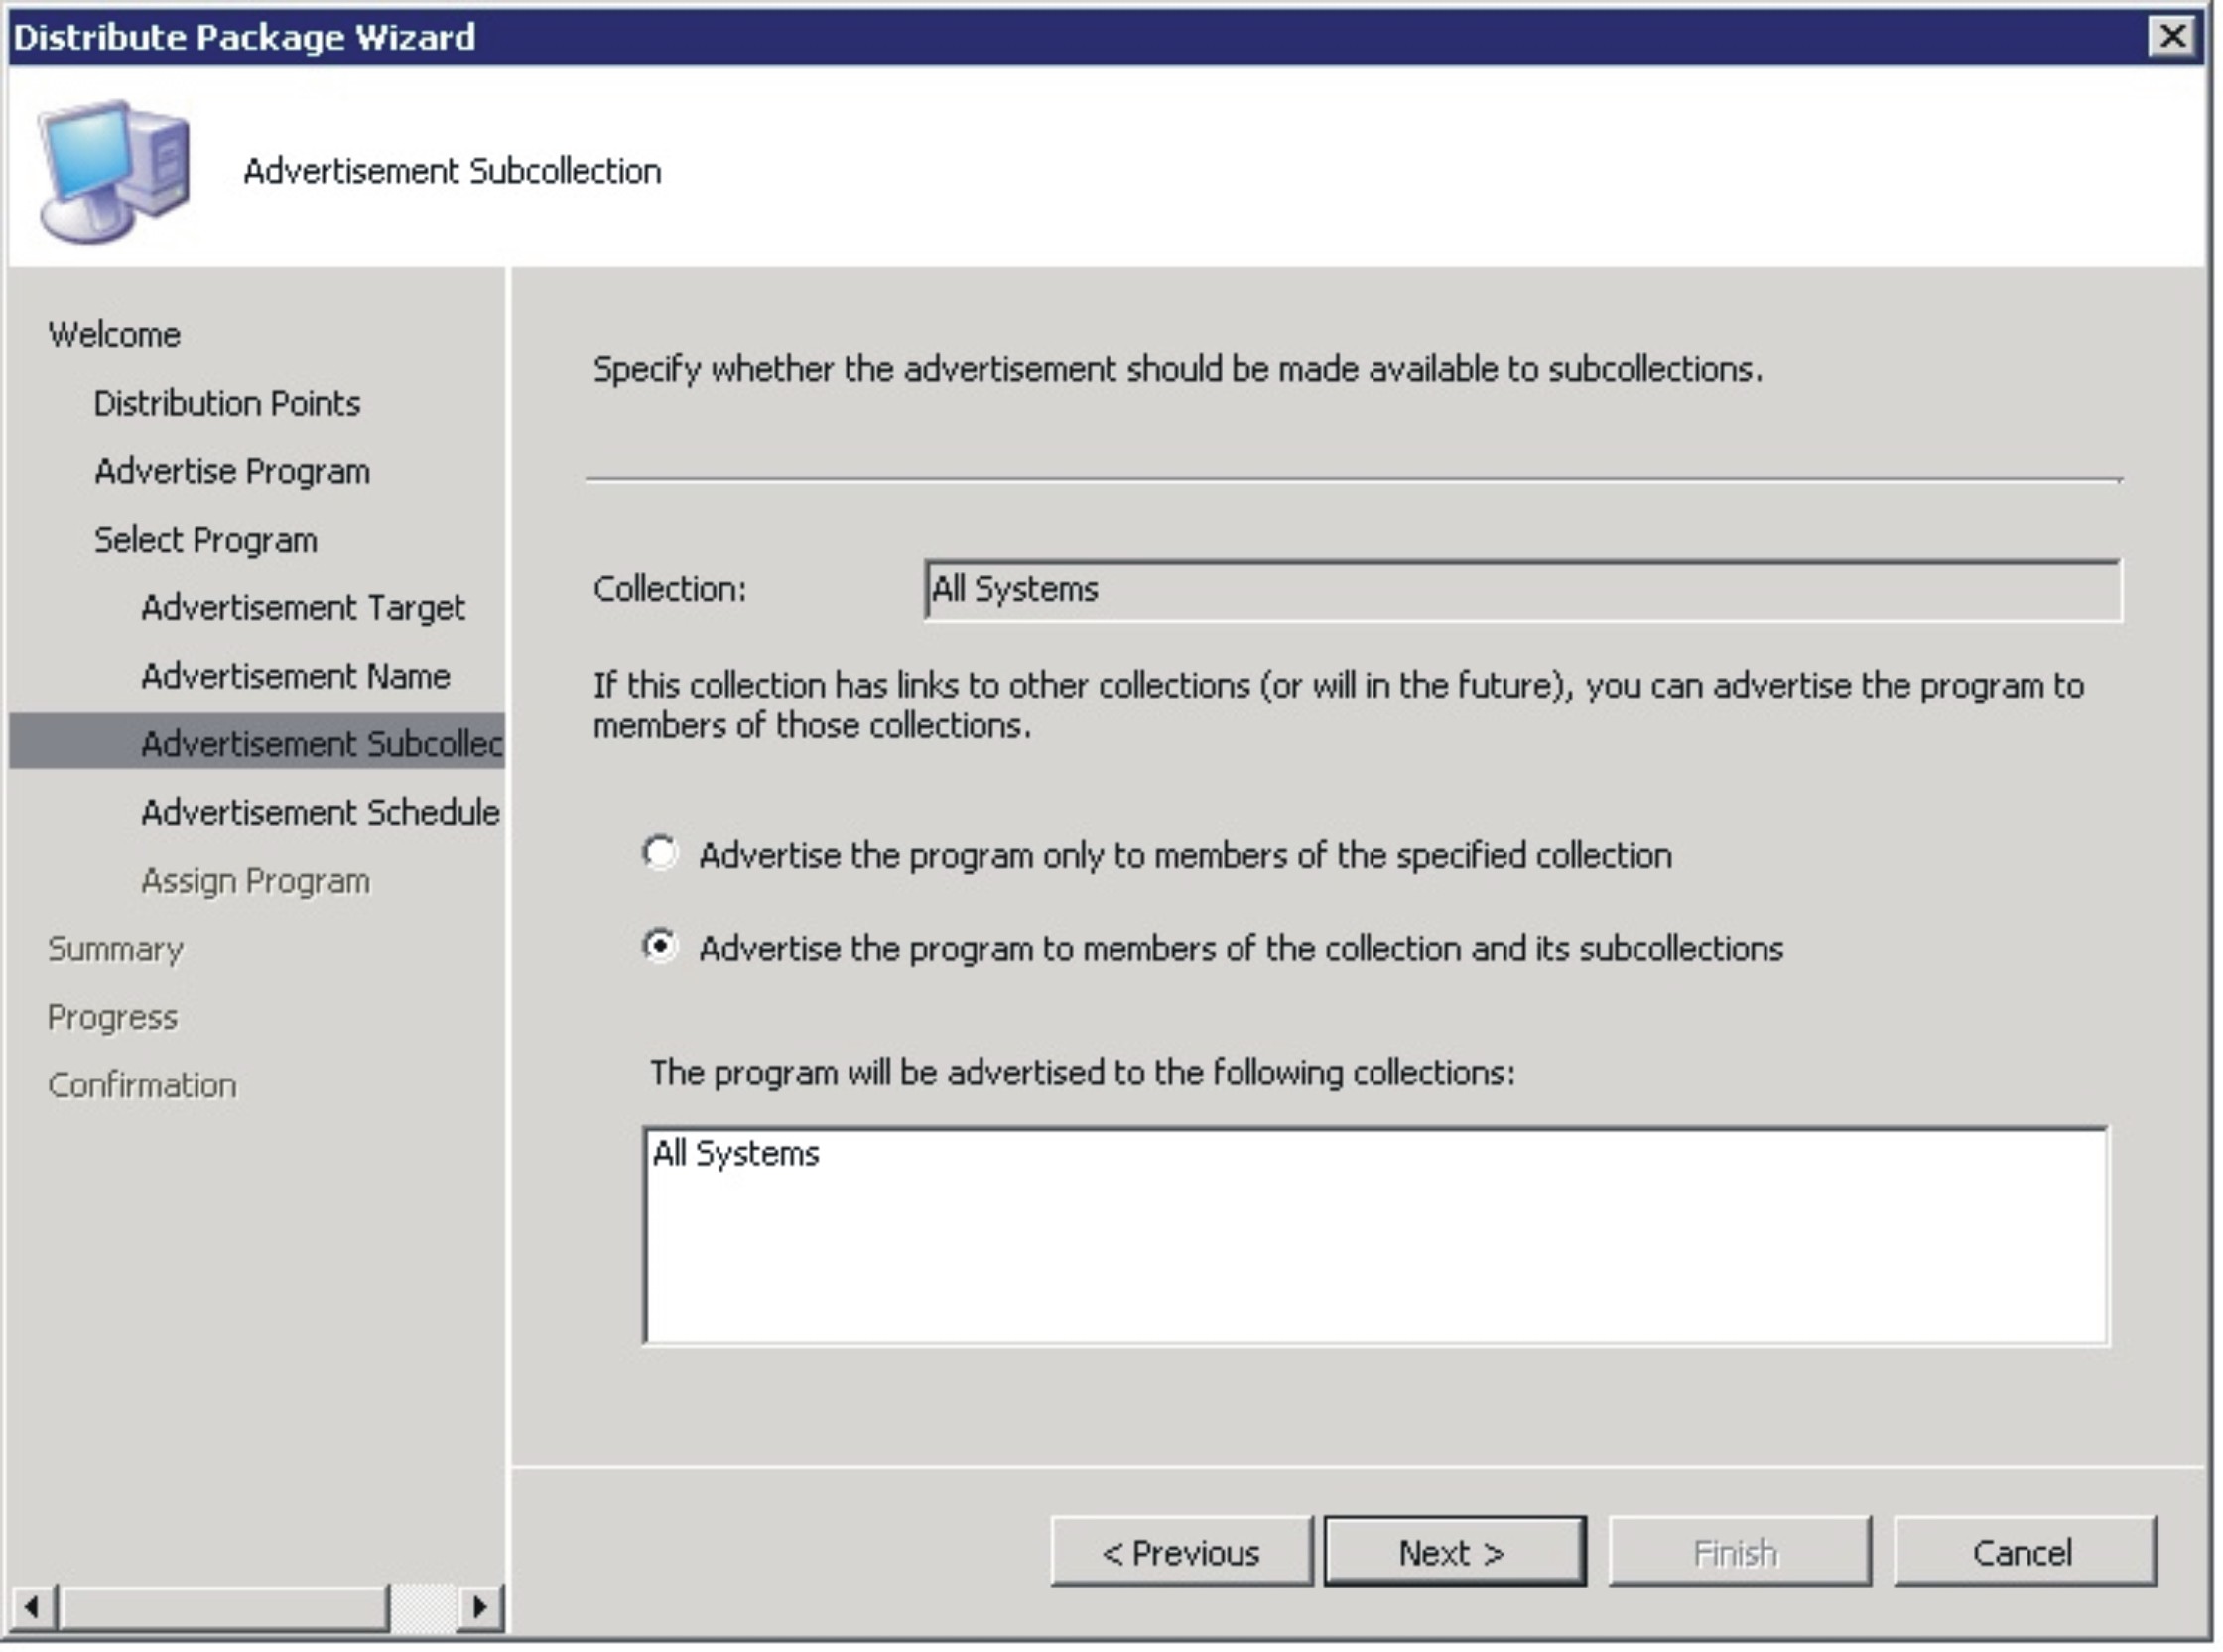
- On the Advertisement Subcollection page, select whether the advertisement should be made available to the members of the collection only or to the members of the collection and its subcollections.Figure 9. Advertisement Subcollection page
- On the Advertisement Schedule page, either select or modify the following options, and click Next.
- Select a date and time for the software to be advertised.
- Select whether this advertisement should expire.
- Select whether the client can download content from an unprotected distribution point and run locally.
Figure 10. Advertisement Schedule page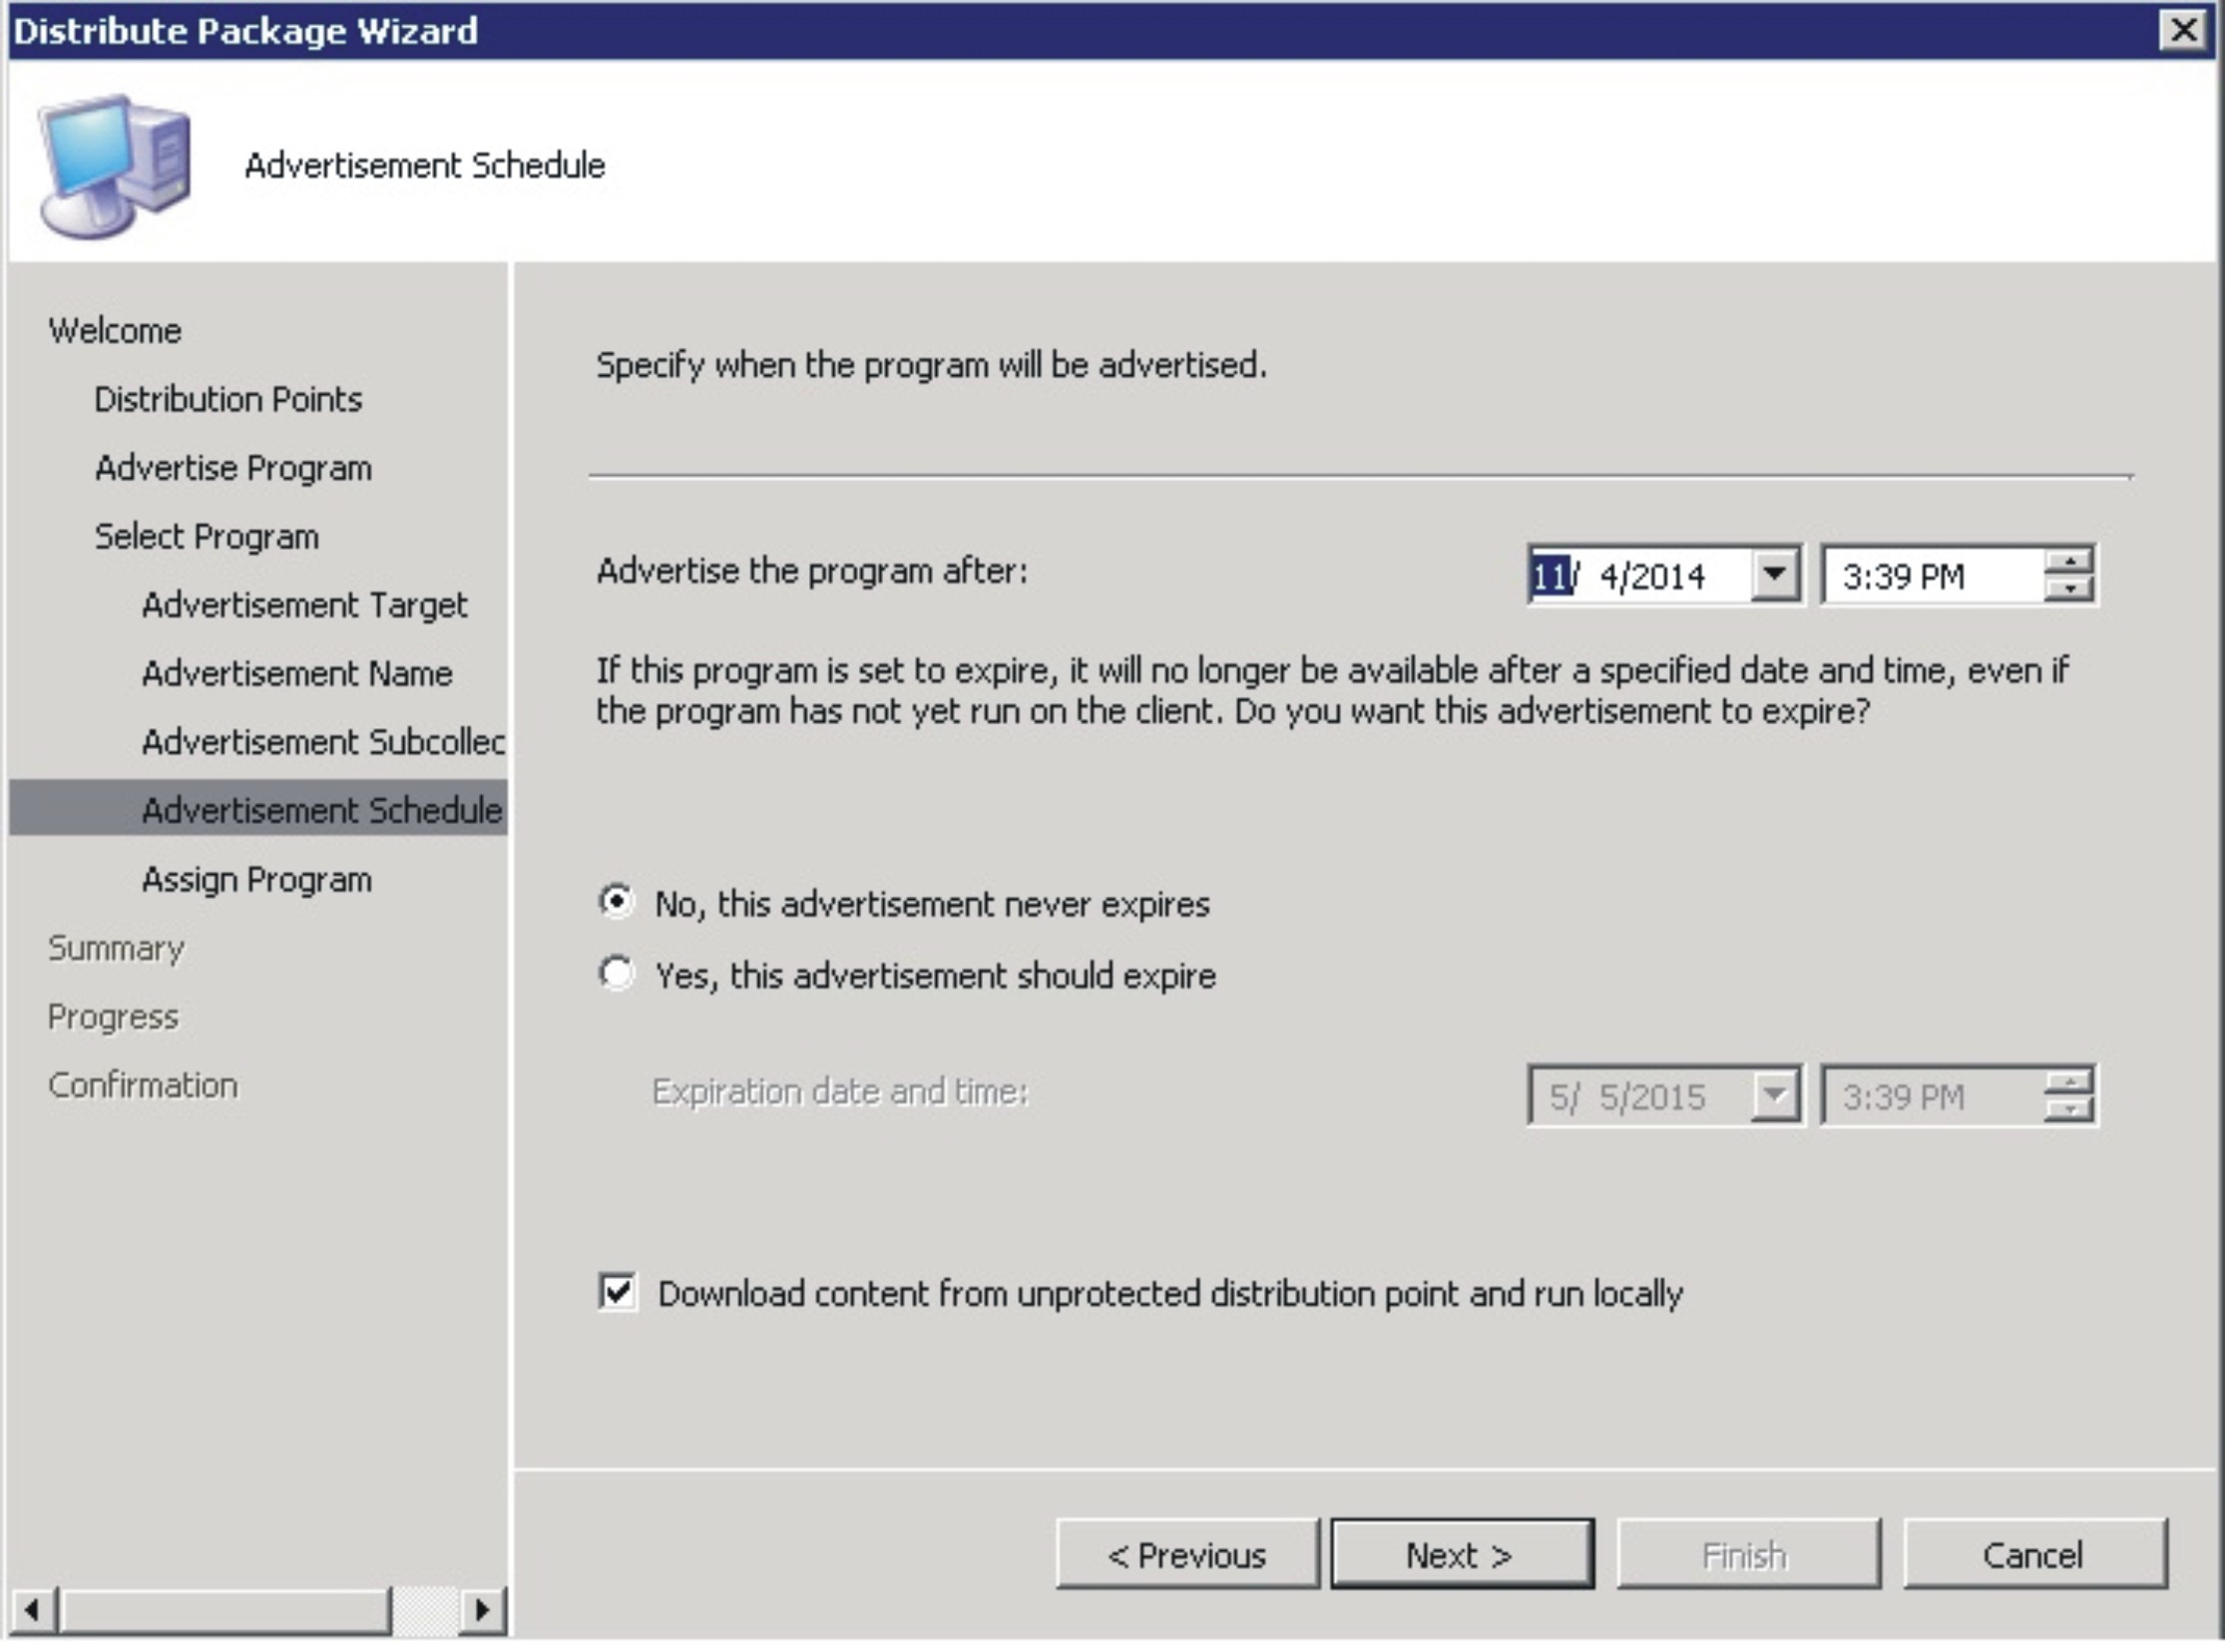
- On the Assign Program page, make the following selections and click Next.
- Select whether to assign the program.
- Enable wake on LAN if it is urgent.
- Select whether to ignore maintenance windows when running the program.
- Select whether to allow a system restart outside maintenance windows.
Figure 11. Assign Program page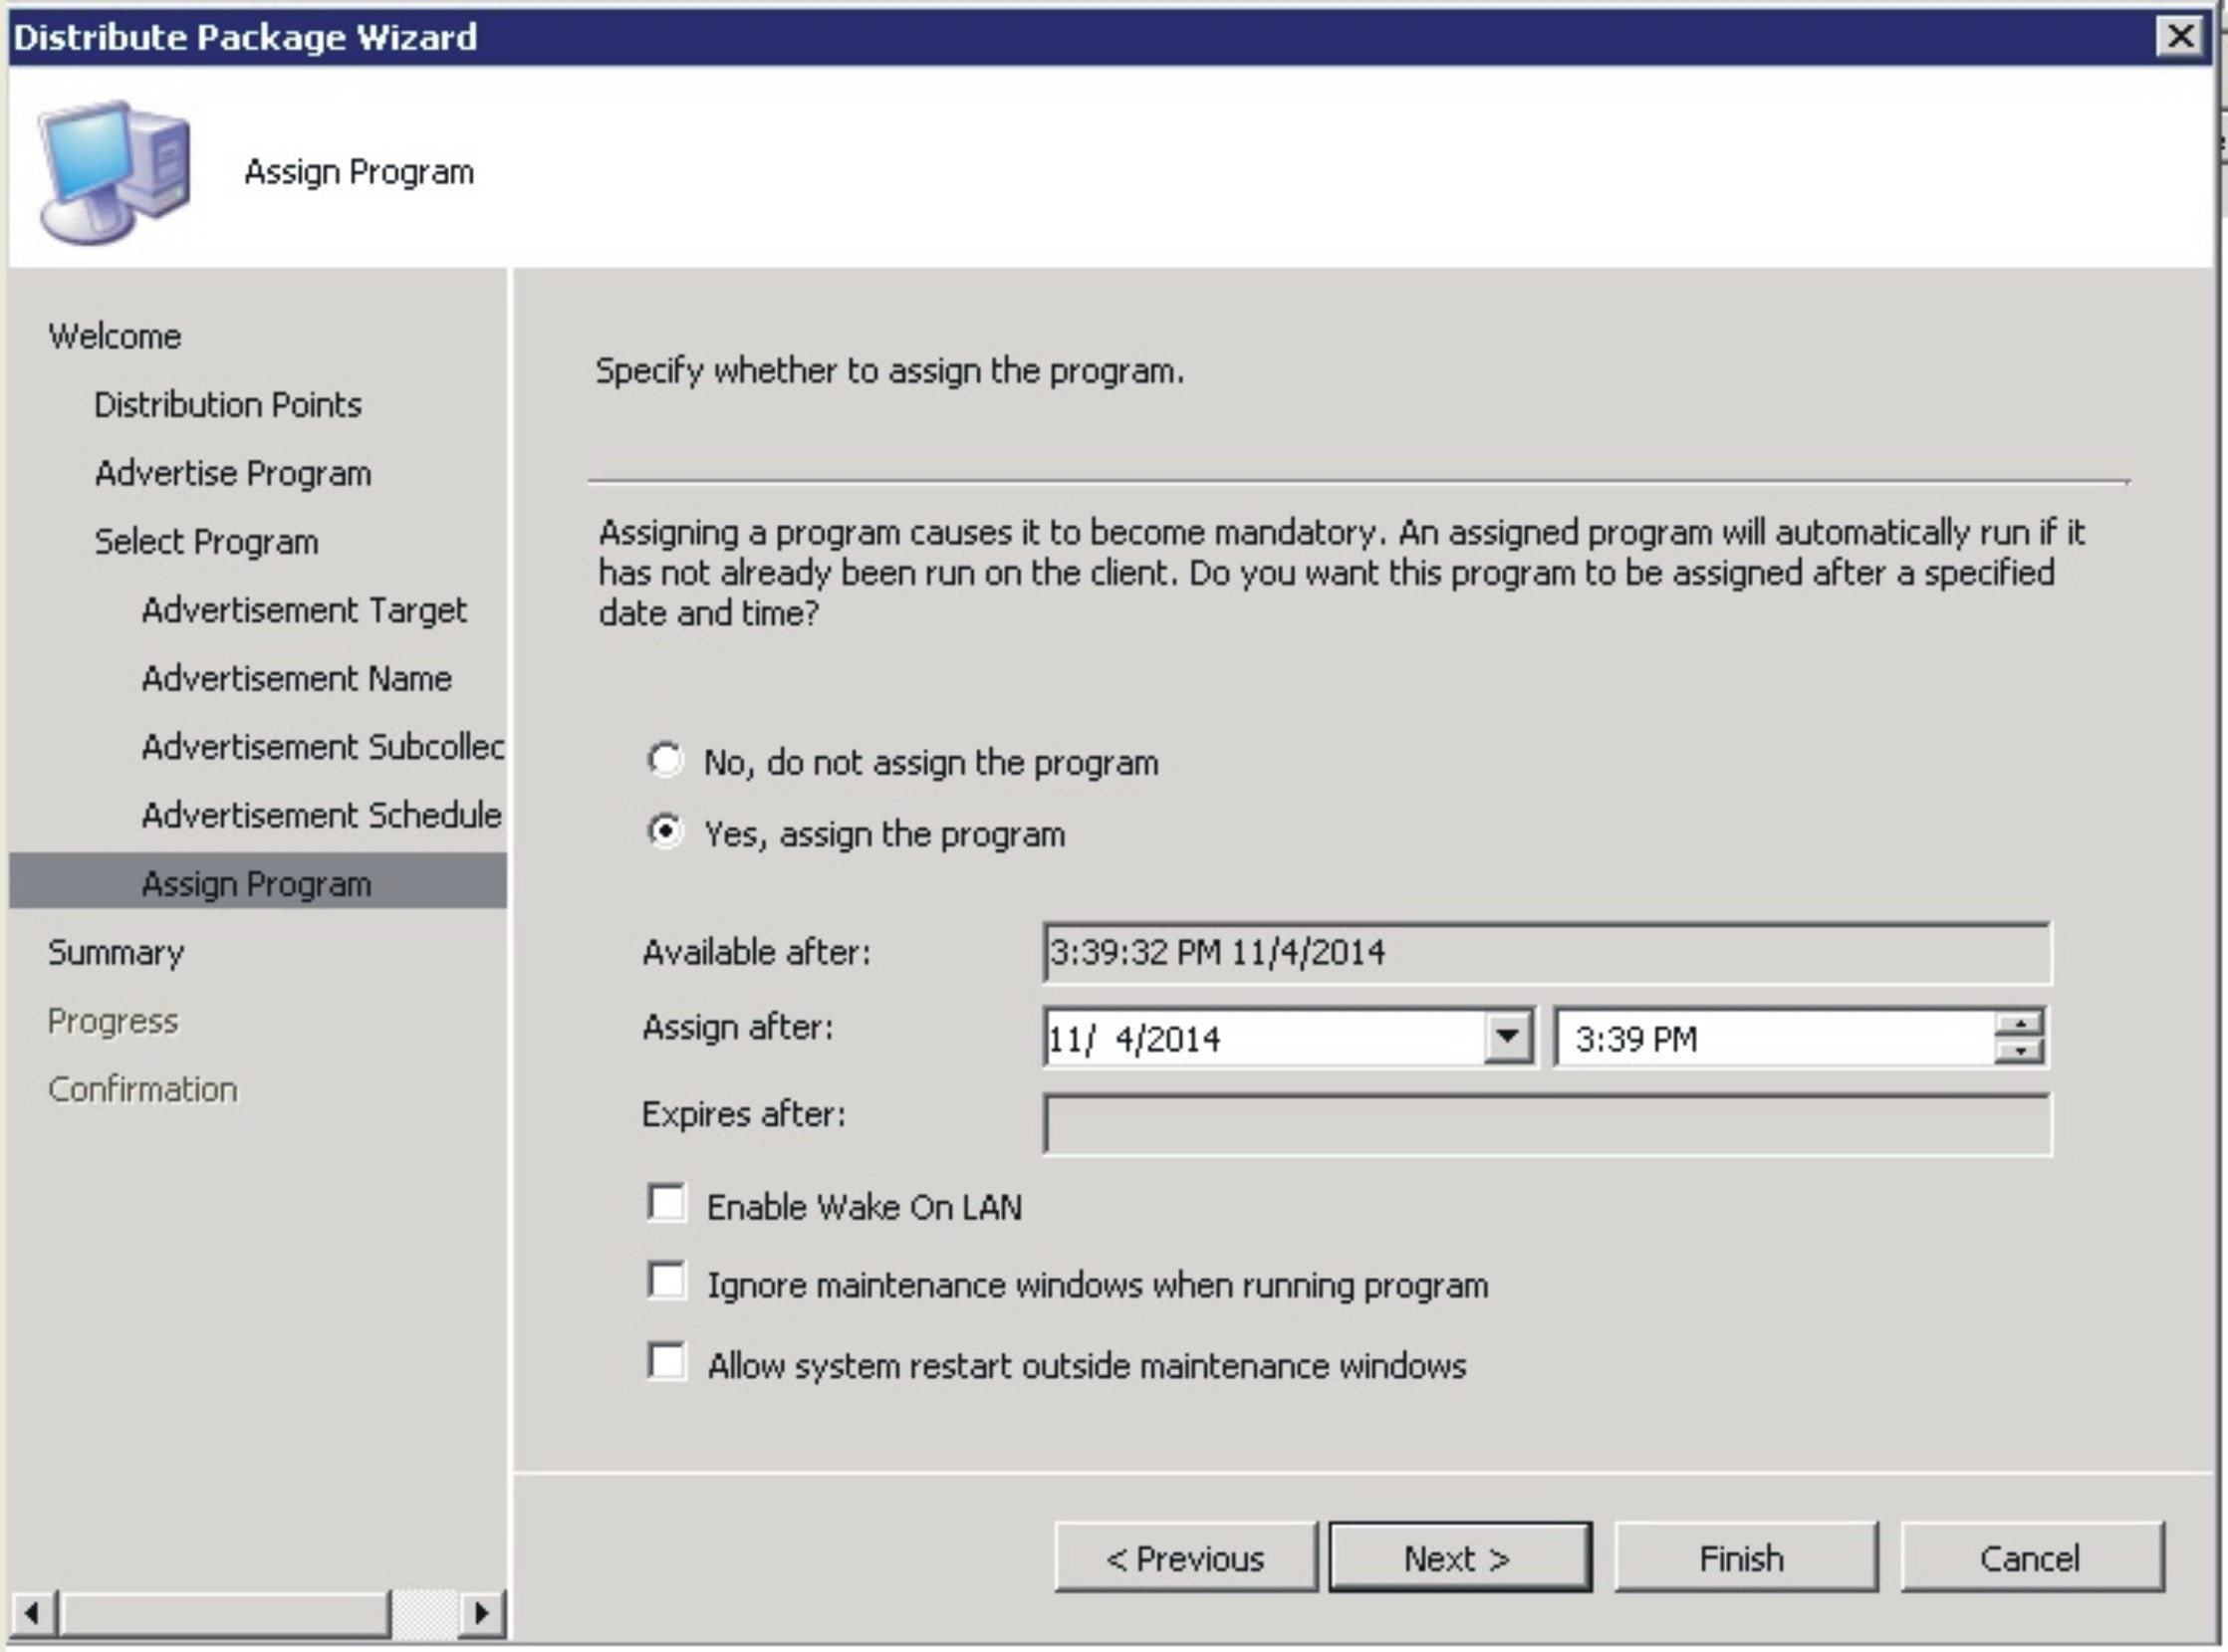
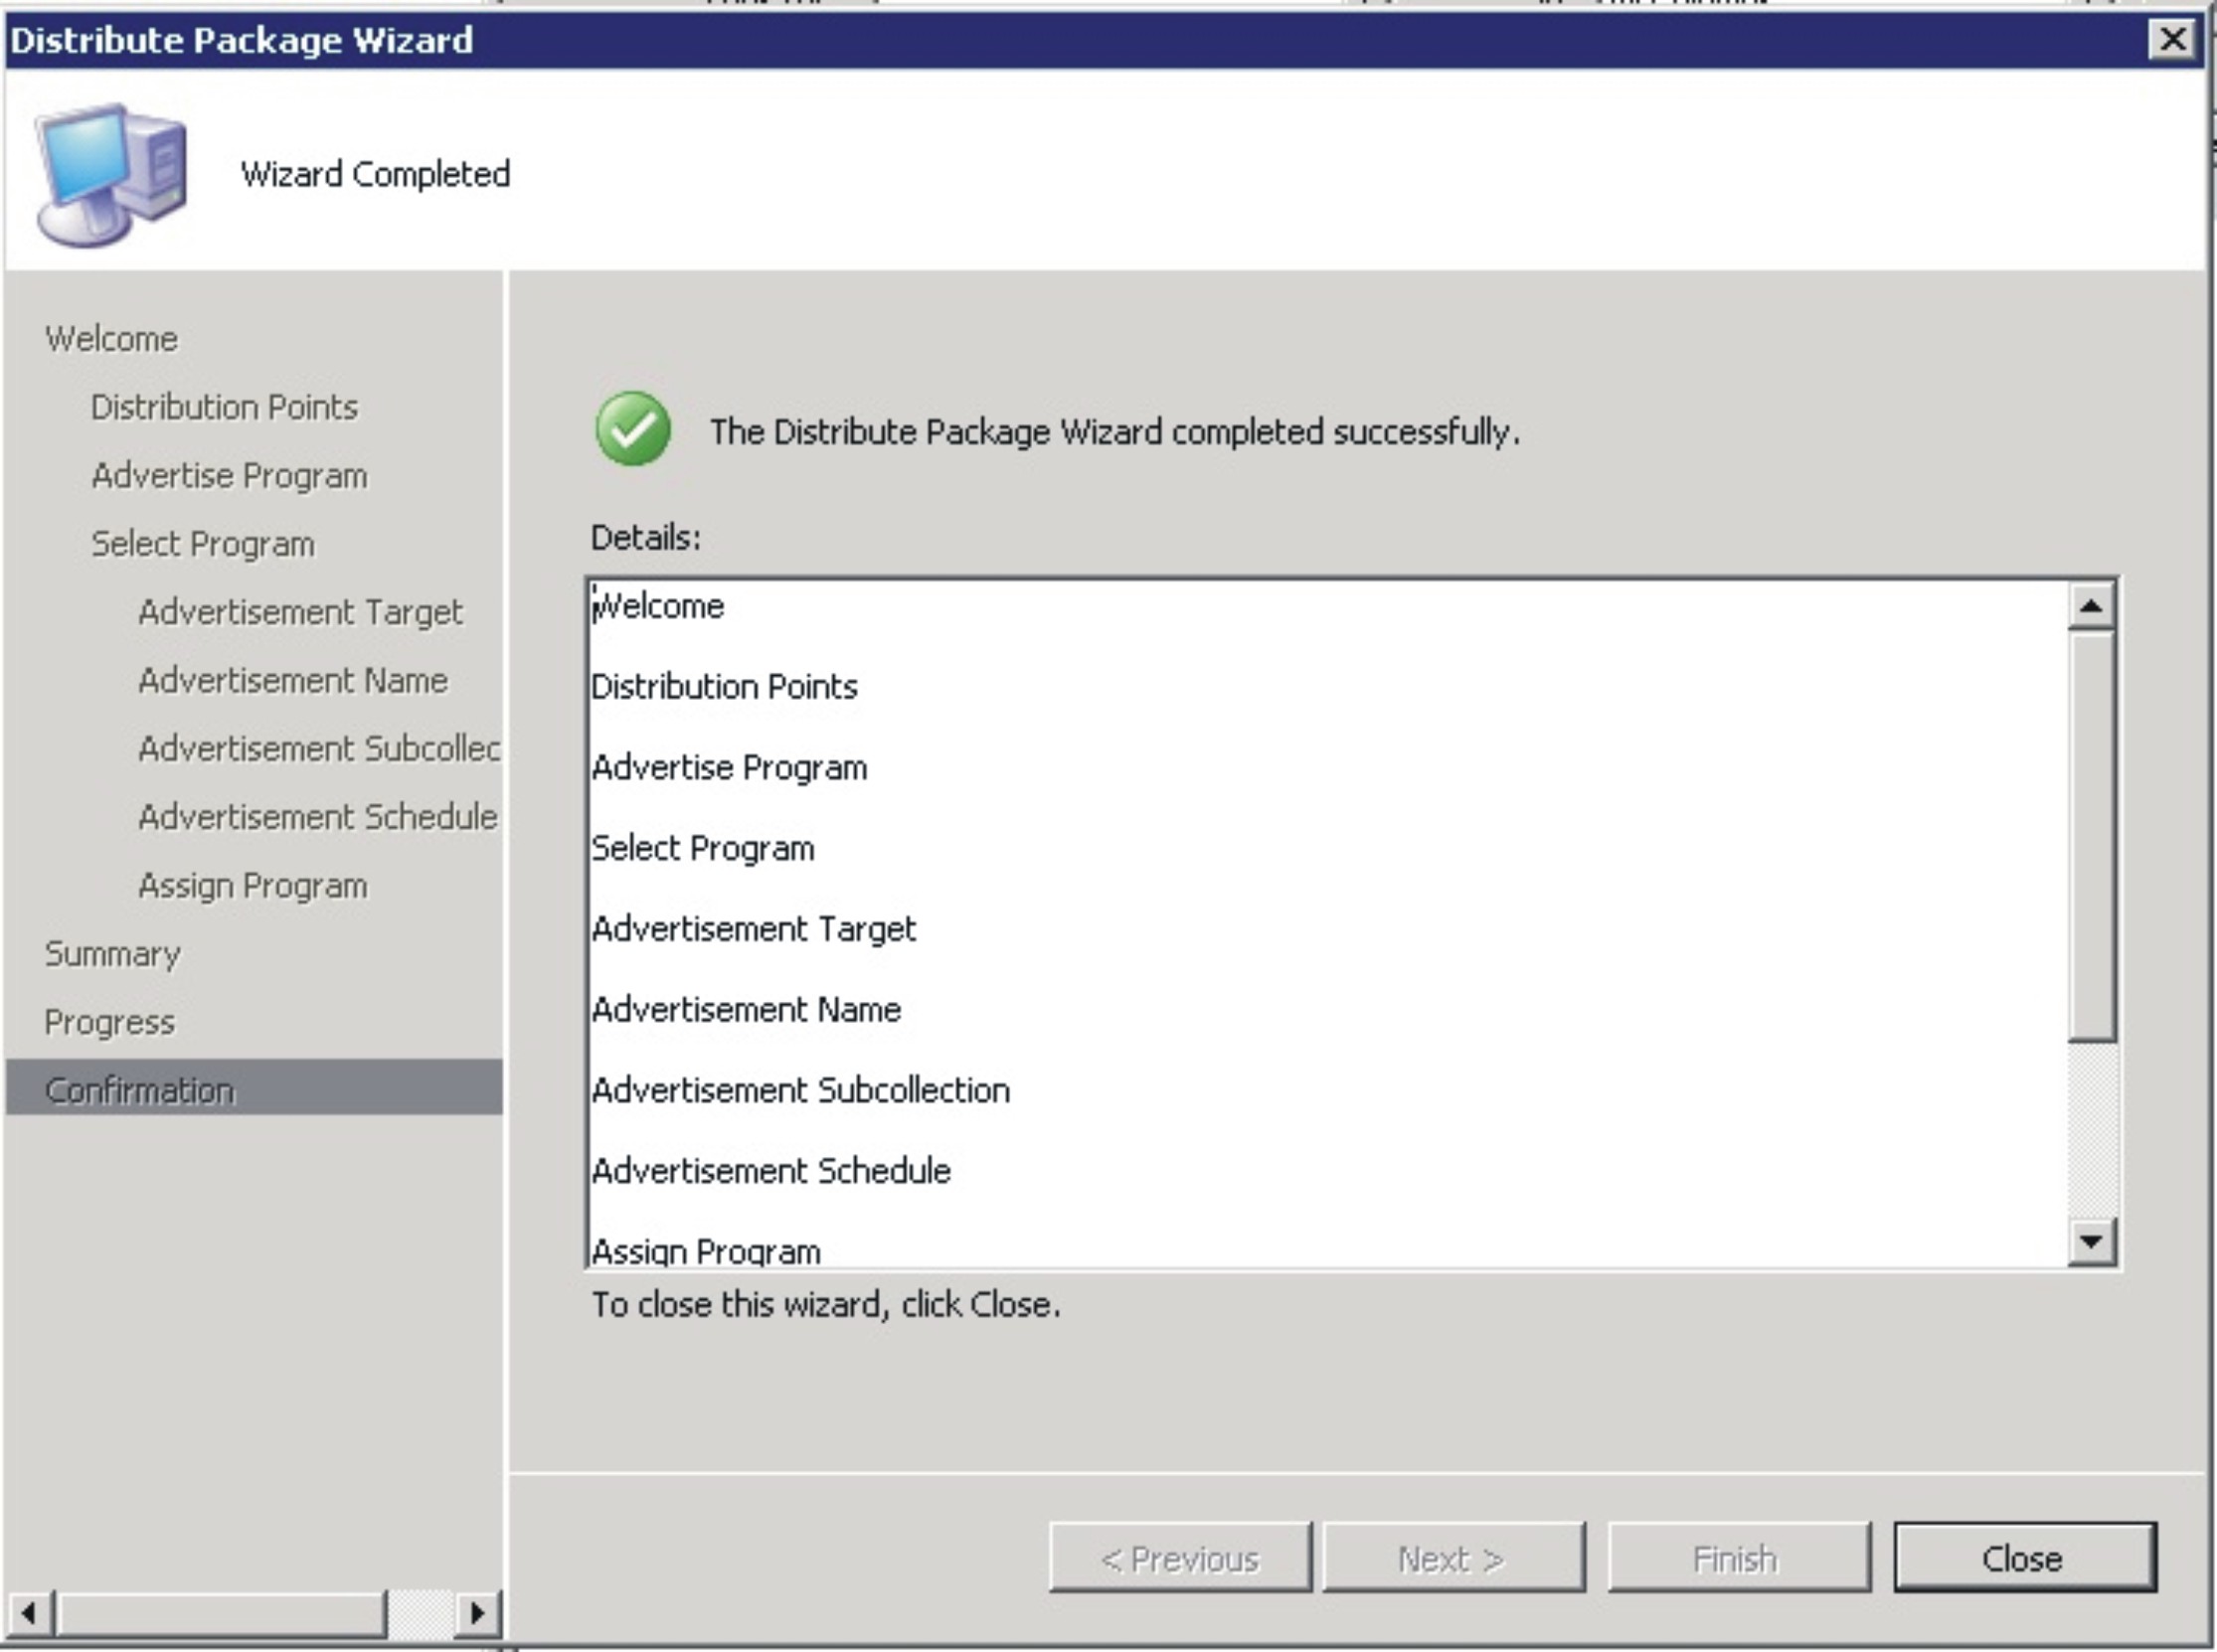
- On the Wizard Completed page, you can review the options that have been selected, then click Close to finish the distribution. Figure 12. Wizard Completed page
Give documentation feedback