Remove a simple-swap drive
Use this information to remove a simple-swap drive.
Before you remove a simple-swap drive, complete the following steps:
- Read the following section(s) to ensure that you work safely.
Turn off the server. Disconnect the power cords and all external cables (see Power off the server).
Attention
- For proper system cooling, do not operate the server for more than 2 minutes without either a drive or a filler panel installed in each bay.
- Before you make changes to drives and drive related components, back up all important data that is stored on drives.
- Before you remove any component of a RAID array, back up all RAID configuration information.
To remove a simple-swap drive, complete the following steps:
Figure 1. Simple-swap drive removal
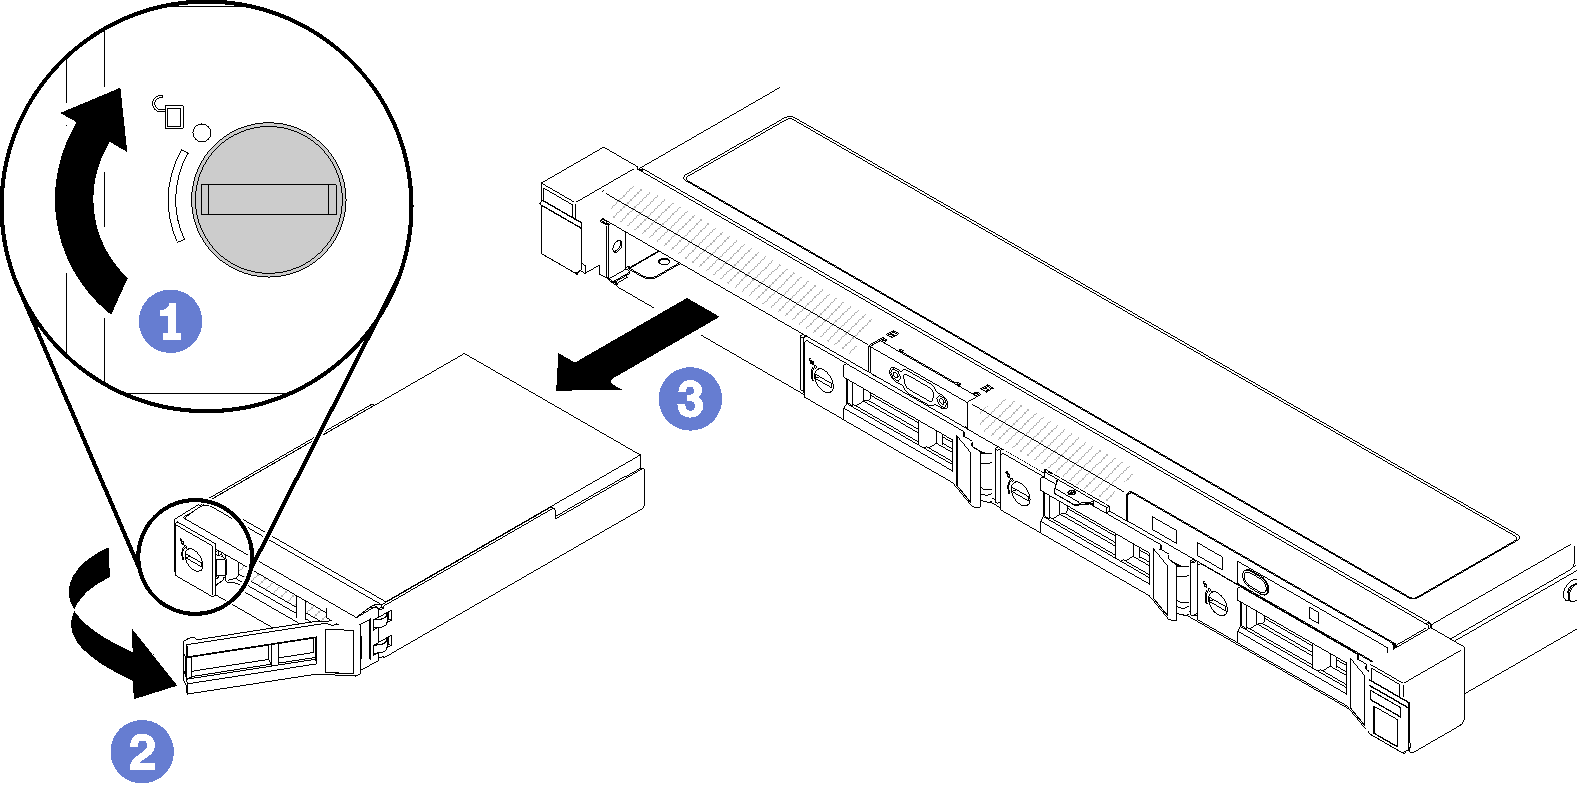
- Use a flat-blade screwdriver to rotate the drive lock clockwise.
- Make sure the drive handle is released after unlocking.
- Grab the handle to pull out the drive out of the drive bay.
If you are instructed to return the defective component, please package the part to prevent any shipping damage. Reuse the packaging the new part arrived in and follow all packaging instructions.
Demo video
Give documentation feedback