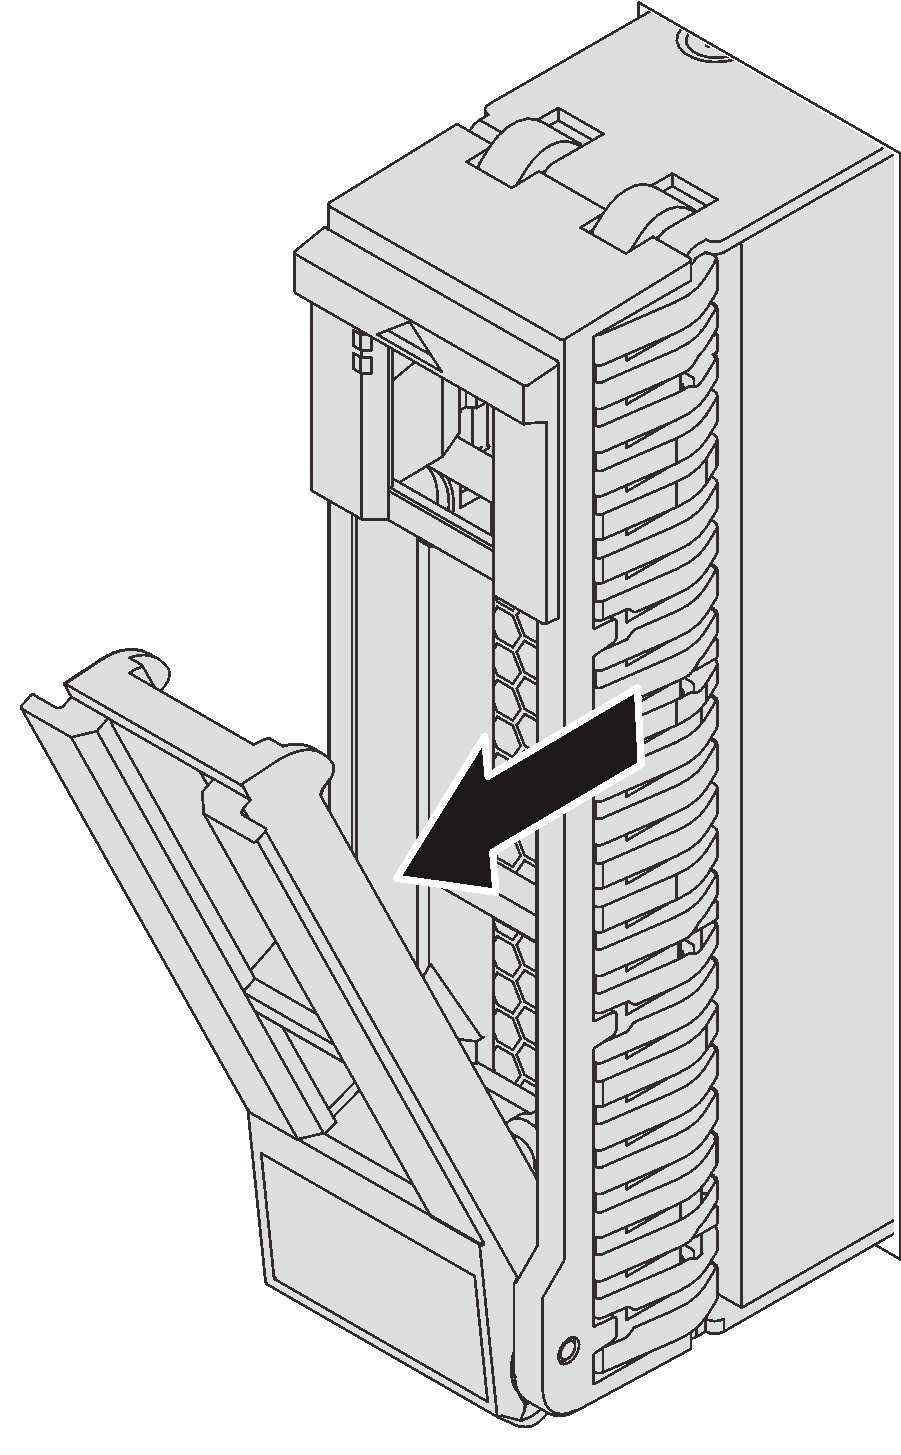
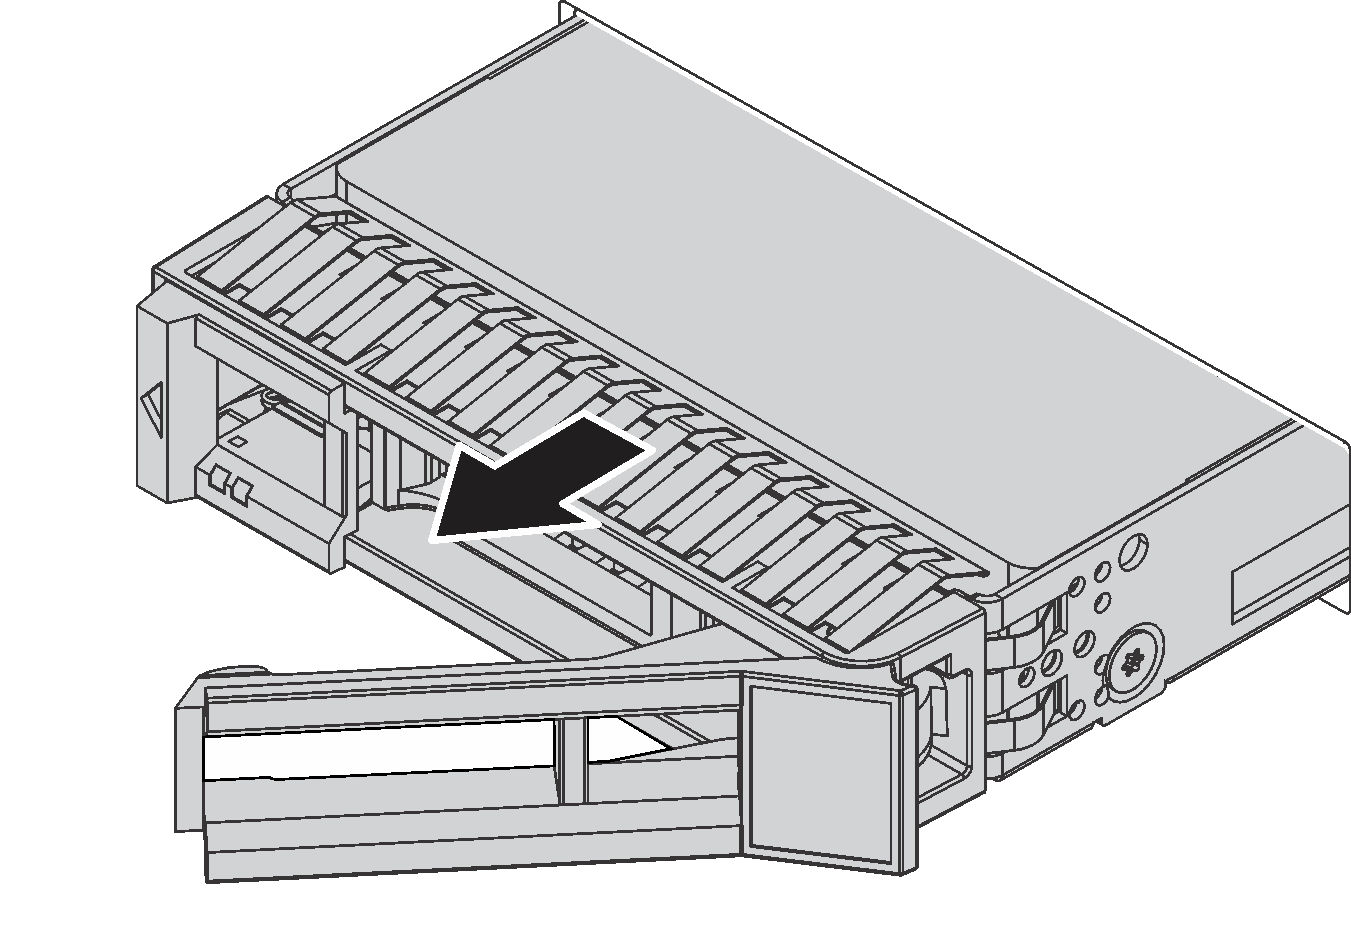
Remove a hot-swap drive
Use this information to remove a hot-swap drive.
Before removing a hot-swap drive:
Ensure that you have back up data on your drive.
Remove the security bezel. See Remove the security bezel.
Attention
To ensure that there is adequate system cooling, do not operate the server for more than two minutes without either a drive or a drive filler installed in each bay.
Before you remove any component of a RAID array, back up all RAID configuration information.
To remove a hot-swap drive, complete the following steps:
Watch the procedure
A video of this procedure is available at YouTube.
After removing a hot-swap drive:
Install the drive filler or a new hot-swap drive.
If you are instructed to return the old hot-swap drive, follow all packaging instructions and use any packaging materials that are provided.
Give documentation feedback


