Install the front I/O assembly
Use this information to install the front I/O assembly.


Note
The following procedure is based on the scenario that you are installing the front I/O assembly for server models with eight 3.5-inch drive bays. The installation procedure is similar for the front I/O assembly for server models with eight or sixteen 2.5-inch drive bays. For server models with twelve 3.5-inch drive bays or twenty-four 2.5-inch drive bays, the front I/O assembly is assembled with the right rack latch. See Install the rack latches for the installation procedures.
Before installing the front I/O assembly, touch the static-protective package that contains the new front I/O assembly to any unpainted surface on the outside of the server. Then, take the new front I/O assembly out of the package and place it on a static-protective surface.
To install the front I/O assembly, complete the following steps:
Watch the procedure
A video of this procedure is available at YouTube.
Figure 1. Front I/O assembly installation
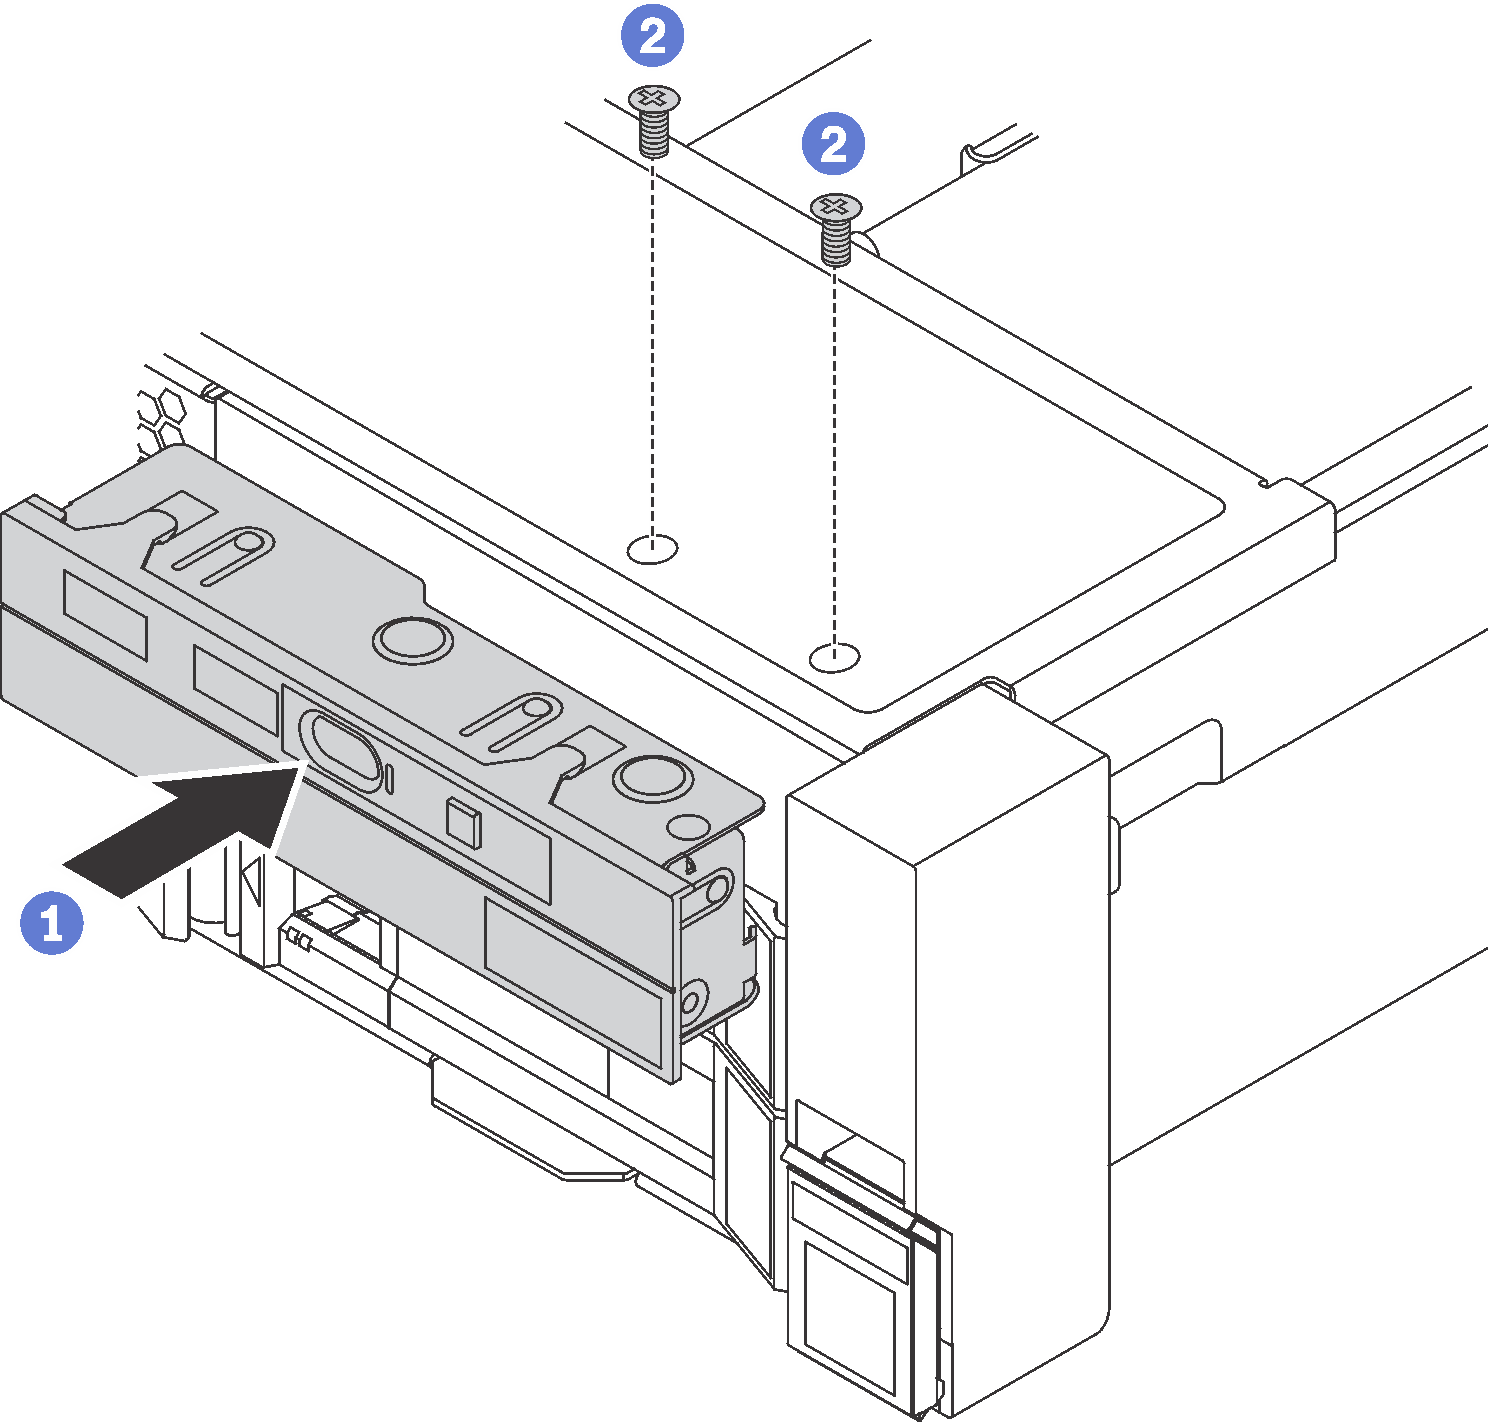
- Insert the front I/O assembly into the assembly bay.
- Install the screws to secure the front I/O assembly in place.
After installing the front I/O assembly:
Connect the cables of the front I/O assembly to the system board. See Front I/O assembly.
Complete the parts replacement. See Complete the parts replacement.
Give documentation feedback