Disassemble the system board assembly for recycle
Follow the instructions in this section to disassemble the system board assembly before recycling.
About this task
The system board assembly contains the system I/O board and processor board. Before recycling each unit, you need to disassemble the system board assembly.
Procedure
- Remove the screws from the processor board as illustrated.Figure 1. Removing screws from the processor board
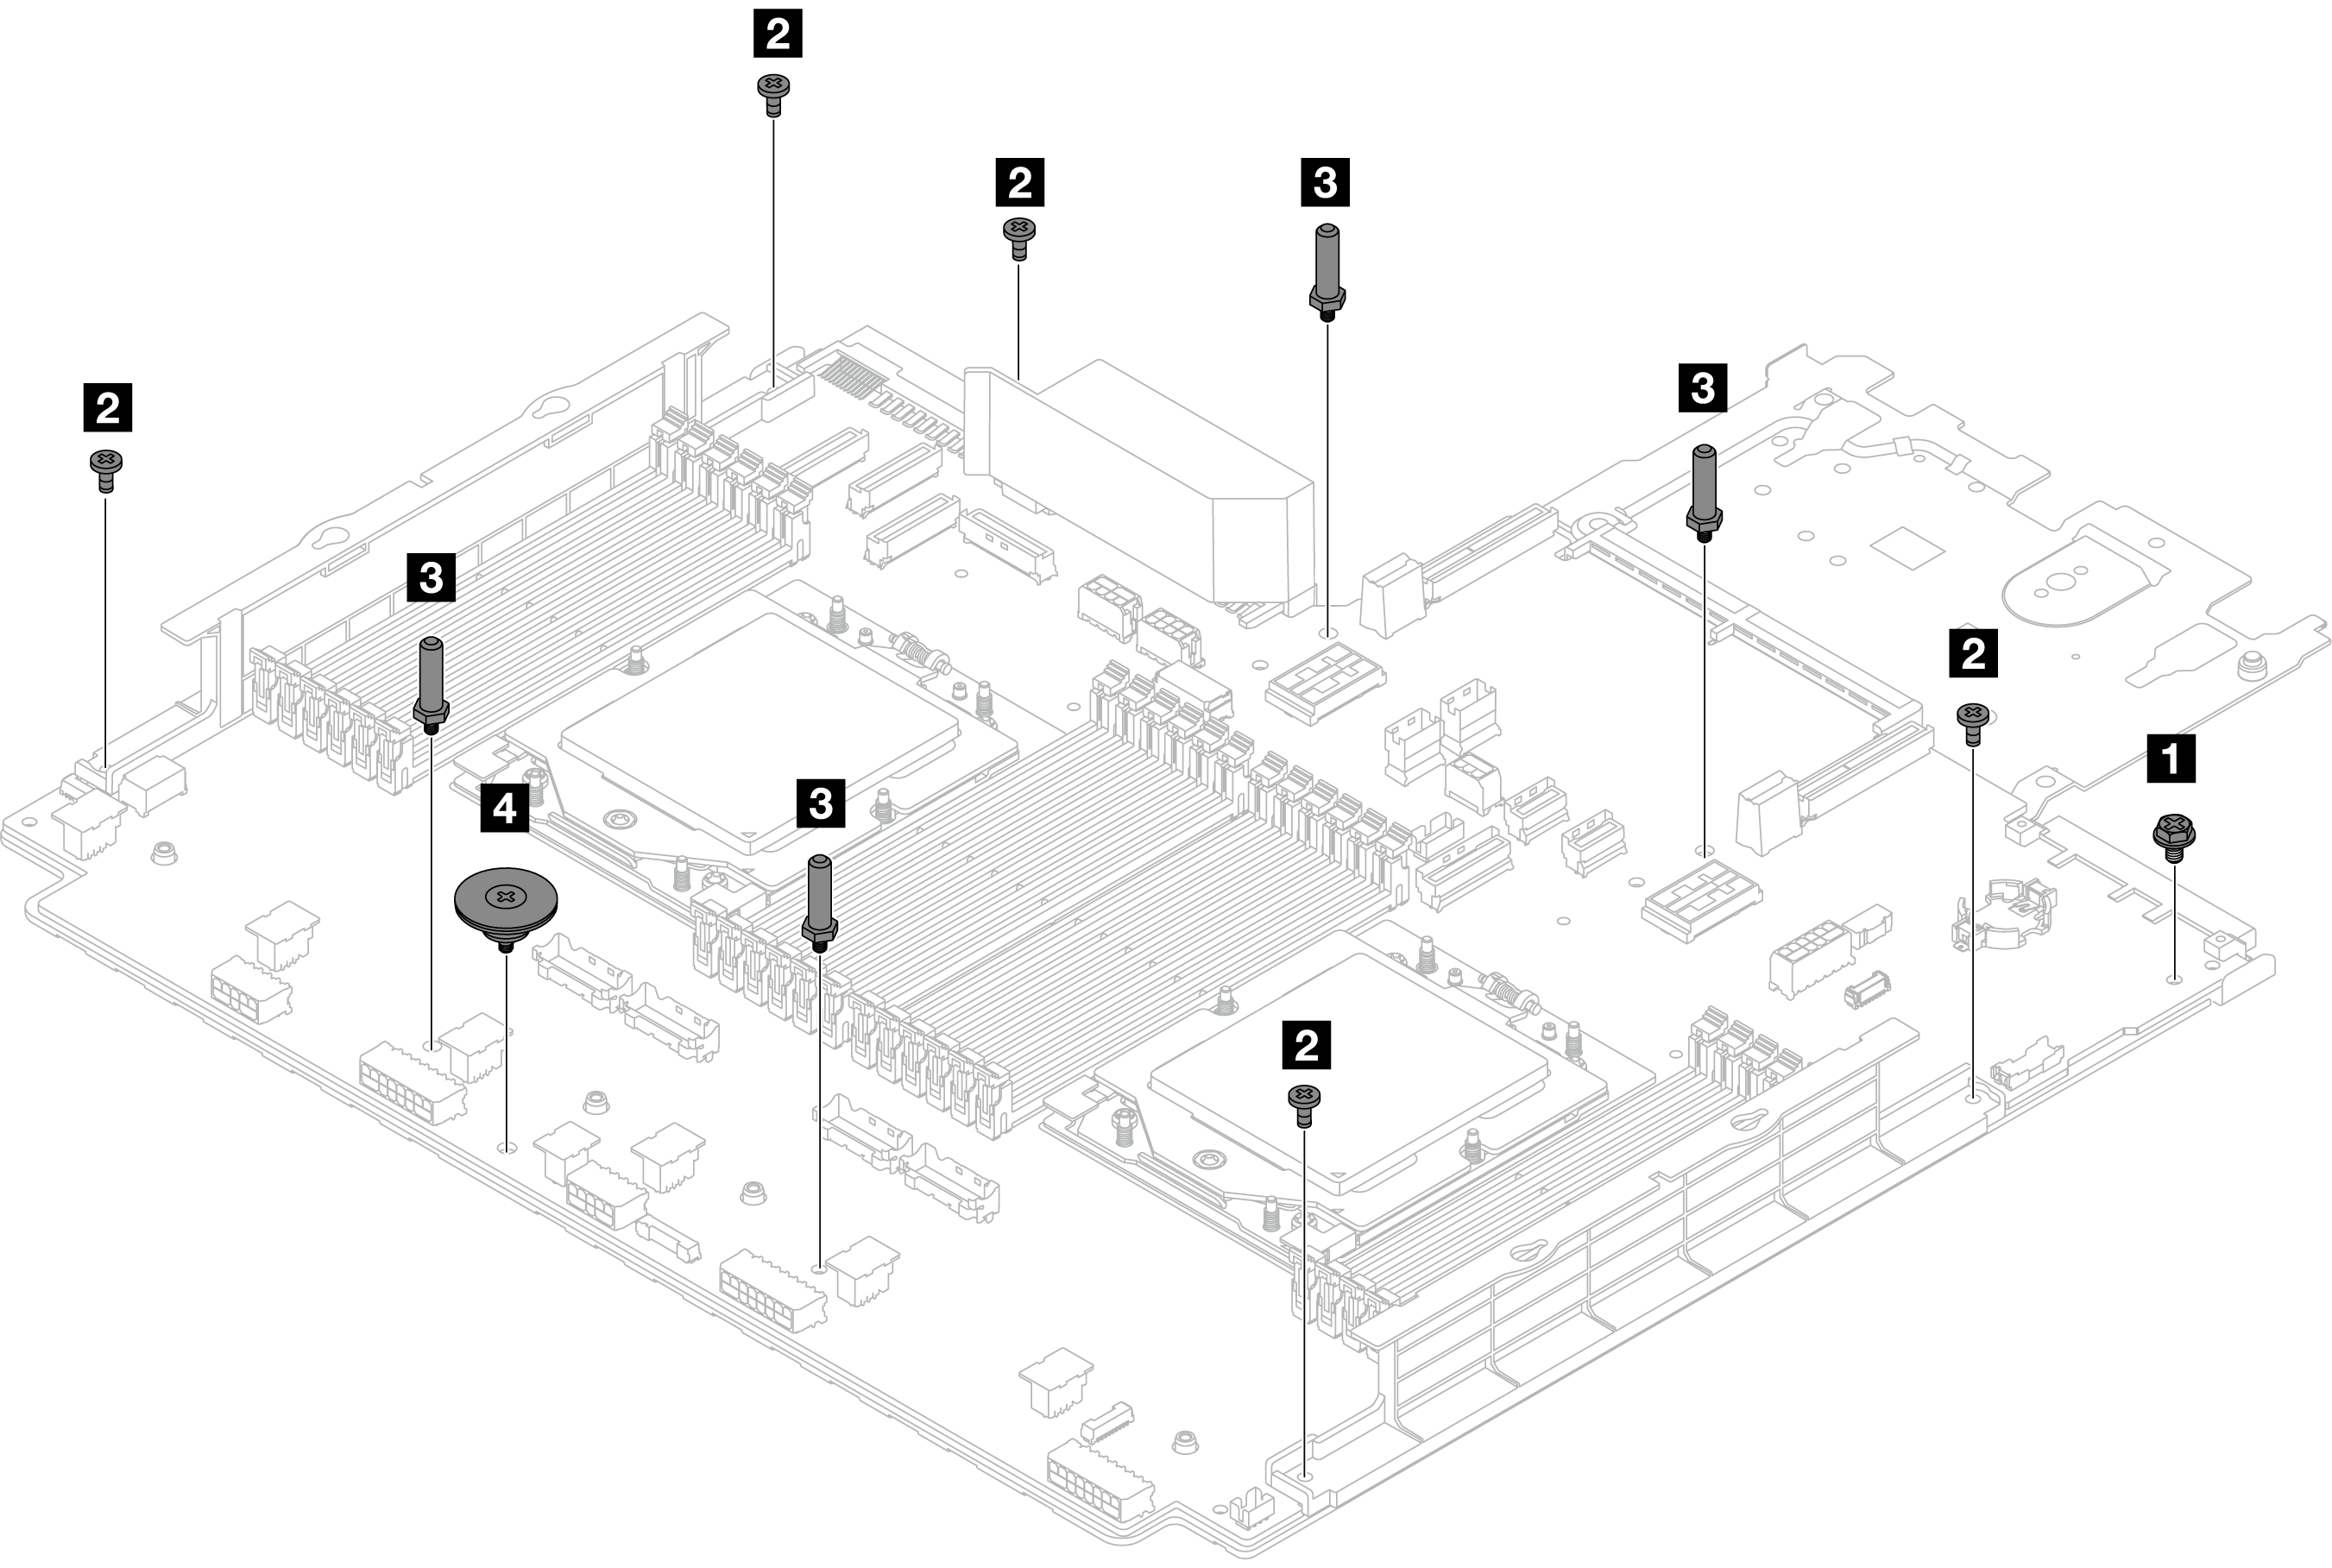
Screw Quantity Tools 1 
1 PH2 screwdriver 2 
5 PH2 screwdriver 3 
4 Hex wrench 4 
1 PH2 screwdriver - Remove the following components from the processor board.
1 Cable wall brackets
2 PSU air baffle
Figure 2. Removing components from the processor board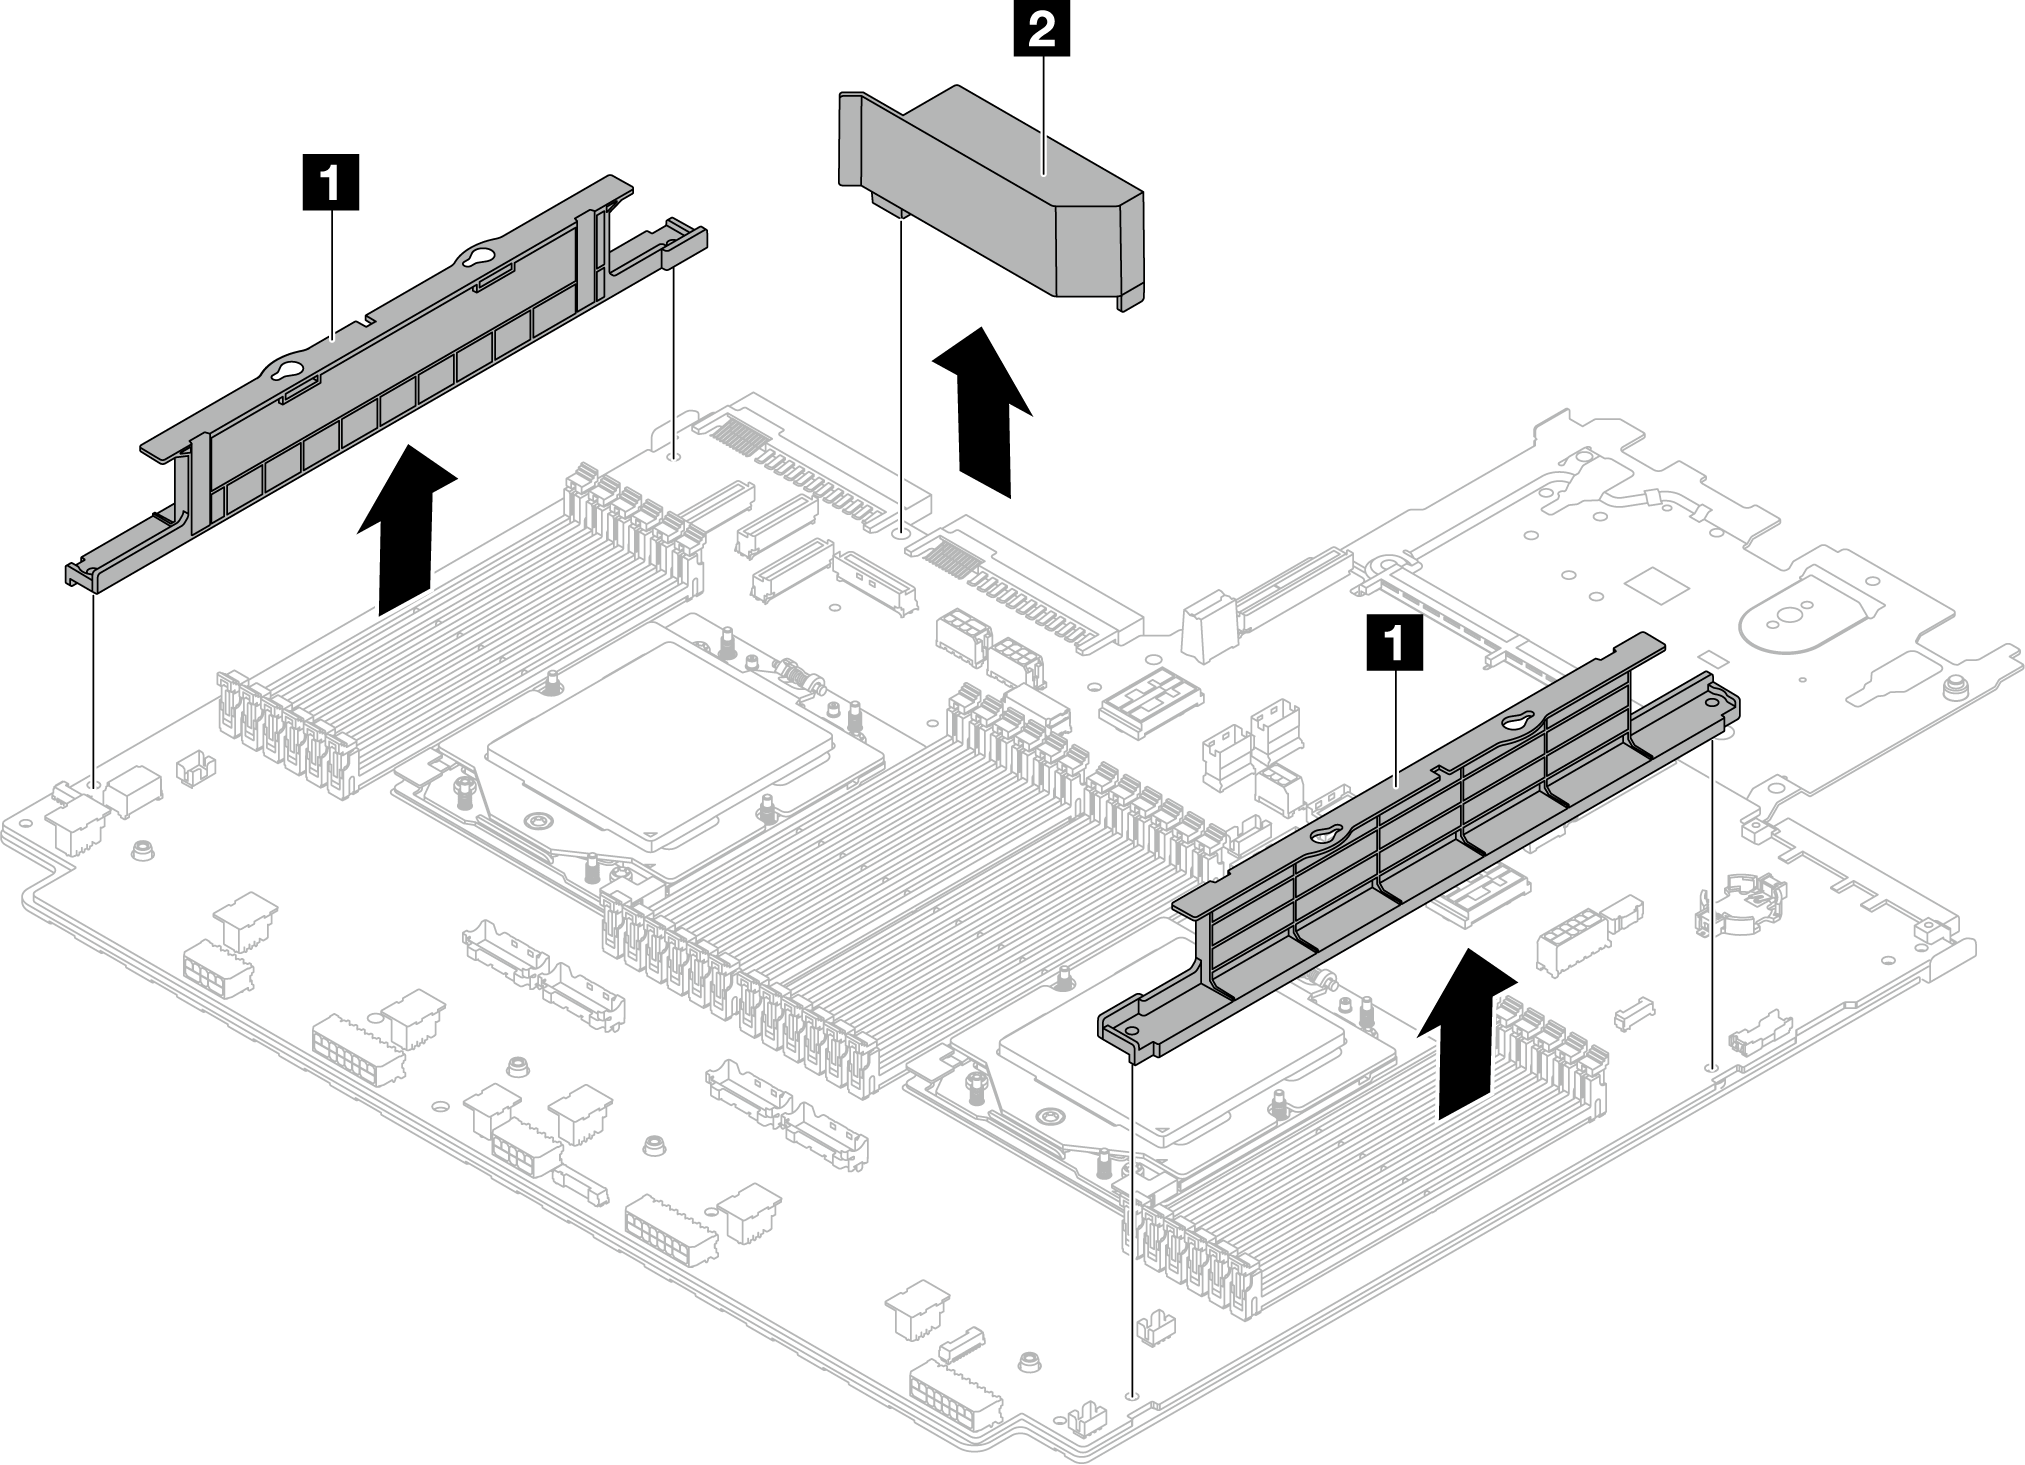
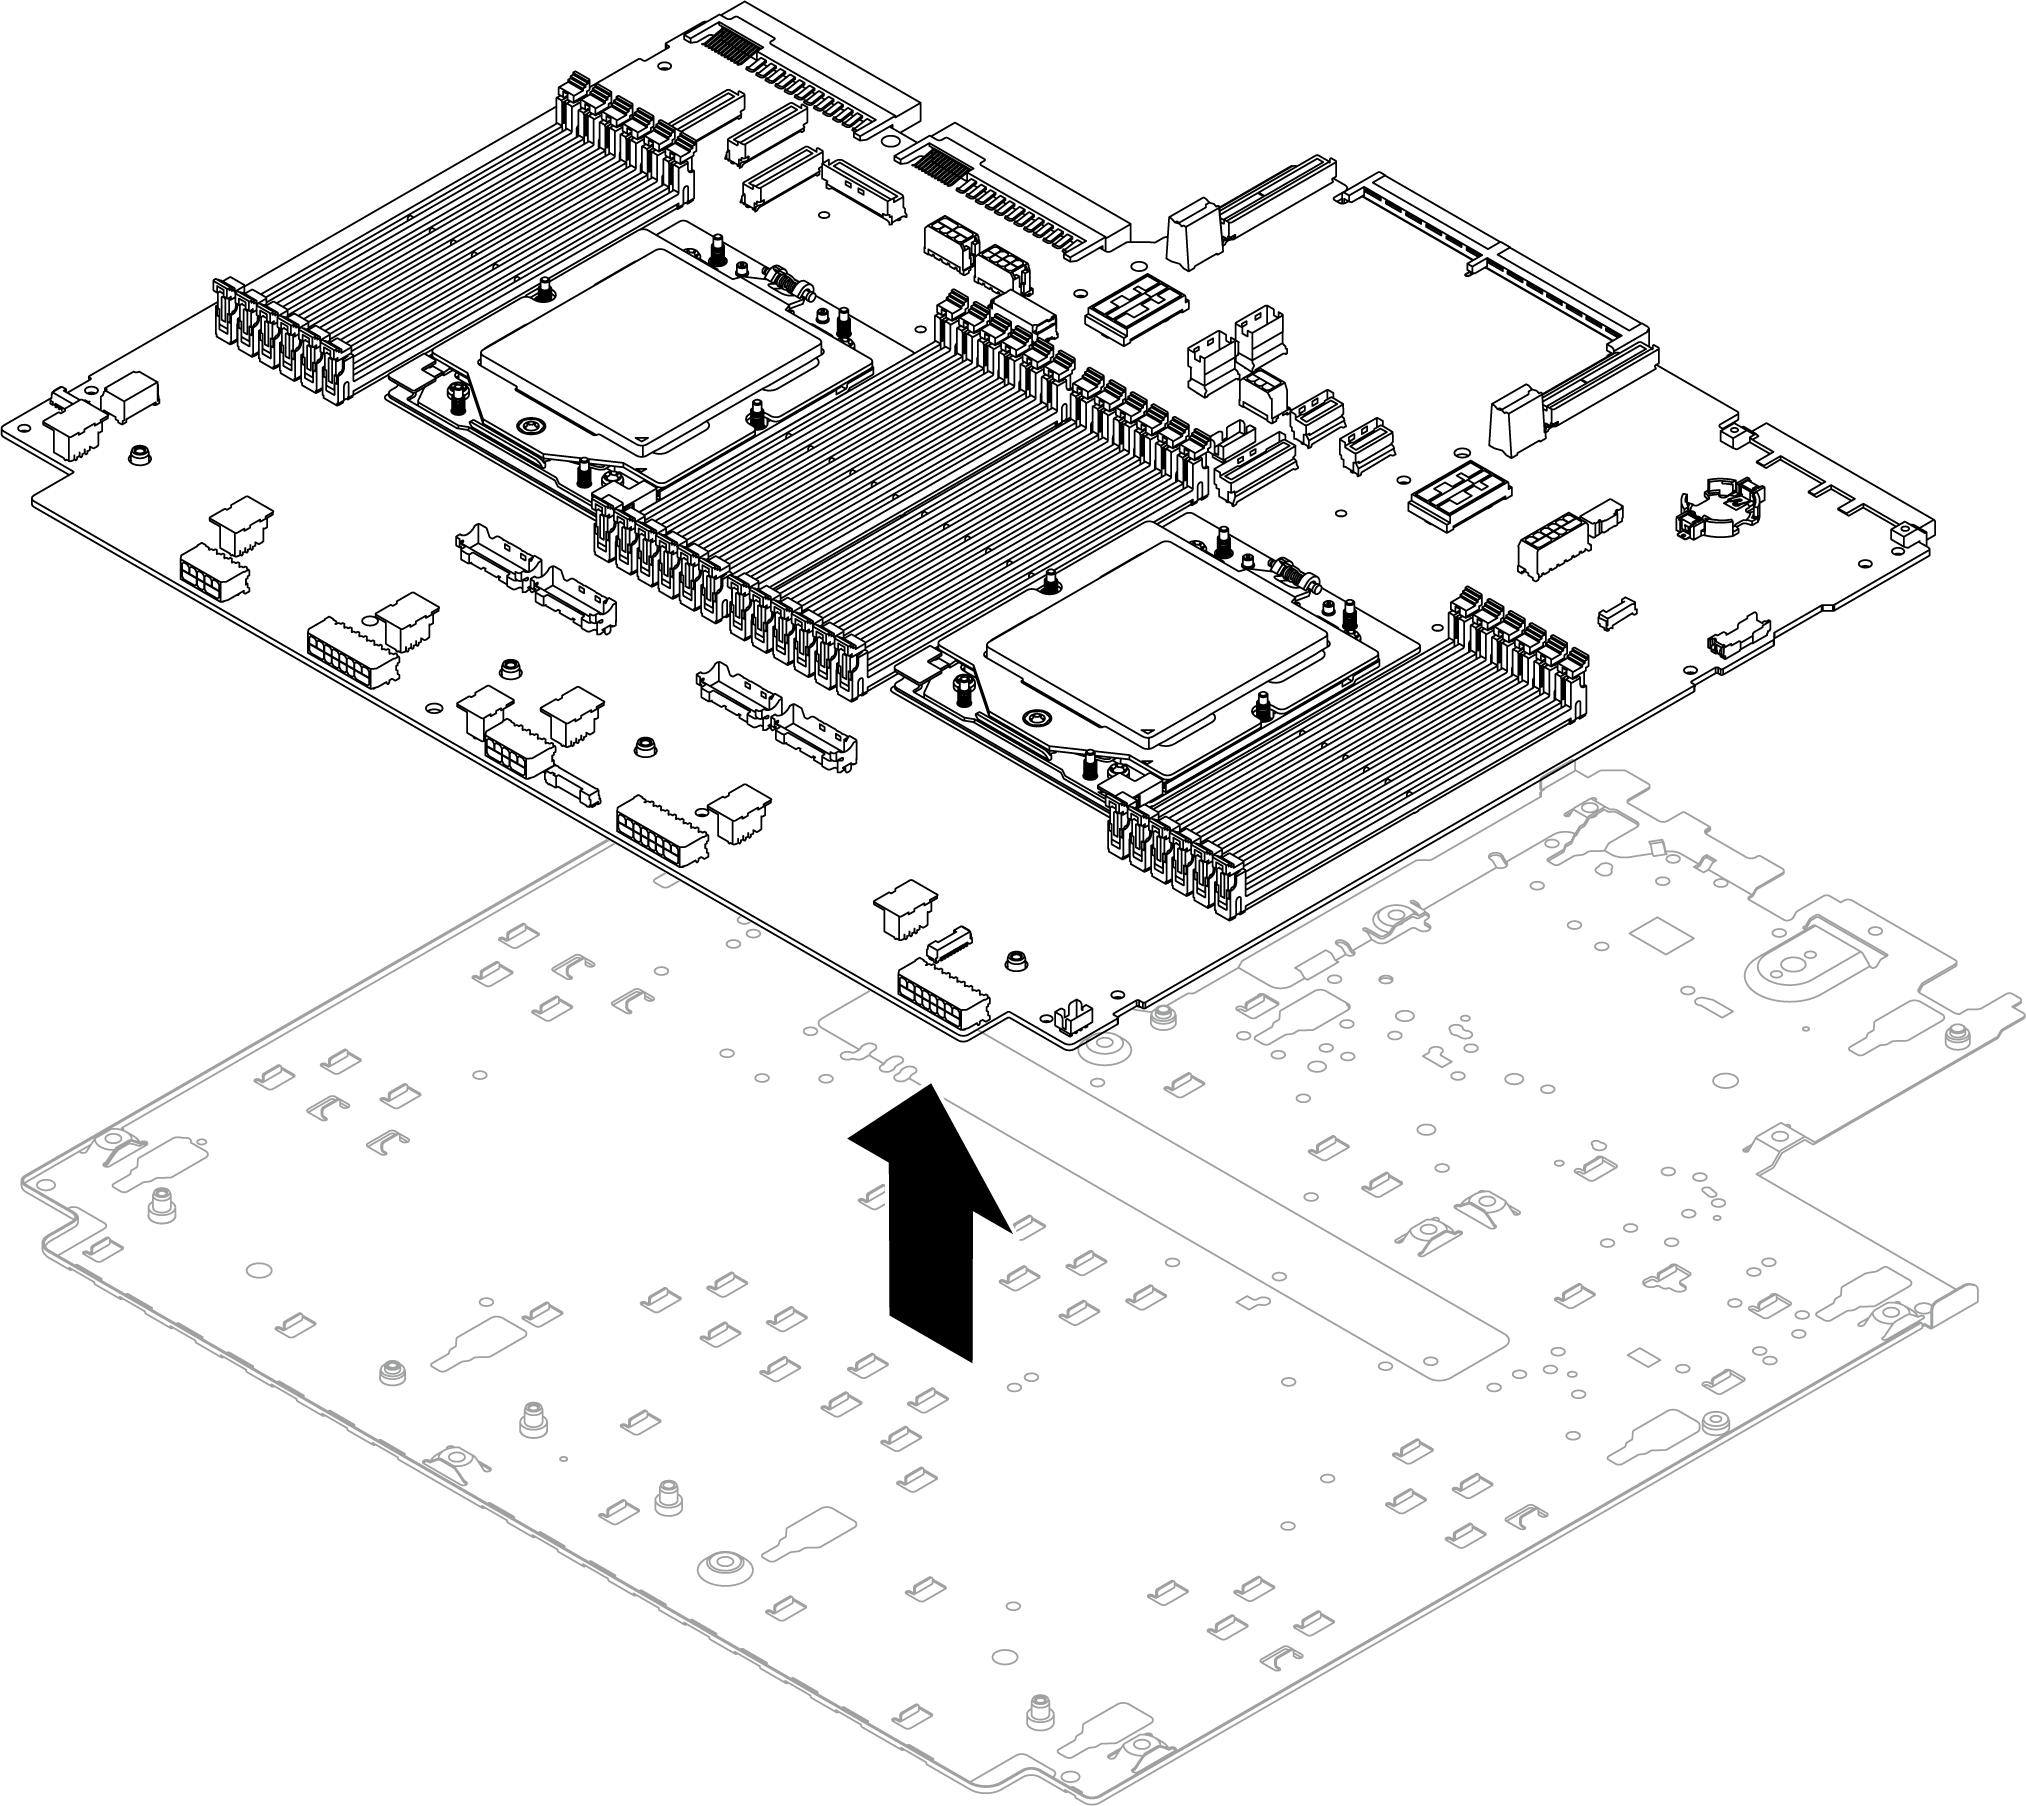
- Separate the processor board from the supporting sheet metal.Figure 3. Separating the processor board from the supporting sheet metal
After you finish
After disassembling the system board assembly, recycle the units in compliance with local regulations.
Give documentation feedback