Remove controller canister
You remove the controller canister so you can upgrade the new host interface card (HIC). When you remove a controller canister, you must disconnect all cables. Then, you can slide the controller canister out of the controller shelf.
Before you begin
- You have labels to identify each cable that is connected to the controller canister.
- You have an ESD wristband, or you have taken other antistatic precautions.
- Confirm that the Cache Active LED on the back of the controller is off. The green Cache Active LED on the back of the controller is on when cached data needs to be written to the drives. You must wait for this LED to turn off before removing the controller canister.
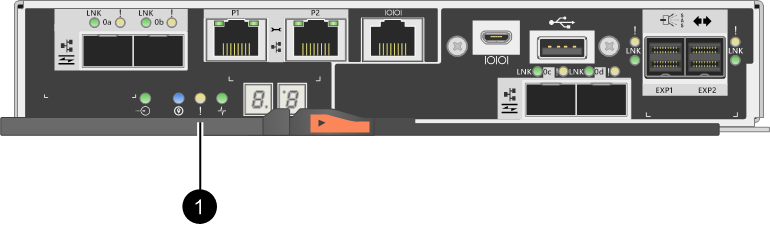

Cache Active LED - Squeeze the latch on the cam handle until it releases, and then open the cam handle to the right to release the controller canister from the shelf.The following figures are examples of a 2U and 4U controller shelf:Figure 1. 2U controller shelf
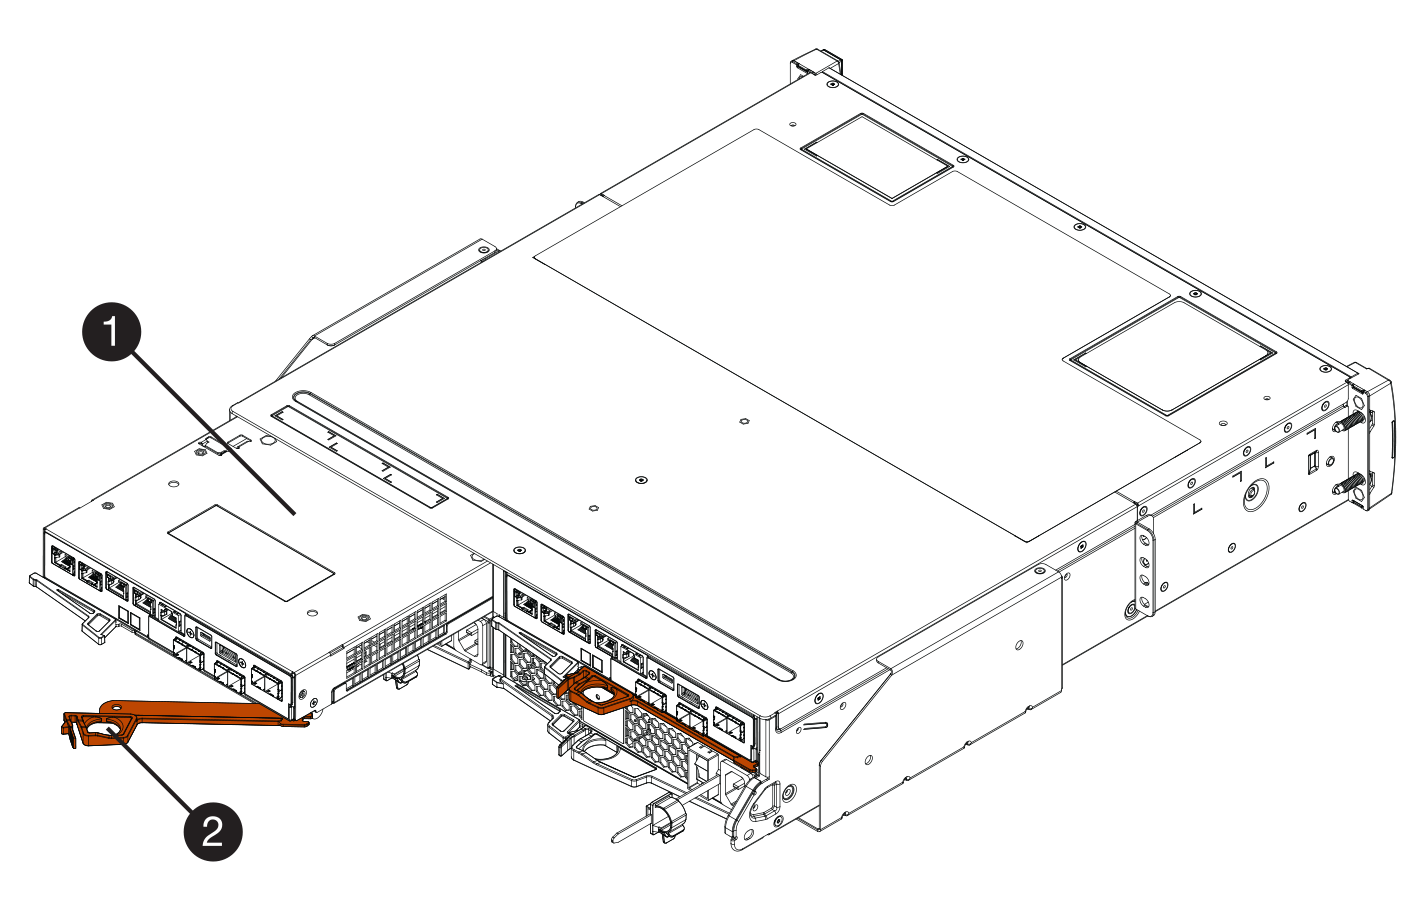 Figure 2. 4U controller shelf
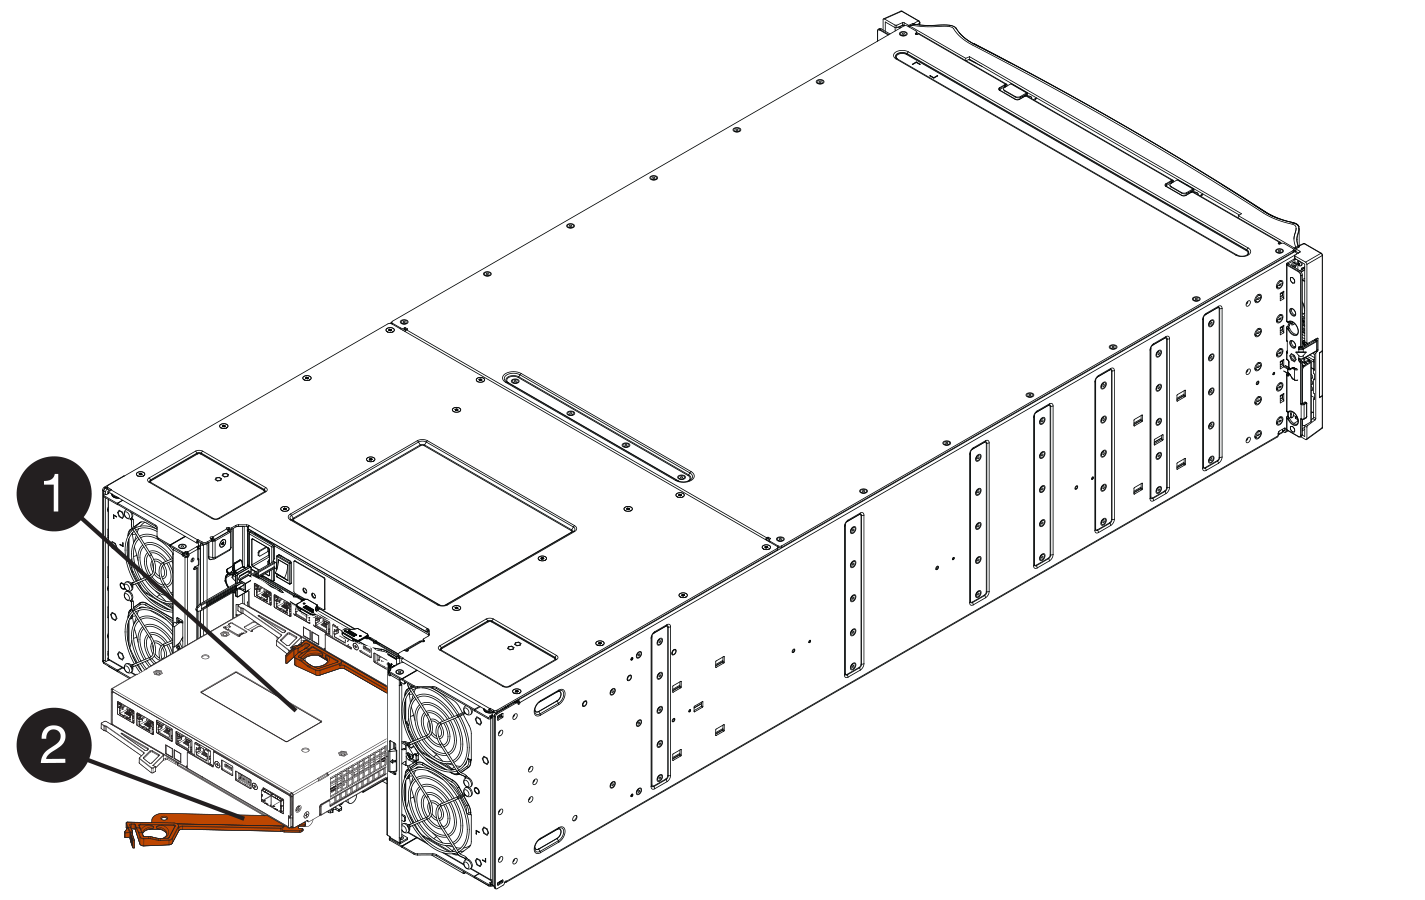 Controller canister
 Cam handle
Go to Remove a host interface card.
Give documentation feedback