Setting up the IMM2 network connection through the System x Server Firmware Setup utility

Use the information in this topic to set up an IMM2 network connection through the System x Server Firmware Setup utility.

After you start the server, you can use the Setup utility to select an IMM2 network connection. The server with the IMM2 hardware must be connected to a DHCP server, or the server network must be configured to use the IMM2 static IP address. To set up the IMM2 network connection through the Setup utility, complete the following steps:

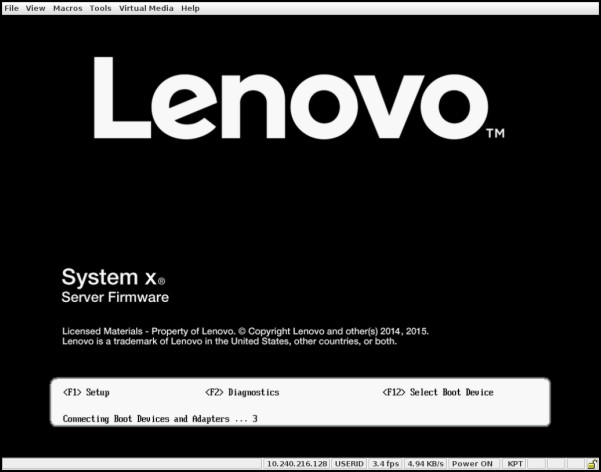
  1. Turn on the server. The System x Server Firmware welcome screen is displayed.
    Note
    Approximately 90 seconds after the server is connected to ac power, the power-control button becomes active.

    The System x Server Firmware welcome screen
  2. When the prompt <F1> Setup is displayed, press F1. If you have set both a power-on password and an administrator password, you must type the administrator password to access the full Setup utility menu.
  3. From the Setup utility main menu, select System Settings.
  4. On the next screen, select Integrated Management Module.
  5. On the next screen, select Network Configuration.
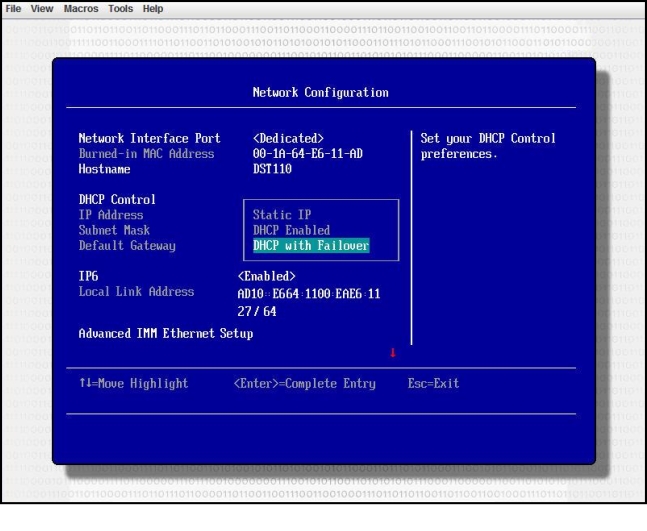
  6. Highlight DHCP Control. There are three IMM2 network connection choices in the DHCP Control field:
    • Static IP
    • DHCP Enabled
    • DHCP with Failover (default)

    Network connection choices
  7. Select one of the network connection choices.
  8. If you choose to use a static IP address, you must specify the IP address, the subnet mask, and the default gateway.
  9. You can also use the Setup utility to select a dedicated network connection (if your server has a dedicated network port) or a shared IMM2 network connection.
    Note
    • A dedicated systems-management network port might not be available on your server. If your hardware does not have a dedicated network port, the shared setting is the only IMM2 setting available. On the Network Configuration screen, select Dedicated (if applicable) or Shared in the Network Interface Port field.
    • To find the locations of the Ethernet connectors on your server that are used by the IMM2, see the documentation that came with your server.
  10. Scroll down and select Save Network Settings.
  11. Exit from the Setup utility.
Note
  • You must wait approximately 1 minute for changes to take effect before the server firmware is functional again.
  • You can also configure the IMM2 network connection through the IMM2 web interface or command-line interface (CLI). In the IMM2 web interface, network connections are configured on the Network Protocol Properties page (select Network from the IMM Management menu). In the IMM2 CLI, network connections are configured using several commands that depend on the configuration of your installation.