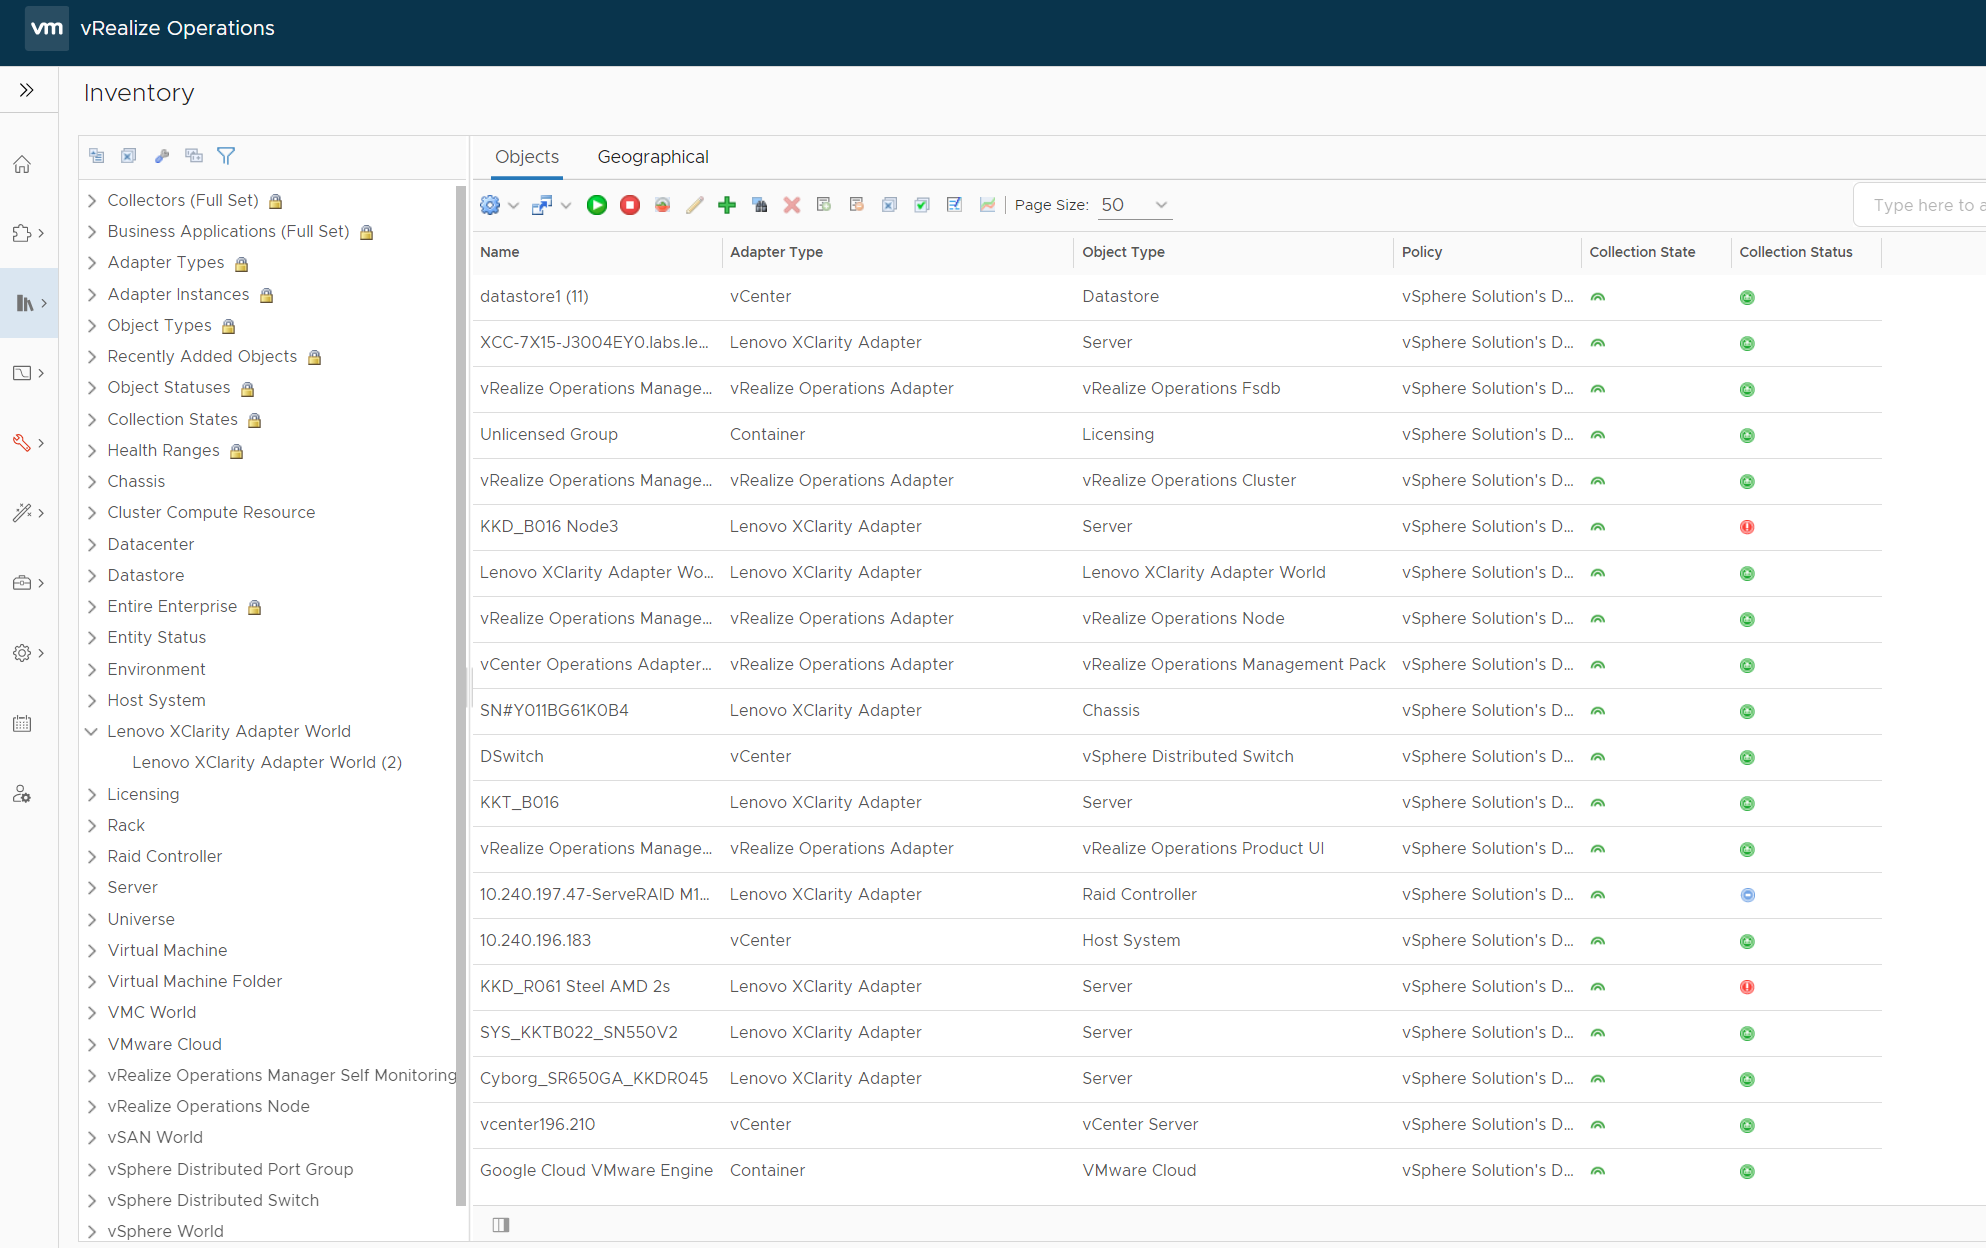
Adding an adapter instance
Adapter instances specify the adapter type and the information needed for the vRealize Operations Manager to identify and access resources. The Lenovo XClarity Adapter instances provide access to the resources of the Lenovo XClarity Administrator. Add one adapter instance per LXCA.
Before you begin
Ensure that you have installed the Lenovo XClarity adapter using the PAK file.
Ensure that the prerequisites are met. For more details, see Prerequisites.
Procedure
Start the vRealize Operations Manager administrative user interface in your web browser and log in as an administrator.
For example, use the URL https://<vROps_IP_address> where the vROps IP address is the IP of the vROps node.
Navigate to .
Select the LXCA adaptor from the existing list for adding the account Lenovo XClarity Adapter. The New Account page is displayed.
NoteFor V8.5 and earlier versions of vROps, click theAdministration tab. On the Solutions page, select , select the LXCA adaptor from the existing list for adding the account . 
- On the New Account page, configure Cloud Account Information and Connection Information:
Name: Enter a descriptive name of the instance.
Description: Enter a description with more details.
- Configure these settings based on the adapter instance type:
LXCA IP or Hostname: Enter the LXCA IP or a descriptive hostname of the instance.
Port: Enter the port number if you want to change it, the default value is 443 as shown in the preceding screenshot.
Credentials: Click the add credentials (+) icon, enter an appropriate credential name that includes username and password of the adapter instance you are adding, and click OK.
Collector/Group: Select the required collector group from the drop-down list.
Click VALIDATE CONNECTION to validate the values you entered. If the adapter instance configures correctly, an informative message is displayed. Click ACCEPT to continue.
In the Advanced Settings, select the Auto Discovery as True.
ImportantAfter the adapter instances are created, thevRealize Operations Manager Collector requires several minutes to collect statistics, depending on the size of the system. The default collection cycle is 15 minutes. Once the initial data is collected, subsequent statistical collections run quickly. Large system configurations require a longer duration to collect metrics, resources, and update dashboards. To configure the duration, click , select the required time (unit: second), and click OK.

To finish adding the adapter instance, click ADD. If you do not want to continue adding the adapter instance operation, click CANCEL.