Configuring the cloud account
Configure the cloud account as mentioned in this topic to display the vSAN Hardware Topology.
Before you begin
Ensure that you have installed the Lenovo XClarity adapter using the PAK file.
Ensure that the prerequisites are met. For more details, see Prerequisites.
Procedure
To configure the cloud account, complete the following steps:
Start the vRealize Operations Manager administrative user interface in your web browser and log in as an administrator.
For example, use the URL https://<vROps_IP_address> where the vROps IP address is the IP of the vROps node.
Navigate to
.Select ADD ACCOUNT, select vCenter as Account Types.
NoteFor V8.5 and earlier versions of vROps, click theAdministration tab. On the Solutions page, select . In the Cloud Account Information section: Enter an appropriate name (like FQDN) which represents the cloud account you want to connect to in the Name field. Optionally, enter the description in the Description field.
In the vCenter tab, enter the following details:
Connect vCenter: Enter the vCenter Server IP and vCenter credentials.
Credentials: Click the add credentials icon (+), enter the password of the vCenter that you are adding, and click OK.
Validate the connection by reviewing and accepting the certificate by clicking ACCEPT.
Click the vSAN tab and perform the following details:
Enable the vSAN configuration.
Select the Enable SMART data collection check box.
Validate the connection by reviewing and accepting the certificate by clicking ACCEPT.
Click ADD.
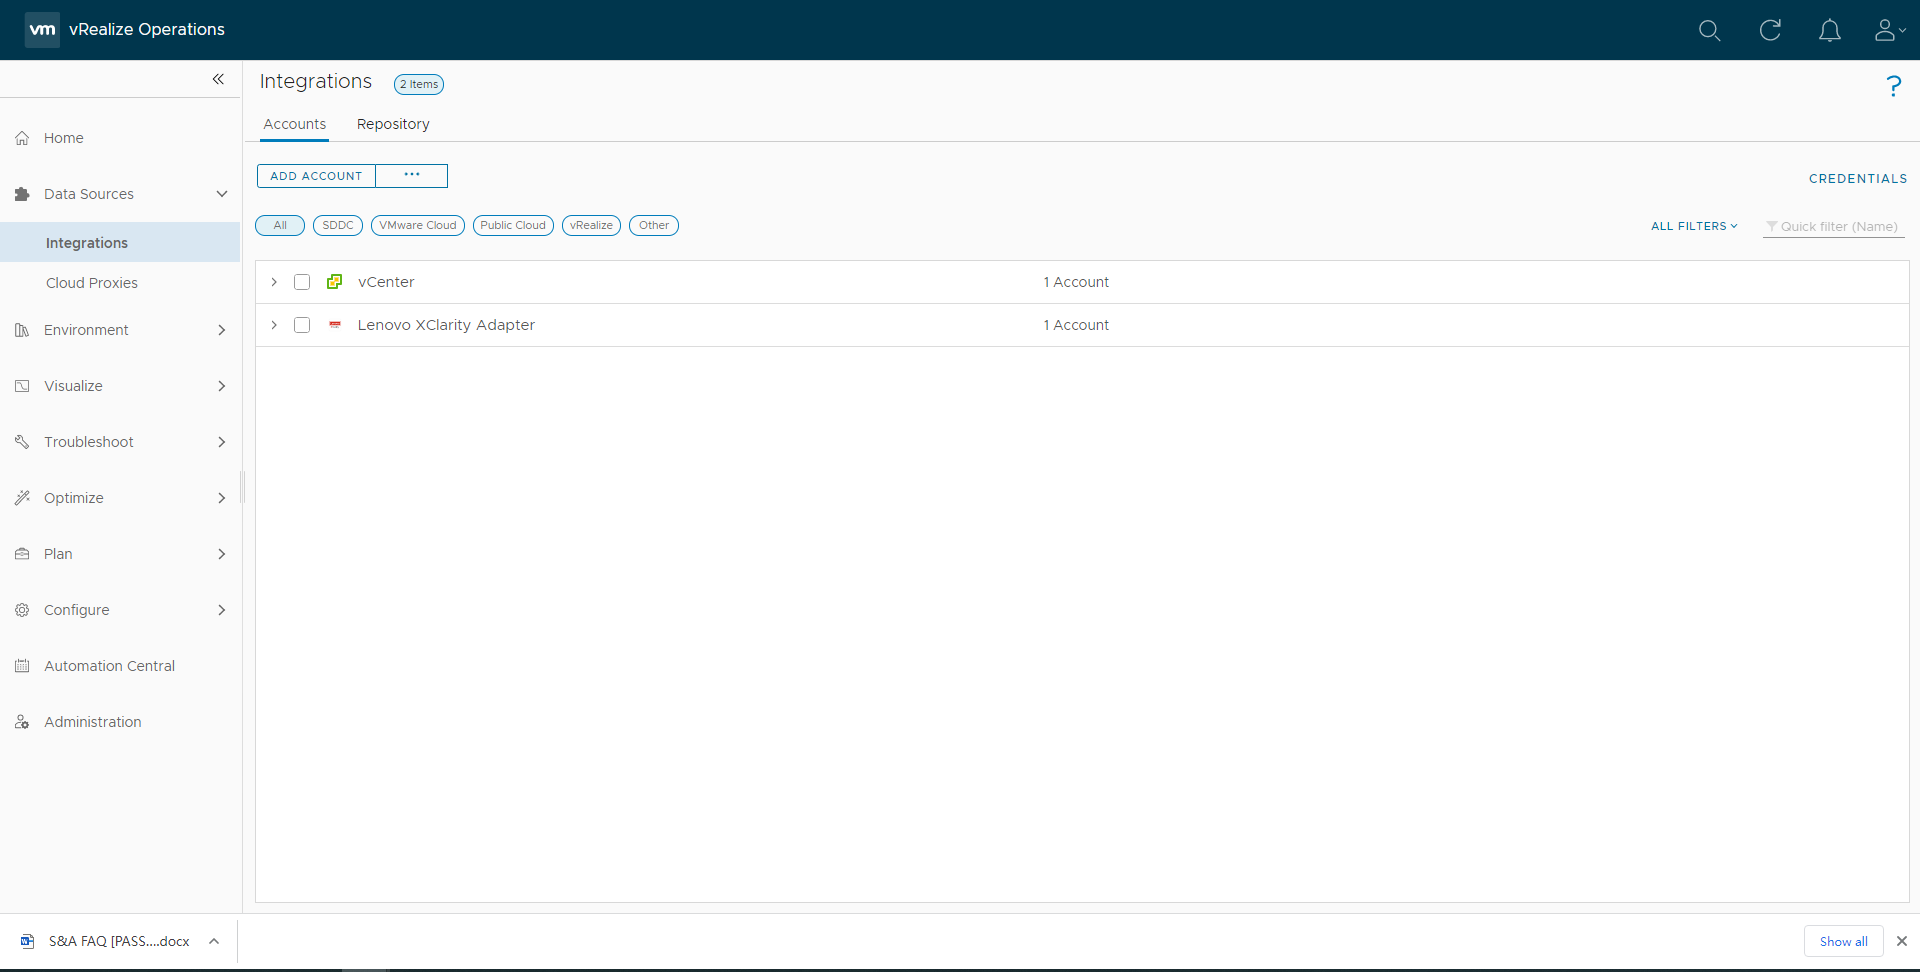
The cloud account is configured and listed as follows.