Install a memory module
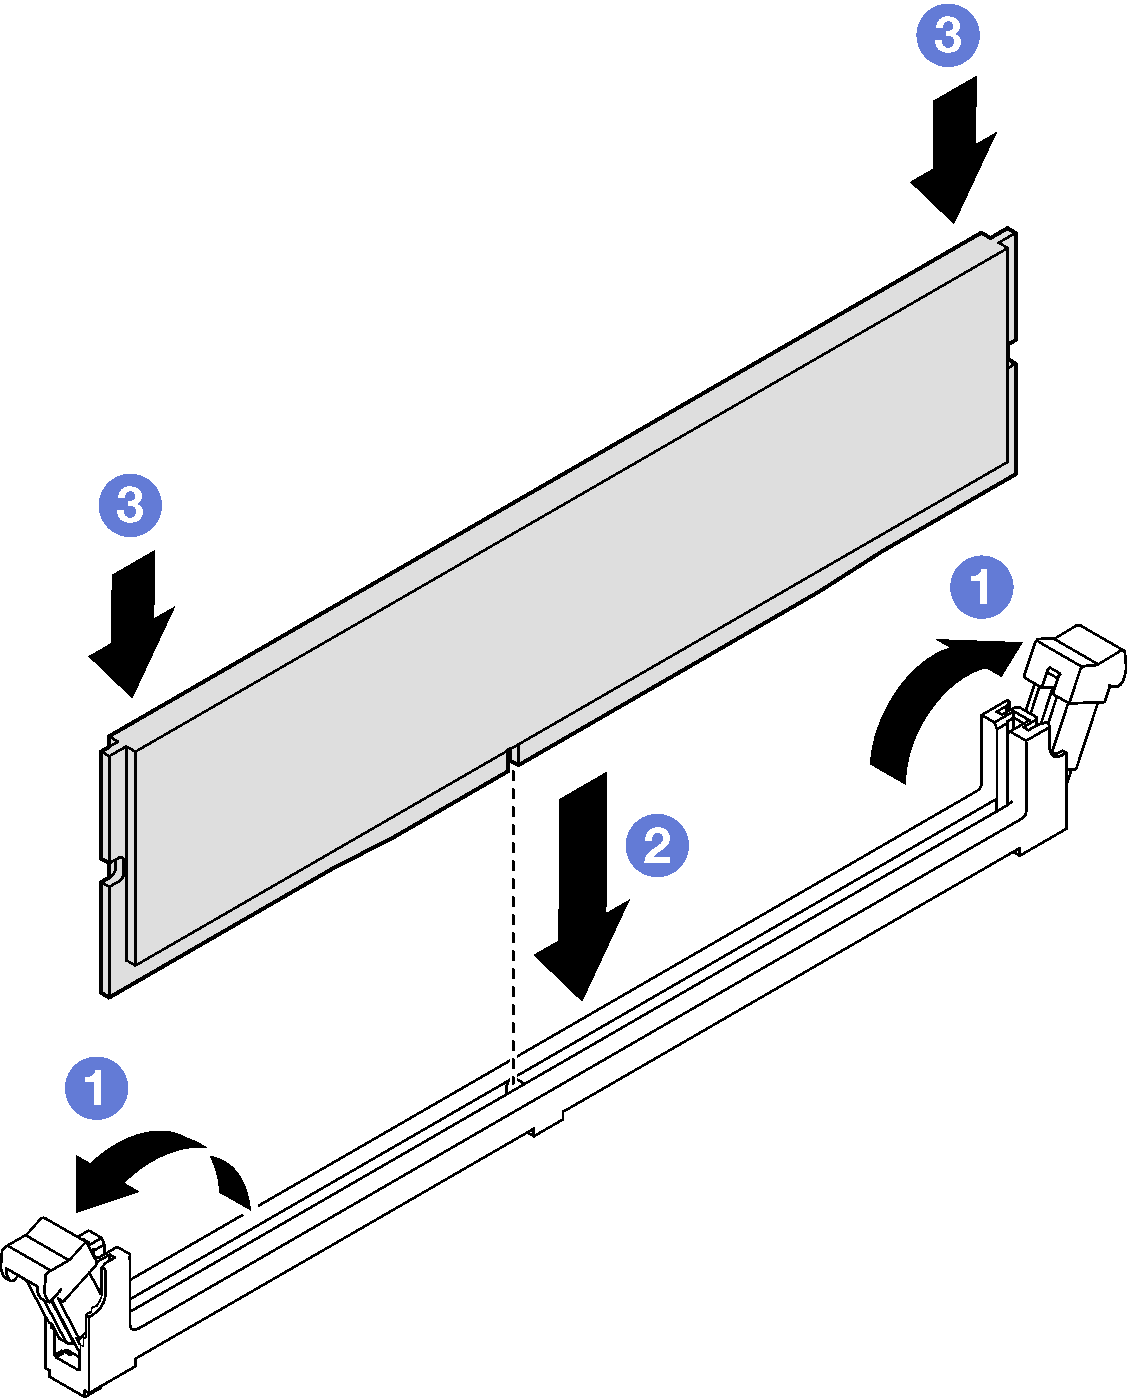
Follow instructions in this section to install a memory module.
About this task
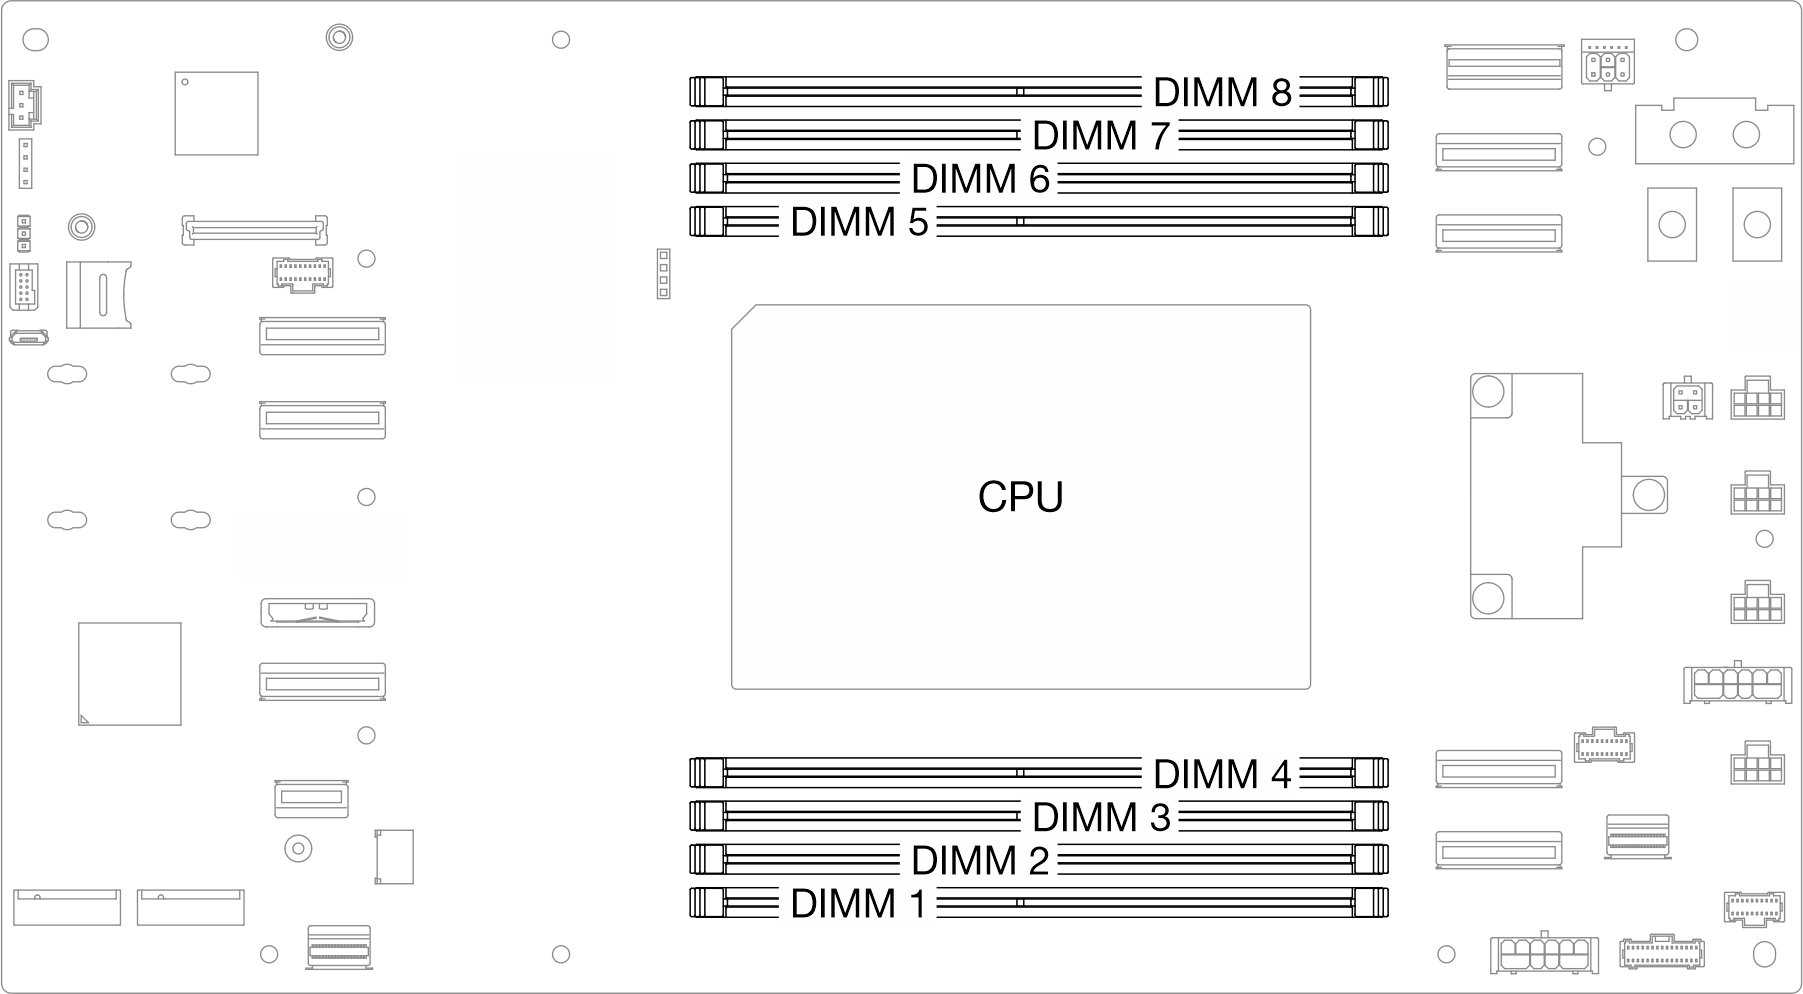
See Memory module installation rules and order for detailed information about memory configuration and setup.
To avoid potential danger, make sure to read and follow the safety information.
Read Installation Guidelines and Safety inspection checklist to make sure that you work safely.
Make sure to remove or install memory module 20 seconds after disconnecting power cords from the system. It allows the system to be completely discharged of electricity and safe for handling memory module.
- Memory modules are sensitive to static discharge and require special handling. Refer to the standard guidelines for Handling static-sensitive devices:
- Always wear an electrostatic-discharge strap when removing or installing memory modules. Electrostatic-discharge gloves can also be used.
- Never hold two or more memory modules together so that they do not touch each other. Do not stack memory modules directly on top of each other during storage.
- Never touch the gold memory module connector contacts or allow these contacts to touch the outside of the memory module connector housing.
- Handle memory modules with care: never bend, twist, or drop a memory module.
- Do not use any metal tools (such as jigs or clamps) to handle the memory modules, because the rigid metals may damage the memory modules.
- Do not insert memory modules while holding packages or passive components, which can cause package cracks or detachment of passive components by the high insertion force.
- When a processor is installed, each of the DIMM slots connected to the processor must be installed with a DIMM or DIMM filler.
Go to Drivers and Software download website for ThinkSystem SD520 V4 to see the latest firmware and driver updates for your server.
Go to Update the firmware for more information on firmware updating tools.
Procedure
After you finish
- Make sure that all the required cables are routed and connected correctly; then, reinstall the top cover (see Install the top cover).
- Reinstall the node into the chassis (see Install a node to the chassis).
- Make sure that the required power supply units are installed and power cords are connected; then, power on the node (see Install a hot-swap power supply and Power on the node).
- Proceed to complete the parts replacement (see Complete the parts replacement).
Demo video


