Sorted CPU backplate installation
Procedure
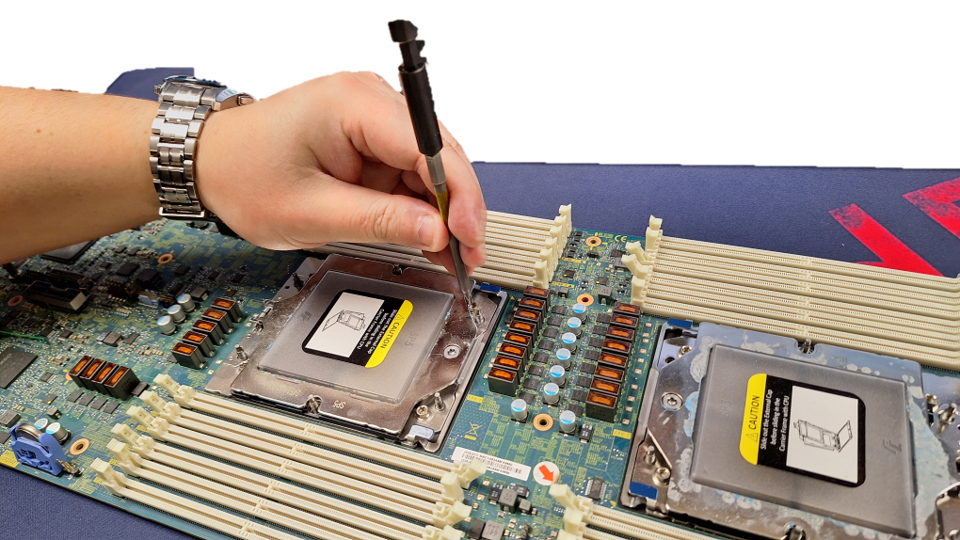
- Remove the four screws from the CPU retention frame.
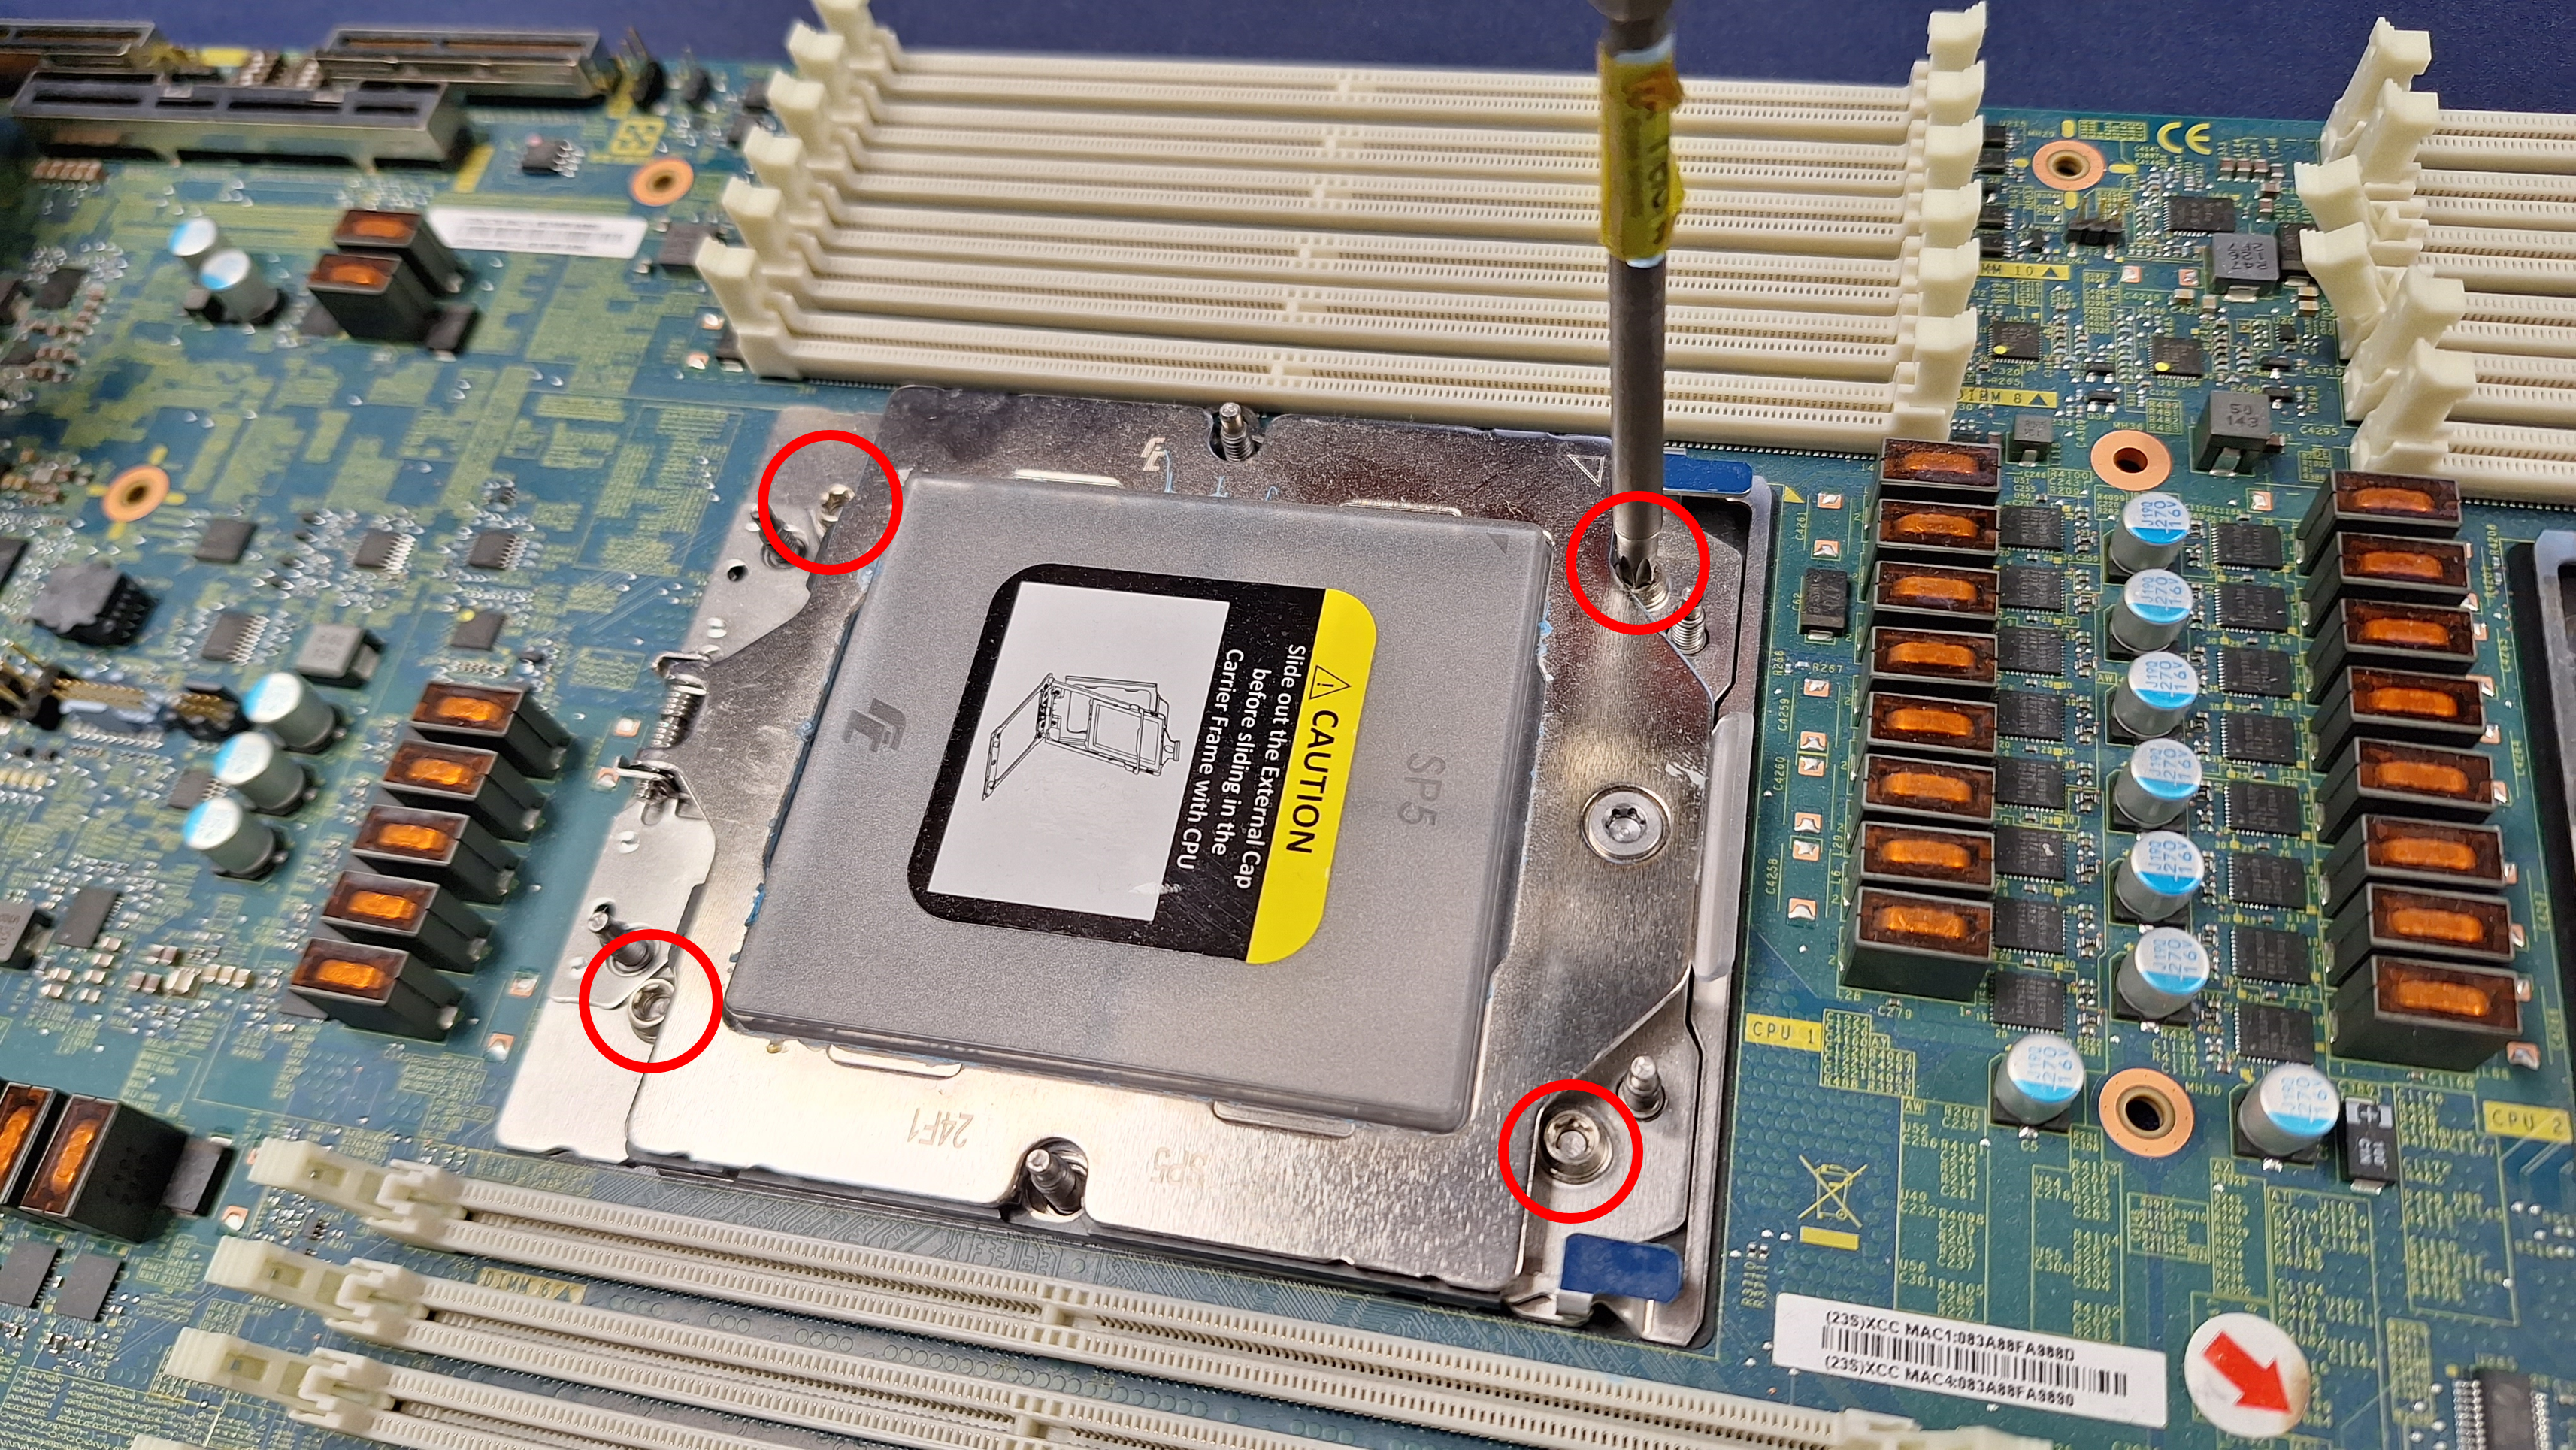
- Remove the original CPU backplate.
 Press the CPU socket.
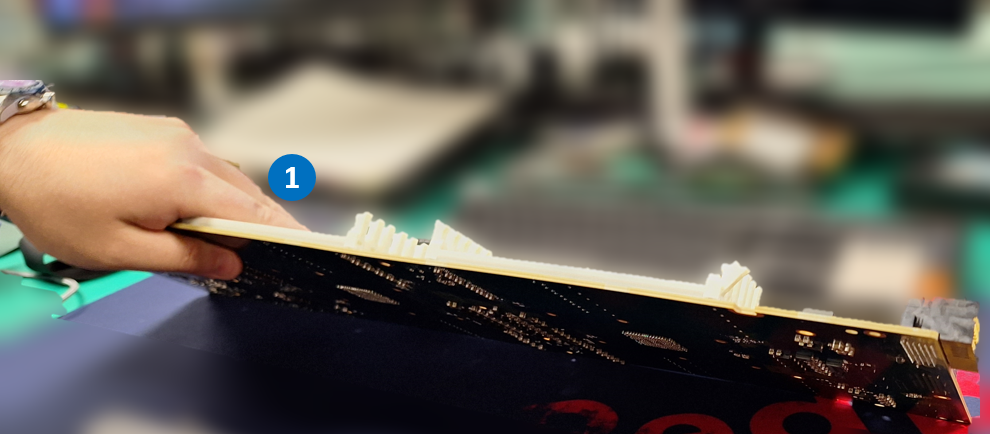
 While pressing the CPU socket, lift up the system board.
 Remove the original CPU backplate.
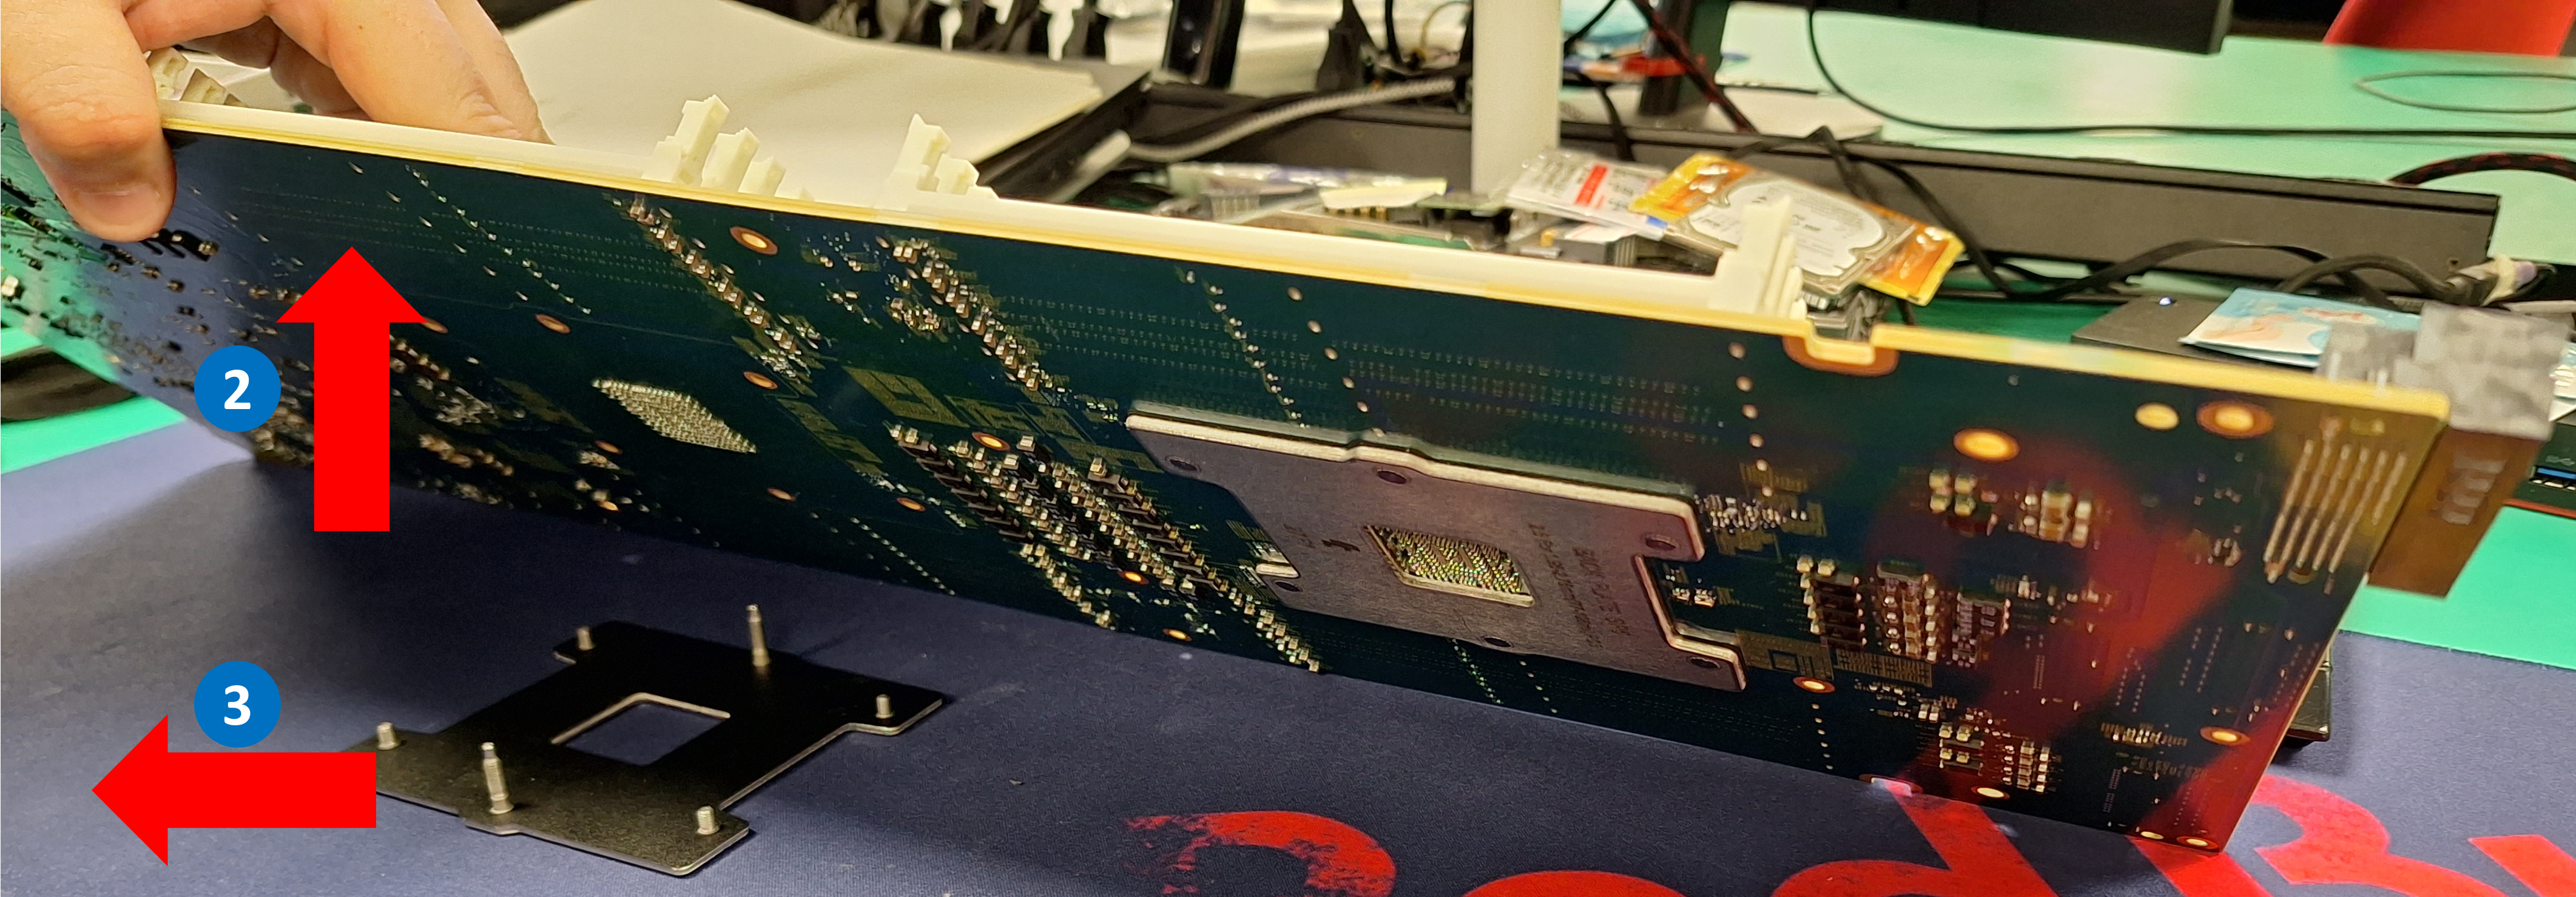
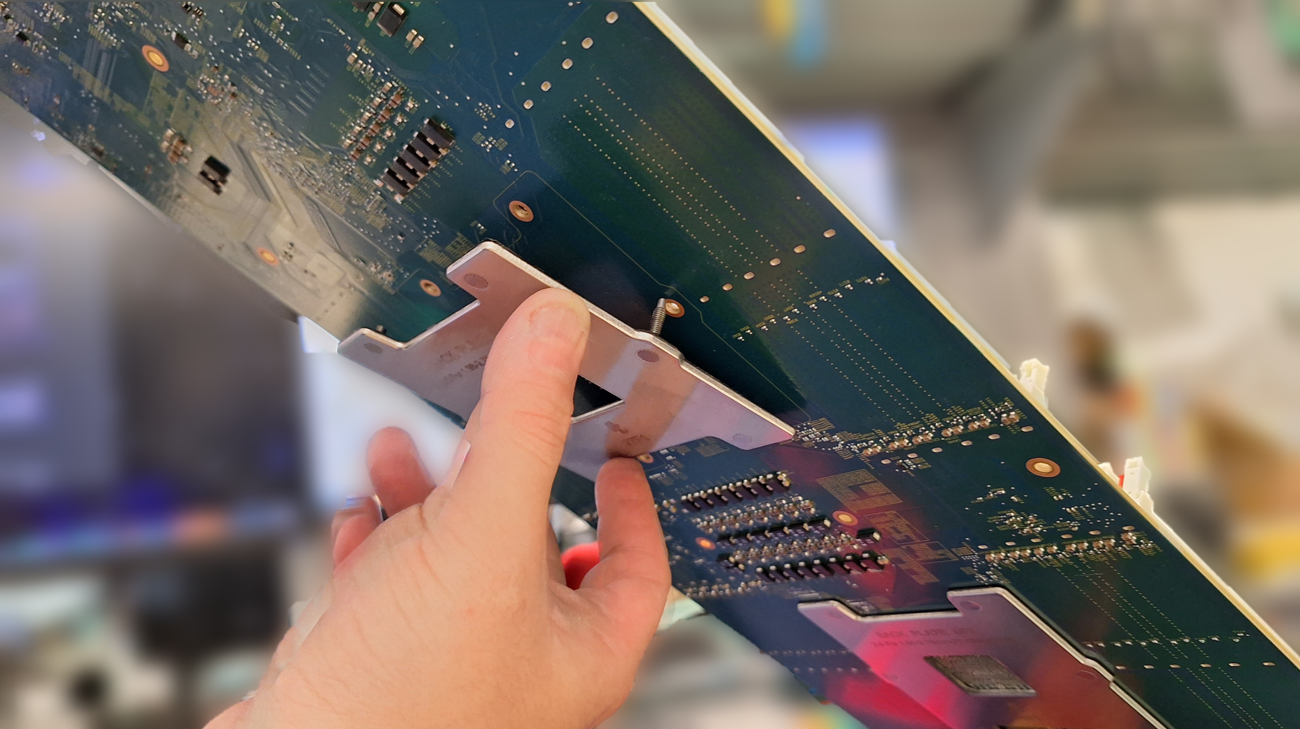
- Lift up the system board. From the back of the system board, align the two guide pins on the sorted CPU backplate with the two pin holes on the back of the system board.
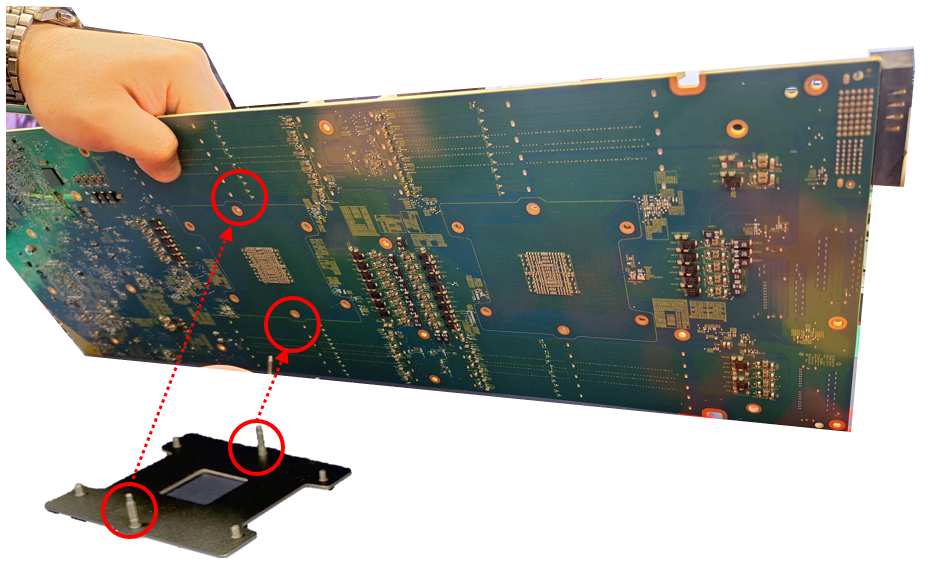
- Insert the guide pins into the pin holes.
- Fasten the four screws on the CPU retention frame.Attention
The torque required is 10 in-lbs.
Fasten the screws in the diagonal pattern.
Give documentation feedback