Install the RAID adapter
Use this information to install the RAID adapter.
About this task
Attention
Read Safety inspection checklist and Installation Guidelines to ensure that you work safely.
- If you are installing both the RAID adapter and 2.5-inch drive backplane, first install the backplane in the system-board assembly.
- For the Lenovo ThinkSystem RAID 930-4i-2GB 2 Drive Adapter Kit, make sure that the flash power module is installed on the RAID adapter prior to installing the RAID adapter in the compute node. See Install the flash power module.
Procedure
- Make sure the 2.5-inch drive backplane installed in the compute node supports RAID adapter installation. If not, replace it with the correct backplane. See 2.5-inch drive backplane replacement.
- Touch the static-protective package that contains the RAID adapter to an unpainted metal surface on any grounded rack component; then, remove the RAID adapter from the package.
- Install the RAID adapter.
- Place down the RAID adapter, and firmly press on the foam to seat the RAID adapter into the connector.Figure 1. RAID adapter installation
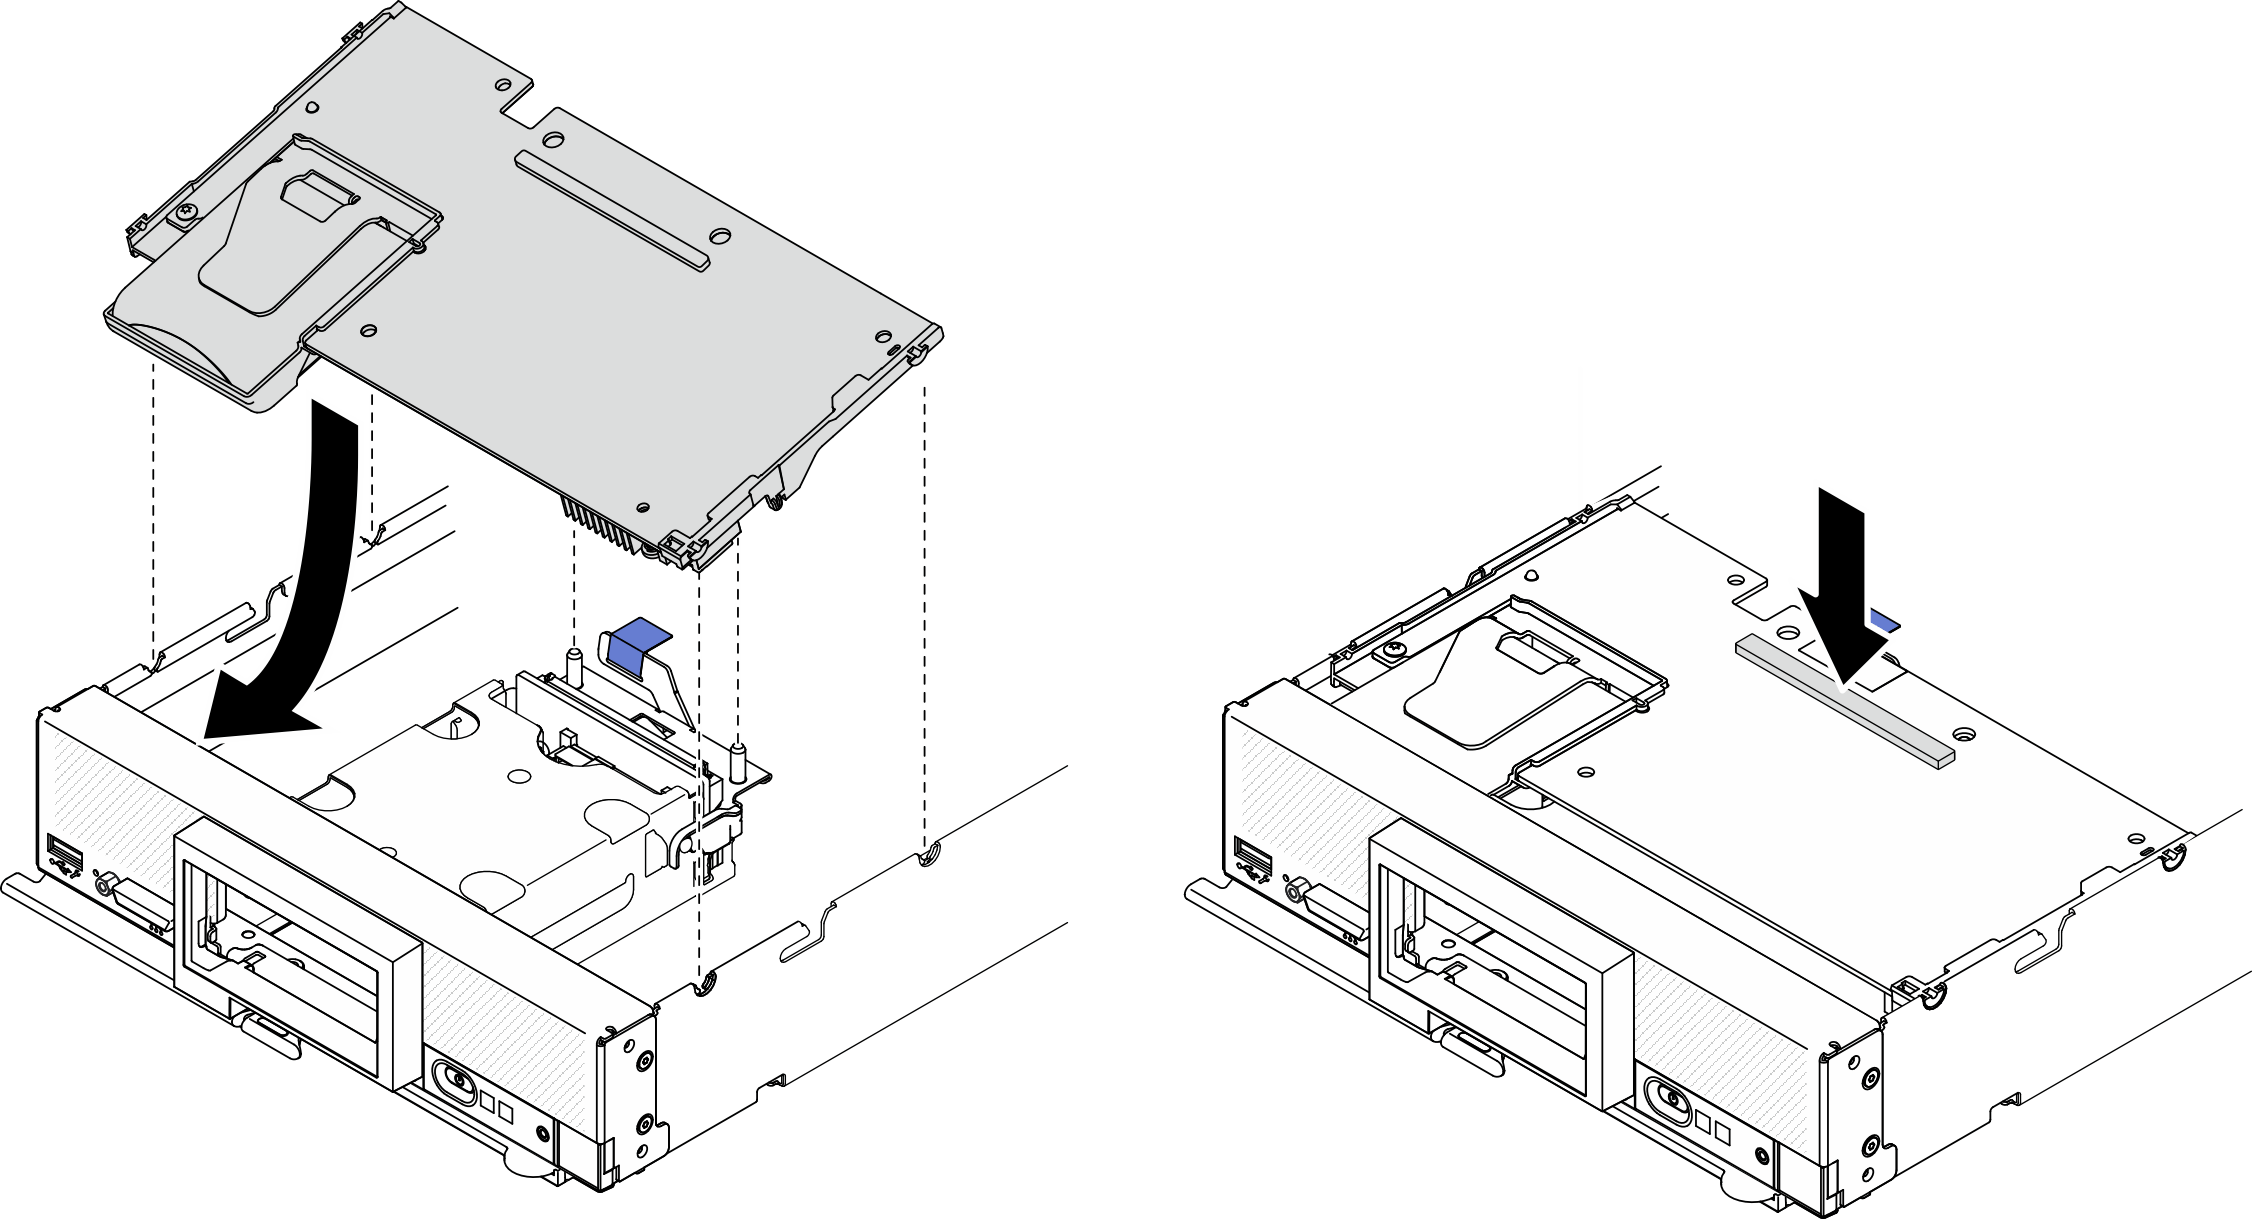
- Place down the RAID adapter, and firmly press on the foam to seat the RAID adapter into the connector.
After you finish
Proceed to complete the parts replacement. See Complete the parts replacement.
Demo video
Give documentation feedback