
Install the compute node in chassis

Use this information to install the compute node in the Lenovo Flex System Enterprise Chassis.

About this task

Attention
  • Read Safety inspection checklist and Installation Guidelines to ensure that you work safely.

  • If you are reinstalling a compute node that you removed, you must install it in the same node bay from which you removed it. Some compute node configuration information and update options are established according to node bay number. Reinstalling a compute node into a different node bay can have unintended consequences. If you reinstall the compute node into a different node bay, you might have to reconfigure the compute node.

  • The exact maximal number of supported 1-bay nodes is determined by input voltage and power redundancy policy. See Limited maximal number of compute node in the same chassis for more information.

Procedure

  1. Select the node bay.
    Note

    To maintain proper system cooling, do not operate the Lenovo Flex System Enterprise Chassis without a compute node or a node bay filler in each node bay.

    Figure 1. Compute node installation to chassis
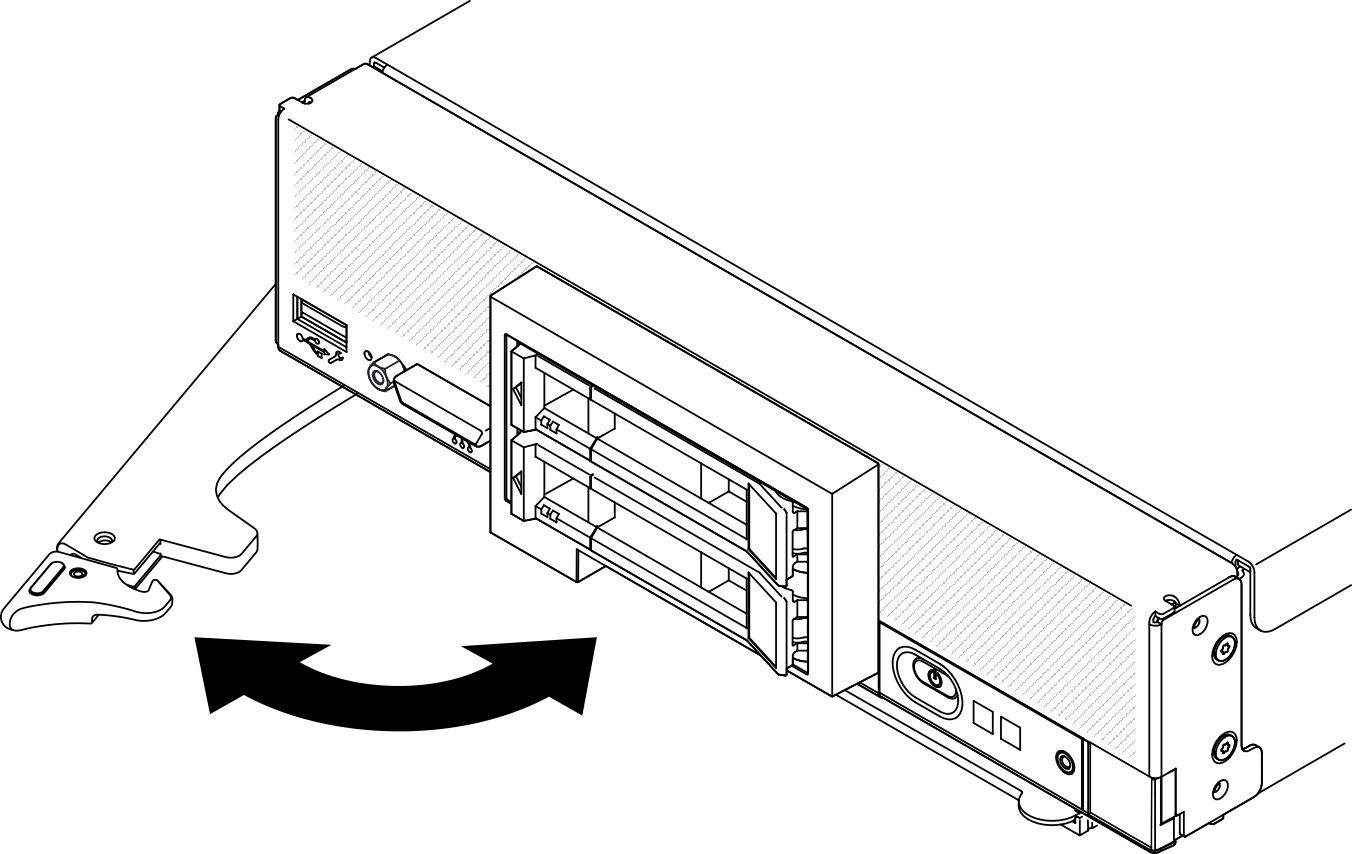
 Compute node installation to chassis
  2. Rotate the front handle to fully opened position.
  3. Slide the compute node into the node bay until it stops.
    Attention
    You cannot insert the compute node into the Lenovo Flex System Enterprise Chassis until the cover is installed and closed. Do not attempt to override this protection.
  4. Push the front handle to the closed position so that the compute node will be seated in place.
  5. Locate the Power LED on front panel of the compute node. The Power LED will flash rapidly initially. Wait until the Power LED flashes slowly.
    Note
    After the compute node is installed, the Lenovo XClarity Controller in the compute node initializes and synchronizes with the Chassis Management Module. The time required for a compute node to initialize varies by system configuration. The power LED flashes rapidly; the power button on the compute node does not respond until the power LED flashes slowly, indicating that the initialization process is complete
  6. When the power LED flashes slowly, turn on the compute node. See Power on the compute node for instruction.
    Important
    If an Attention label is on the front panel of the compute node above the power button, read it; then, remove the label and discard it before turning on the compute node.
  7. Make sure that the power LED on the compute node control panel is lit continuously, indicating that the compute node is receiving power and is turned on.
  8. Reconfigure the compute node if needed.
    • If this is the initial installation of the compute node in the chassis, you must configure the compute node through the Setup utility and install the compute node operating system.

      • See the ThinkSystem SN550 V2 Setup Guide of the compute node for details.

    • If you have changed the configuration or if you are installing a different compute node from the one that you removed, configure the compute node through the Setup utility, and install the operating system.

      • See the ThinkSystem SN550 V2 Setup Guide of the compute node for details.

  9. If you have other compute nodes to install, do so now.
After you finish
Note

Demo video

Watch the procedure on YouTube