
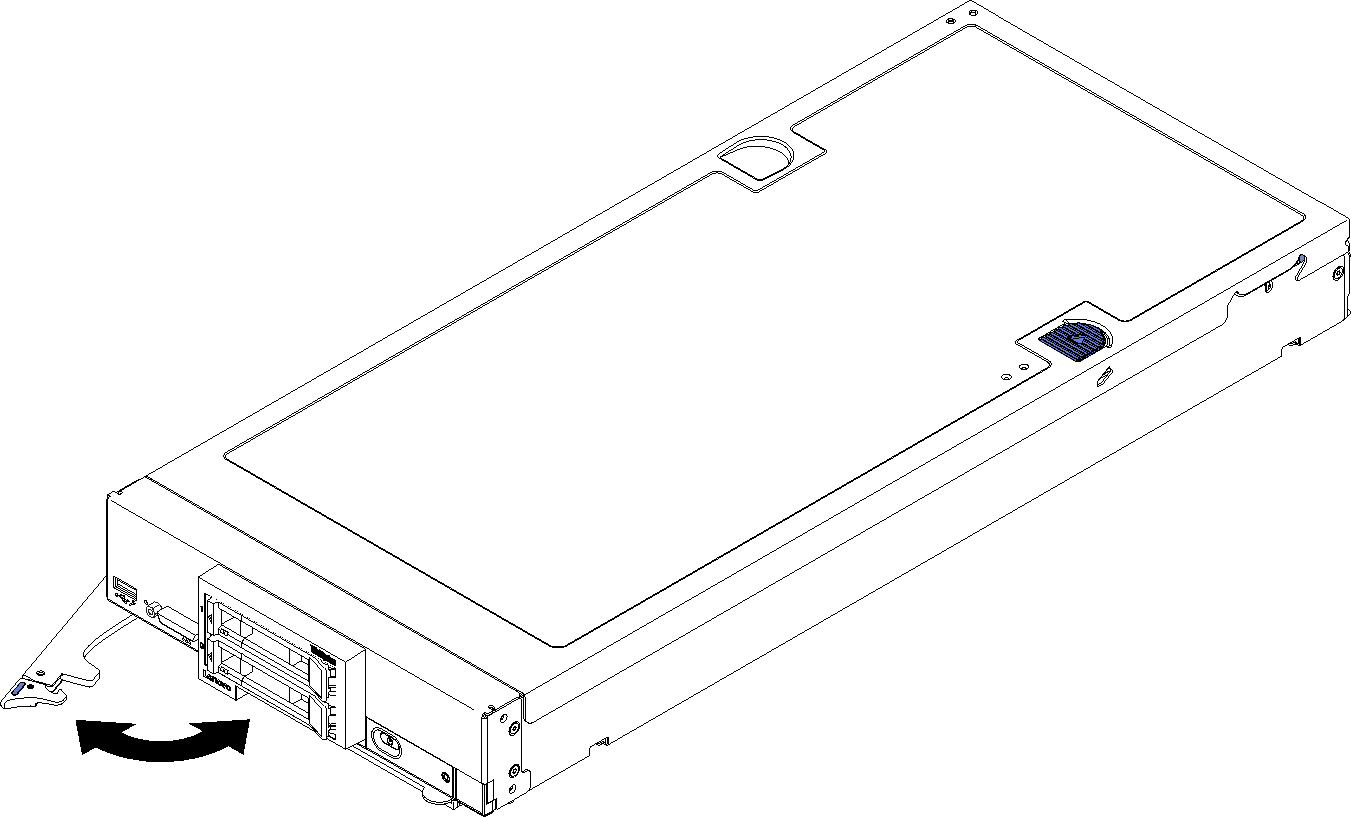
Remove the compute node from the chassis

Use this information to remove the compute node from the Lenovo Flex System chassis.

Before you remove the compute node:
  1. Read Installation Guidelines to ensure that you work safely.

  2. Power off the corresponding compute node that you are going to perform the task on.

  3. Record the serial number for each node bay.

To remove the compute node from the chassis, complete the following steps:

Figure 1. Compute node removal from chassis
Compute node removal from chassis

  1. Pull the front handle as shown in the illustration. The compute node moves out of the node bay approximately 0.6 cm (0.25 inch).
    Attention
    • To maintain proper system cooling, do not operate the Lenovo Flex System chassis without a compute node or node bay filler installed in each node bay.
    • When you remove the compute node, note the node bay number. Reinstalling a compute node into a different node bay from the one it was removed from can have unintended consequences. Some configuration information and update options are established according to the node bay number. If you reinstall the compute node into a different node bay, you might have to reconfigure the compute node.
  2. Pull the compute node out of the node bay using both hands.
  3. Install either a node bay filler or another compute node in the node bay within 1 minute.

If you are instructed to return the component or optional device, follow all packaging instructions, and use any packaging materials for shipping that are supplied to you.

Demo video

Watch the procedure on YouTube