Install a hot-swap power supply
Use this information to install a hot-swap power supply.


The standard shipping has only one power supply installed in the server. For redundancy and hot-swap support, you must install an additional hot-swap power supply. Certain customized models might be shipped with two power supplies installed.
Ensure that the devices that you are installing are supported. For a list of supported optional devices for the server, go to: Lenovo ServerProven website
Ensure that the two power supplies installed on the server have the same wattage.
- If you are replacing the existing power supply with a new power supply of different wattage, attach the power rating label that comes with this option onto the existing label on the top cover near the power supply.Figure 1. Hot-swap power supply label on the cover

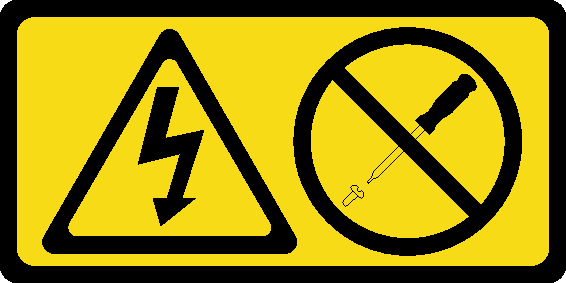
Never remove the cover on a power supply or any part that has this label attached. Hazardous voltage, current, and energy levels are present inside any component that has this label attached. There are no serviceable parts inside these components. If you suspect a problem with one of these parts, contact a service technician.
To avoid a shock hazard:
- Connect all power cords to a properly wired and grounded electrical outlet/source.
- Connect any equipment that will be attached to this product to properly wired outlets/sources.
- When possible, use one hand only to connect or disconnect signal cables.
- Never turn on any equipment when there is evidence of fire, water, or structural damage.
- The device might have more than one power cord, to remove all electrical current from the device, ensure that all power cords are disconnected from the power source.
The following tips describe the information that you must consider when you install a power supply with dc input.
240 V dc input (input range: 180-300 V dc) is supported in Chinese Mainland ONLY. Power supply with 240 V dc input cannot support hot plugging power cord function. Before removing the power supply with dc input, please turn off server or disconnect dc power sources at the breaker panel or by turning off the power source. Then, remove the power cord.
In order for the ThinkSystem products to operate error free in both a DC or AC electrical environment, a TN-S earthing system which complies to 60364-1 IEC 2005 standard has to be present or installed.
在直流输入状态下,若电源供应器插座不支持热插拔功能,请务必不要对设备电源线进行热插拔。此操作可能导致设备损坏及数据丢失。因错误执行热插拔导致的设备故障或损坏,不属于保修范围。
NEVER CONNECT AND DISCONNECT THE POWER SUPPLY CABLE AND EQUIPMENT WHILE YOUR EQUIPMENT IS POWERED ON WITH DC SUPPLY (hot-plugging). Otherwise you may damage the equipment and result in data loss, the damages and losses result from incorrect operation of the equipment will not be covered by the manufacturers’ warranty.
Never remove the cover on a power supply or any part that has this label attached. Hazardous voltage, current, and energy levels are present inside any component that has this label attached. There are no serviceable parts inside these components. If you suspect a problem with one of these parts, contact a service technician.
To install a hot-swap power supply, complete the following steps:
Watch the procedure
A video of this procedure is available at YouTube.
- If the server is in a rack, adjust the CMA to gain access to the power supply bay.
If you have installed the 1U CMA Upgrade Kit for Toolless Slide Rail or Toolless Slide Rail Kit with 1U CMA, do the following:
Figure 2. CMA adjustment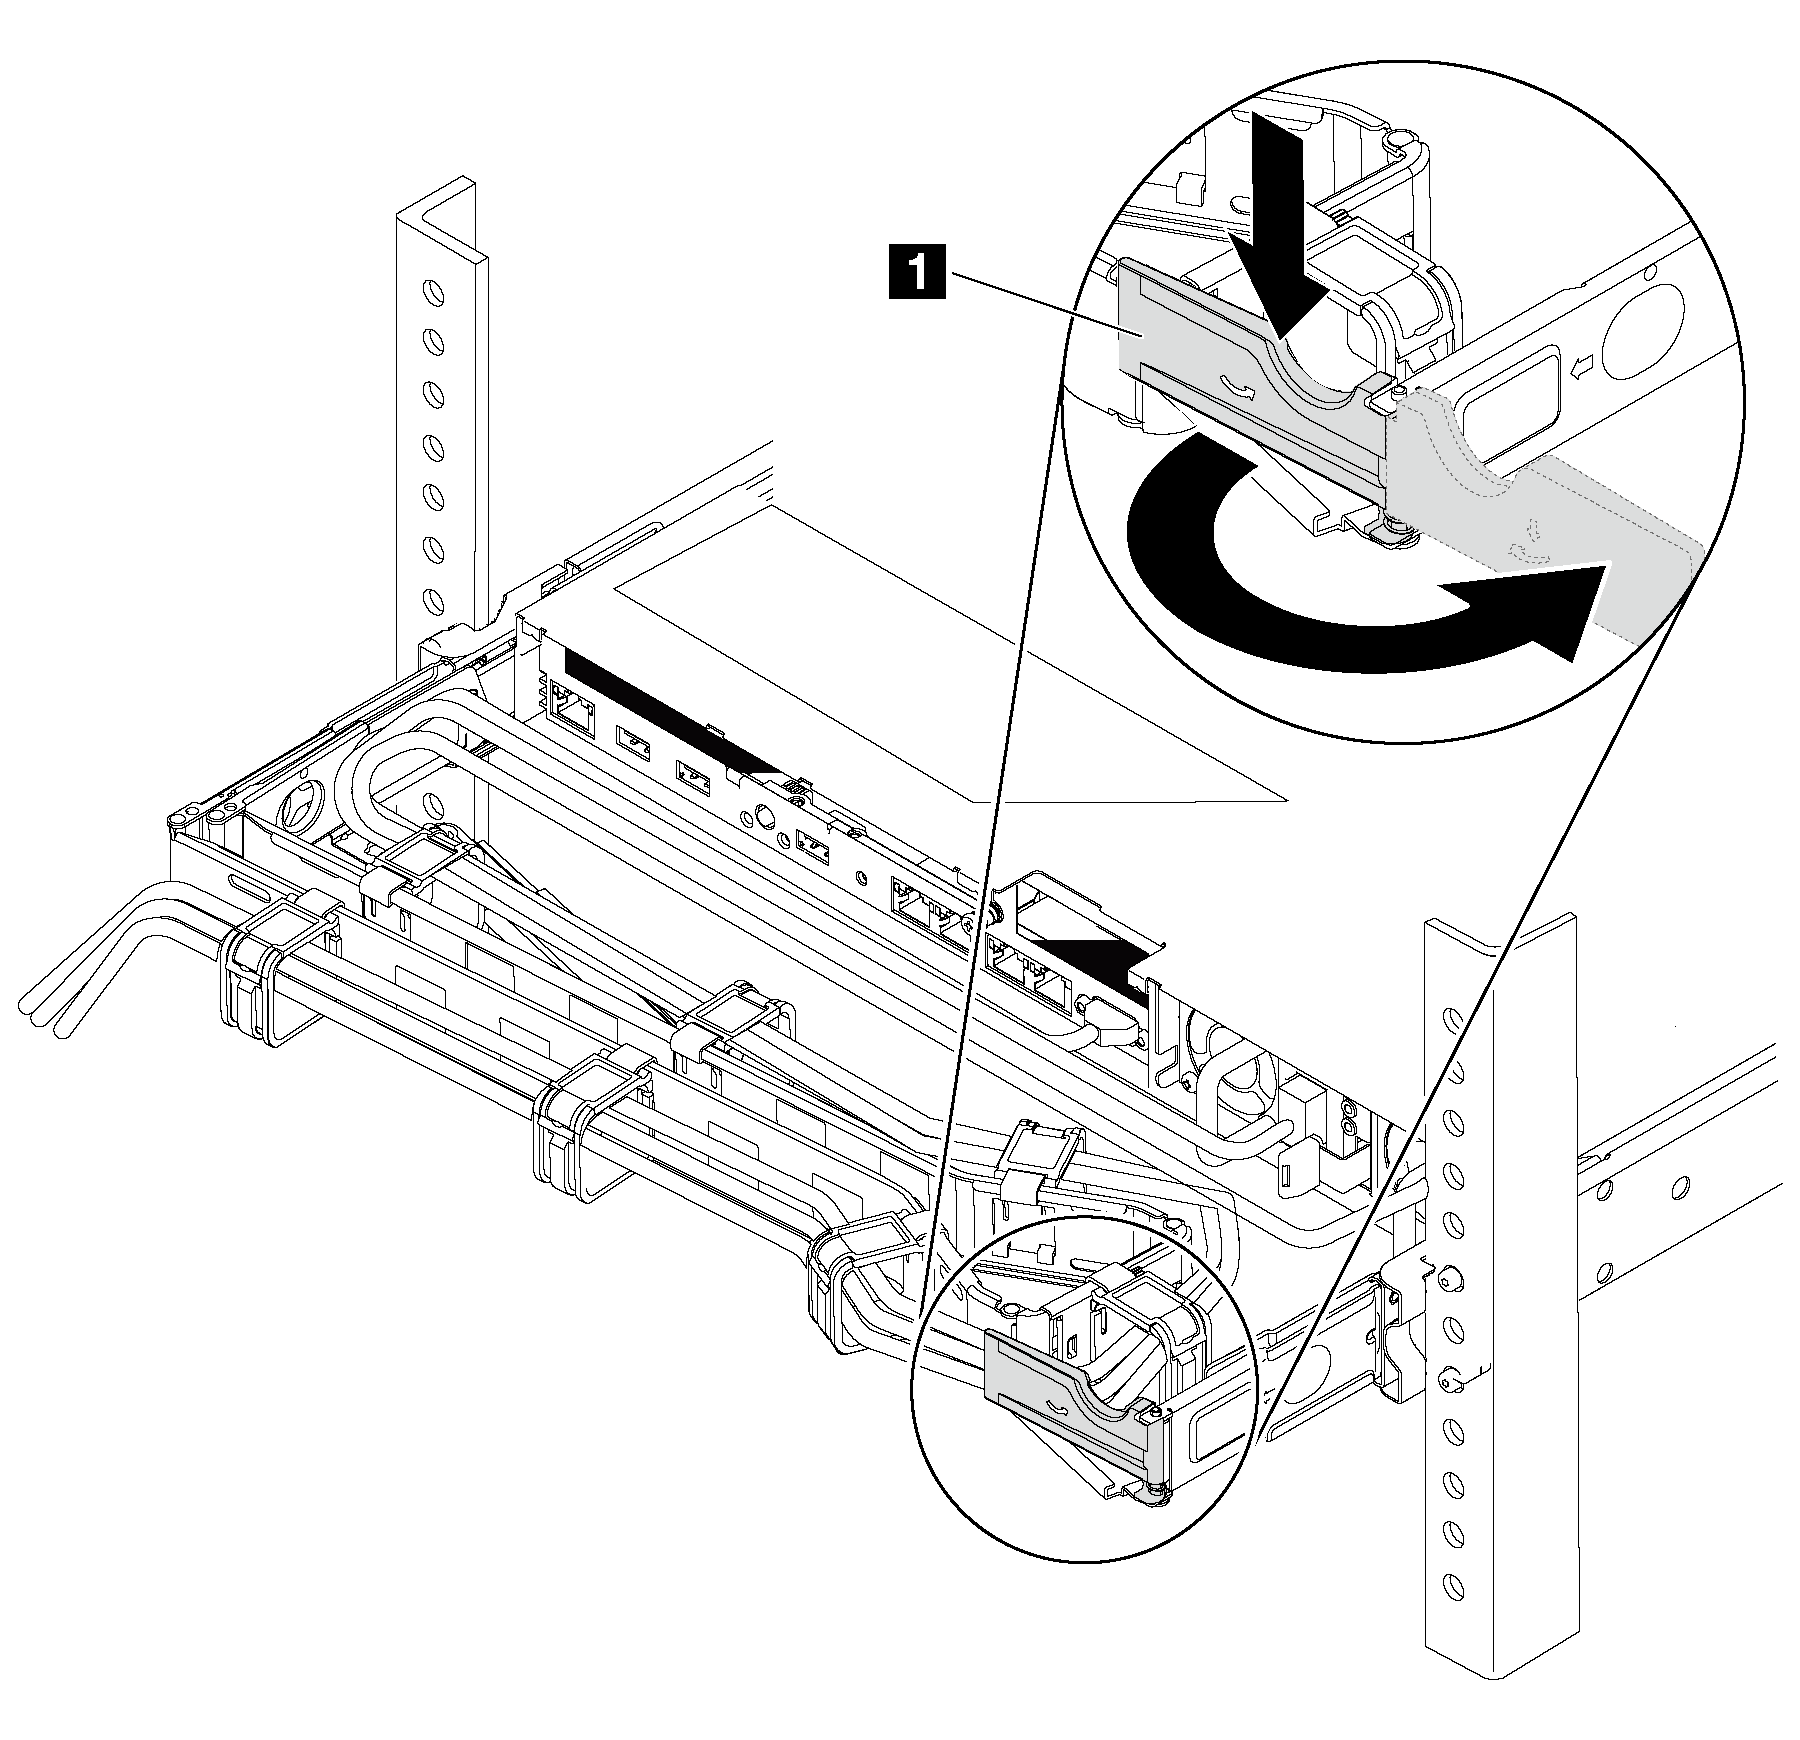
- Press down the stop bracket 1 and rotate it to the open position.
- Rotate the CMA out of the way to gain access to the power supply bay.
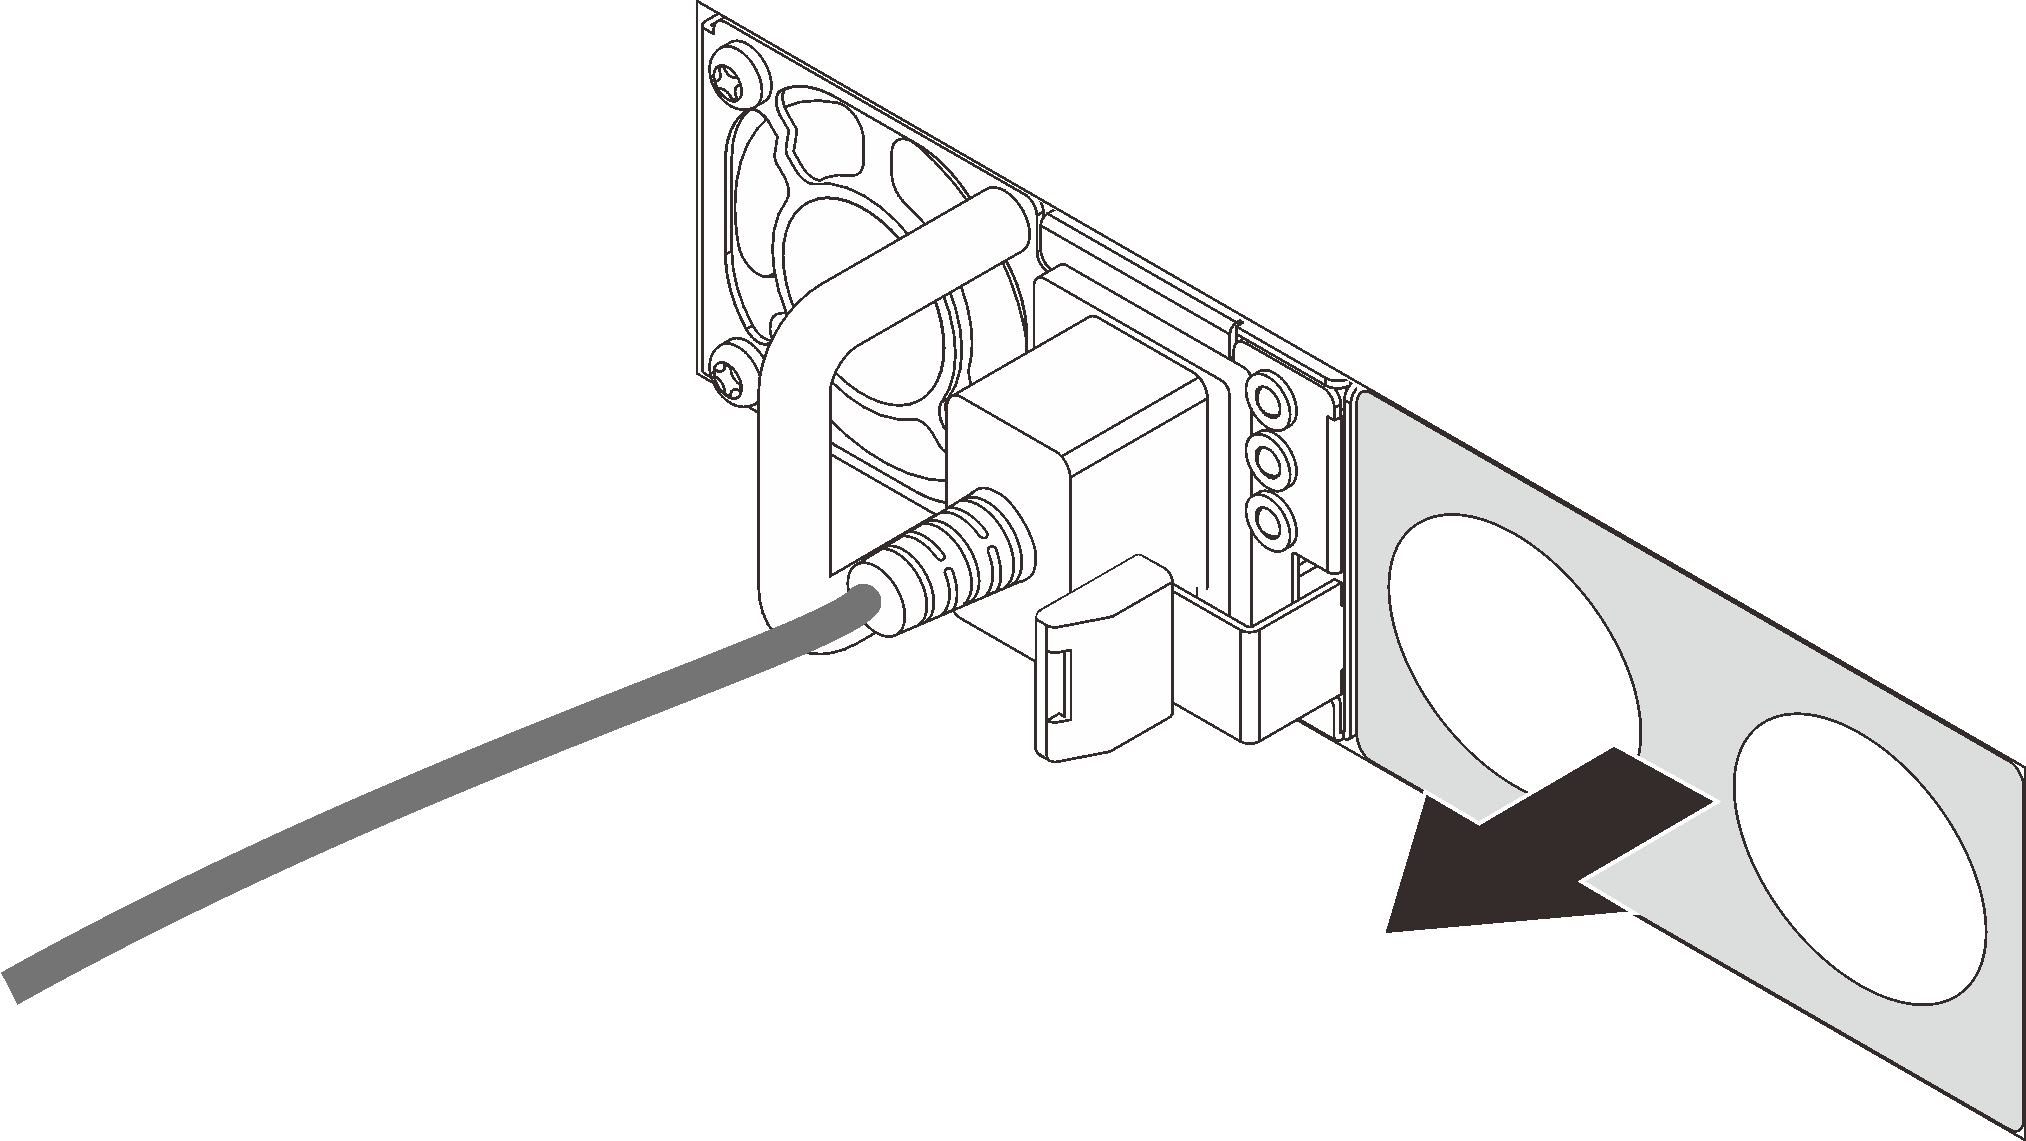
- If there is a power supply filler installed, remove it. Figure 3. Hot-swap power supply filler removal
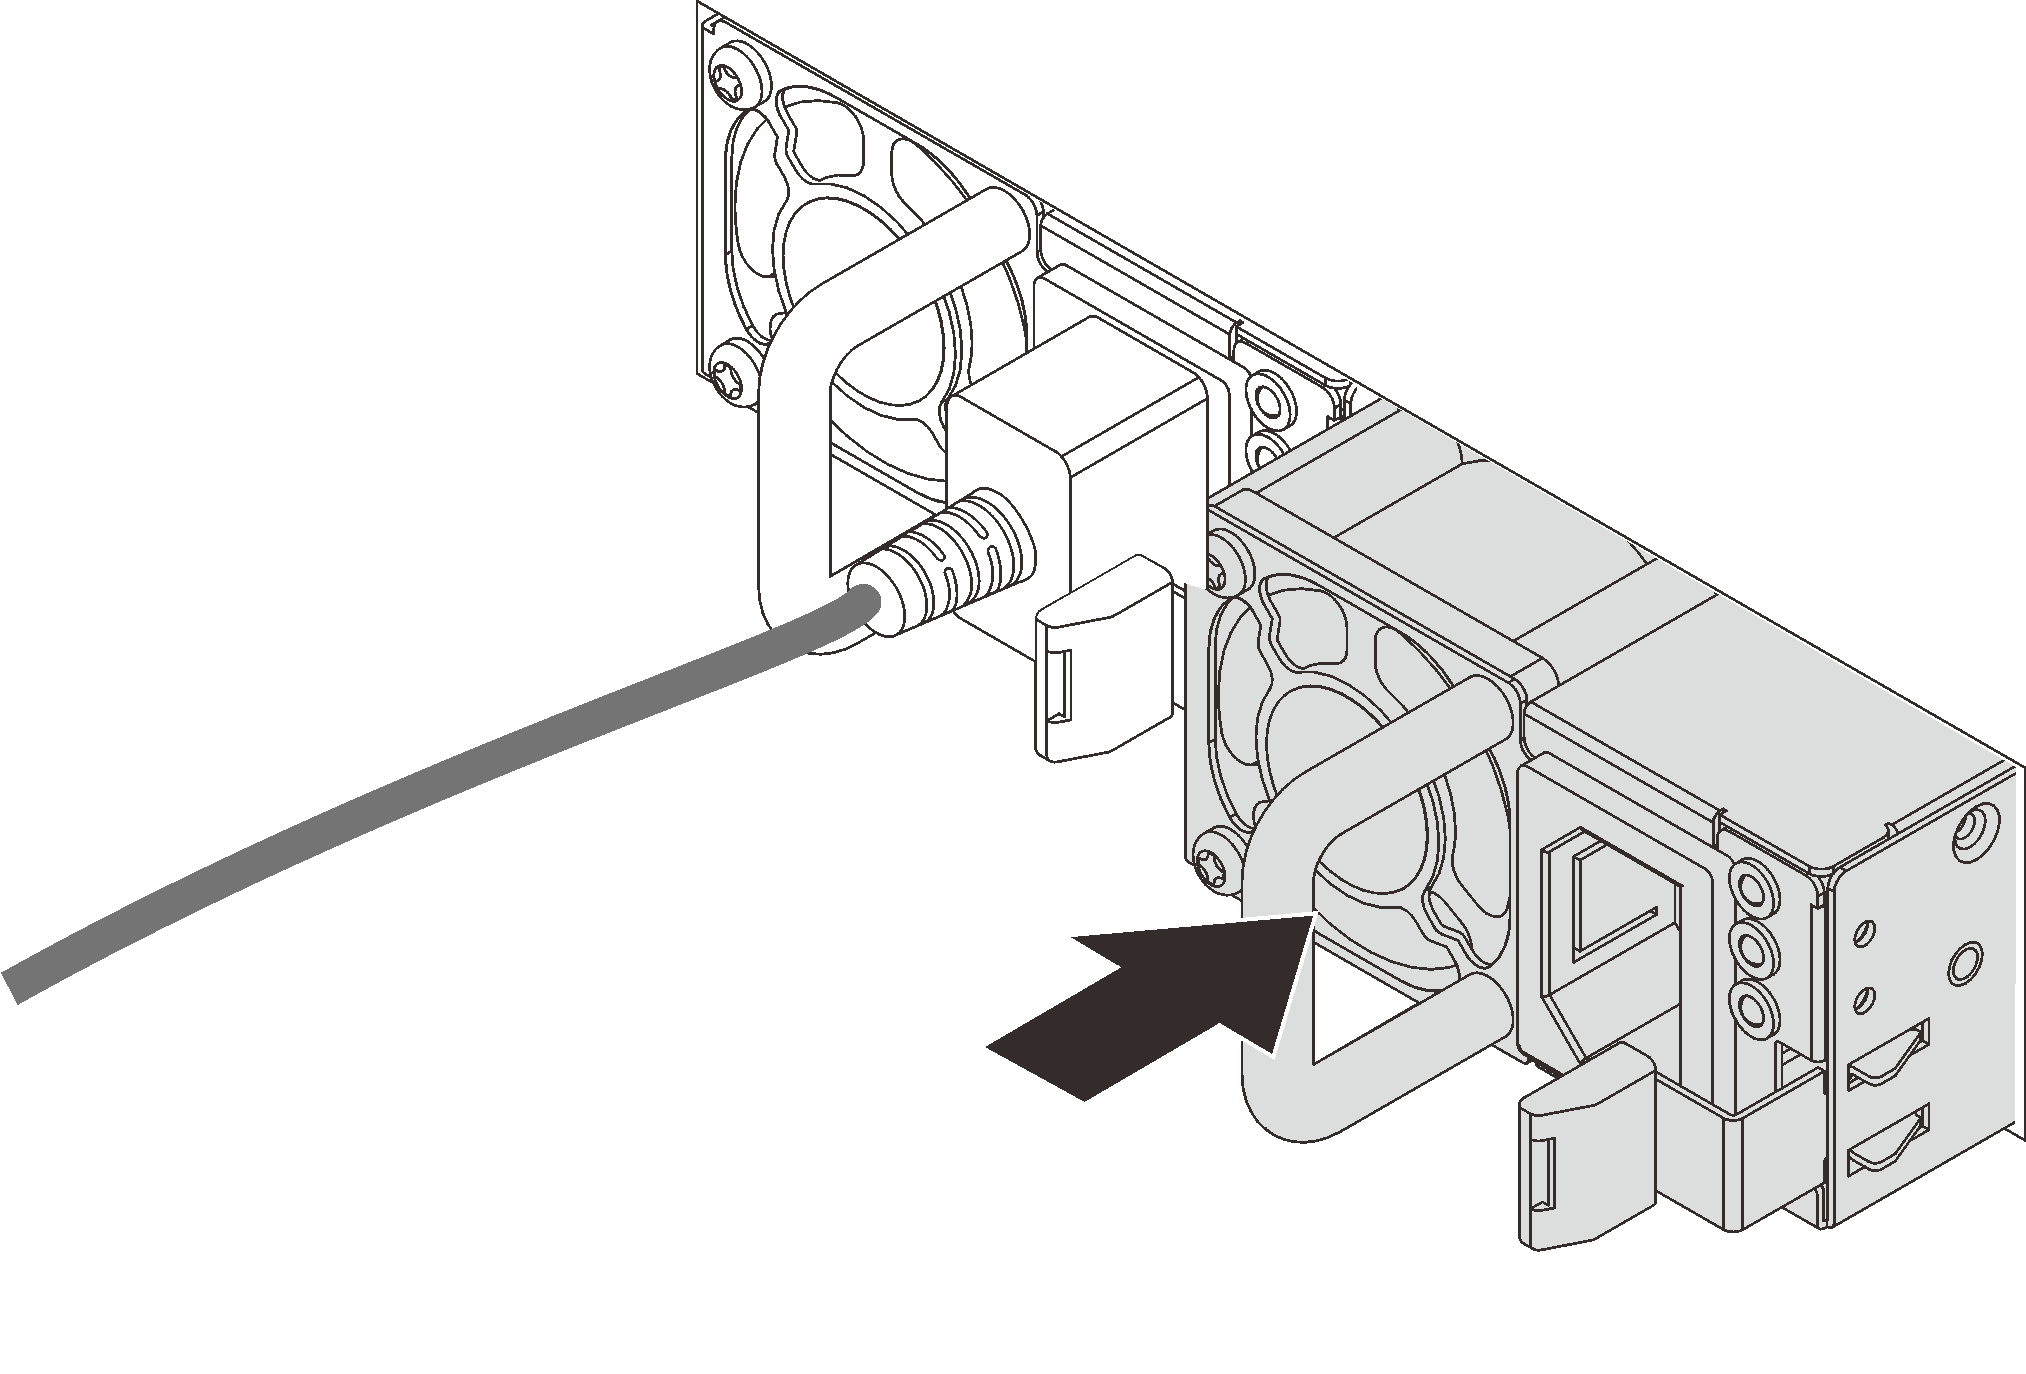
- Slide the new hot-swap power supply into the bay until the release latch clicks into place.Figure 4. Hot-swap power supply installation
Connect the power cord to the new power supply and ensure that it is connected to a properly grounded electrical outlet.
If the server is powered off, power on the server. Ensure that both the power input LED and the power output LED on the power supply are lit, indicating that the power supply is operating properly.