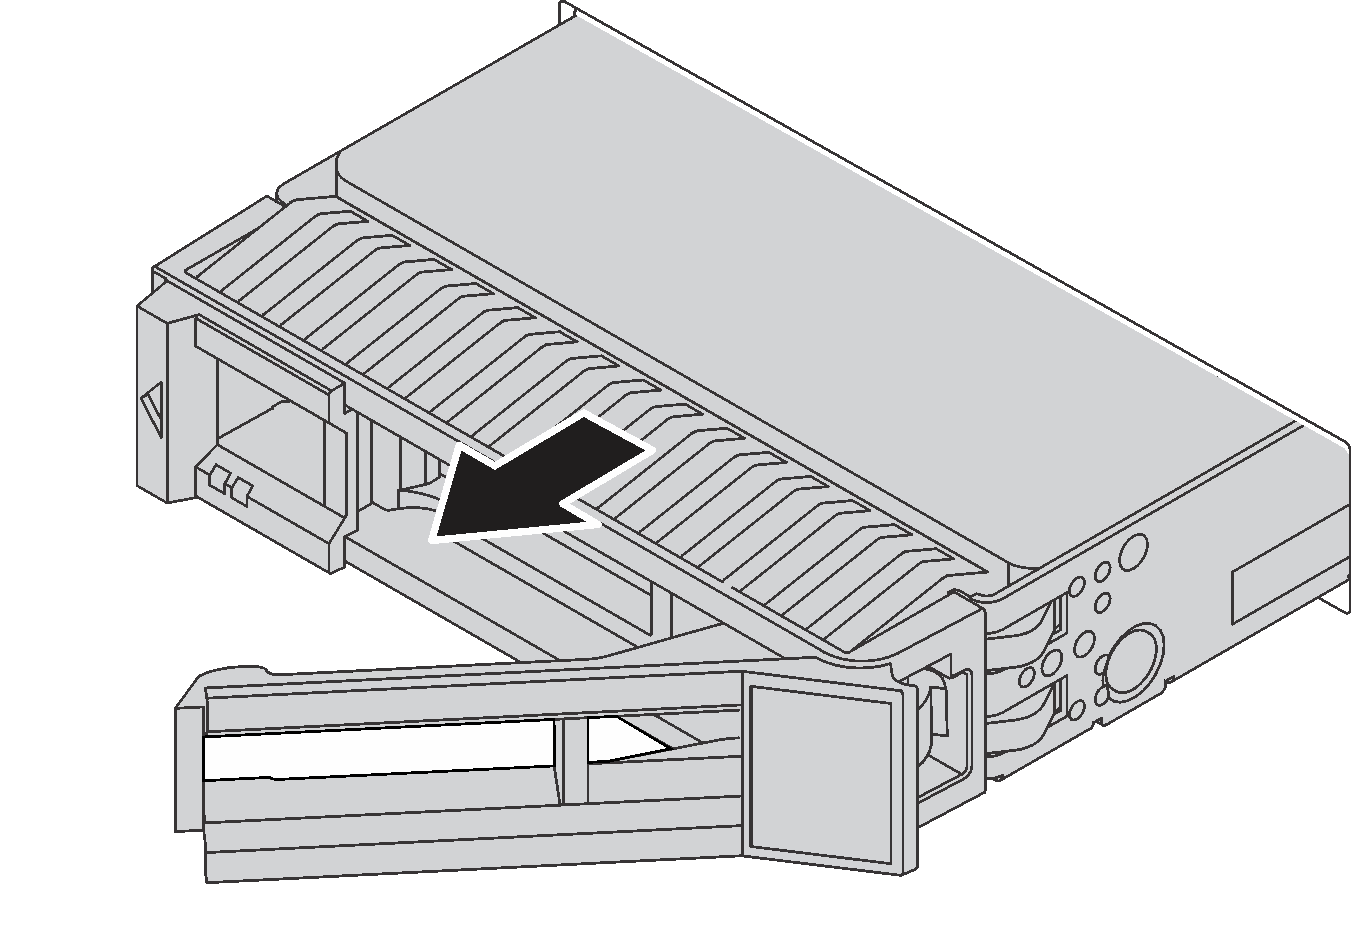
Remove a hot-swap drive
Use this information to remove a hot-swap drive.
About this task
- Ensure that you have backed up data on your drive, especially if it is part of a RAID array.
Before you make changes to drives, RAID adapters, or drive backplanes, back up all important data that is stored on the drives.
Before you remove any component of a RAID array, back up all RAID configuration information.
If one or more NVMe drives are to be removed, it is recommended to disable them first in Safely Remove Hardware and Eject Media (Windows) or filesystem (Linux). Log in to XClarity Controller and go to the Storage menu to identify and locate the drive type and corresponding drive bay number. If the drive bay numbers come with the term “NVMe”, it indicates the installed drives are NVMe drives.
Read Installation guidelines to ensure that you work safely.
Prevent exposure to static electricity, which might lead to system halt and loss of data, by keeping static-sensitive components in their static-protective packages until installation, and handling these devices with an electrostatic-discharge wrist strap or other grounding system.
To ensure that there is adequate system cooling, do not operate the server for more than two minutes without either a drive or a drive filler installed in each bay.
Procedure
After you finish
Install the drive filler or a new drive to cover the drive bay. See Install a hot-swap drive.
If you are instructed to return the old hot-swap drive, follow all packaging instructions and use any packaging materials that are provided.
Demo video

