Install the front I/O expansion board
Follow instructions in this section to install the front I/O expansion board.
About this task
Attention
Read Installation Guidelines and Safety inspection checklist to ensure that you work safely.
Touch the static-protective package that contains the drive to any unpainted metal surface on the server; then, remove the drive from the package and place it on a static-protective surface.
Procedure
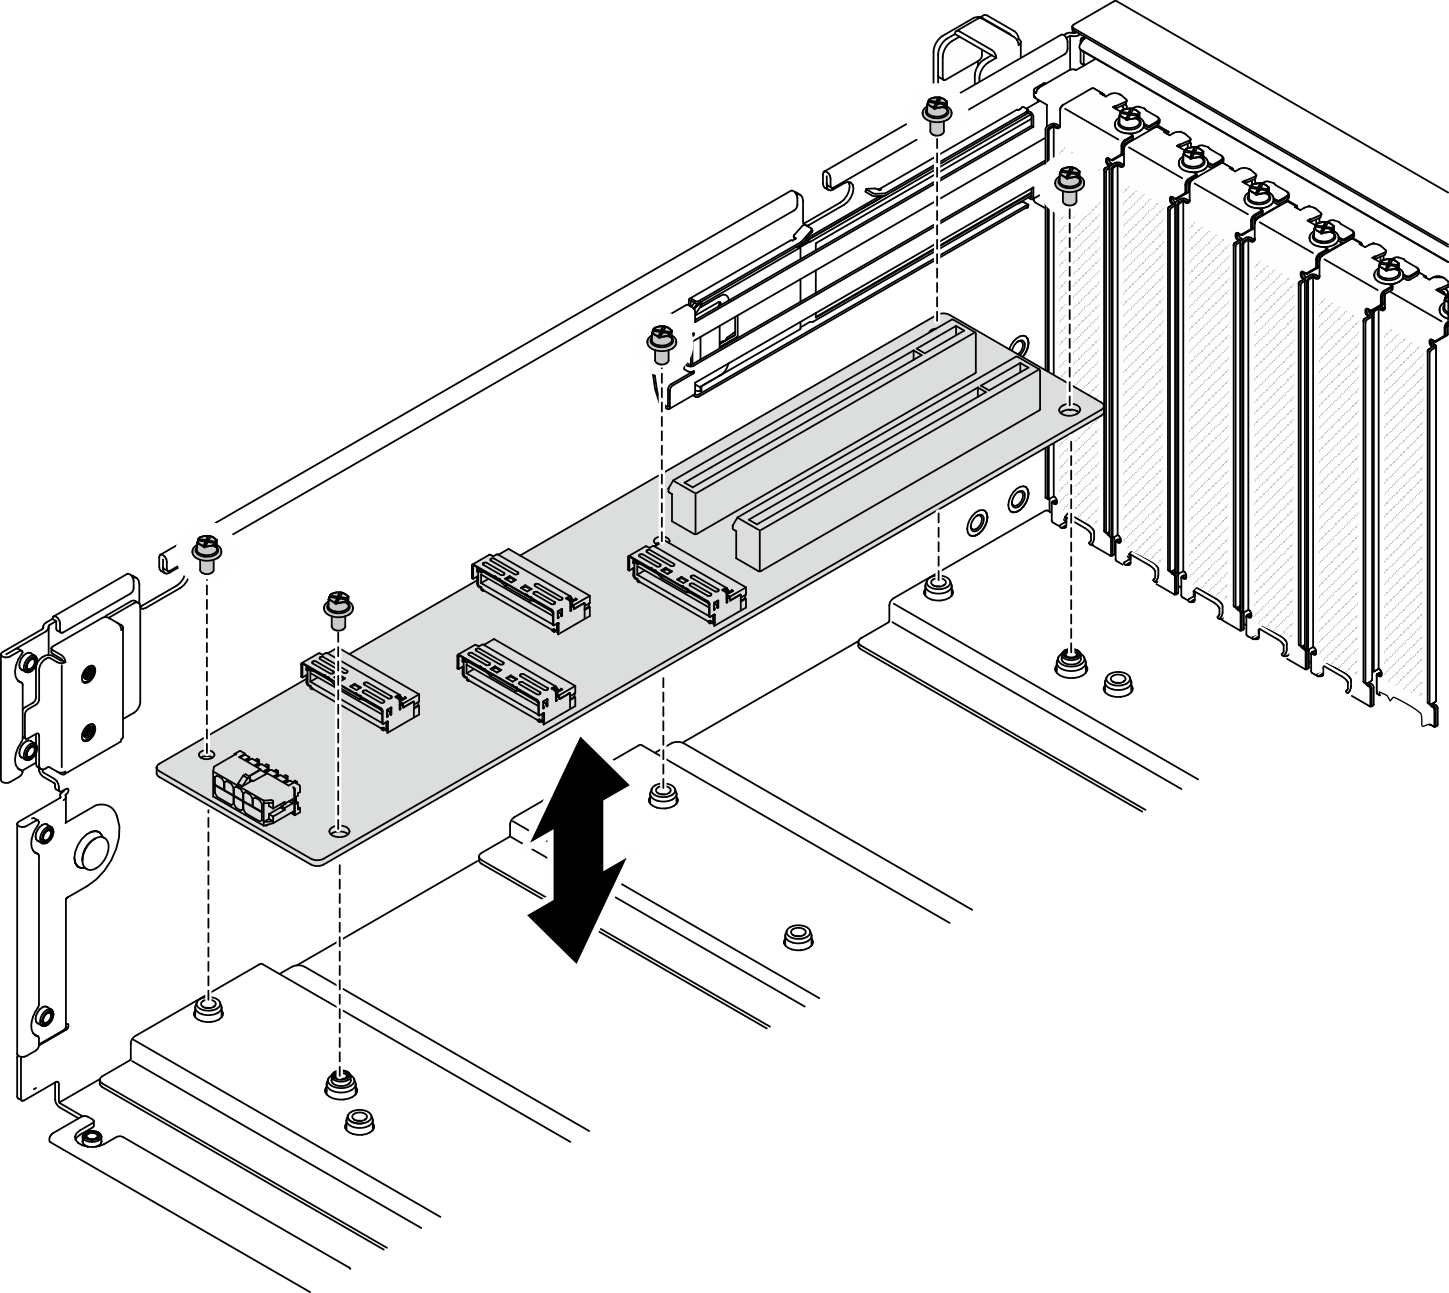
- Fasten the five screws to secure it to the chassis.Figure 1. Installing the front I/O expansion board
After you finish
Reconnect the required cables.
Reinstall the network adapter to the front I/O expansion board. See Install a network adapter.
Complete the parts replacement. See Complete the parts replacement.
Demo video
Give documentation feedback