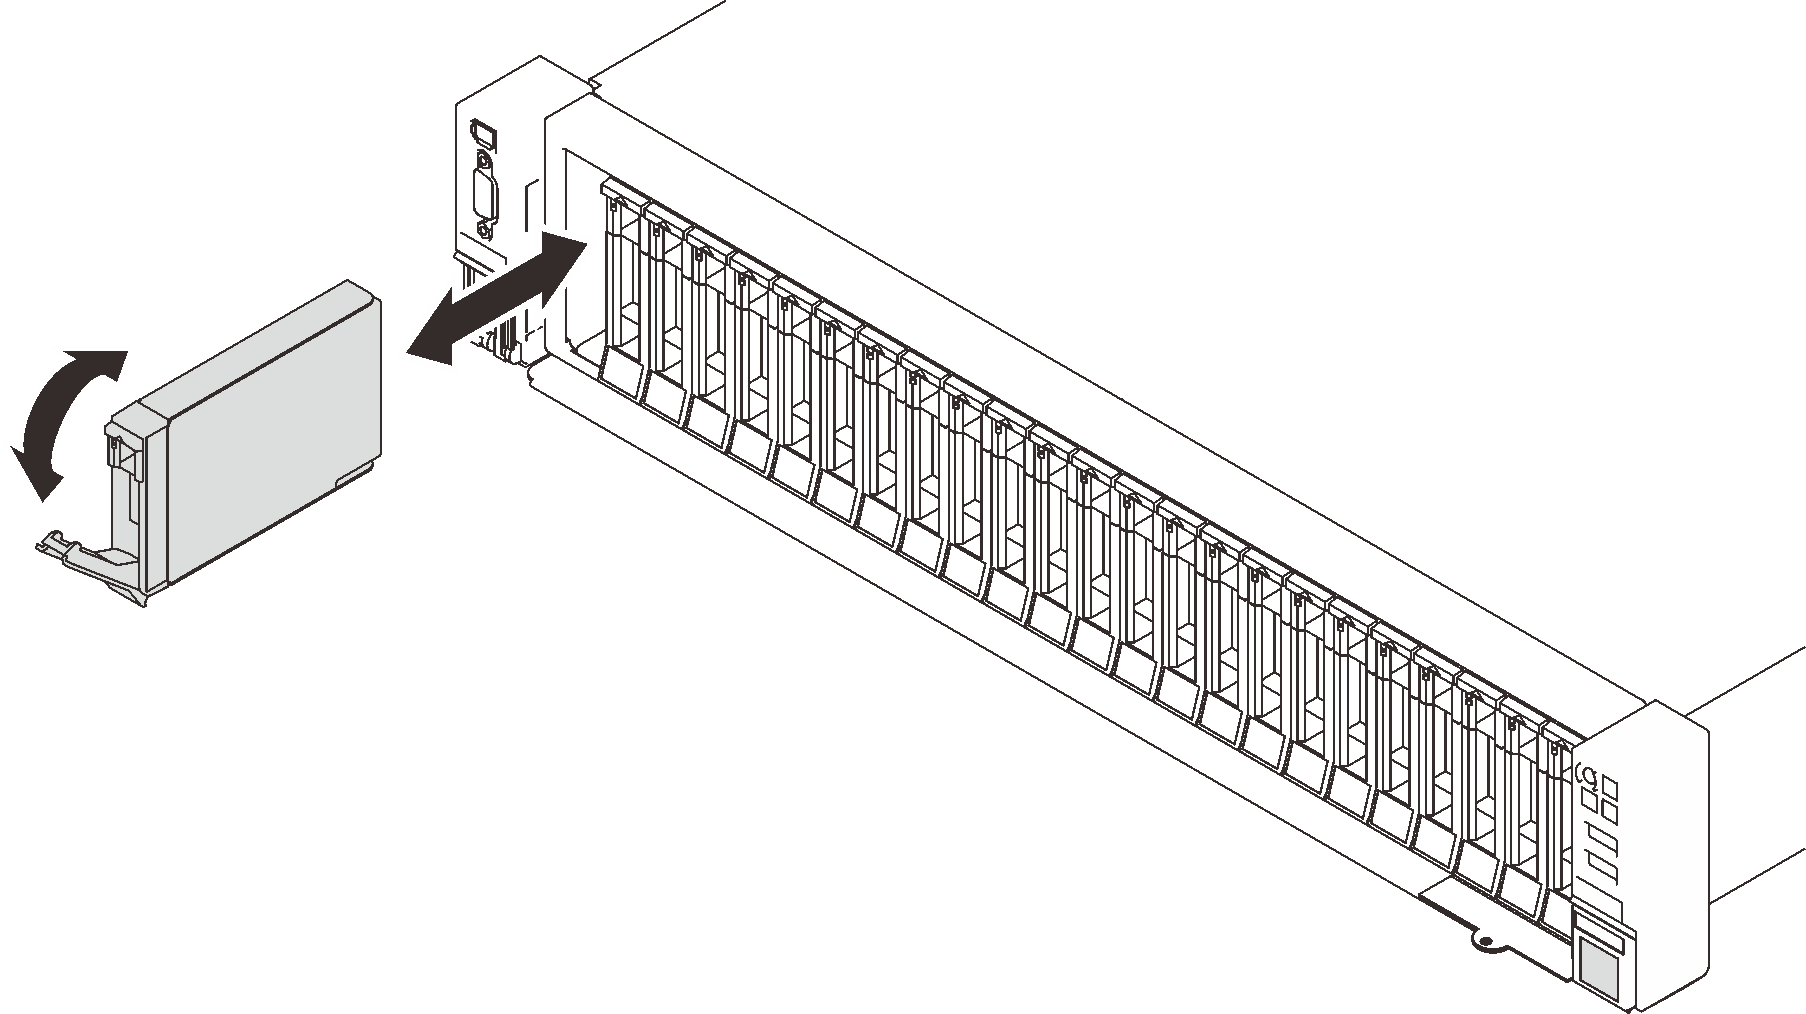
Install a 2.5-inch hot-swap drive
Follow instructions in this section to install a 2.5-inch hot-swap drive.
About this task
Attention
Go over Installation Guidelines to ensure that you work safely.
Note
The server supports up to three drive backplanes with the following corresponding drive bay numbers.
Figure 1. Drive backplane numbering


| Drive backplane | Drive bay | Supported drive backplane | Supported drive | |
| 1 | 1 | 0 to 7 |
|
|
| 2 | 2 | 8 to 15 | ||
| 3 | 3 | 16 to 23 |
Note
When the following components are installed in the system, bay 16 to 23 are disabled, and the maximal supported drive quantity is 16.
- PMEMs
- 256 GB 3DS DRIMMs
For a complete list of supported optional device for this server, see Lenovo ServerProven website.
Procedure
After this task is completed
- Check the drive status LED to verify if the drive is operating correctly:
- If the yellow LED is lit continuously, it is malfunctioning and must be replaced.
- If the green LED is flashing, the drive is functioning.
NoteIf the server is configured for RAID operation through a ThinkSystem RAID adapter, you might have to reconfigure your disk arrays after you install drives. See the ThinkSystem RAID adapter documentation for additional information about RAID operation and complete instructions for using ThinkSystem RAID adapter. - If any of the drive bays are left empty, fill them with drive bay fillers.
Demo video
Give documentation feedback
