Install the PCIe riser-card assembly
Use this procedure to install the PCIe riser-card assembly.
Before installing the PCIe riser-card assembly:
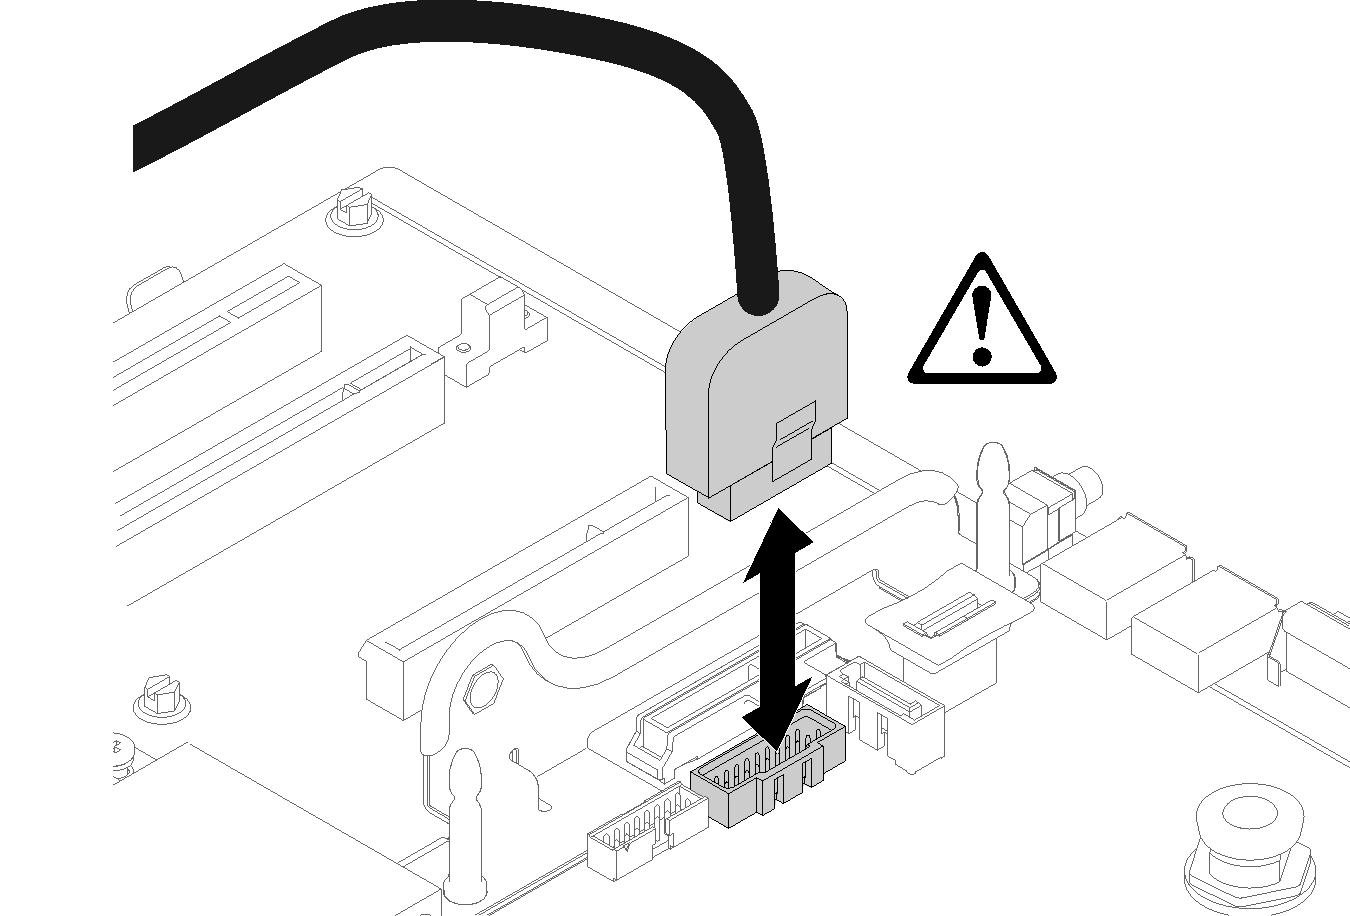
- Disconnect the USB 3.0 cable of operator panel tray assembly, and remove it vertically from the system board.Figure 1. Removing USB 3.0 connector vertically
To install the PCIe riser-card assembly, complete the following steps:
- Assemble the PCIe riser-card assembly:
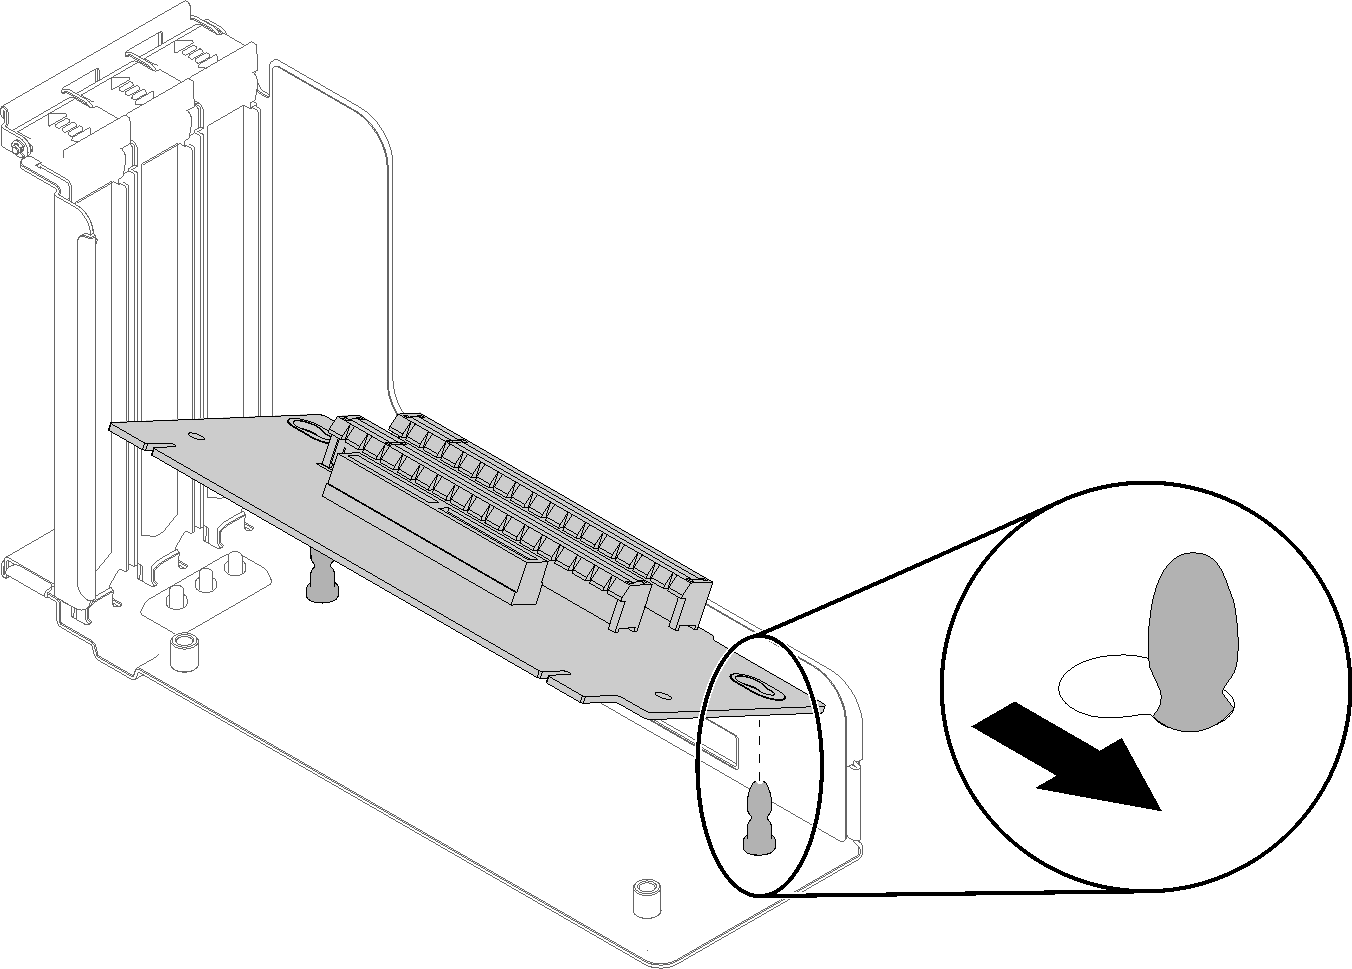
- Align the bottom of the PCIe riser-card to the slot, and rotate the top to fit it into the slot on the riser-cage; then, move the PCIe riser-card slightly to fit the holes into the pins.Figure 2. PCIe riser-card assembly
- Install the PCIe riser-card to the riser-cage with screws.Figure 3. PCIe riser-card assembly

- Align the bottom of the PCIe riser-card to the slot, and rotate the top to fit it into the slot on the riser-cage; then, move the PCIe riser-card slightly to fit the holes into the pins.
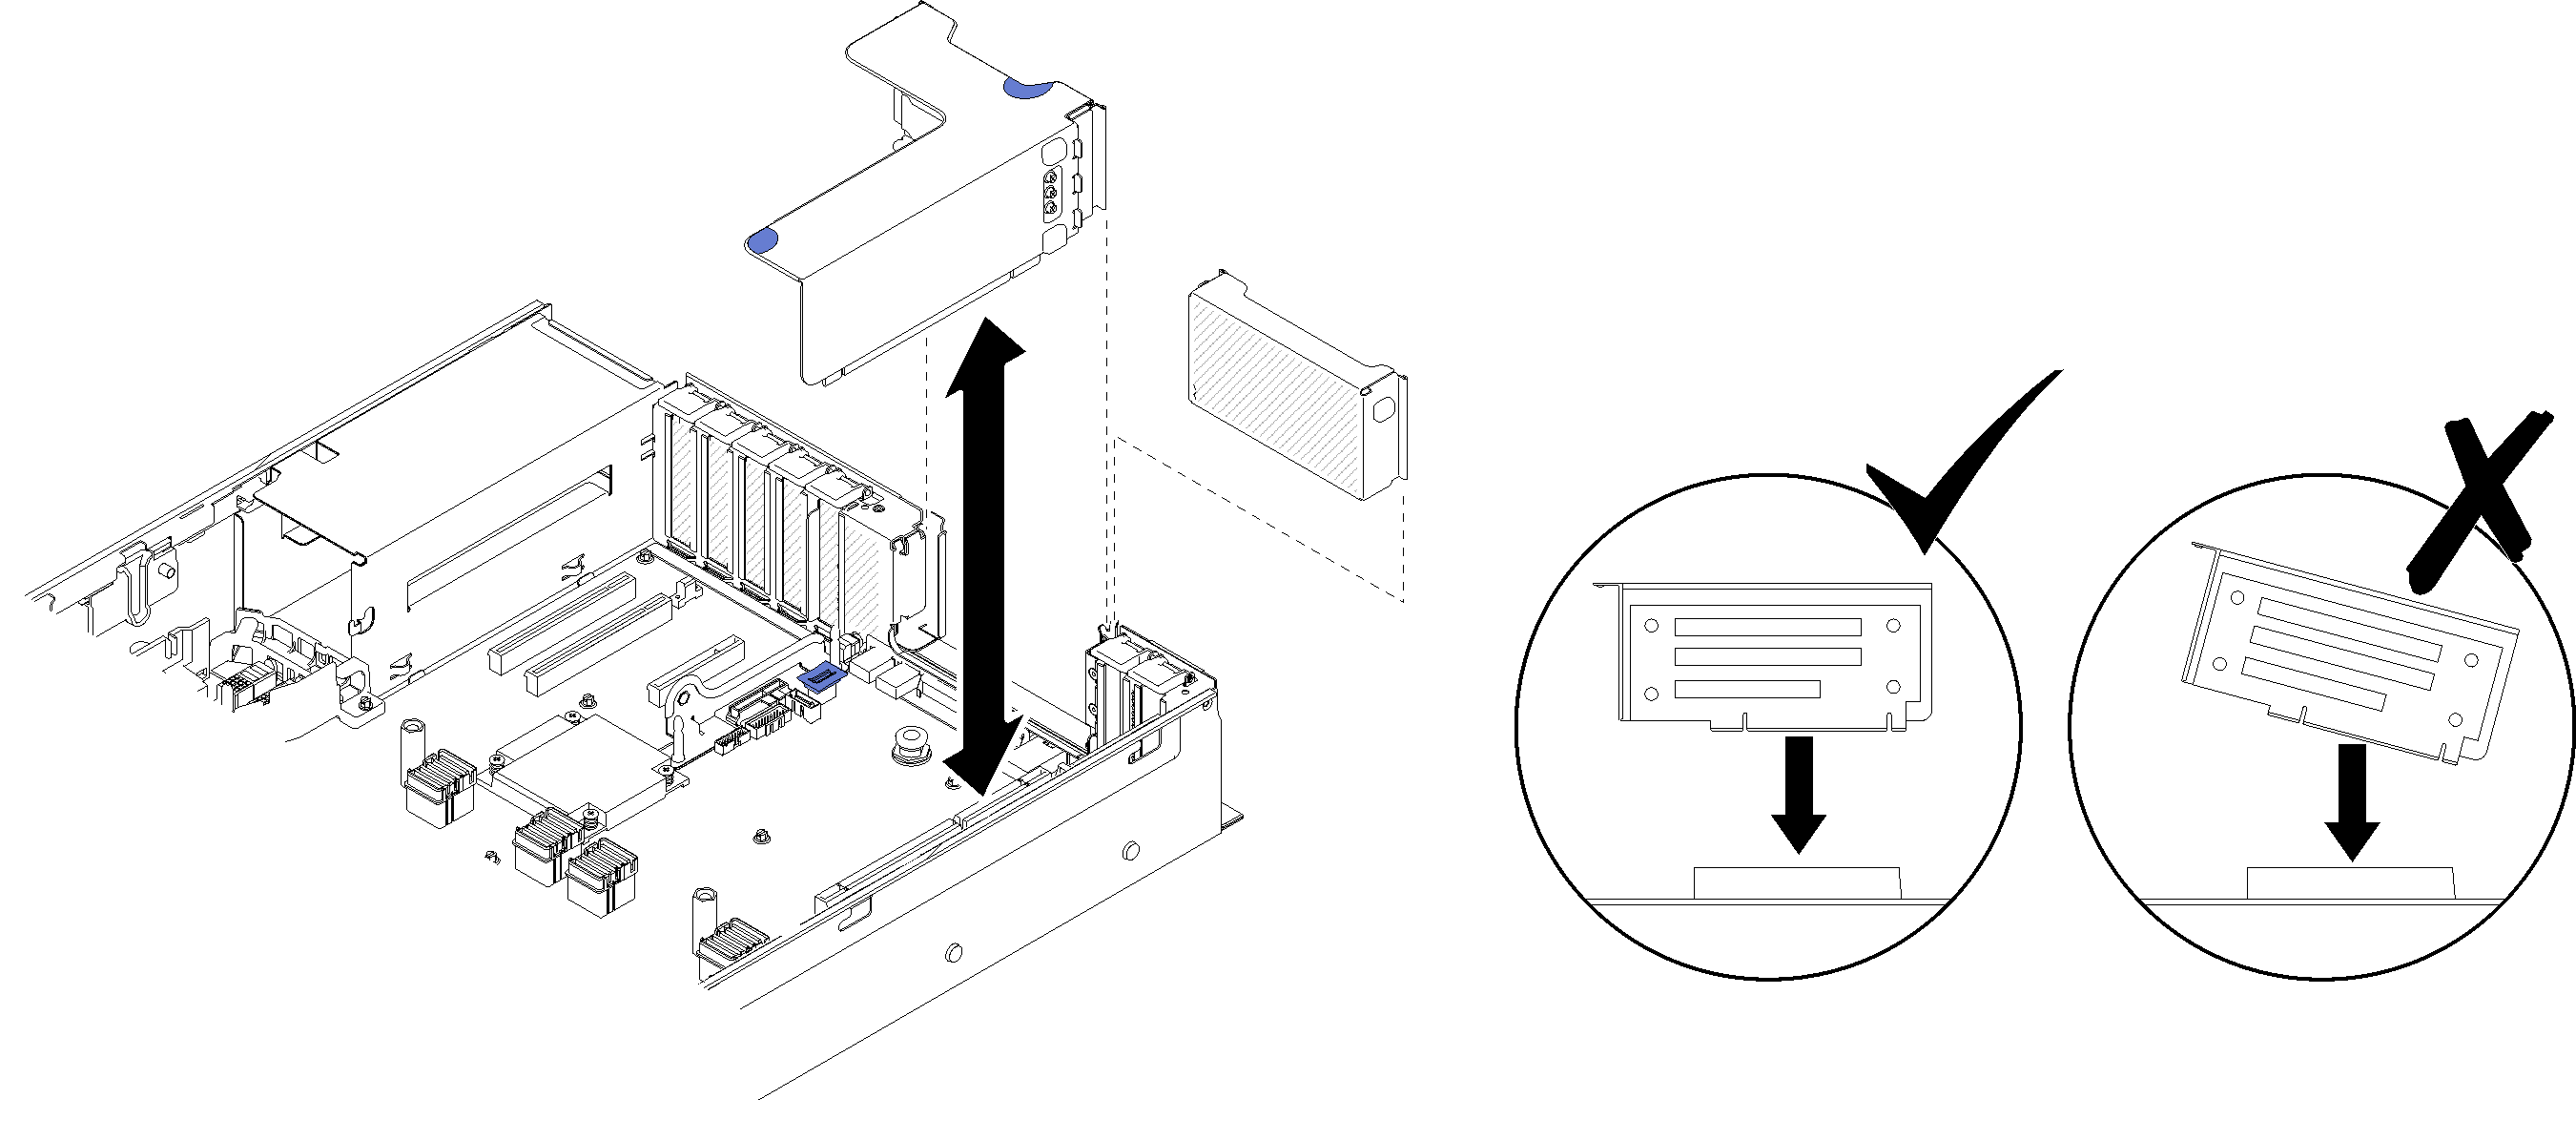
- Align the PCIe riser-card assembly with the connector on the system board; then, push it in until it clicks in place.Figure 4. PCIe riser-card assembly installation
Give documentation feedback