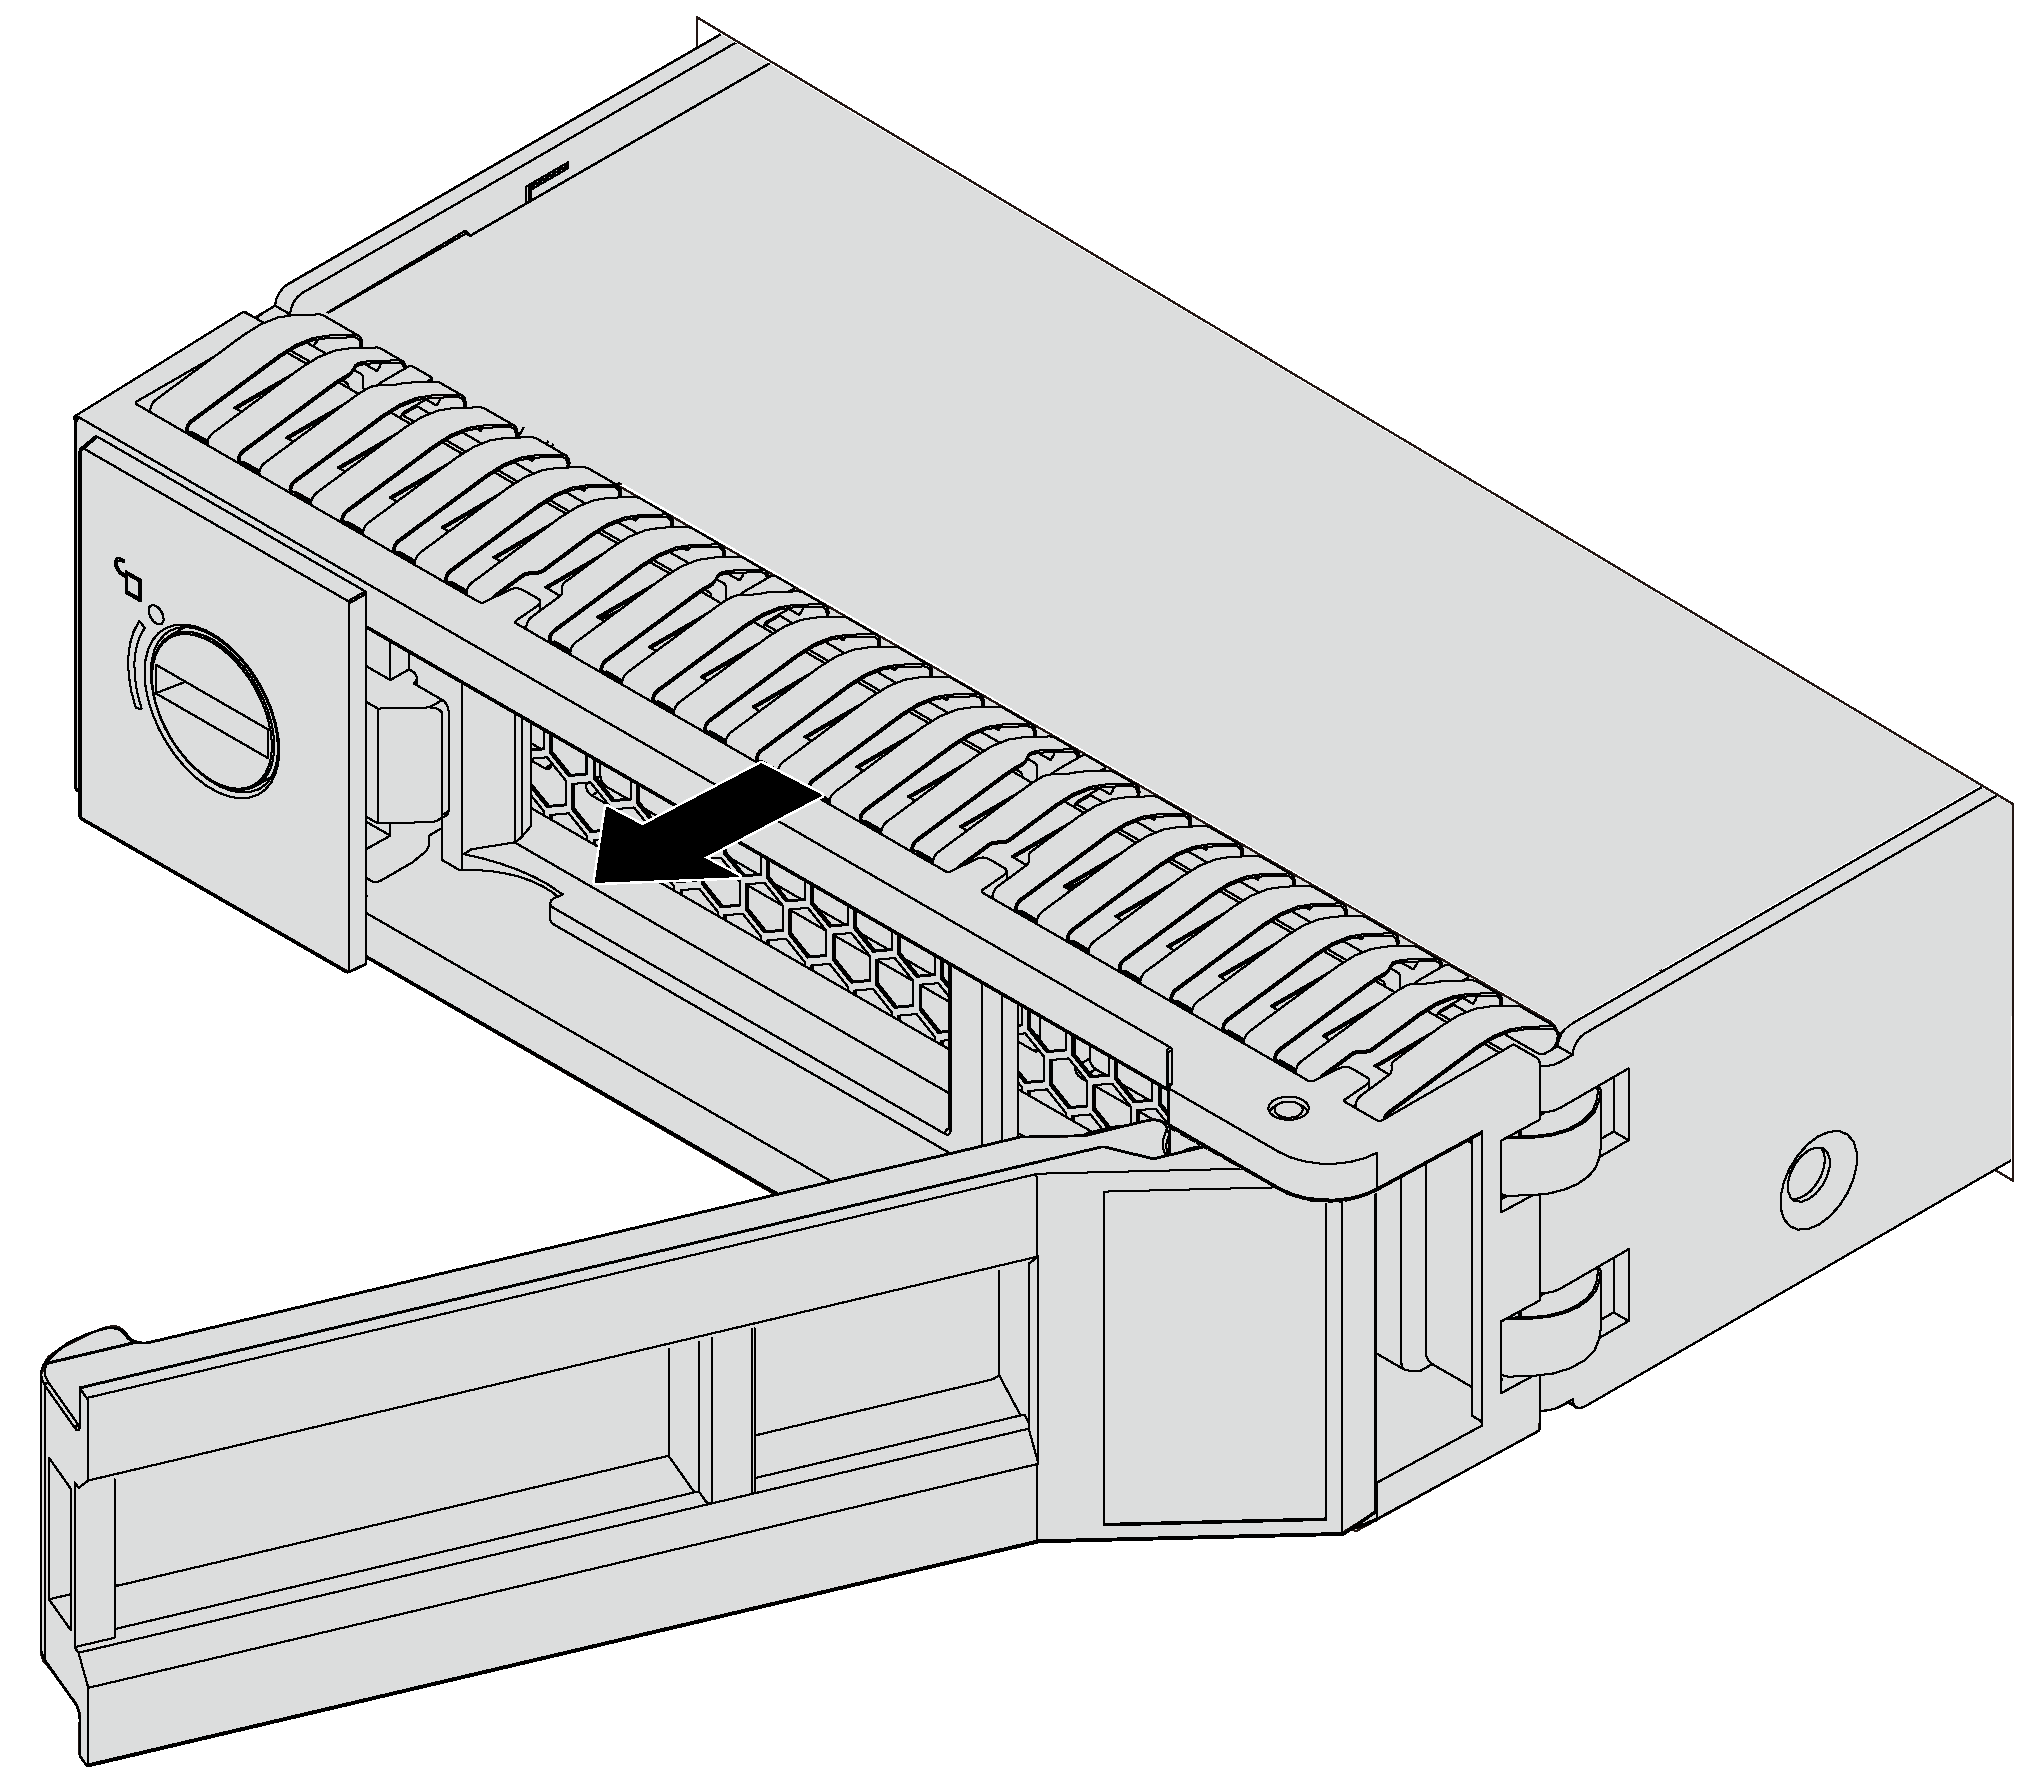
Remove a simple-swap drive
Use this information to remove a simple-swap drive.
Before removing a simple-swap drive:
- Ensure that you have back up data on your drive, especially if it is part of a RAID array.
Before you make changes to drives, drive backplanes, or drive cables, back up all important data that is stored on the drives.
Before you remove any component of a RAID array, back up all RAID configuration information.
If the server is installed in a rack, extend the server from the rack.
If the server has the front door installed, open it.
To remove a simple-swap drive, complete the following steps:
After removing a simple-swap drive:
Install a new drive or install the drive filler to cover the drive bay. See Install a simple-swap drive.
NoteTo ensure that there is adequate system cooling, do not operate the server for more than two minutes without either a drive or a drive filler installed in each bay.If you are instructed to return the simple-swap drive, follow all packaging instructions and use any packaging materials that are provided.
Give documentation feedback


