
Installing a PCI-X bracket

Use this information to install a PCI-X bracket.

Read the safety information in Safety and Installation guidelines.

If you are replacing a server component in the server, you need to turn off the server and peripheral devices, and disconnect the power cords and all external cables.

To install a PCI-X bracket, complete the following steps.

  1. Carefully turn the server on its side so that it is lying flat, with the cover facing up.
    Attention
    Do not allow the server to fall over.
  2. Unlock and remove the left-side cover (see Removing the left-side cover).
  3. Touch the static-protective package that contains the adapter to any unpainted metal surface on the server; then, remove the adapter from the package.
  4. Locate PCI slot 1 which you will install the PCI-X bracket.
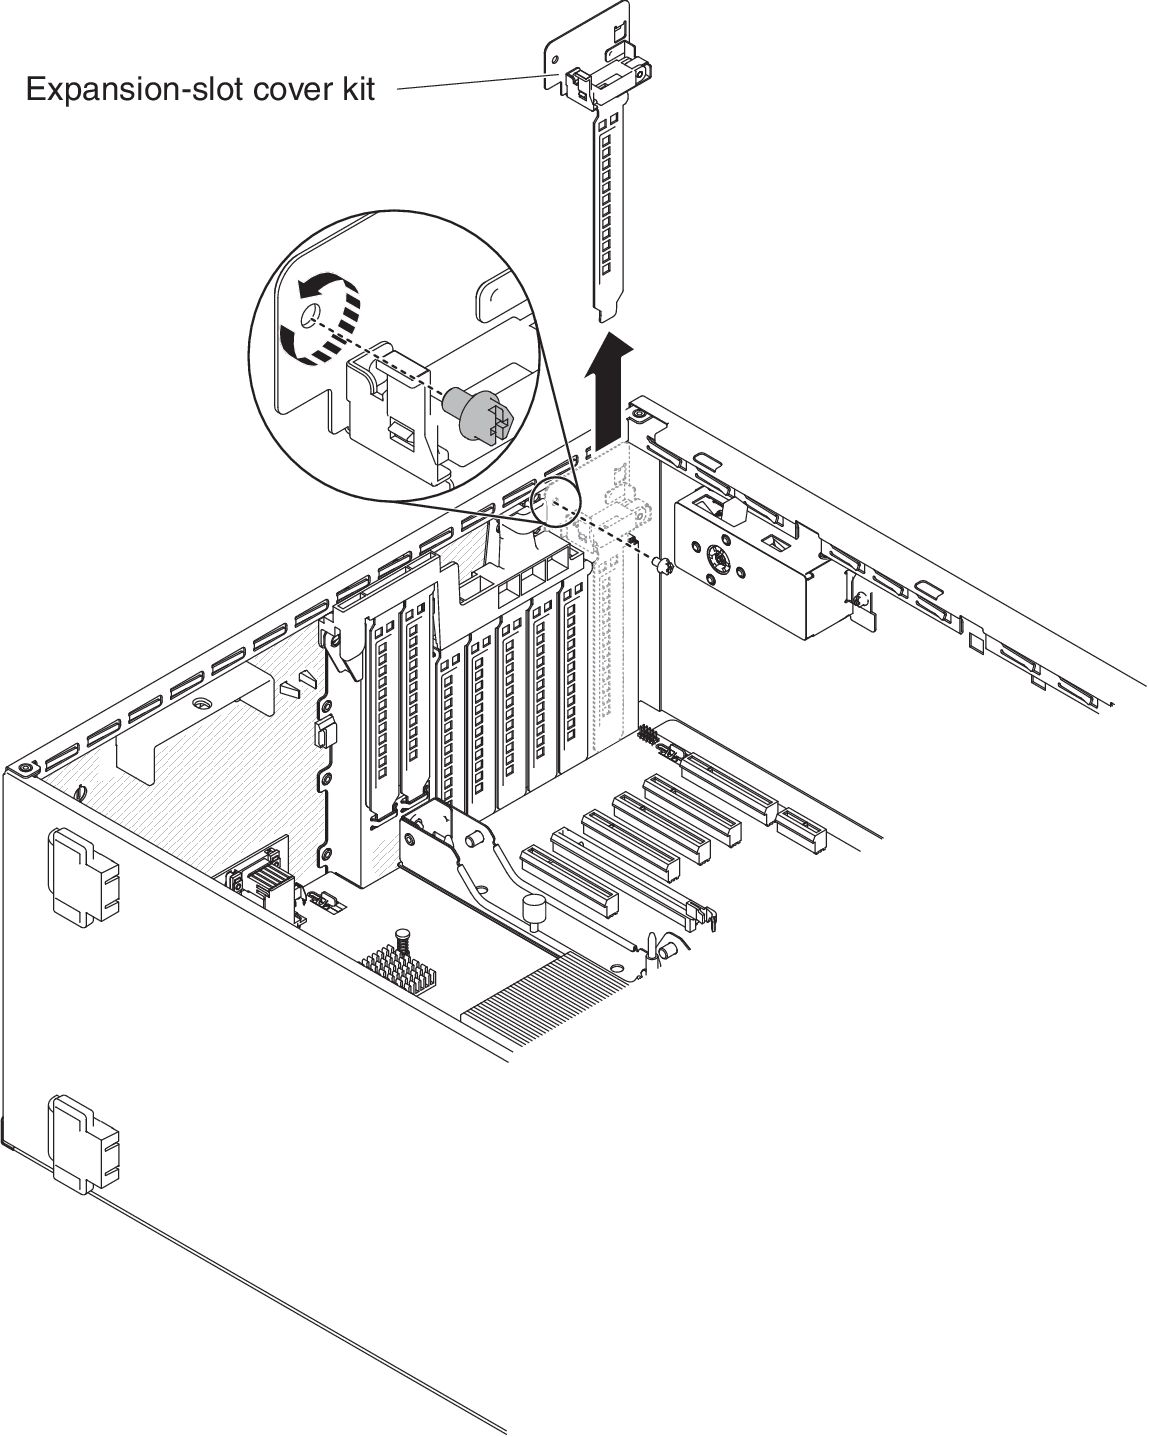
  5. Remove the screw that secures the expansion-slot cover.
    Figure 1. Remove screw that secures the expansion-slot cover
    Remove screw that secures the expansion-slot cover
  6. Remove the expansion-slot cover kit in PCI slot 1 and save it for future use.
  7. Press the PCI-X bracket firmly into PCI slot 1.
    Attention
    Incomplete insertion might cause damage to the system board or the adapter.
  8. Make sure the latch on the side of the PCI-X bracket is secured to the rear of the server chassis.
    Figure 2. PCI-X bracket insertion
    PCI-X bracket insertion
  9. Install the screw that secures the PCI-X bracket to the server.

If you have other devices to install or remove, do so now.