Install Rear Door Heat eXchanger V2
See this topic to learn how to install ThinkSystem Rear Door Heat eXchanger V2.
About this task
S036
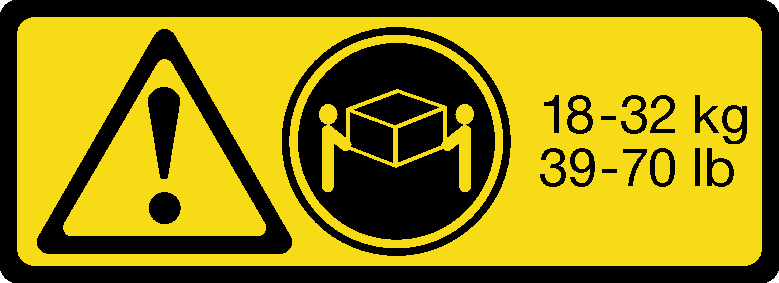 | 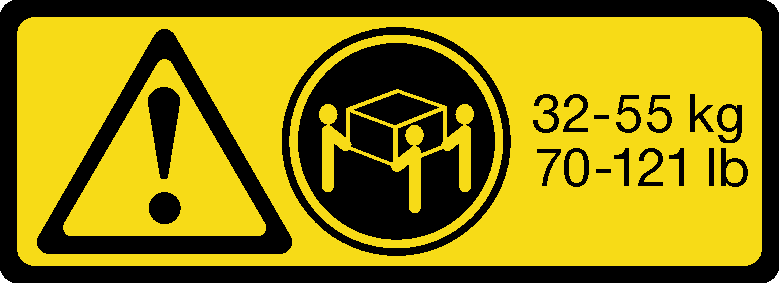 |
| 18 - 32 kg (39 - 70 lb) | 32 - 55 kg (70 - 121 lb) |
CAUTION
Use safe practices when lifting.
S010
CAUTION
Do not place any object weighing more than 82 kg (180 lb) on top of rack-mounted devices.
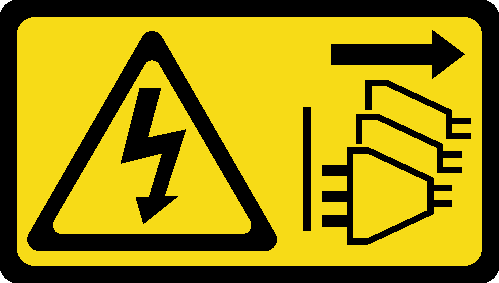
S019
CAUTION
The power-control button on the device does not turn off the electrical current supplied to the device. The device also might have more than one connection to dc power. To remove all electrical current from the device, ensure that all connections to dc power are disconnected at the dc power input terminals.
R007
DANGER
danger
- Connect power cords from devices in the rack cabinet to electrical outlets that are near the rack cabinet and are easily accessible.
- Each rack cabinet might have more than one power cord. Be sure to disconnect all power cords in the rack cabinet before you service any device in the rack cabinet.
- Install an emergency-power-off switch if more than one power device (power distribution unit or uninterruptible power supply) is installed in the same rack cabinet.
- Connect all devices that are installed in a rack cabinet to power devices that are installed in the same rack cabinet. Do not connect a power cord from a device that is installed in one rack cabinet to a power device that is installed in a different rack cabinet.
R004

CAUTION
See the instructions in the rack documentation before you install devices, remove devices, or relocate the rack.
S038

CAUTION
Eye protection should be worn for this procedure.
Procedure
- (With 42U Advanced Rack Extension Kit installed only) Make sure the three support brackets are removed from the extension panels.Figure 1. Removing the support brackets

- Face the bottom side of the carton, remove the carton top, and slit the two carton corners on your right-hand side with a knife. Then, fold the right carton panel down to the ground, and rotate the threes carton inserts down.Figure 2. Unpacking the heat exchanger
Top 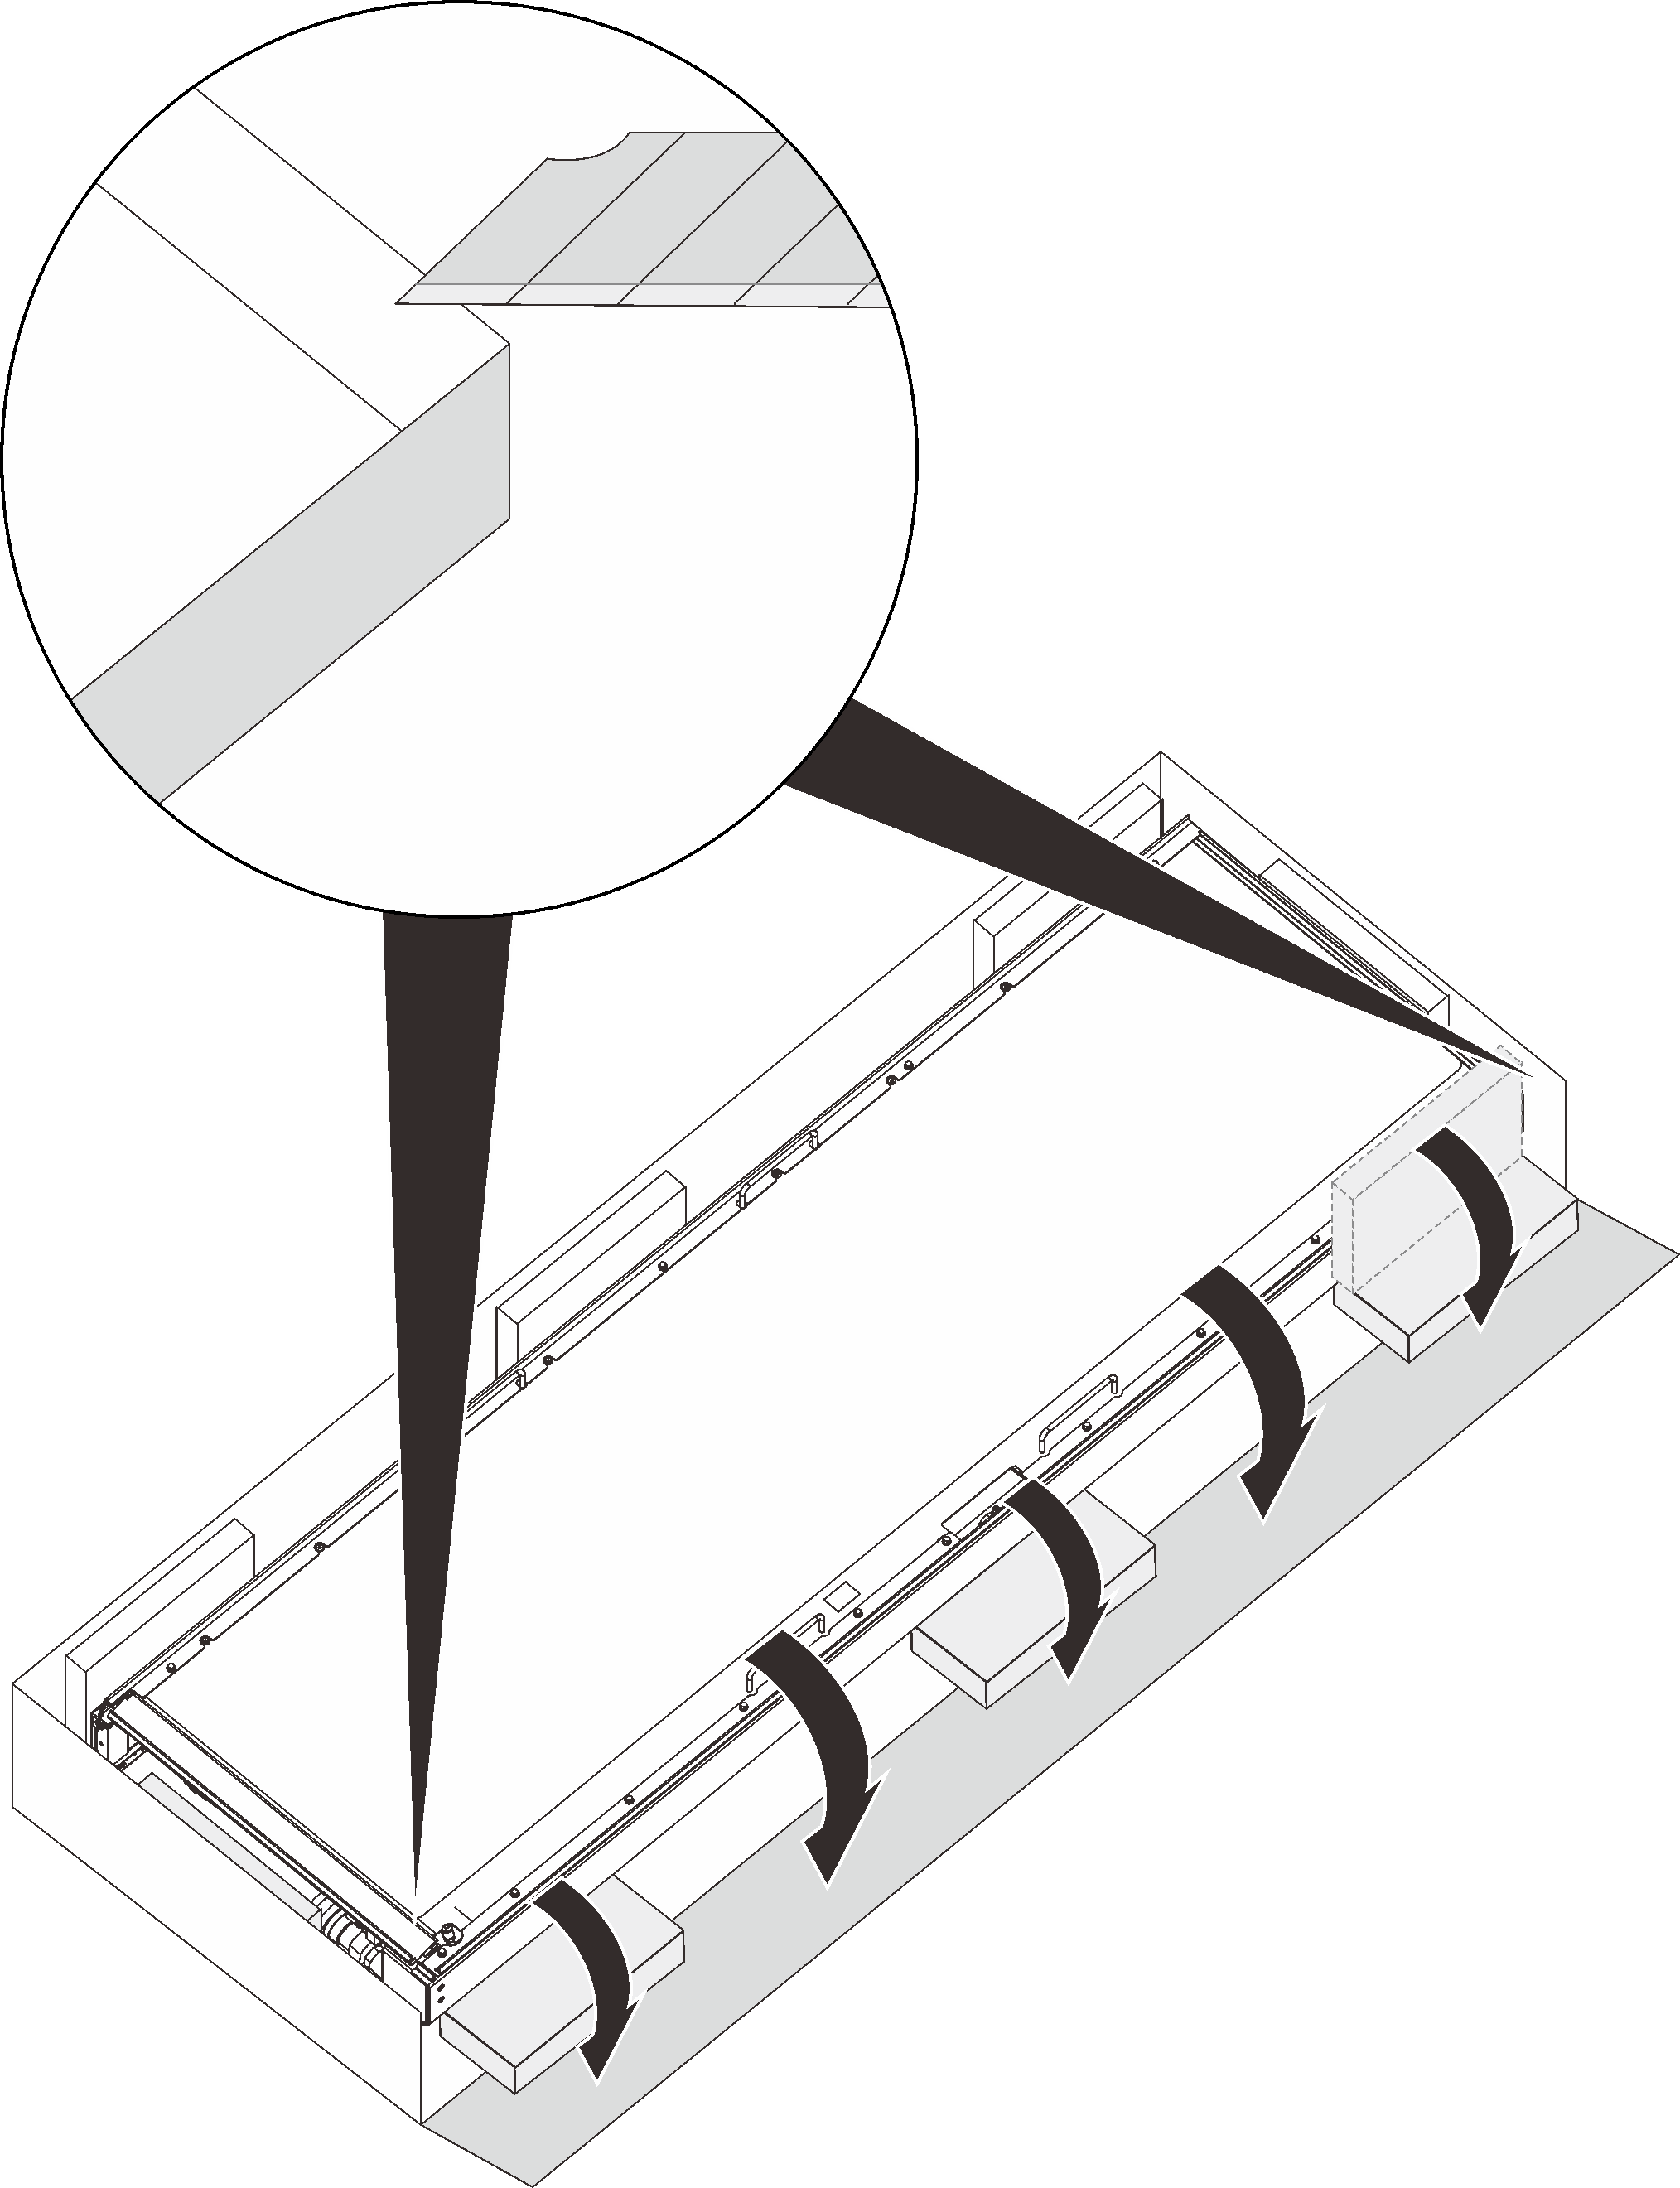
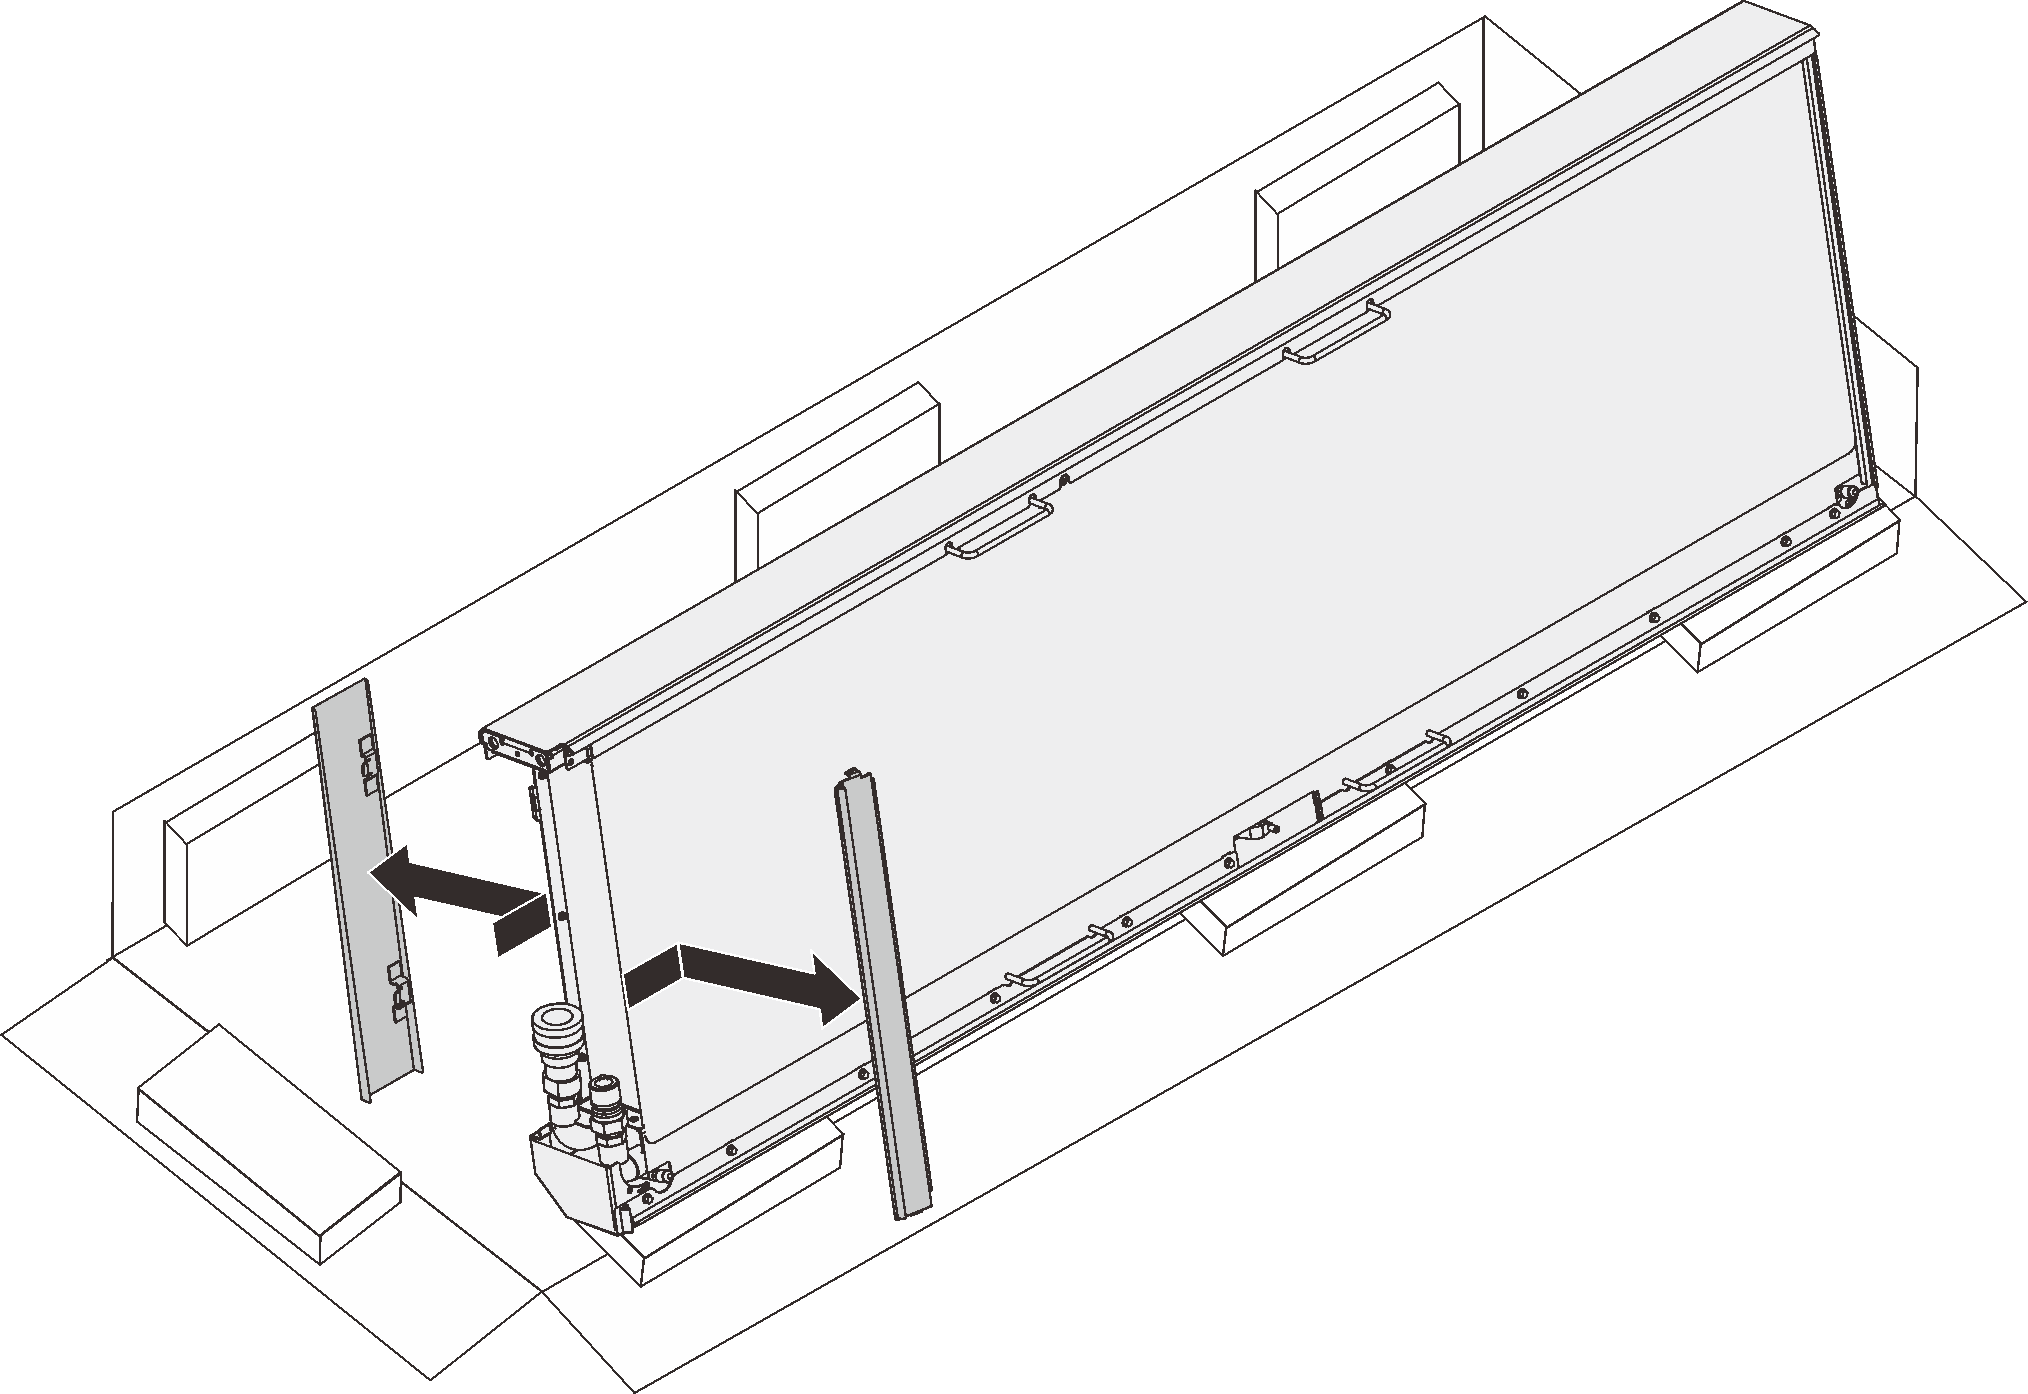
Bottom - With three people, rotate the heat exchanger to vertical on the three carton inserts. Then, remove the inner and outer hose access panels while one person hold the heat exchanger.Figure 3. Removing the hose access panels
- Hold the heat exchanger with three people on the handles/spots as illustrated. Then, carefully lift the heat exchanger and turn it upright.Figure 4. Lifting the heat exchanger with three people
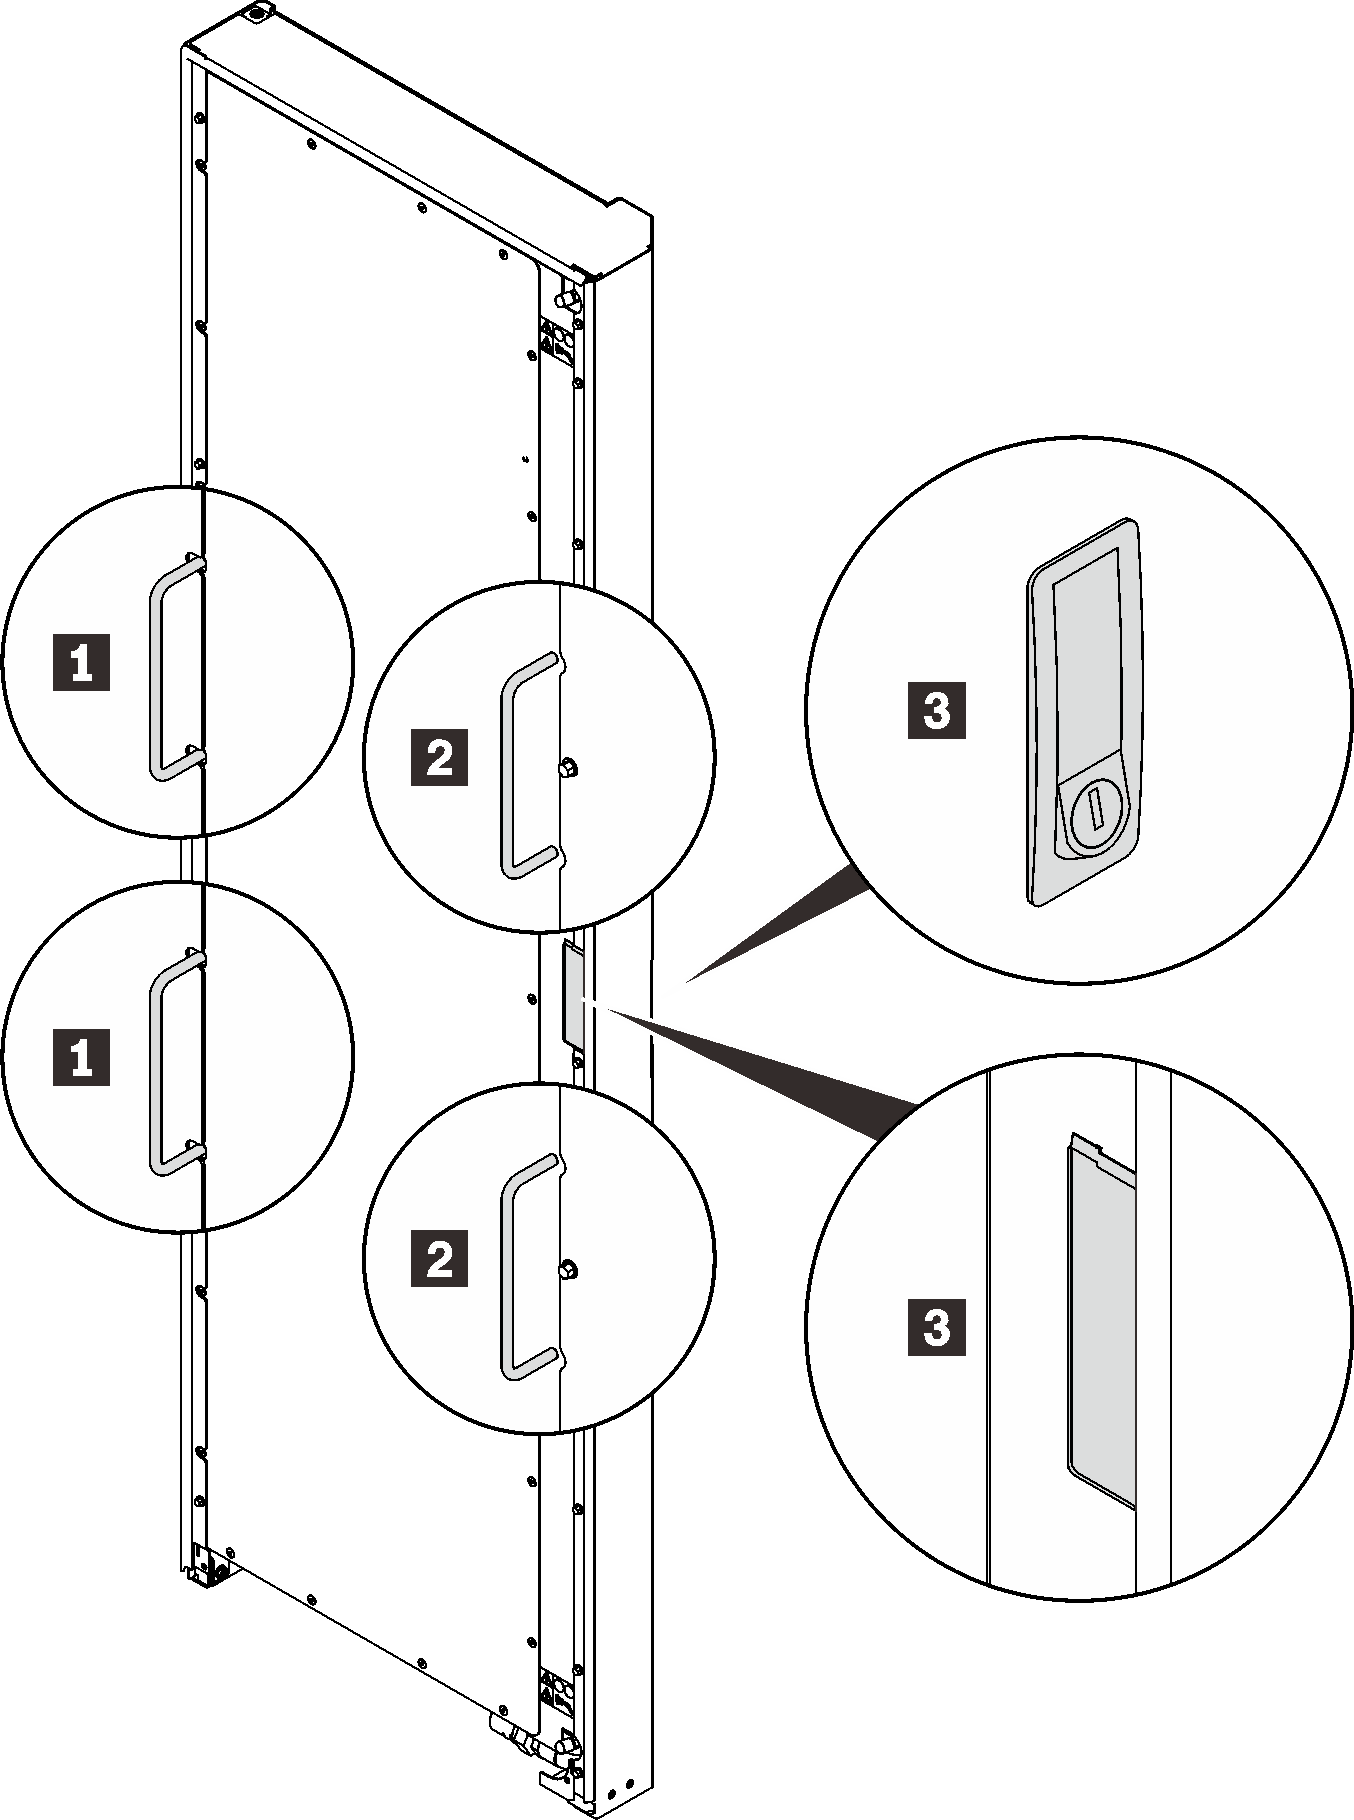
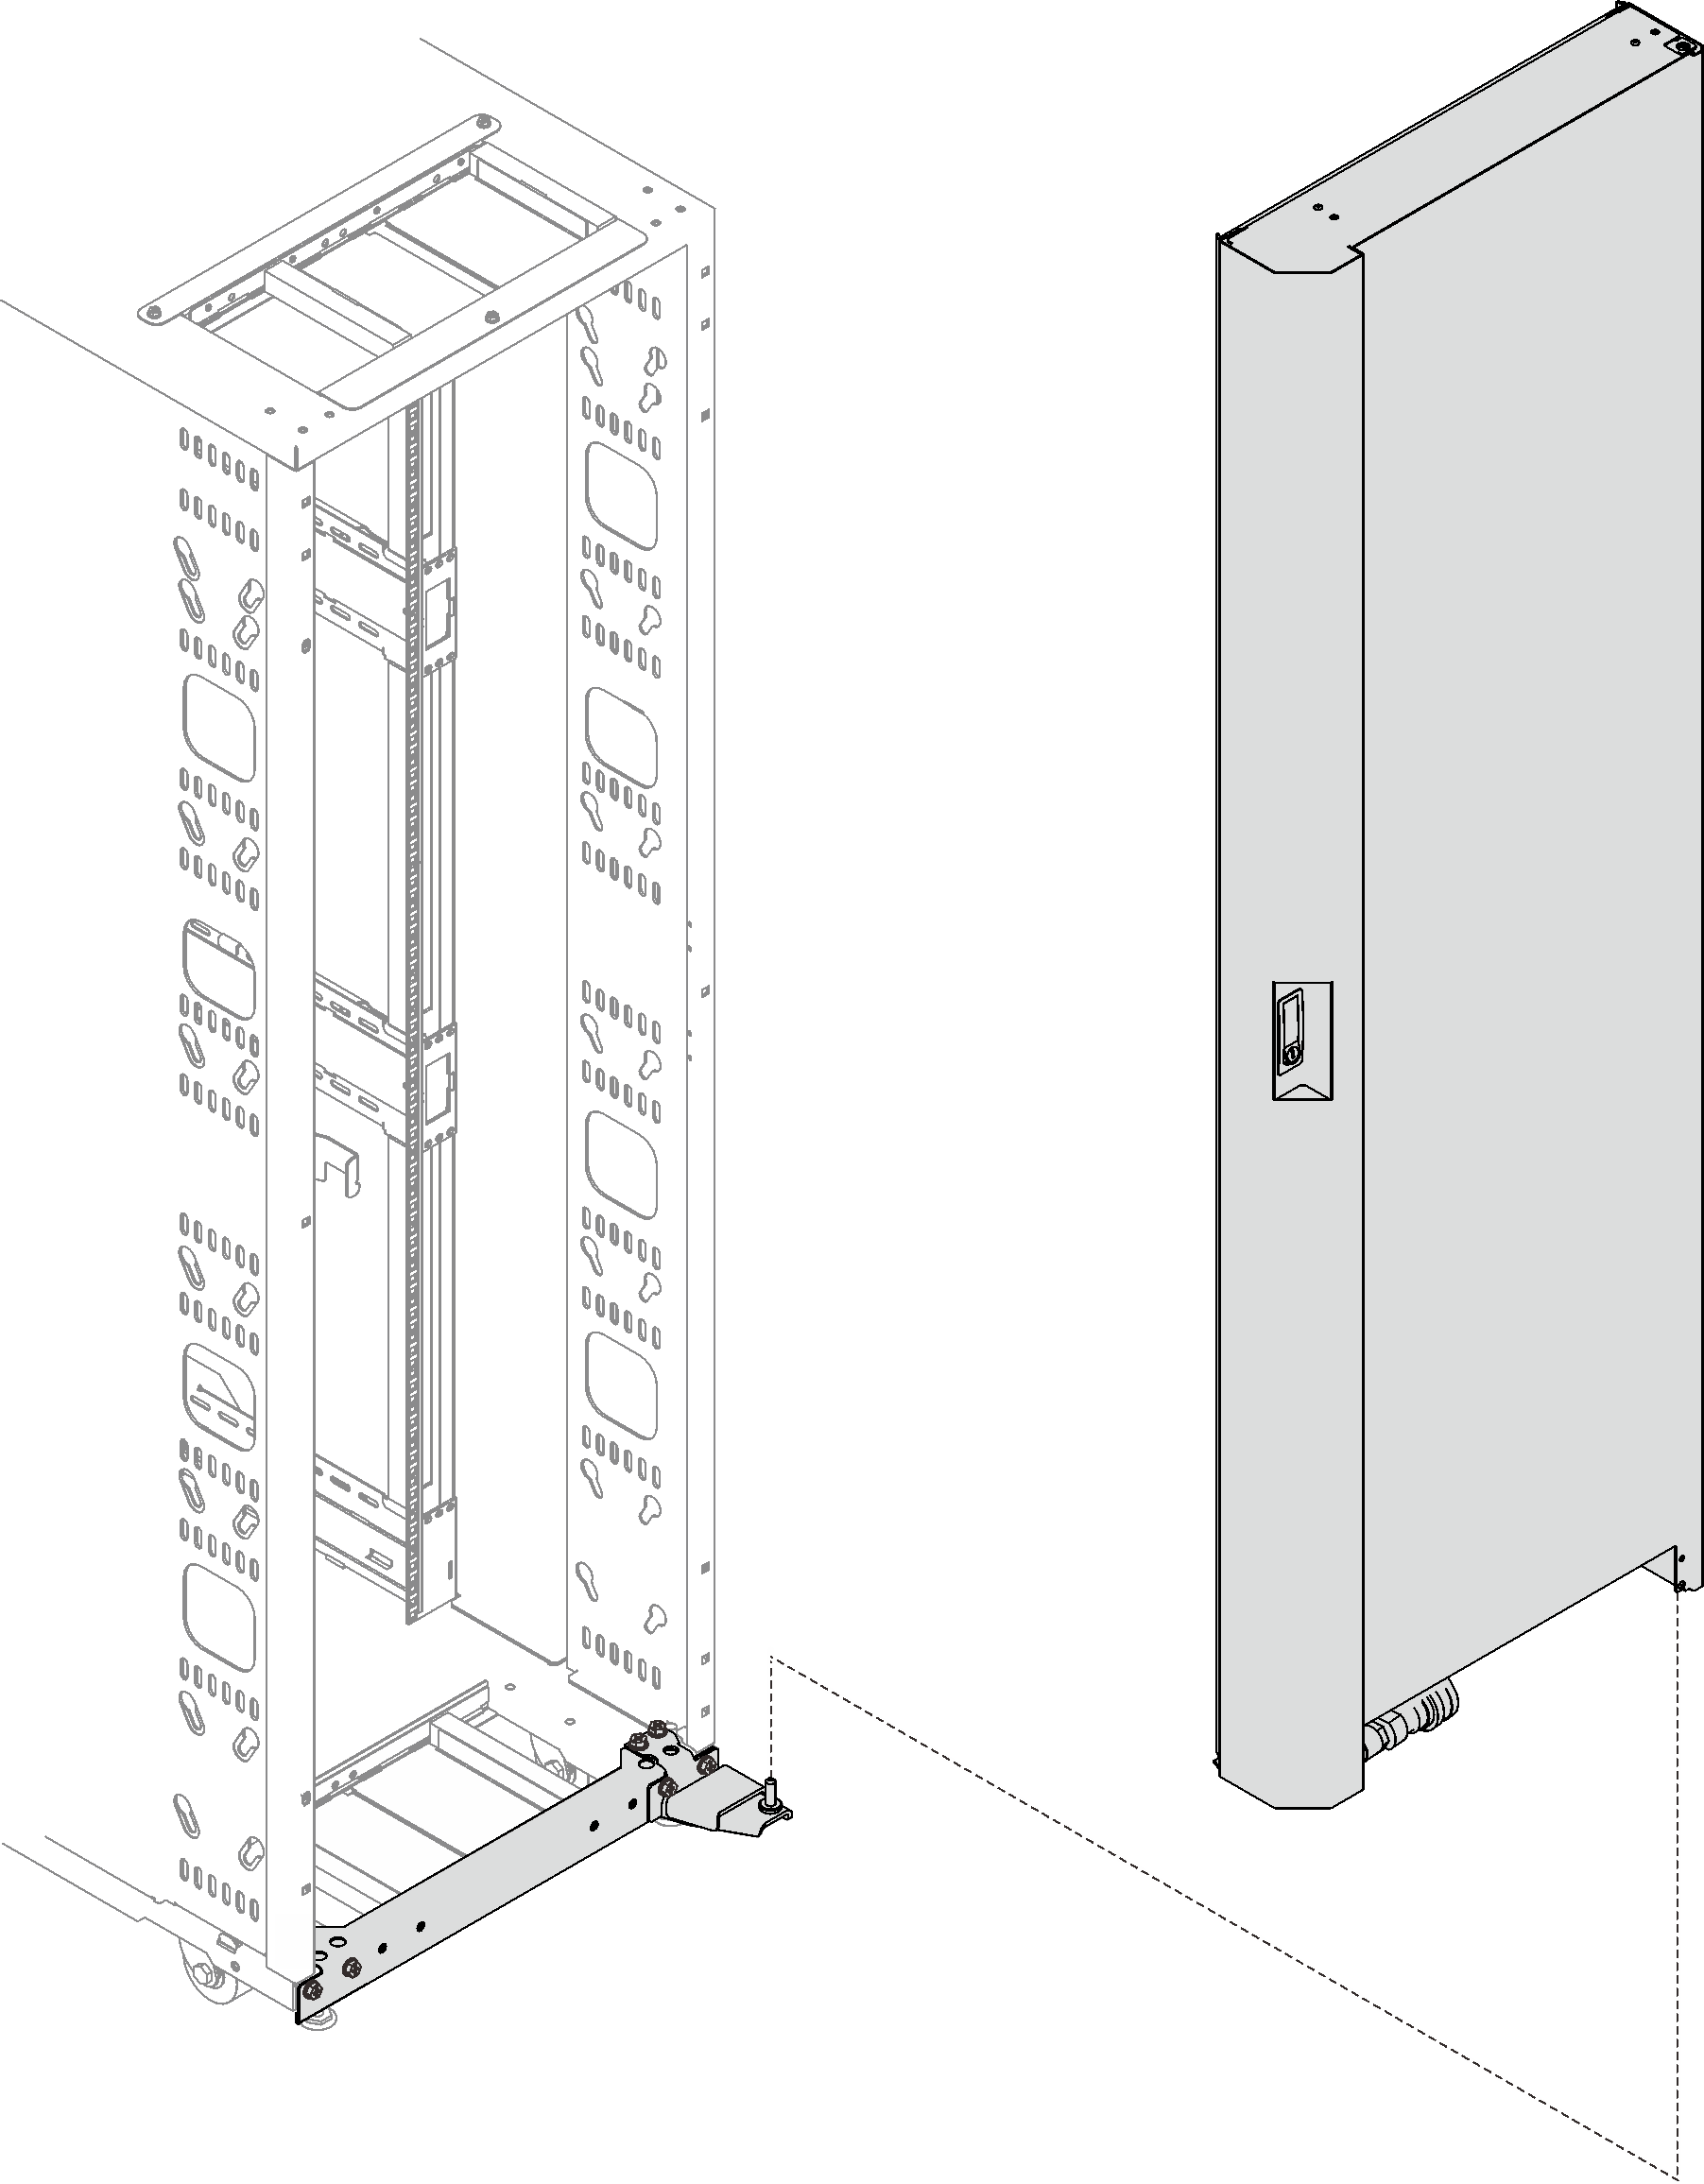
1 Handles that the first person hold on to 3 Spots that the third person hold on to 2 Handles that the second person hold on to - Carry the heat exchanger with three people to the cabinet frame. Align the bottom corner with the bottom hinge pin on the rack cabinet; then, lower the heat exchanger to fit the pin in.Figure 5. Installing the heat exchanger to the rack cabinet
- Hold the heat exchanger in place with two people, and install the top hingeDepending on the configuration, select the corresponding installation procedures:
Without rack extension kit installed
Figure 6. Installing the top hinge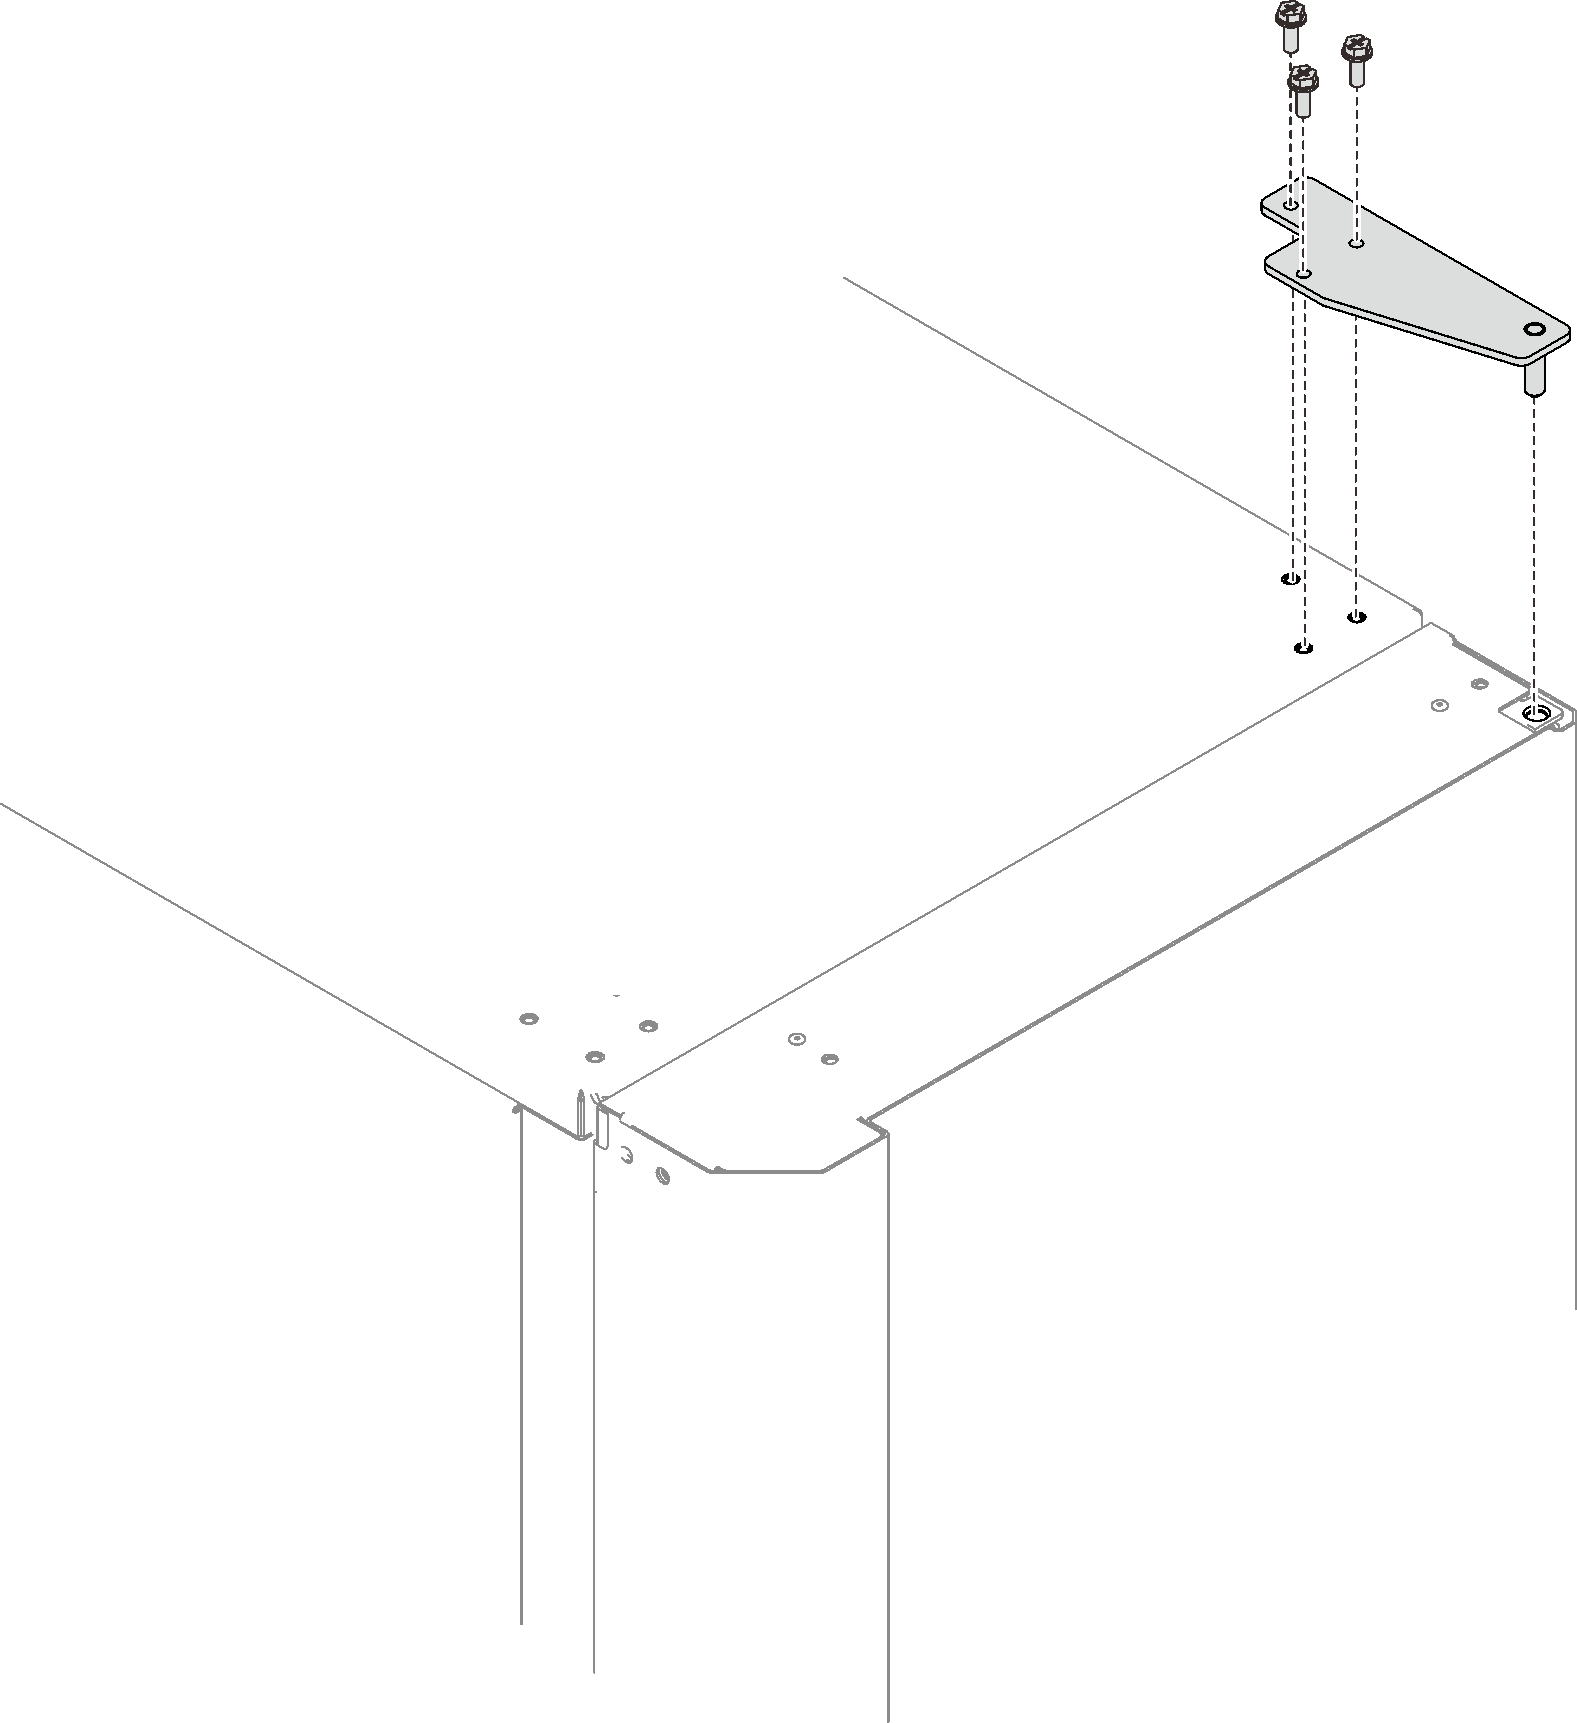
Insert the top hinge pin to the heat exchanger; then, secure the hinge with three screws.
With 42U Advanced Rack Extension Kit installed
Figure 7. Installing the top hinge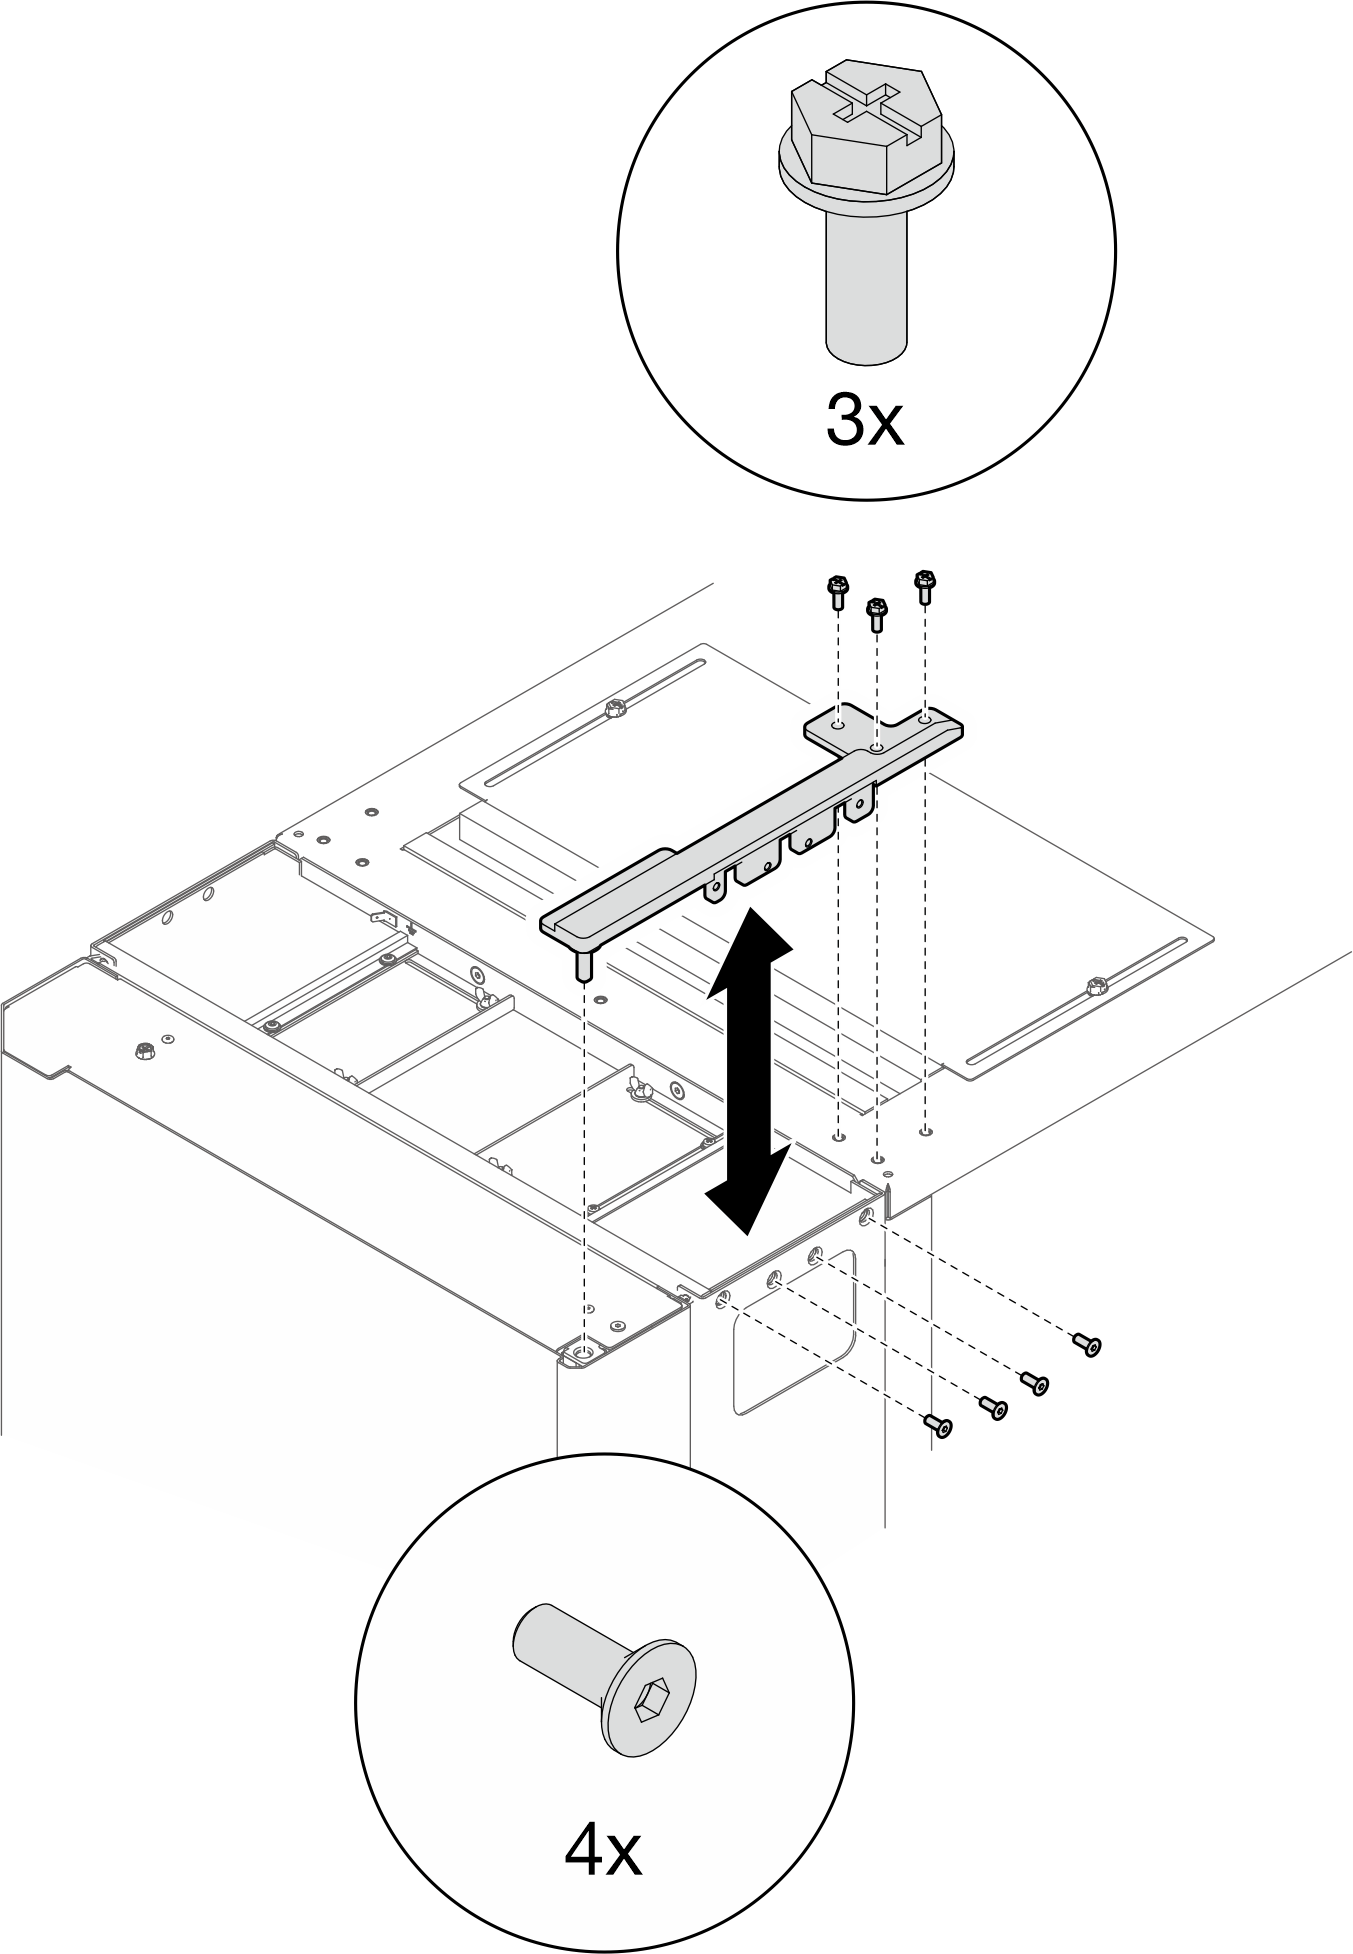
Insert the top hinge pin to the heat exchanger; then, secure the hinge with seven screws.
With 42U Standard Rack Extension Kit installed
Figure 8. Installing the top hinge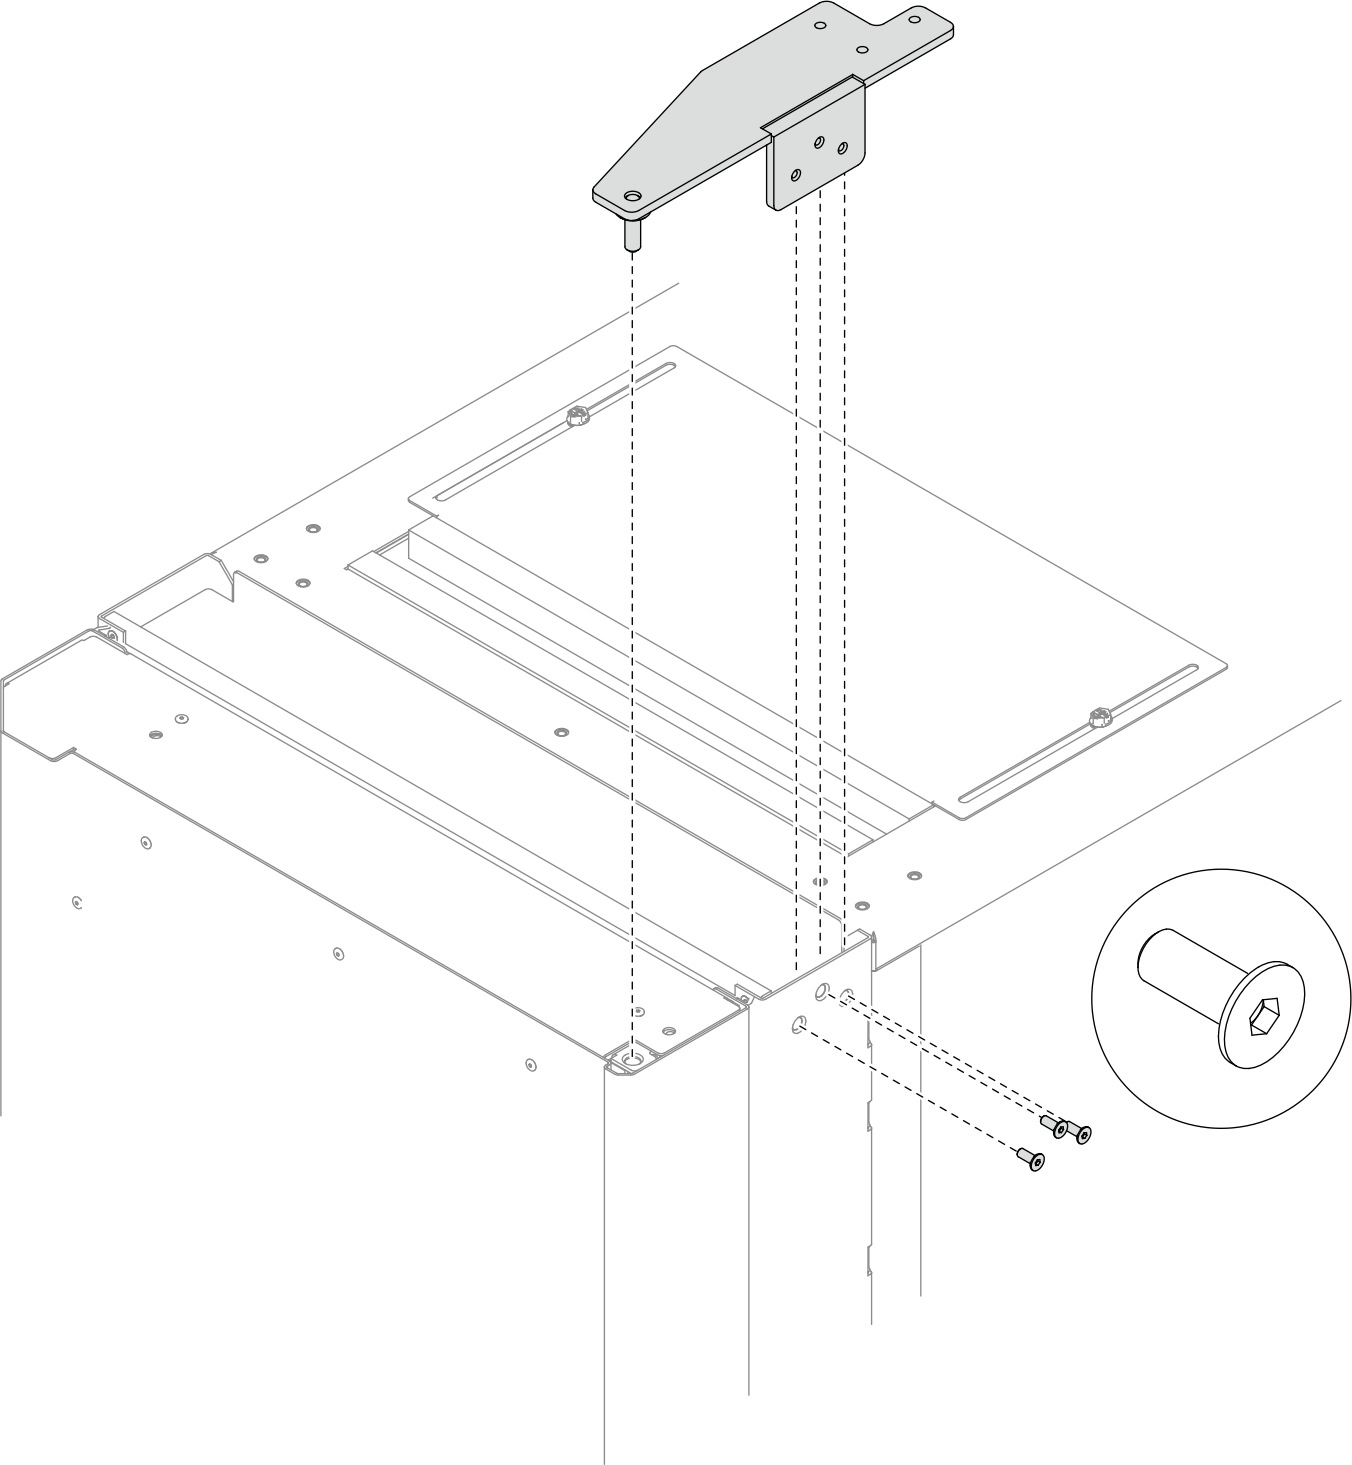
Insert the top hinge pin to the heat exchanger; then, secure the hinge with three screws.
After this task is completed
Proceed to Fill the heat exchanger with water.
Give documentation feedback