部署 Configuration Pattern
您可以使用 Configuration Pattern 頁面,遵循本節中的步驟部署 Configuration Pattern。
程序
- 按一下 Deploy(部署)。Summary(摘要)對話框隨即顯示,讓您確認您的選擇。圖 1. Configuration Pattern deployment summary(Configuration Pattern 部署摘要)對話框
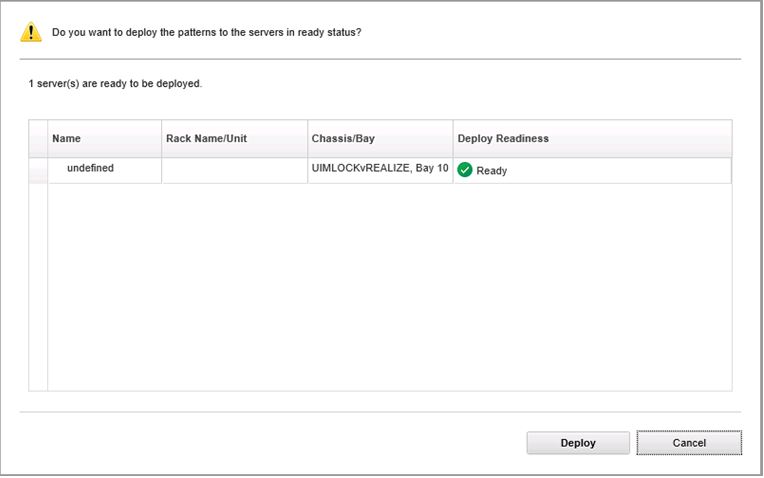
- 按一下 Deploy(部署)。
顯示將提交部署要求的確認視窗隨即顯示。
圖 2. Deployment request confirmation(部署要求確認)視窗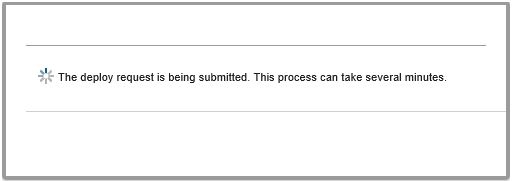
提交完成後,另一個確認視窗隨即顯示。
圖 3. Deployment request submitted confirmation(已提交部署要求確認)視窗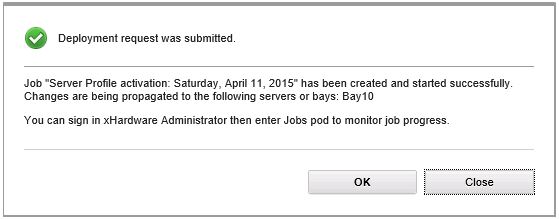
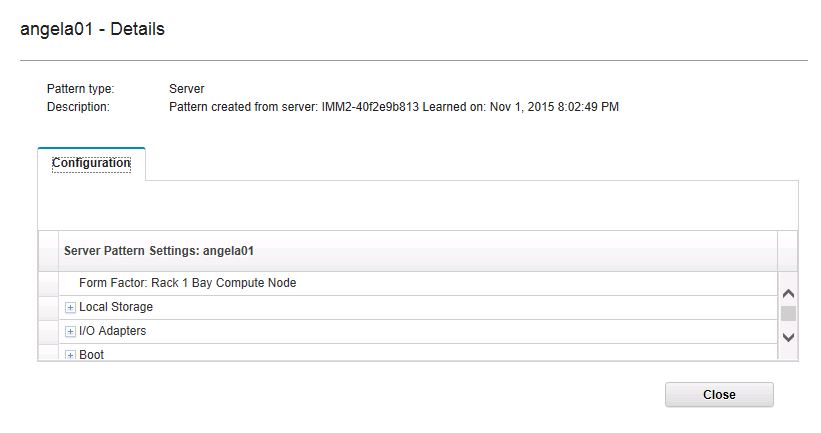
若要檢視 Server Pattern 的詳細資料,按一下 Deploy Server Pattern(部署 Server Pattern)視窗中的 Click to show pattern details(按一下以顯示 Pattern 詳細資料)連結。Server Pattern 的詳細資料會顯示類似以下畫面中的範例。
圖 4. Server Pattern 詳細資料
提供意見回饋