Deploying a Configuration Pattern
Using the Configuration Pattern page, you can follow the steps in this section to deploy a Configuration Pattern.
Procedure
- Click Deploy. A summary dialog displays, allowing you to confirm your choice.Figure 1. Configuration Pattern deployment summary dialog
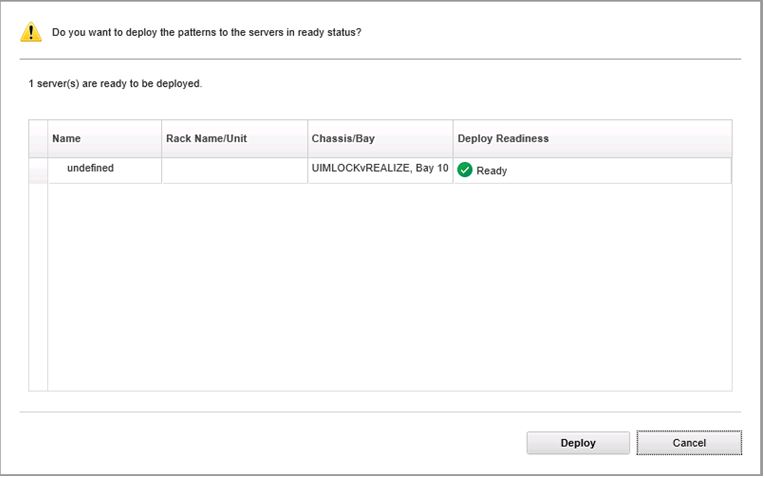
- Click Deploy.
A confirmation window showing that the deployment request is being submitted displays.
Figure 2. Deployment request confirmation window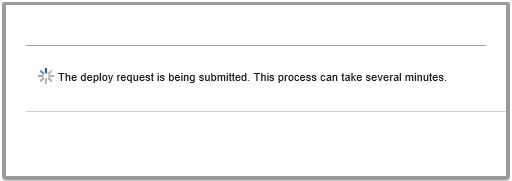
When the submission is complete, another confirmation window displays.
Figure 3. Deployment request submitted confirmation window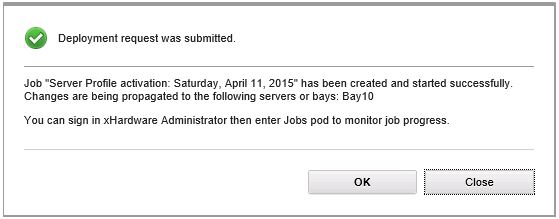
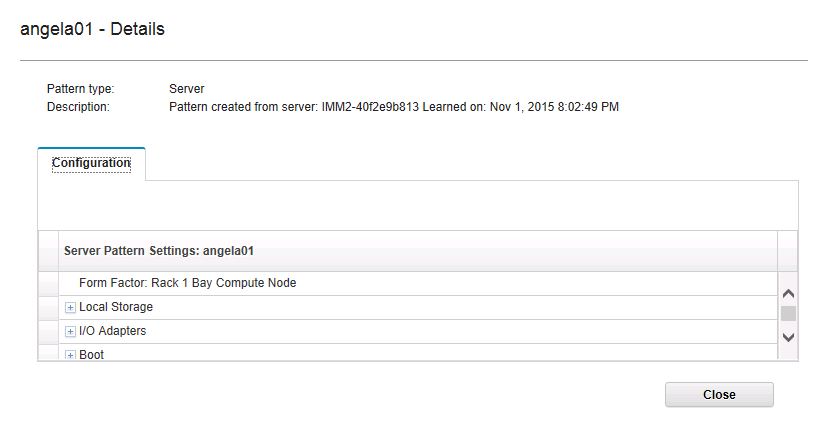
To view the details of a server pattern, click the Click to show pattern details link in the Deploy Server Pattern windows. The details of a server pattern display similar to the example in the screen below.
Figure 4. Server pattern details
Give documentation feedback