Remove a drive
Use this information to remove a drive.
Before you remove a drive:
Read the Installation Guidelines to ensure that you work safely.
Turn off the corresponding DWC tray that you are going to perform the task on.
Remove the tray (see Remove a DWC tray from the enclosure).
Remove the tray cover (see Remove the tray cover).
Complete the following steps to remove a drive.
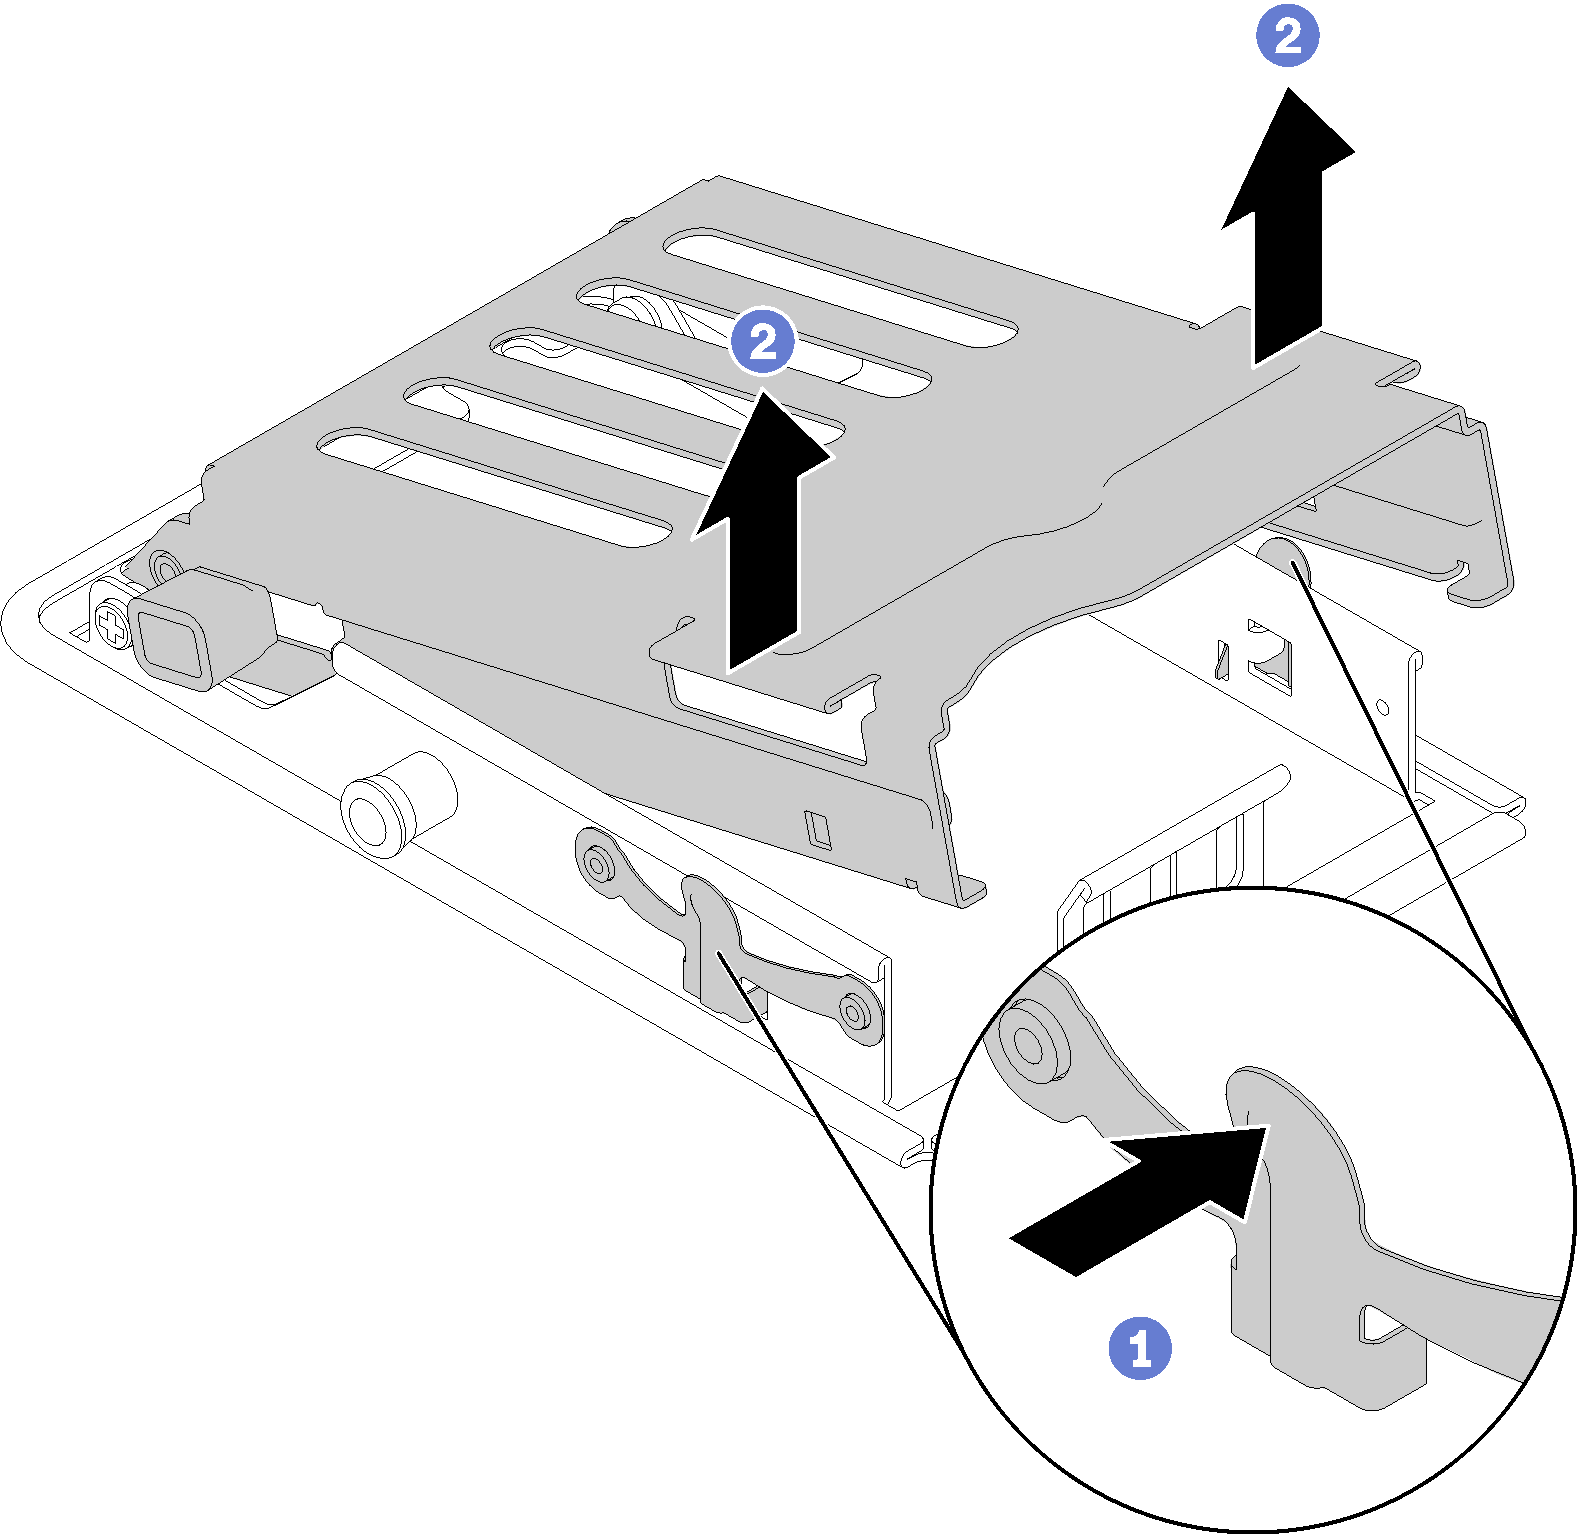
- Squeeze the spring steel latches on sides while lifting up on the top portion of drive cage.Figure 1. Releasing the drive cage
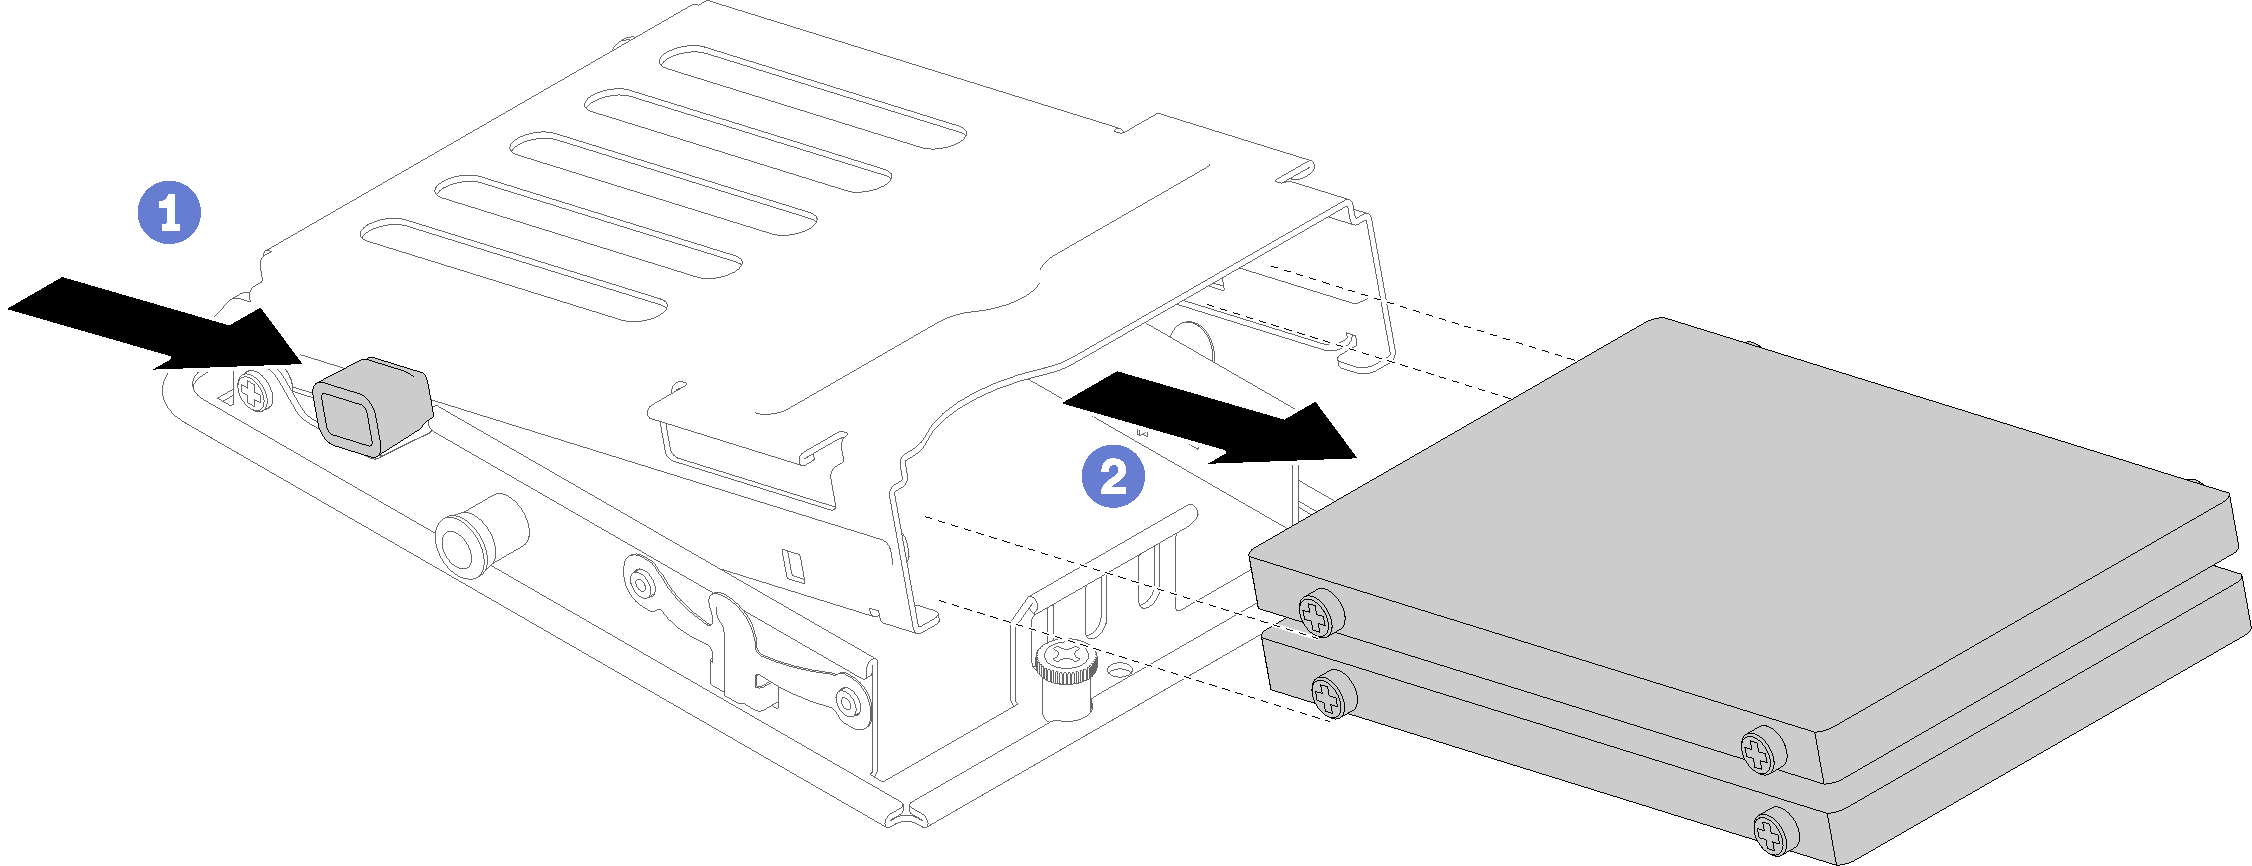
- Push the release latch forward to release the drive; then, slide the drive out of the drive cage.Figure 2. Drive removal
 NoteFor individuals with large fingers, it may be useful to remove the blank bezel filler to provide more access to drives.Figure 3. Blank bezel filler removal
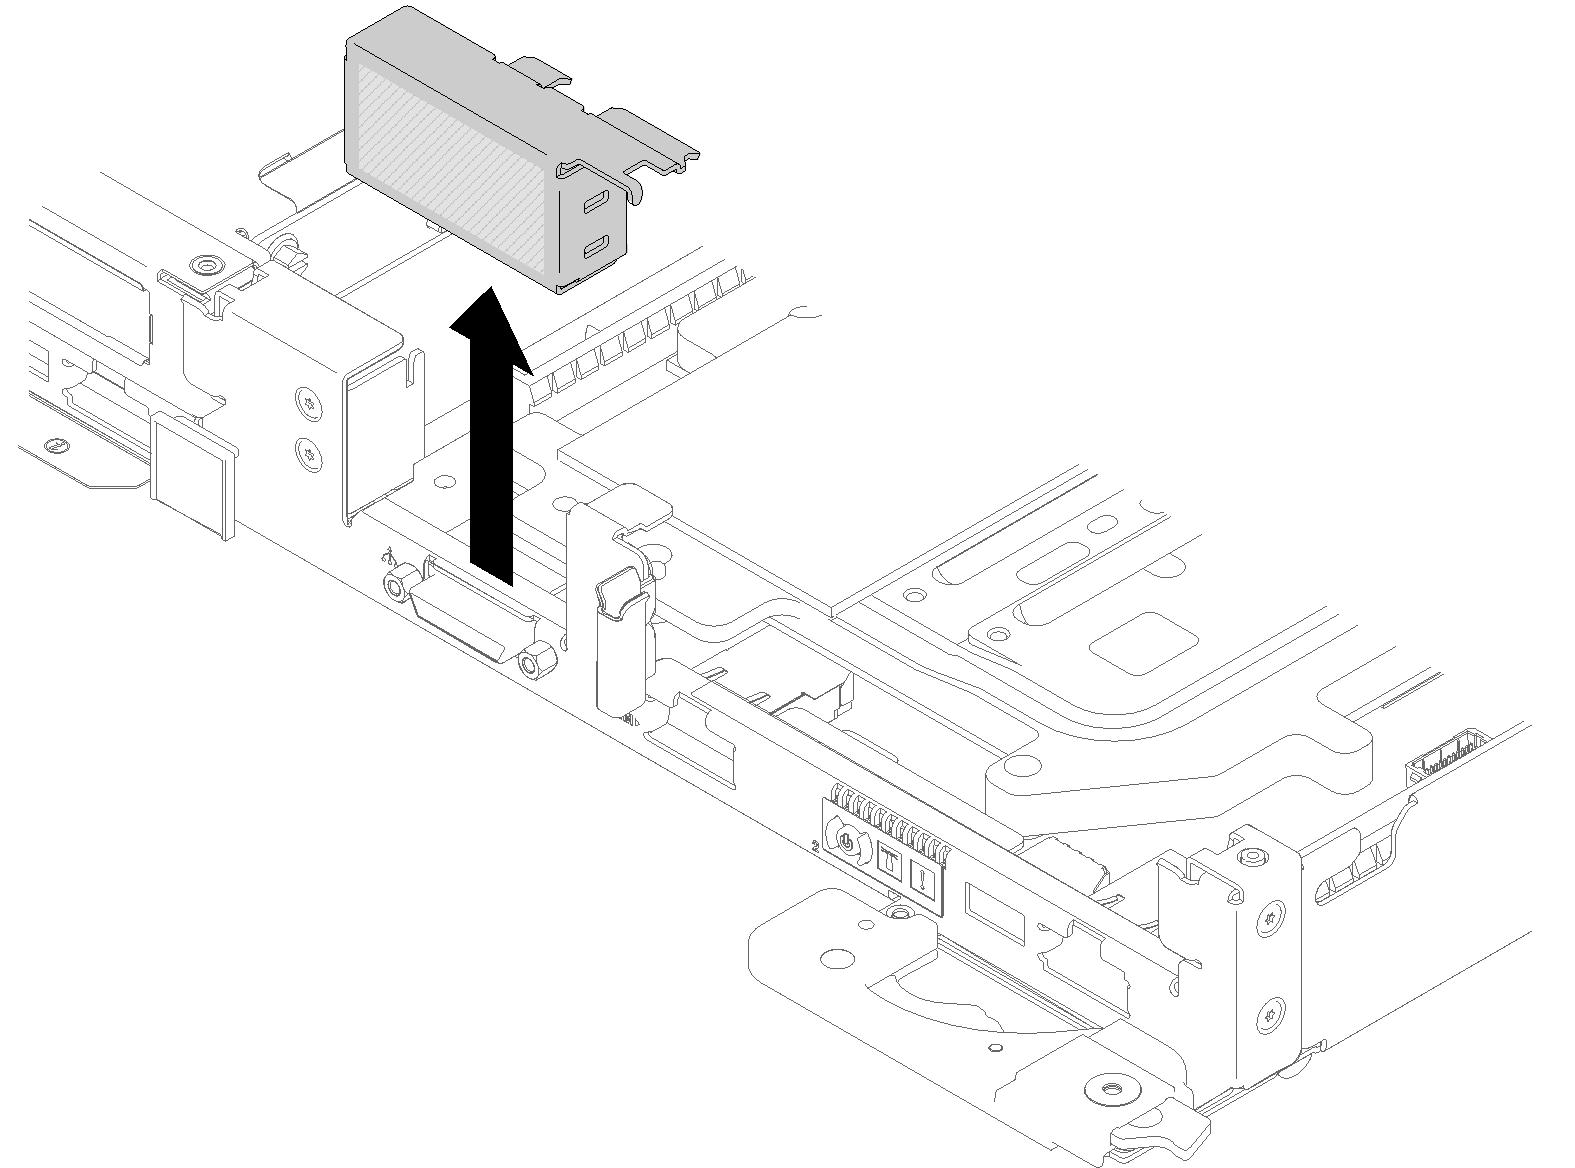
If you are instructed to return the component or optional device, follow all packaging instructions, and use any packaging materials for shipping that are supplied to you.
Demo video
Give documentation feedback