Install the compute node cover
Use this information to install the compute node cover.
To avoid possible danger, read and follow the following safety statement.
- S014
 CAUTIONHazardous voltage, current, and energy levels might be present. Only a qualified service technician is authorized to remove the covers where the label is attached.
 - S033
 CAUTION
Hazardous energy present. Voltages with hazardous energy might cause heating when shorted with metal, which might result in spattered metal, burns, or both.
Read Installation Guidelines to ensure that you work safely.
If you are replacing the cover, make sure that you have the system service label kit on hand for use during the replacement procedure (see Parts list for more information).
Attention
You cannot insert the compute node into the Lenovo Flex System chassis until the cover is installed and closed. Do not attempt to override this protection.
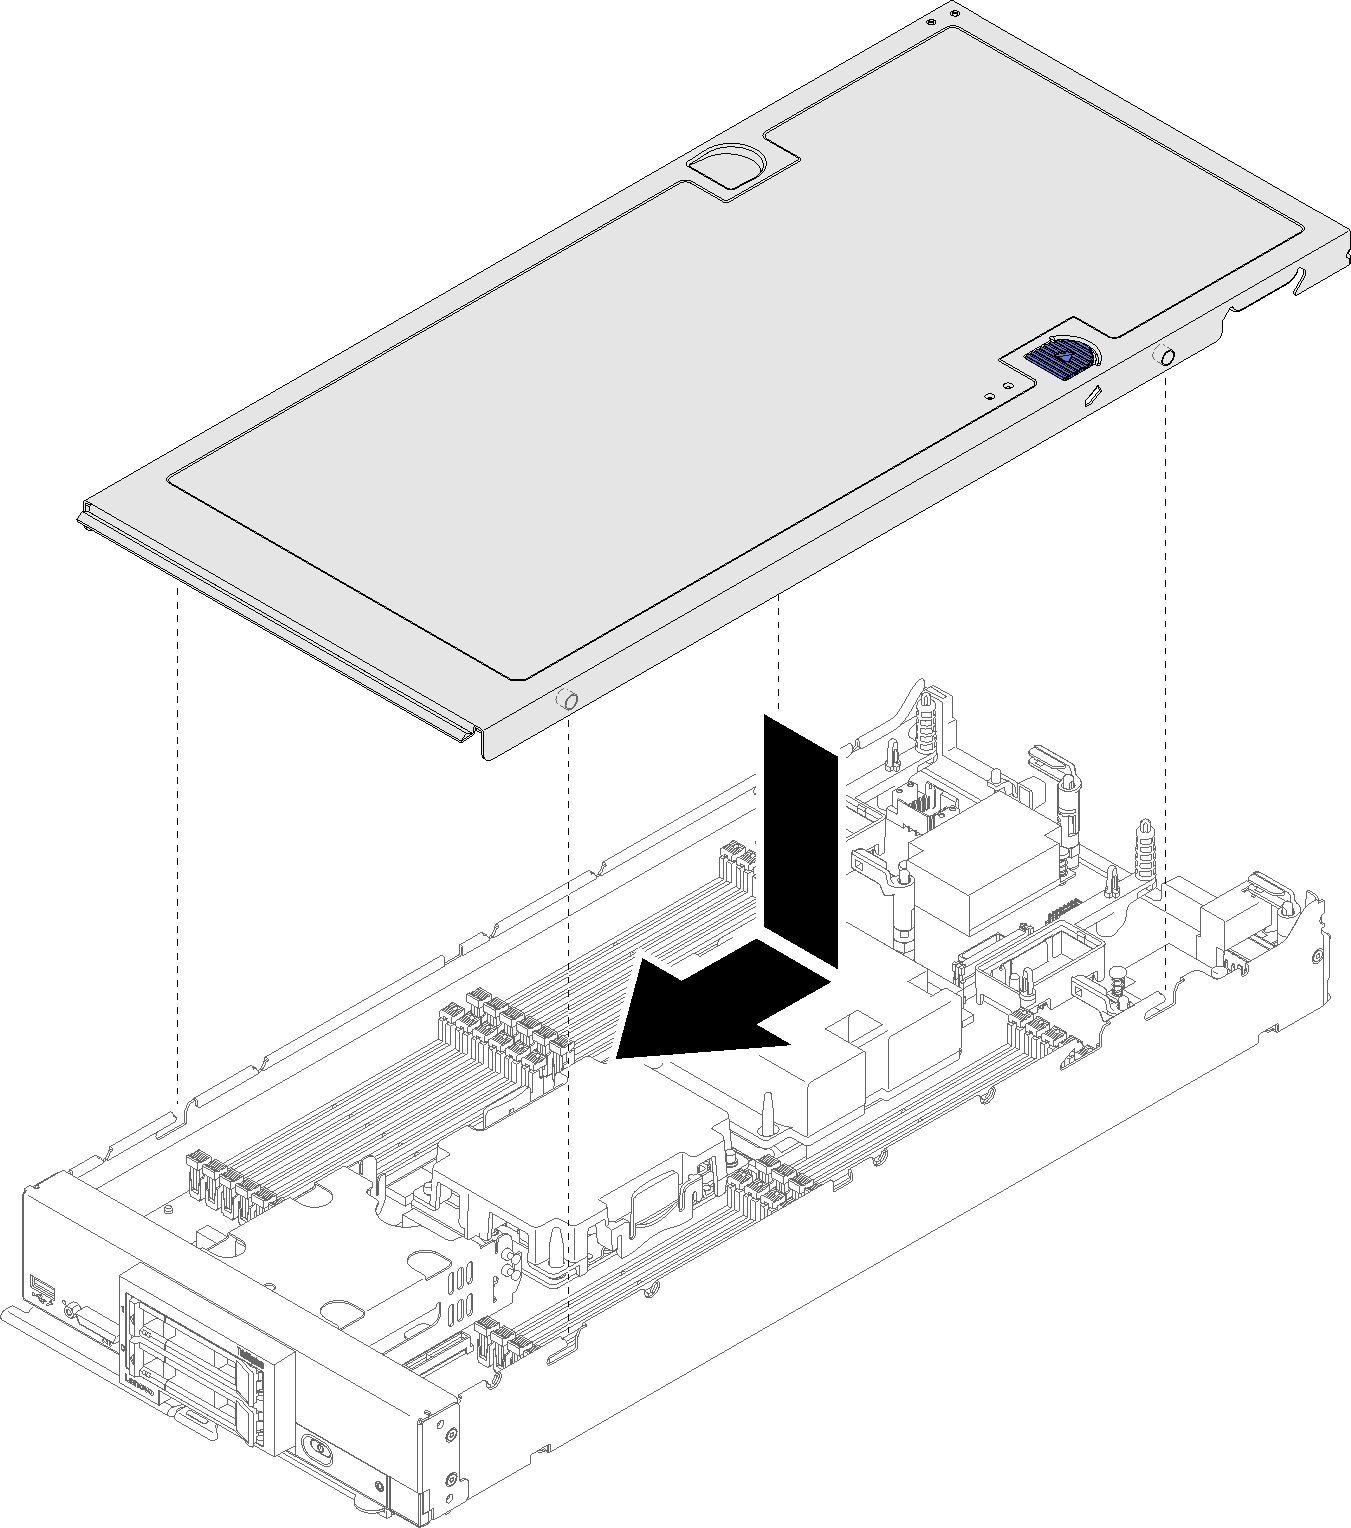
- Orient the cover so that the posts on the inside of the cover slide into the slots on the compute node.NoteBefore you close the cover, make sure that the air baffle and all components are installed and seated correctly and that you have not left loose tools or parts inside the compute node. Retention clips that secure the I/O expansion adapters must be in the closed position to install the cover.Figure 1. Compute node cover installation
After you install the compute node cover, complete the following steps:
Install the compute node into the chassis (see Install the compute node in the chassis ).
Power on the compute node.
Demo video
Give documentation feedback