뒷면 M.2 라이저 케이지 및 드라이브 백플레인 설치
이 섹션의 지침에 따라 뒷면 M.2 라이저 케이지와 드라이브 백플레인을 설치하십시오.
이 작업 정보
절차
- 뒷면 M.2 백플레인을 M.2 케이지에 설치하십시오.주도면에 표시된 M.2 백플레인은 참고용이며 실제 하드웨어와 다를 수 있습니다.그림 1. M.2 백플레인 설치
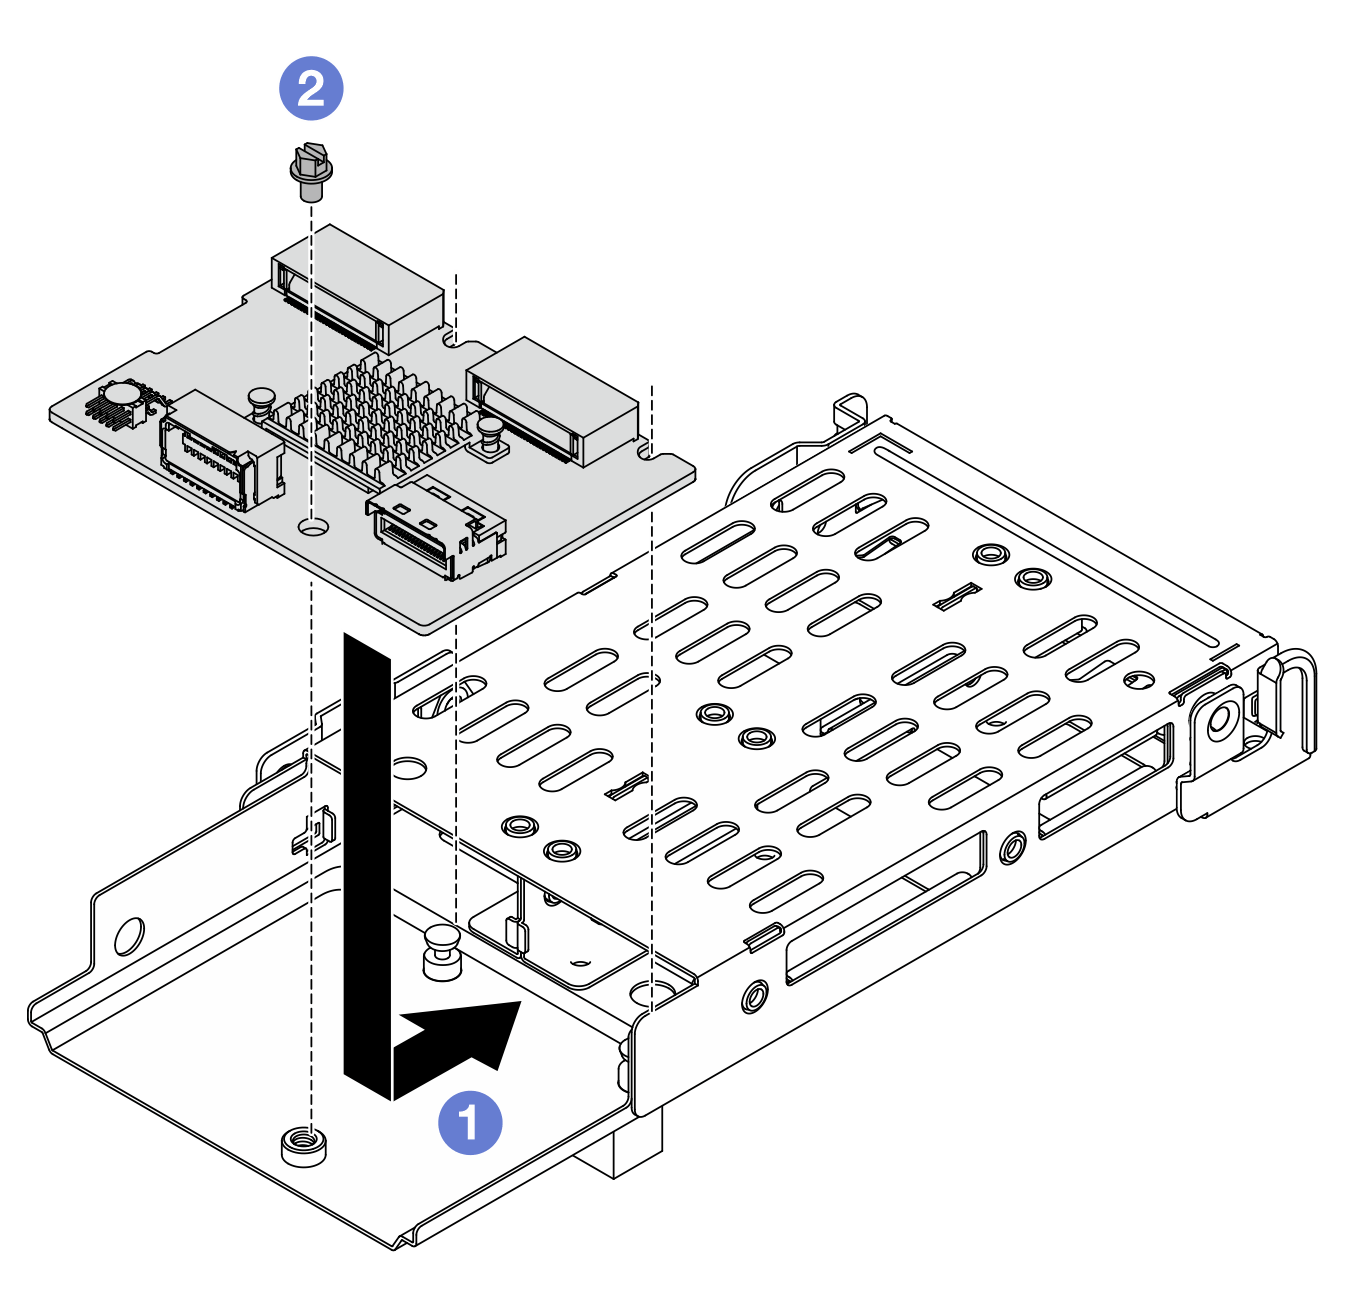
 케이지에 백플레인을 놓고 위 그림과 같이 밀어 맞물리도록 합니다.
 나사 1개를 조여 케이지에 고정합니다.
피드백 보내기