安装 E3.S 非热插拔 CMM
按照本节中的说明安装 E3.S 非热插拔 CXL 内存条(CMM)。
关于本任务
注意
过程
- 如果安装了 E3.S 挡板,请将其卸下。图 1. 卸下 E3.S 挡板
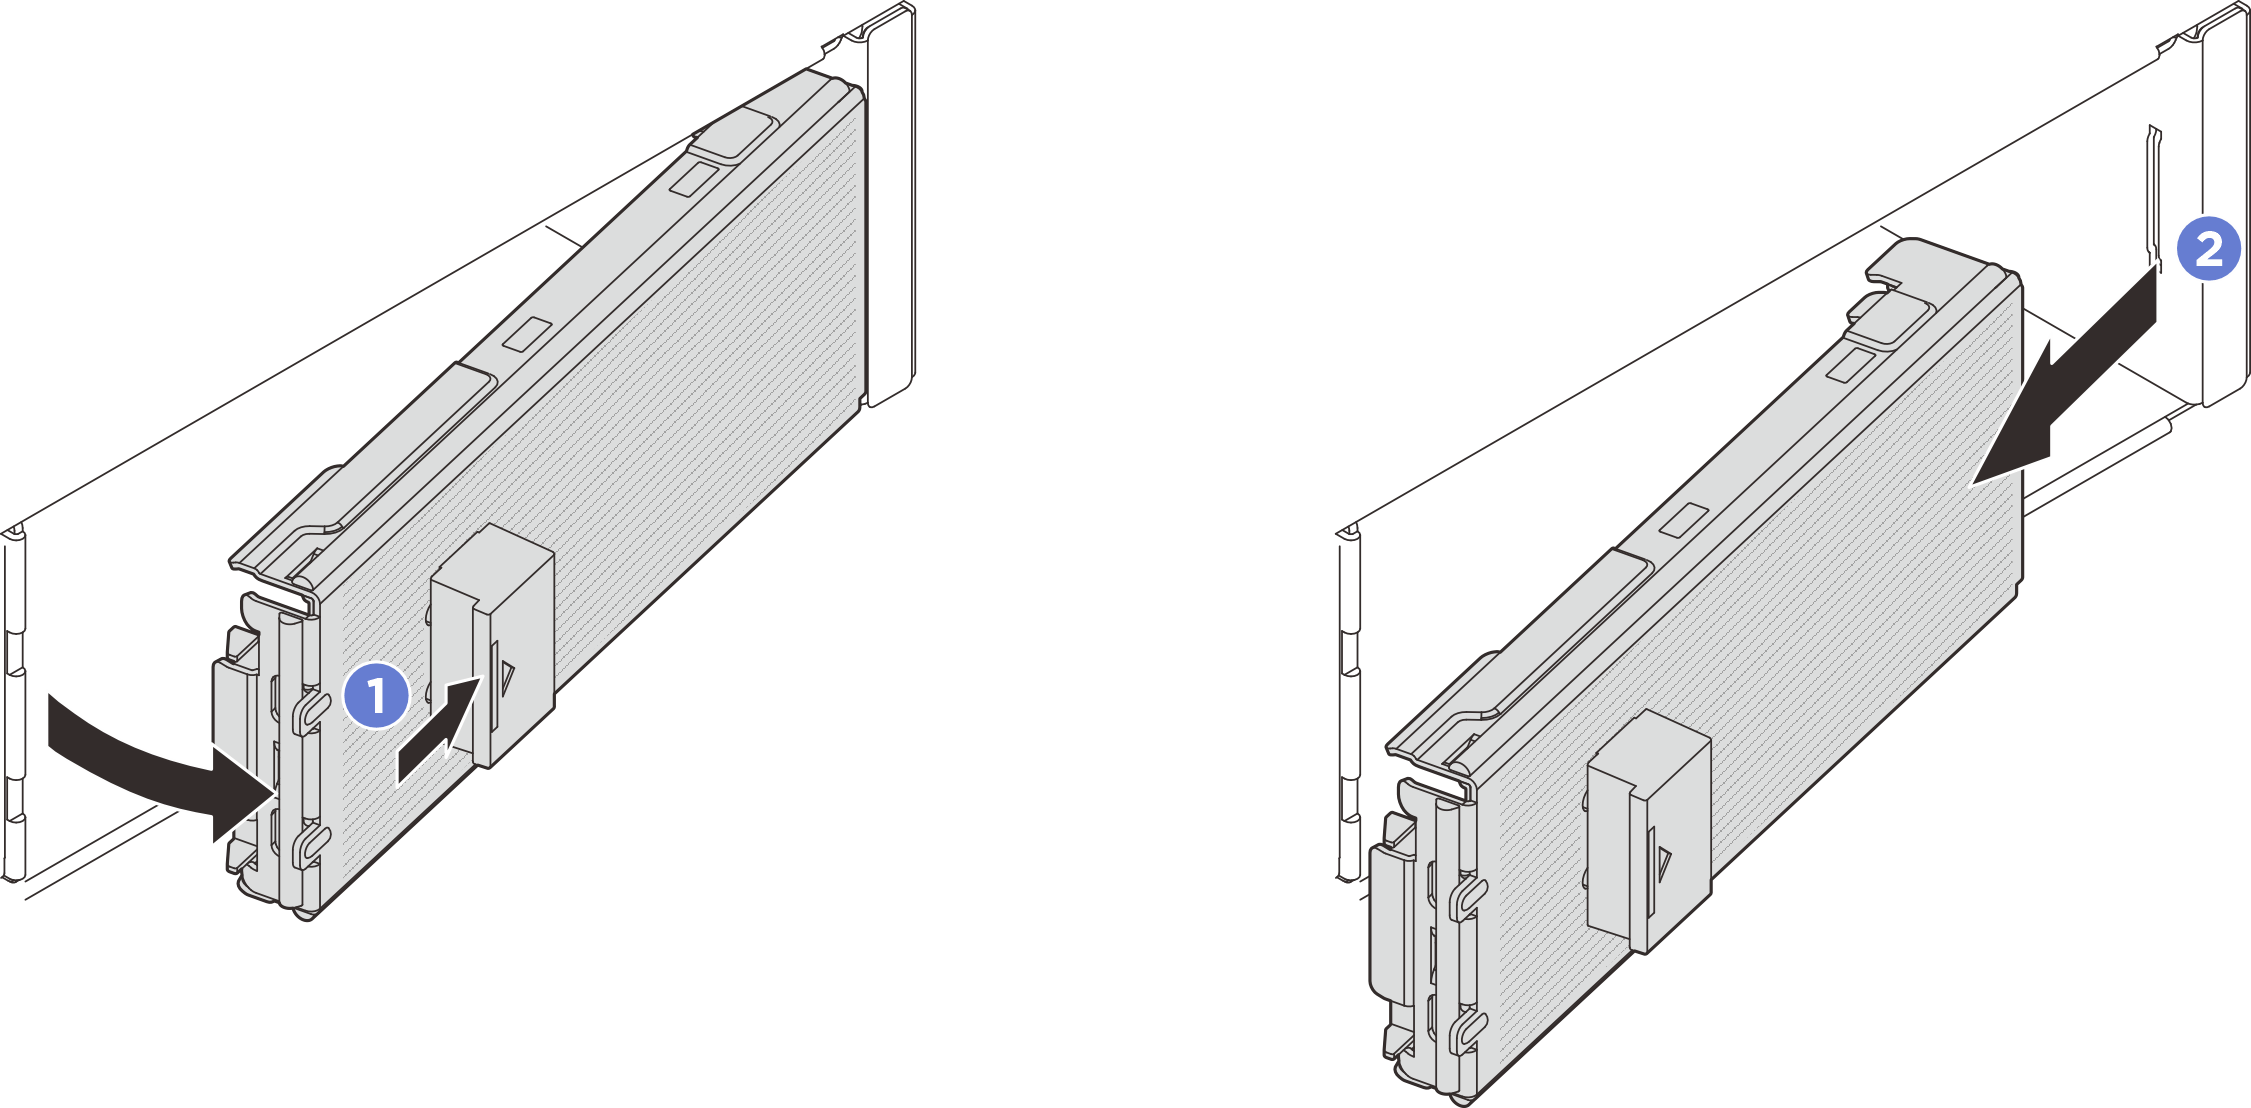
 按 E3.S 挡板上的按钮以松开外盖。
 从服务器中卸下 E3.S 挡板。
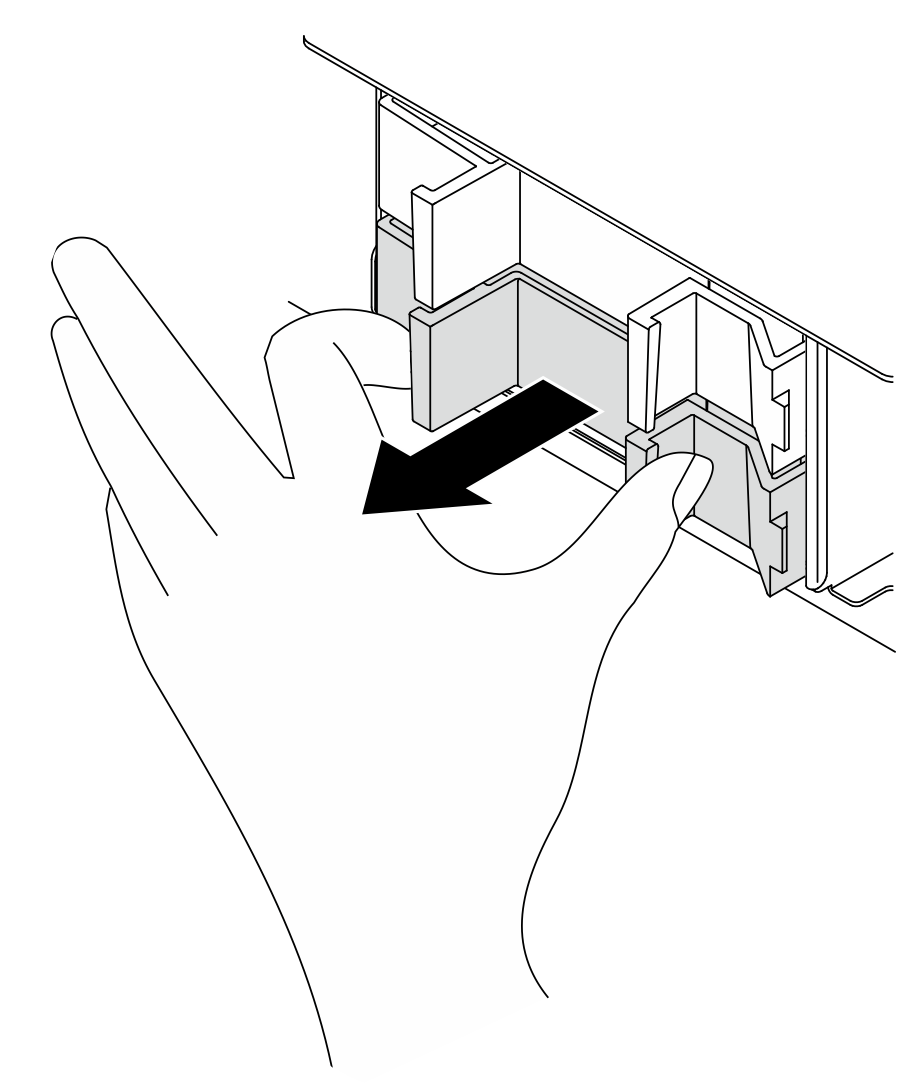
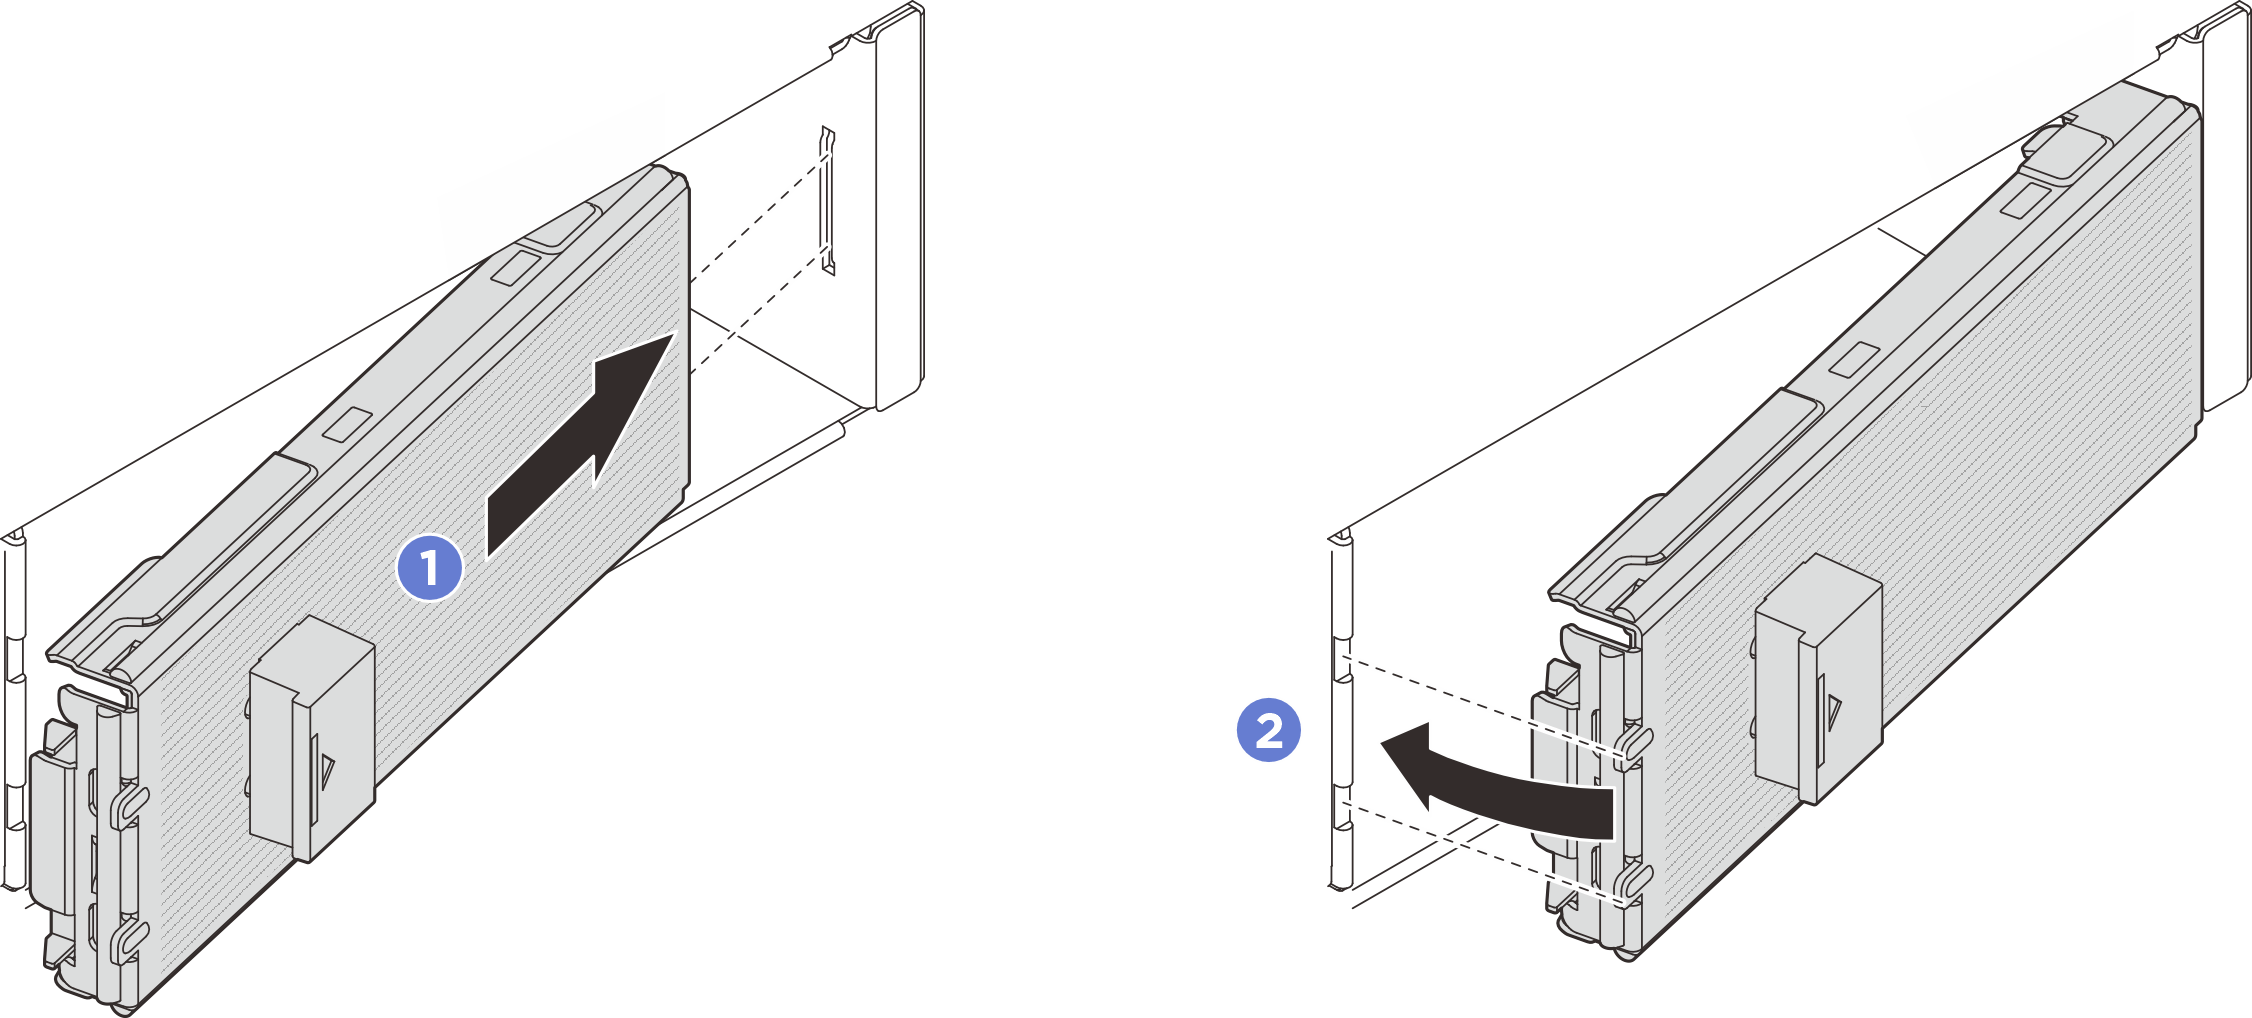
- 如果插槽中安装了插槽填充件,请拉动填充件上的释放杆将其滑出服务器。图 2. 卸下插槽填充件
- 安装 E3.S CMM。图 3. 安装 E3.S CMM
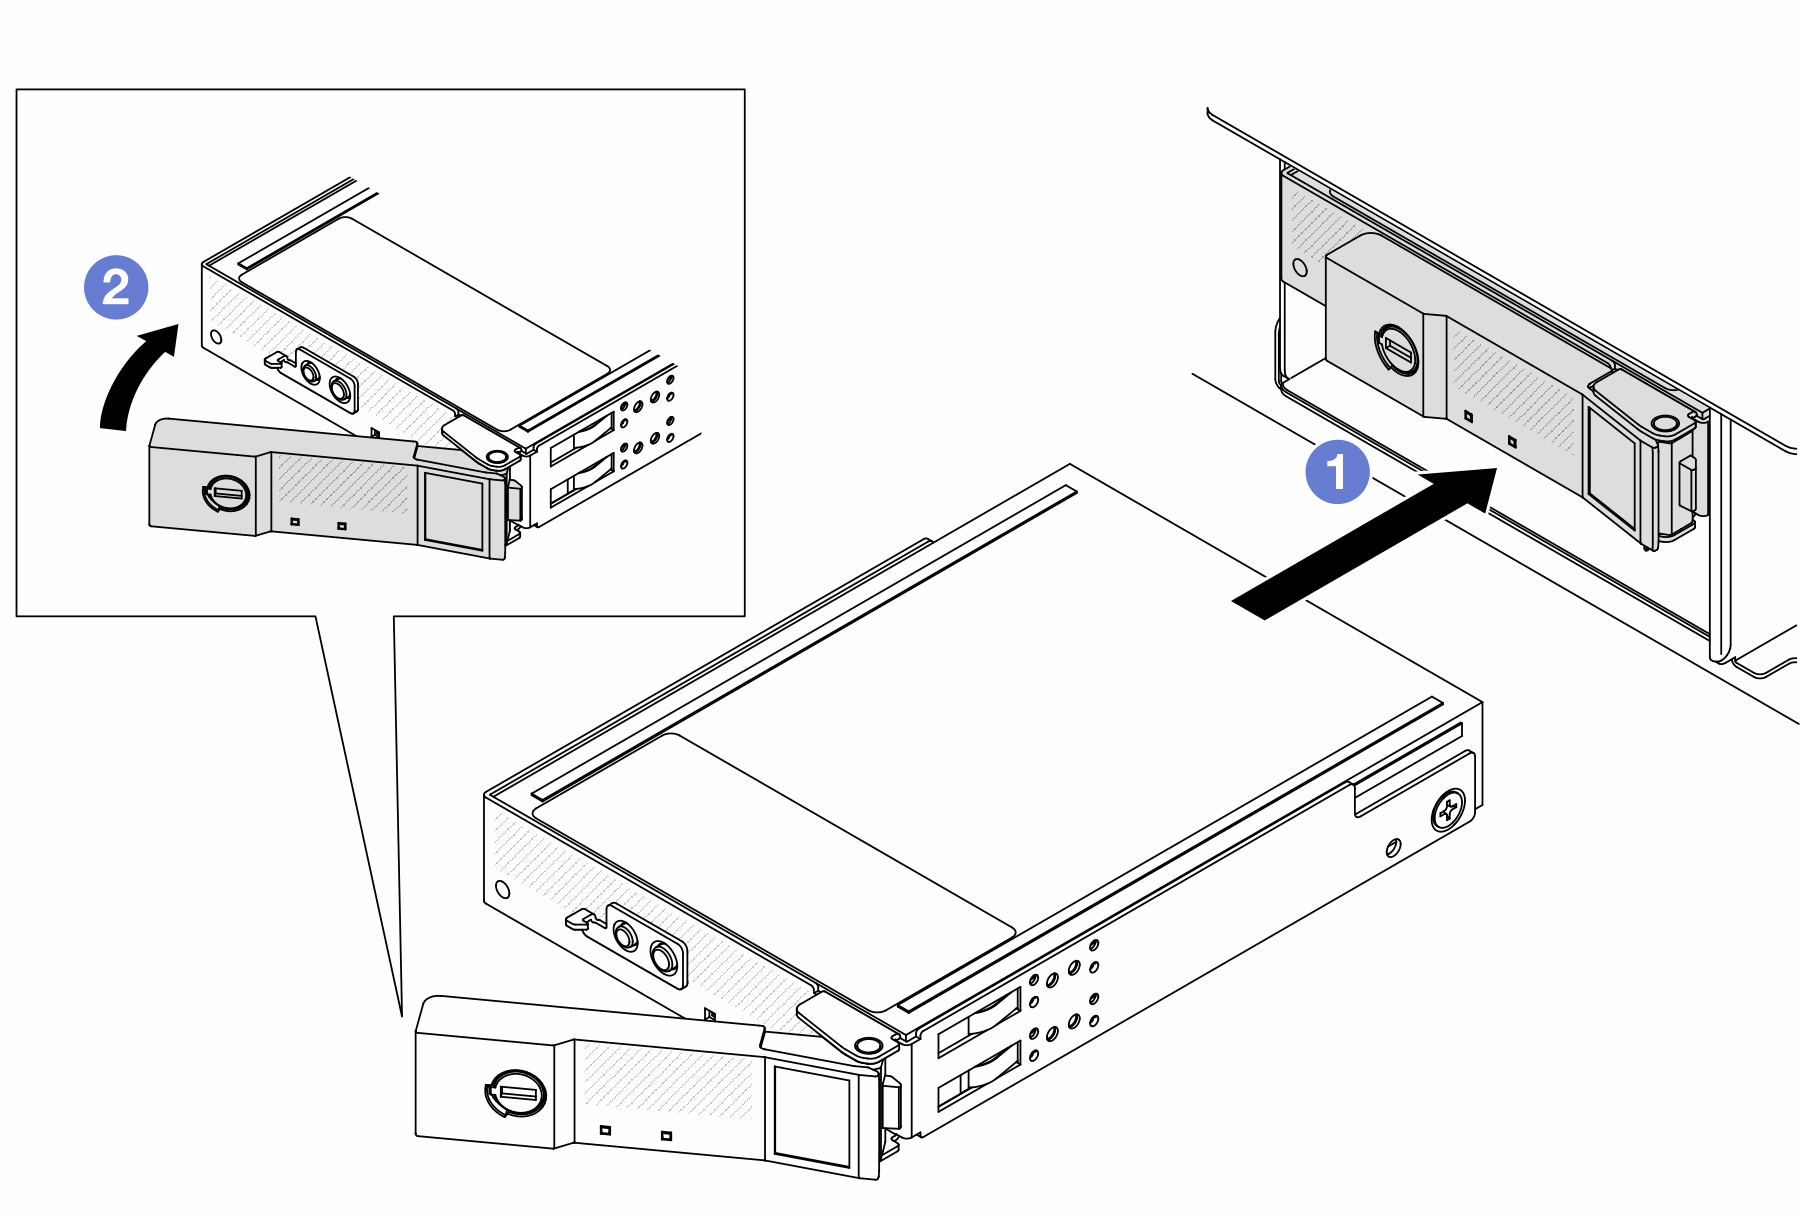
- 确保手柄处于打开位置。然后,将 CMM 与插槽中的导轨对齐,并将 CMM 轻轻推入插槽,直至 CMM 无法再深入为止。
- 将手柄旋转至完全闭合位置,直至手柄滑锁发出“咔嗒”一声。
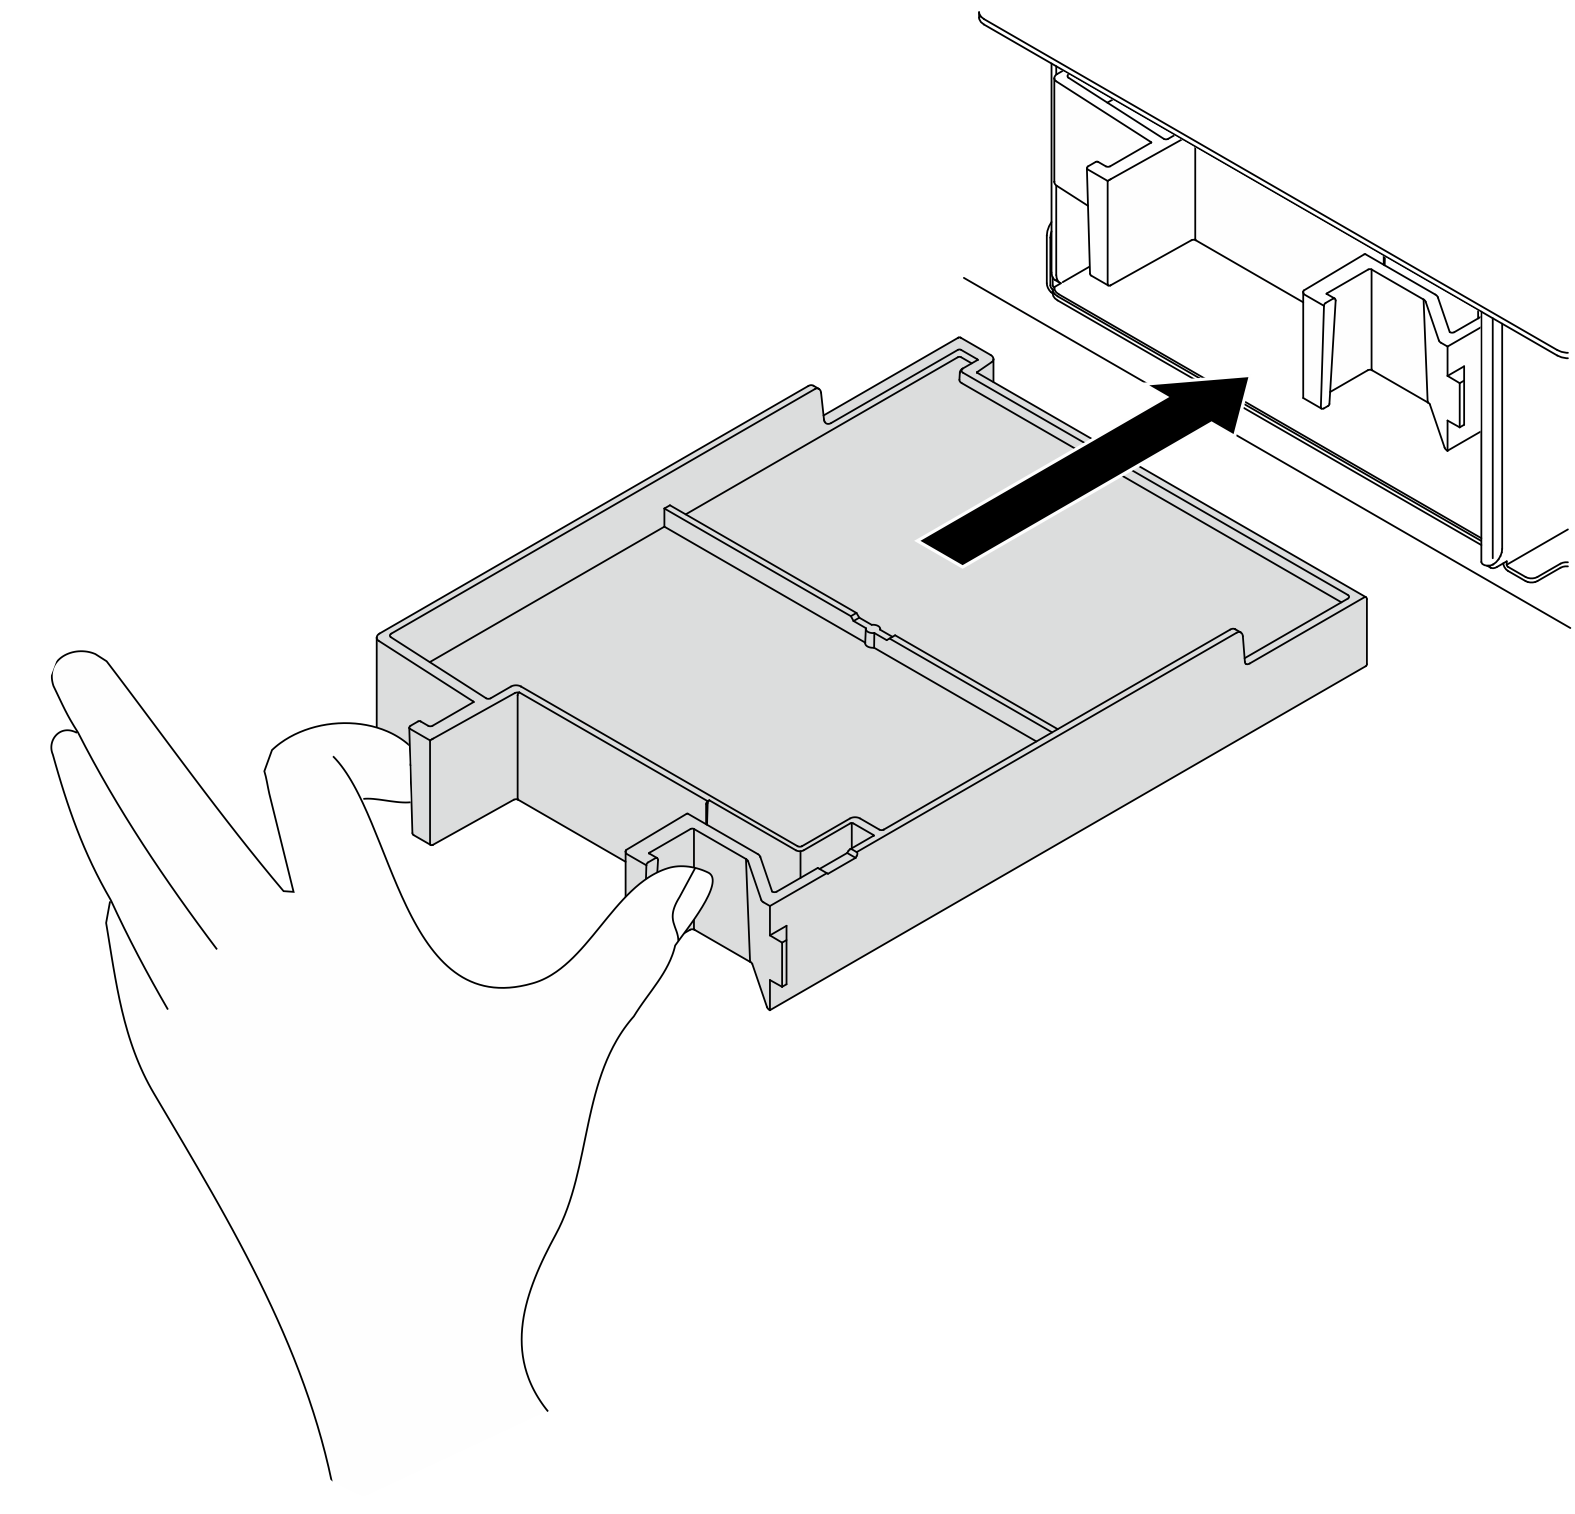
- 如果还需要安装其他 CMM,可以现在安装;如果有任何插槽空置,请在其中插入插槽填充件。图 4. 安装 CMM 插槽填充件
- 根据具体配置,如有必要,请卸下 E3.S 挡板的内板。注
- 如果要遮盖的空间装有 E3.S 2T 硬盘仓,应卸下 E3.S 挡板的内板。
- 为了确保正常散热和空气流通,如果要遮盖的空间未安装 E3.S 2T 硬盘仓,则需要安装 E3.S 挡板的内板。
- 按卡扣以松开内板。
- 旋转内板以使其脱离挡板,从而卸下内板。
图 5. 卸下内板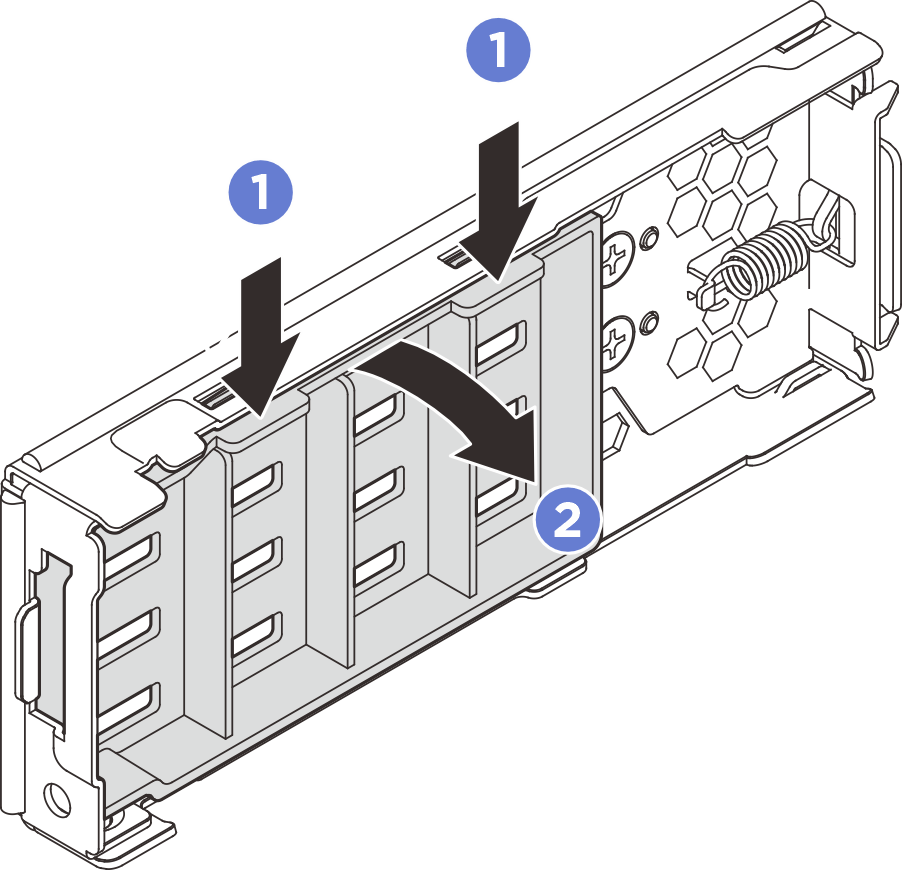
- 将 E3.S 挡板装回服务器。图 6. 安装 E3.S 挡板
- 将挡板插入插槽。
- 将挡板朝向服务器旋转,直至其“咔嗒”一声固定到位。
重要E3.S 挡板旨在保证服务器的 EMI 完整性。配备 E3.S 机箱的服务器型号应始终在每个 E3.S 插槽装有 E3.S 挡板的情况下运行。
提供反馈