Install the top cover
Use this information to install the top cover.
About this task
S033

CAUTION
Hazardous energy present. Voltages with hazardous energy might cause heating when shorted with metal, which might result in spattered metal, burns, or both.
S014
CAUTION
Hazardous voltage, current, and energy levels might be present. Only a qualified service technician is authorized to remove the covers where the label is attached.
Operating the server with the top cover removed might damage server components. For proper cooling and airflow, install the top cover before you turn on the server.
Note
A new top cover comes without a service label attached. If you need a service label, order it together with the new top cover and attach the service label to the new top cover first.
Procedure
- A new top cover comes without sponges by default. If the old top cover is installed with sponges, remove the sponges from the old top cover and attach them to the new top cover.Figure 1. Remove the sponges from the old top cover
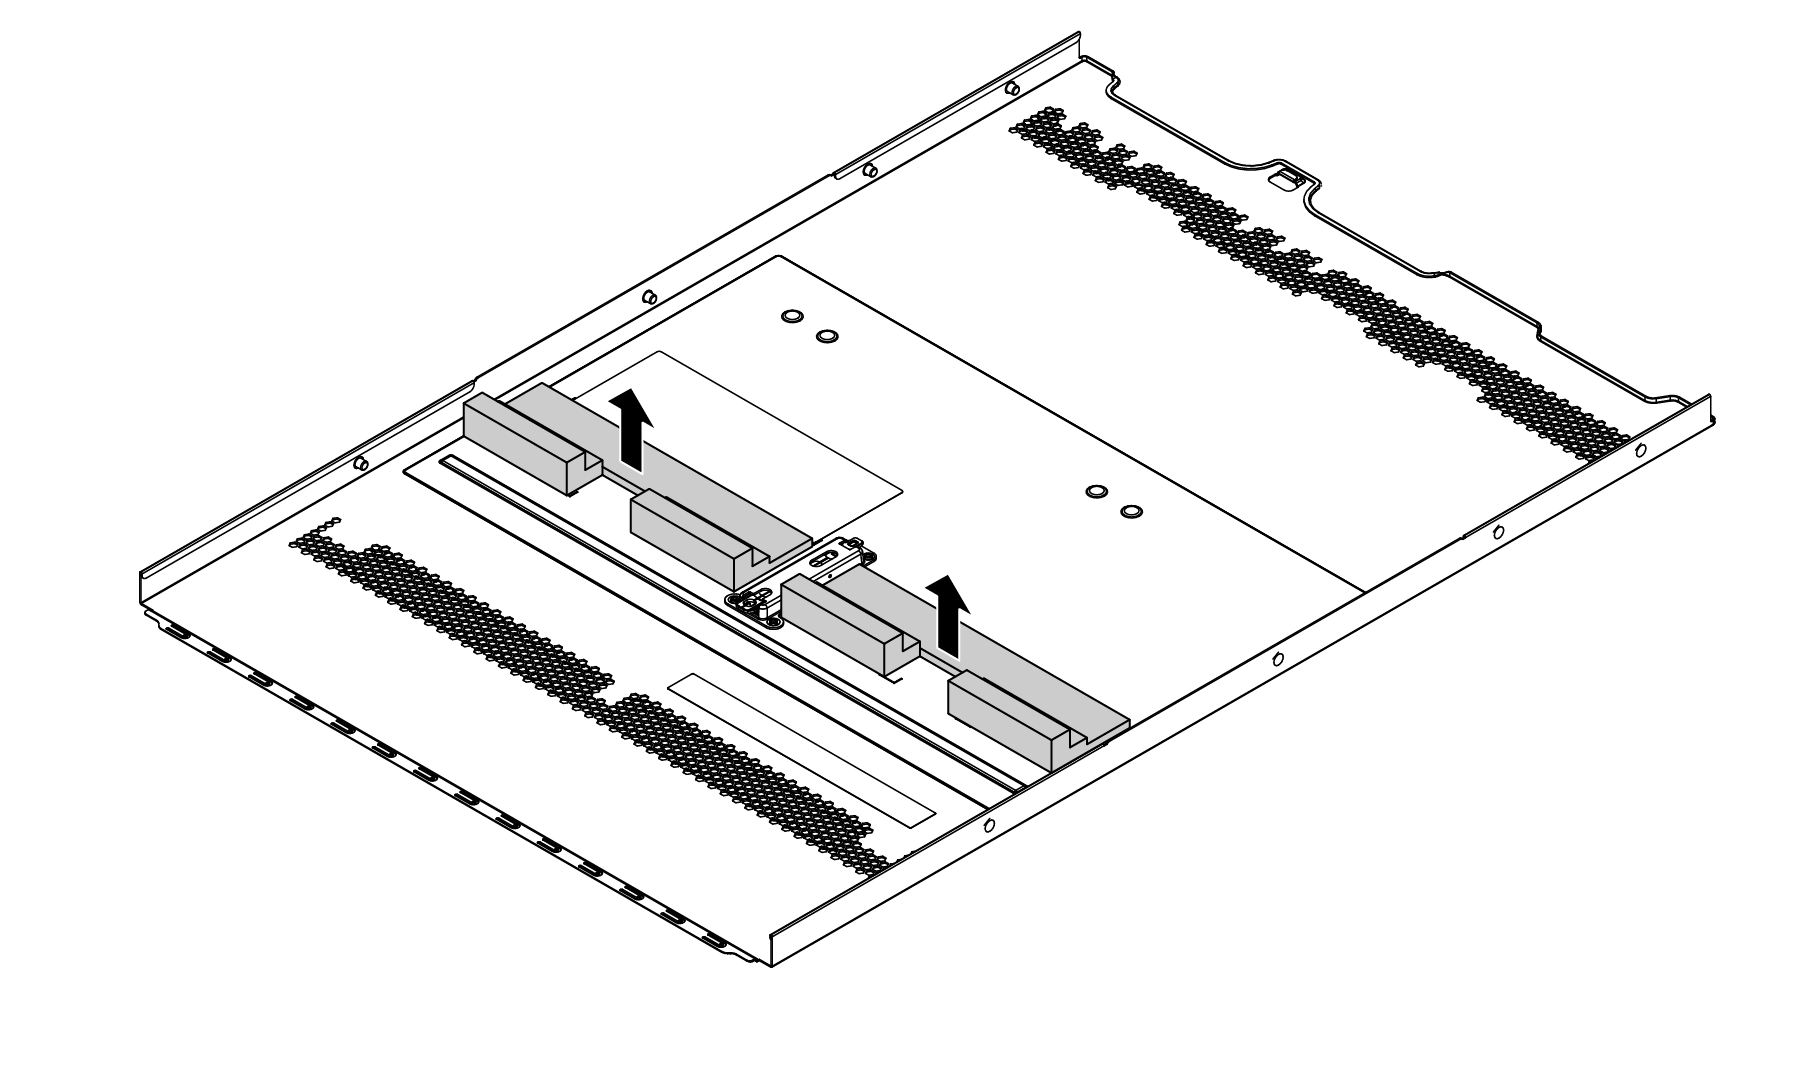 Figure 2. Attach the sponges to the new top cover
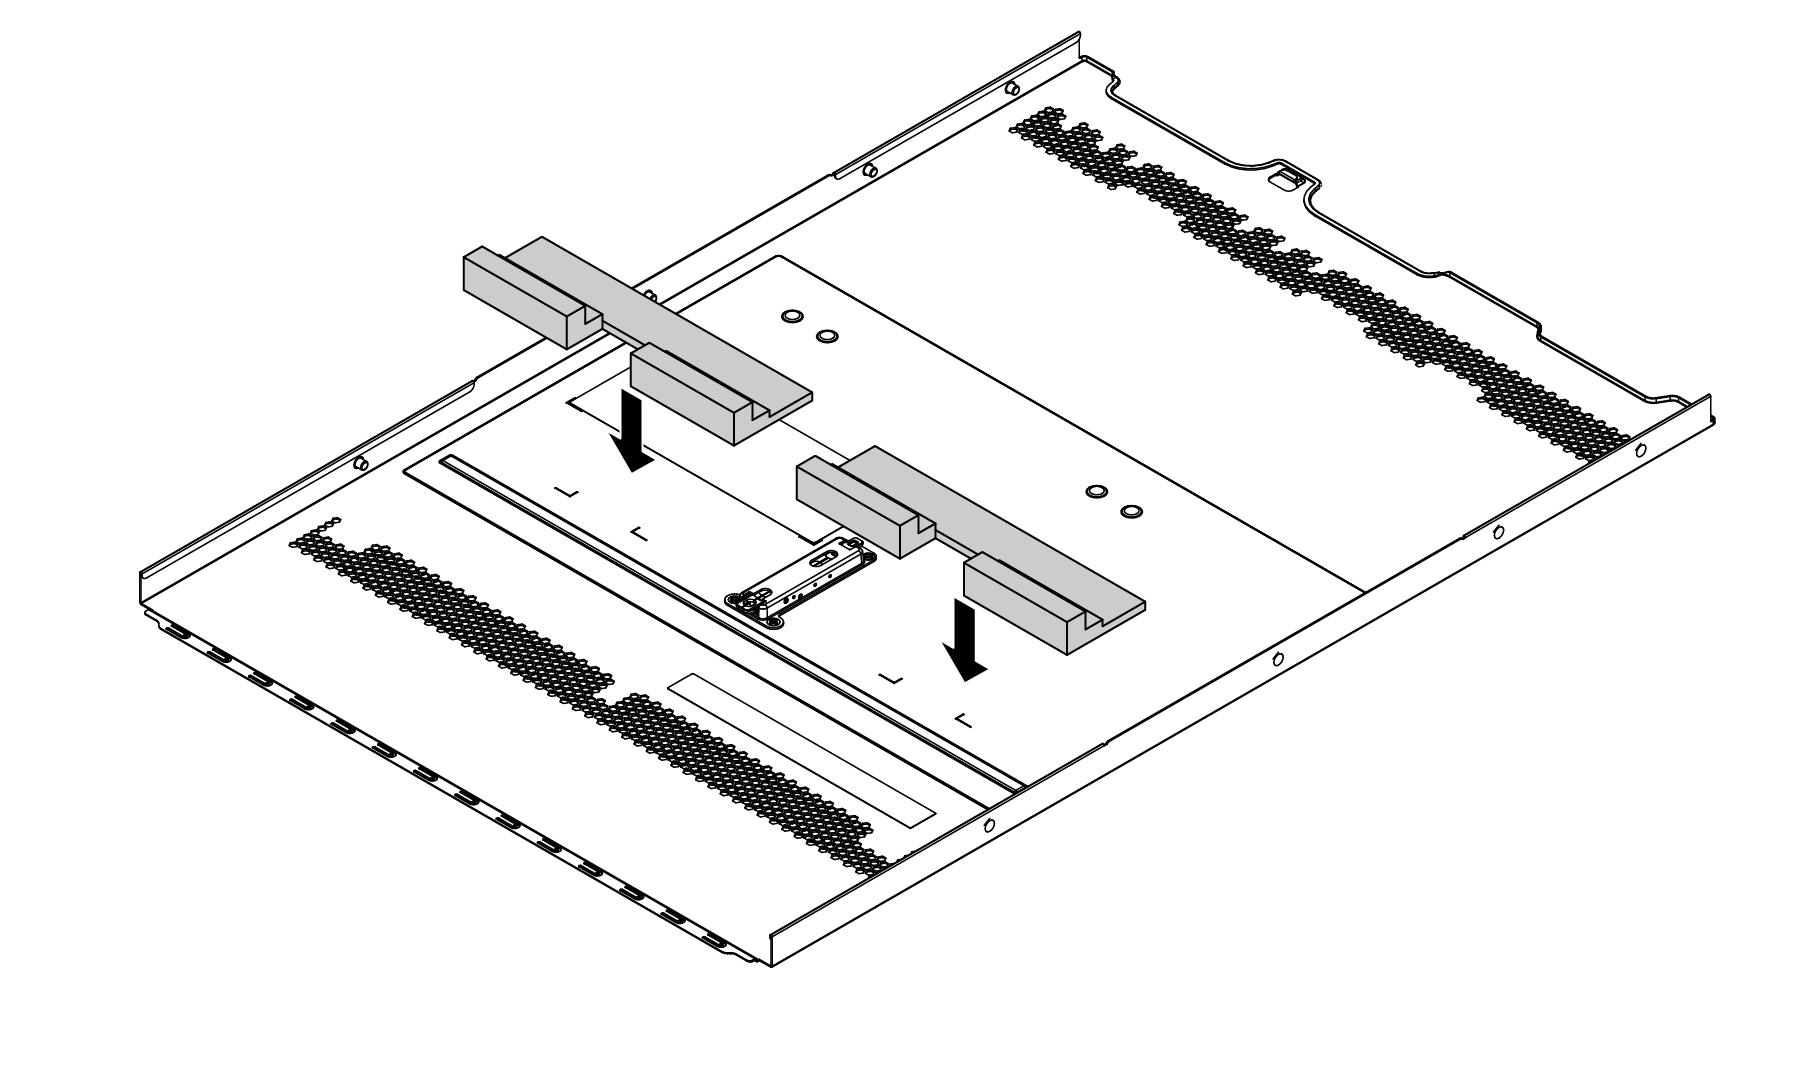
- Install the top cover to your server. AttentionHandle the top cover carefully. Dropping the top cover with the cover latch open might damage the cover latch.Figure 3. Top cover installation
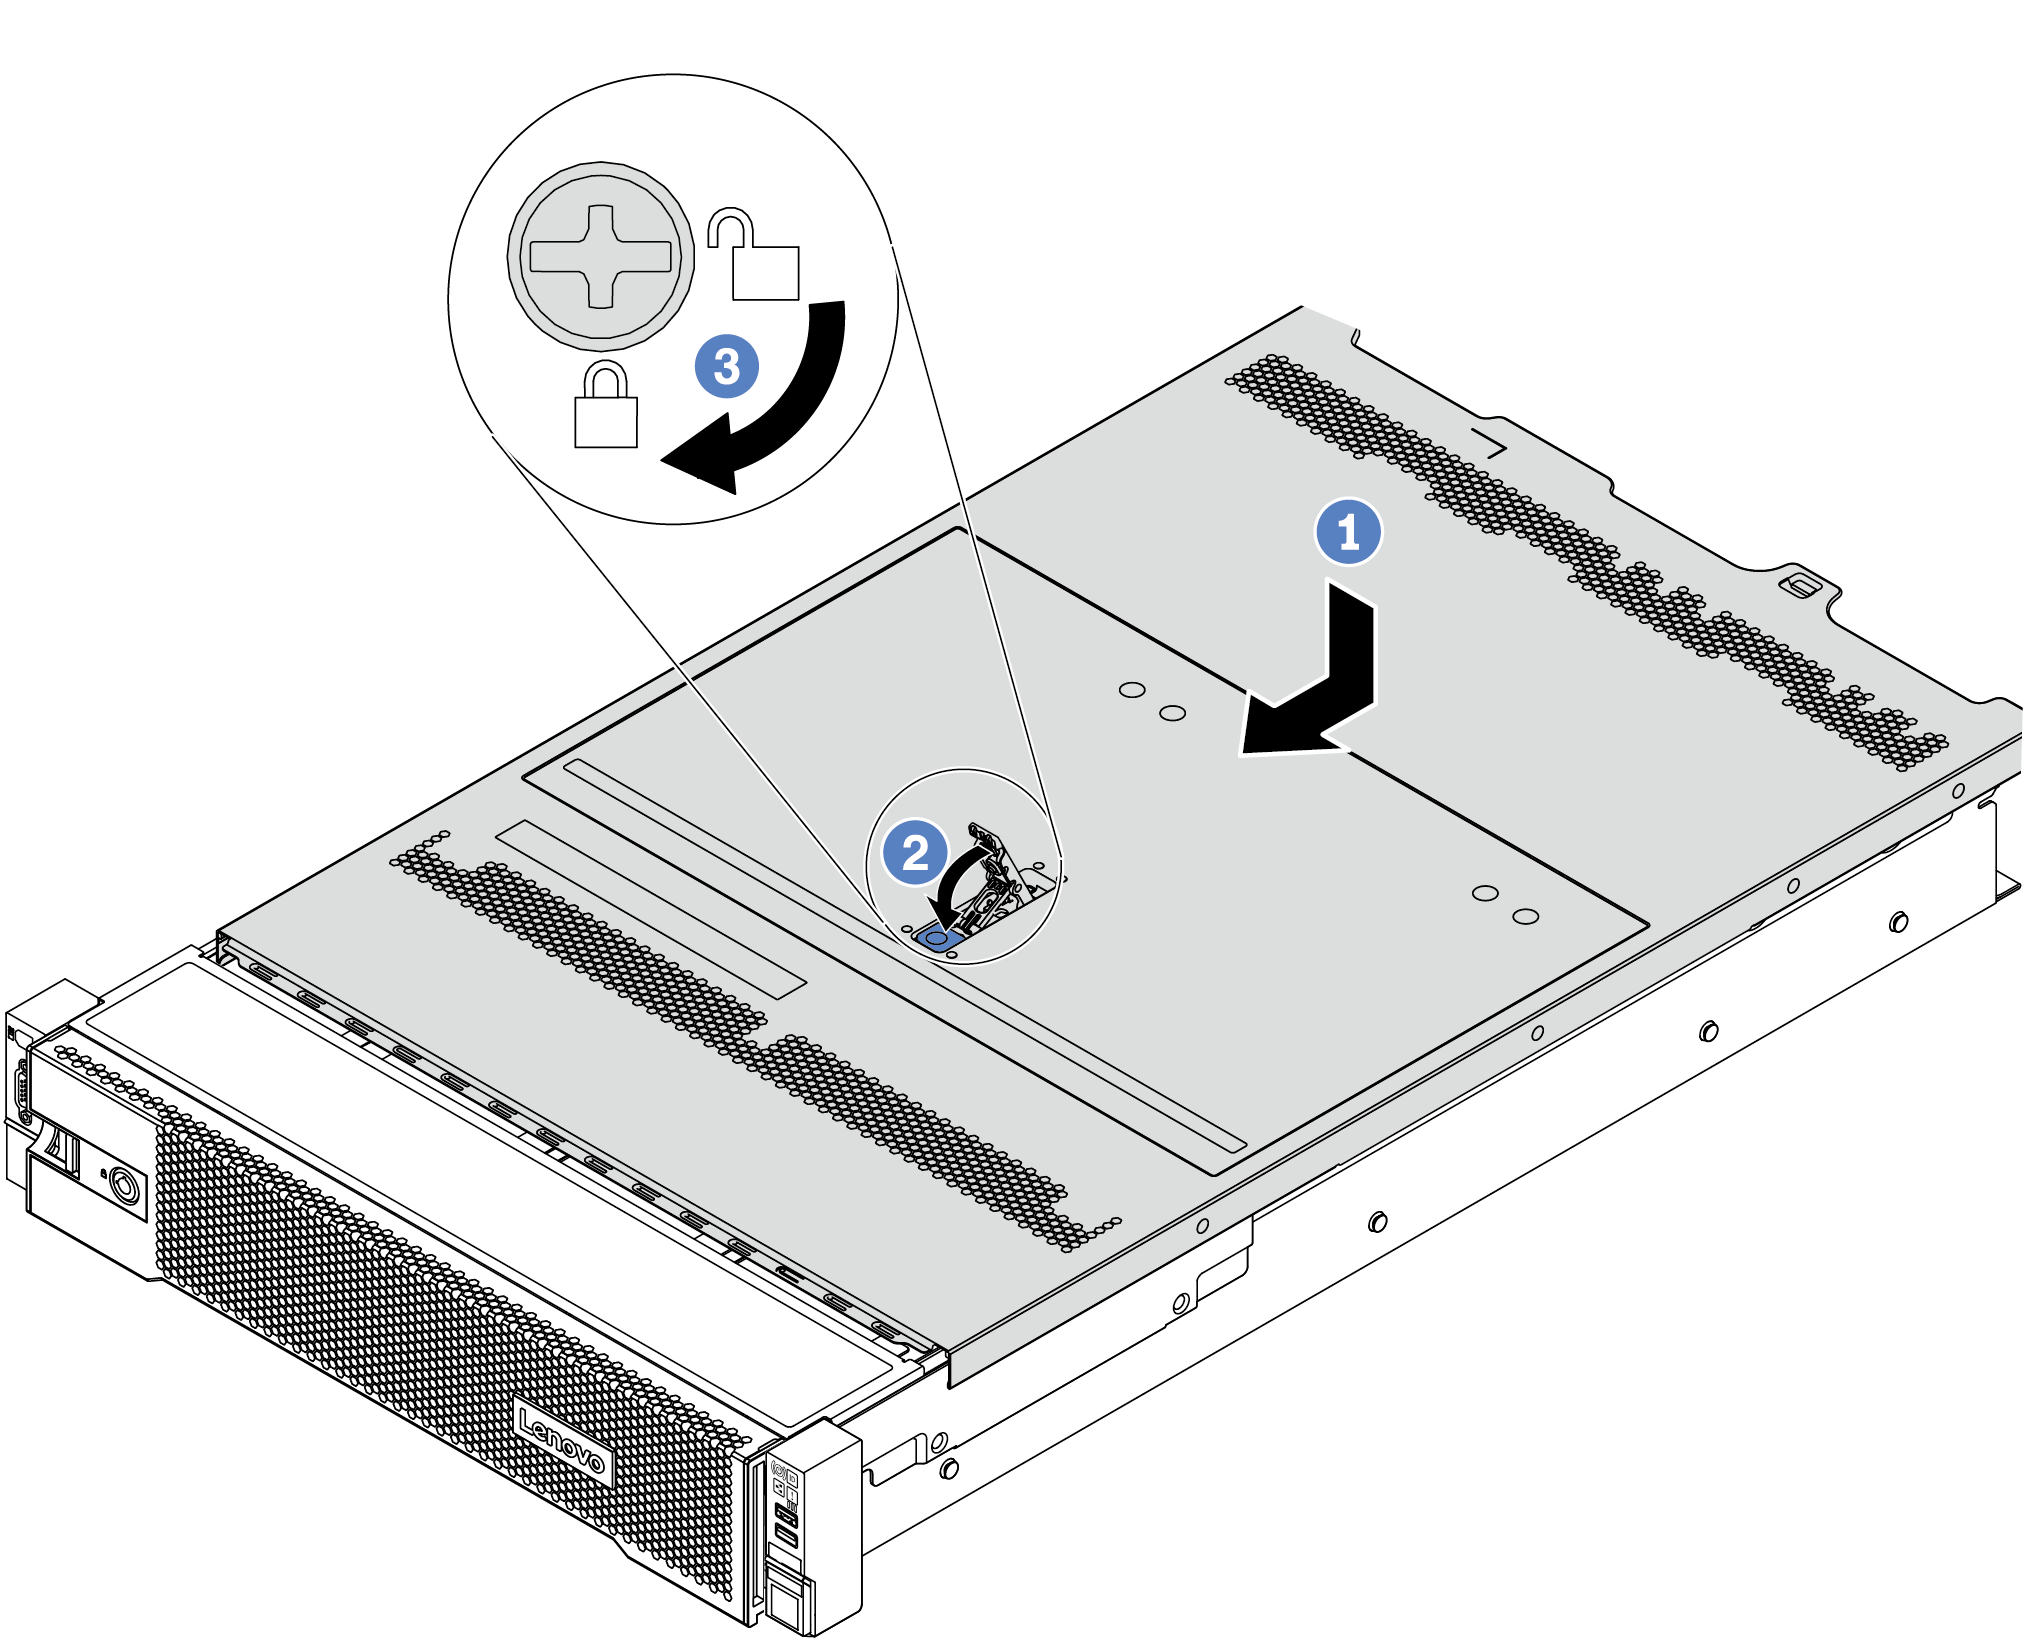
- Ensure that the cover latch is in the open position. Lower the top cover onto the chassis until both sides of the top cover engage the guides on both sides of the chassis. Then, slide the top cover to the front of the chassis.NoteBefore you slide the top cover forward, ensure that all the tabs on the top cover engage the chassis correctly.
Rotate the cover latch until the top cover snaps into position. Ensure that the cover latch is completely closed.
Use a screwdriver to turn the cover lock to the locked position.
Give documentation feedback