Install a hot-swap drive
Use this information to install a hot-swap drive.


The drive bays are numbered to indicate the installation order (starting from number
0). Follow the installation order when you install a drive.
Figure 1. Numbering of hard drives and power supplies

Before installing a hot-swap drive:
If the drive bay has a drive filler installed, pinch the two tabs to remove the drive filler. Keep the drive filler in a safe place.
Touch the static-protective package that contains the new drive to any unpainted surface on the outside of the server. Then, take the new drive out of the package and place it on a static-protective surface.
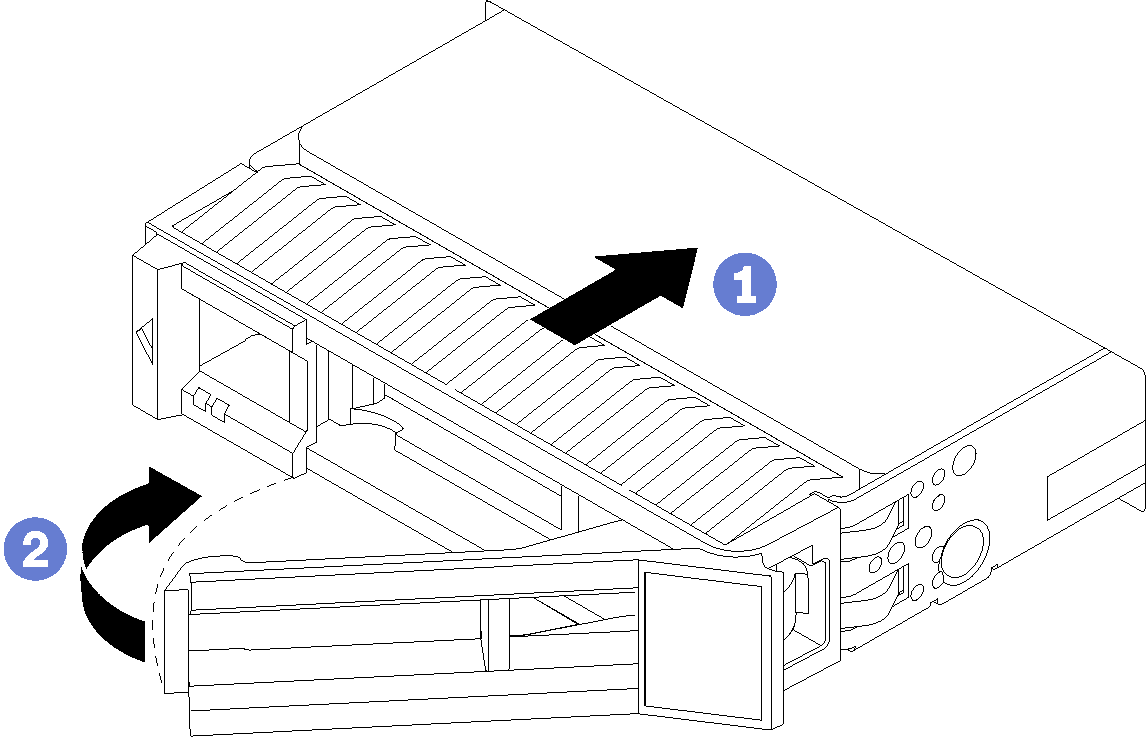
To install a hot-swap drive, complete the following steps:
Figure 2. Installing a hard disk drive
Demo video
Give documentation feedback