Install the front panel board assembly
Use this information to install the front panel board assembly.


Before installing the front panel:
Touch the static-protective package that contains the component to any unpainted metal surface on the server; then, remove it from the package and place it on a static-protective surface.
To install the front panel, complete the following steps:
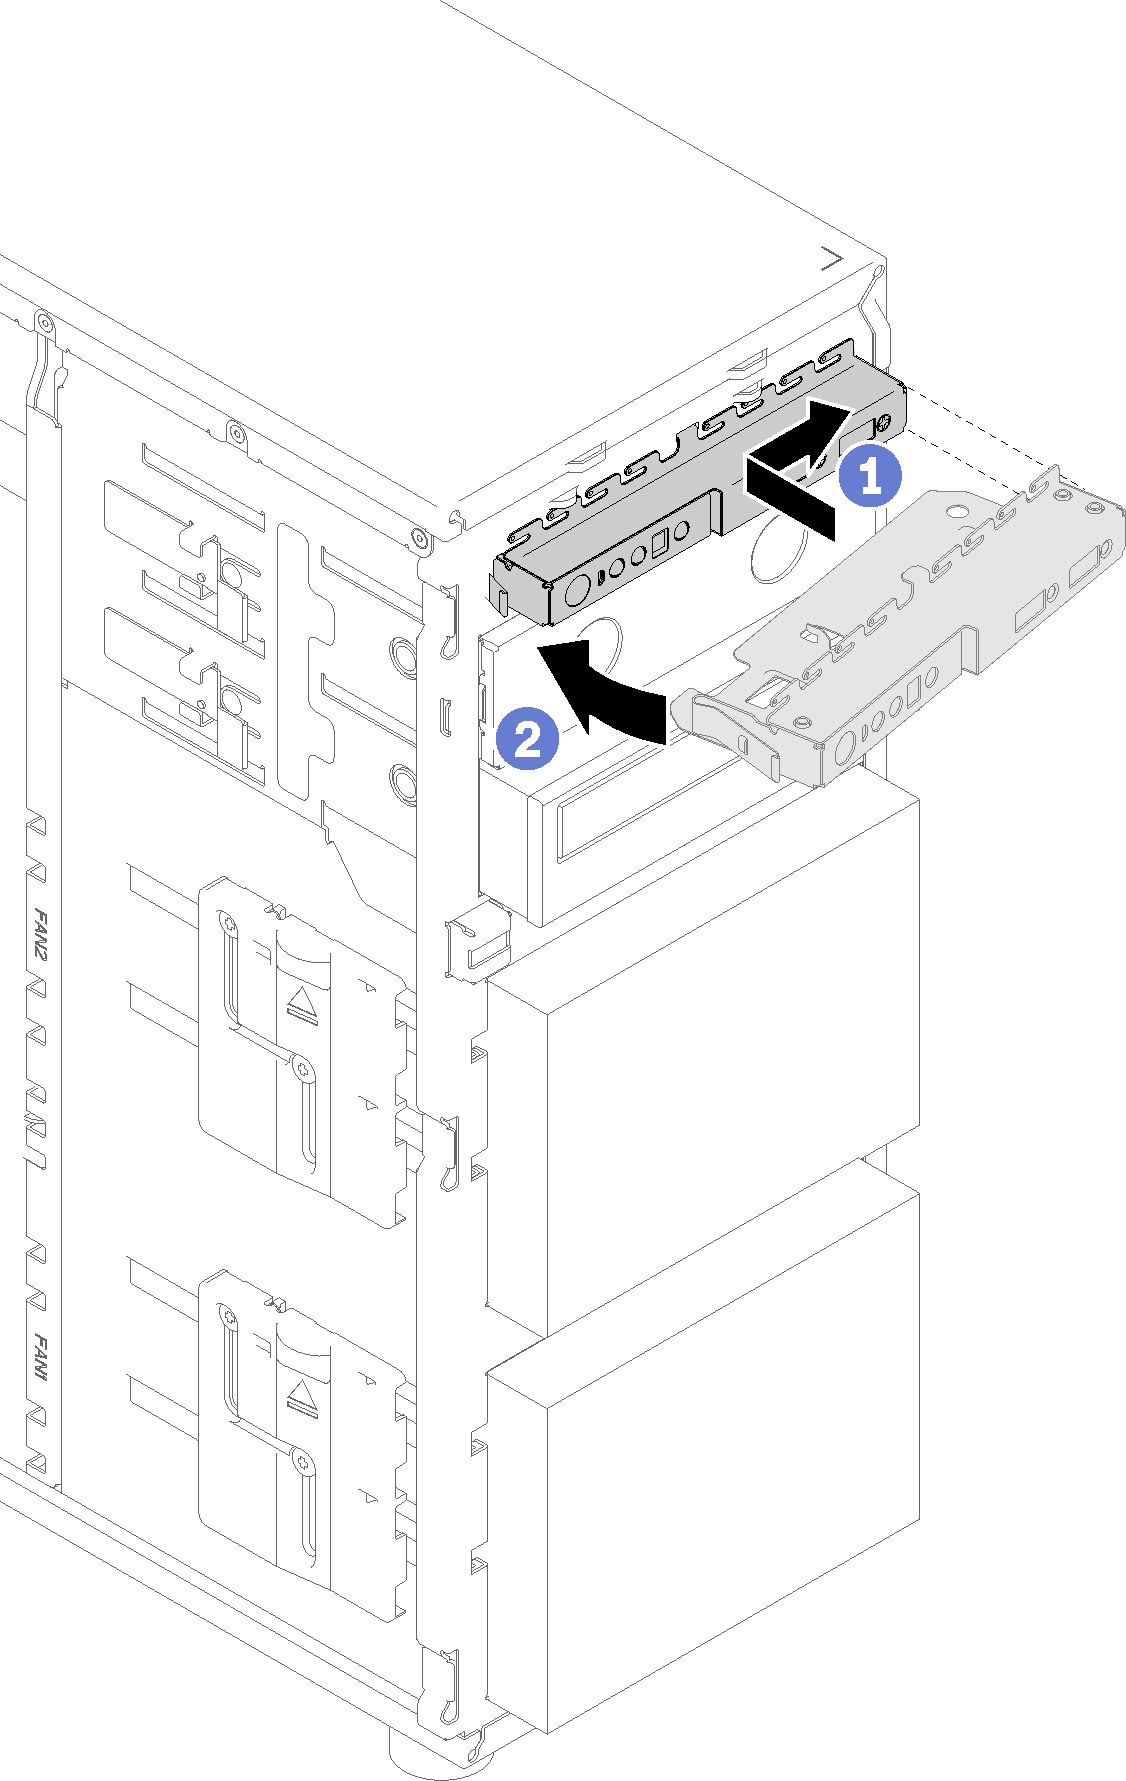
- Pivot the front panel board assembly in until it snaps into position.Figure 1. Front panel board assembly installation
After installing the front panel board assembly:
Complete the parts replacement. See Complete the parts replacement
Demo video
Give documentation feedback