Install the heat sink and the fan module
Use this information to install the heat sink and the fan module. This procedure must be executed by a trained technician.


Before installing the heat sink and the fan module:
Install the processor if one is not yet installed (see Install the processor).
To install the heat sink and the fan module, complete the following steps:
- Tighten screw 1 and 2:
- Partially tighten screw 1.
- Fully tighten screw 2.
- Fully tighten screw 1.
Figure 1. Installing the heat sink and the fan module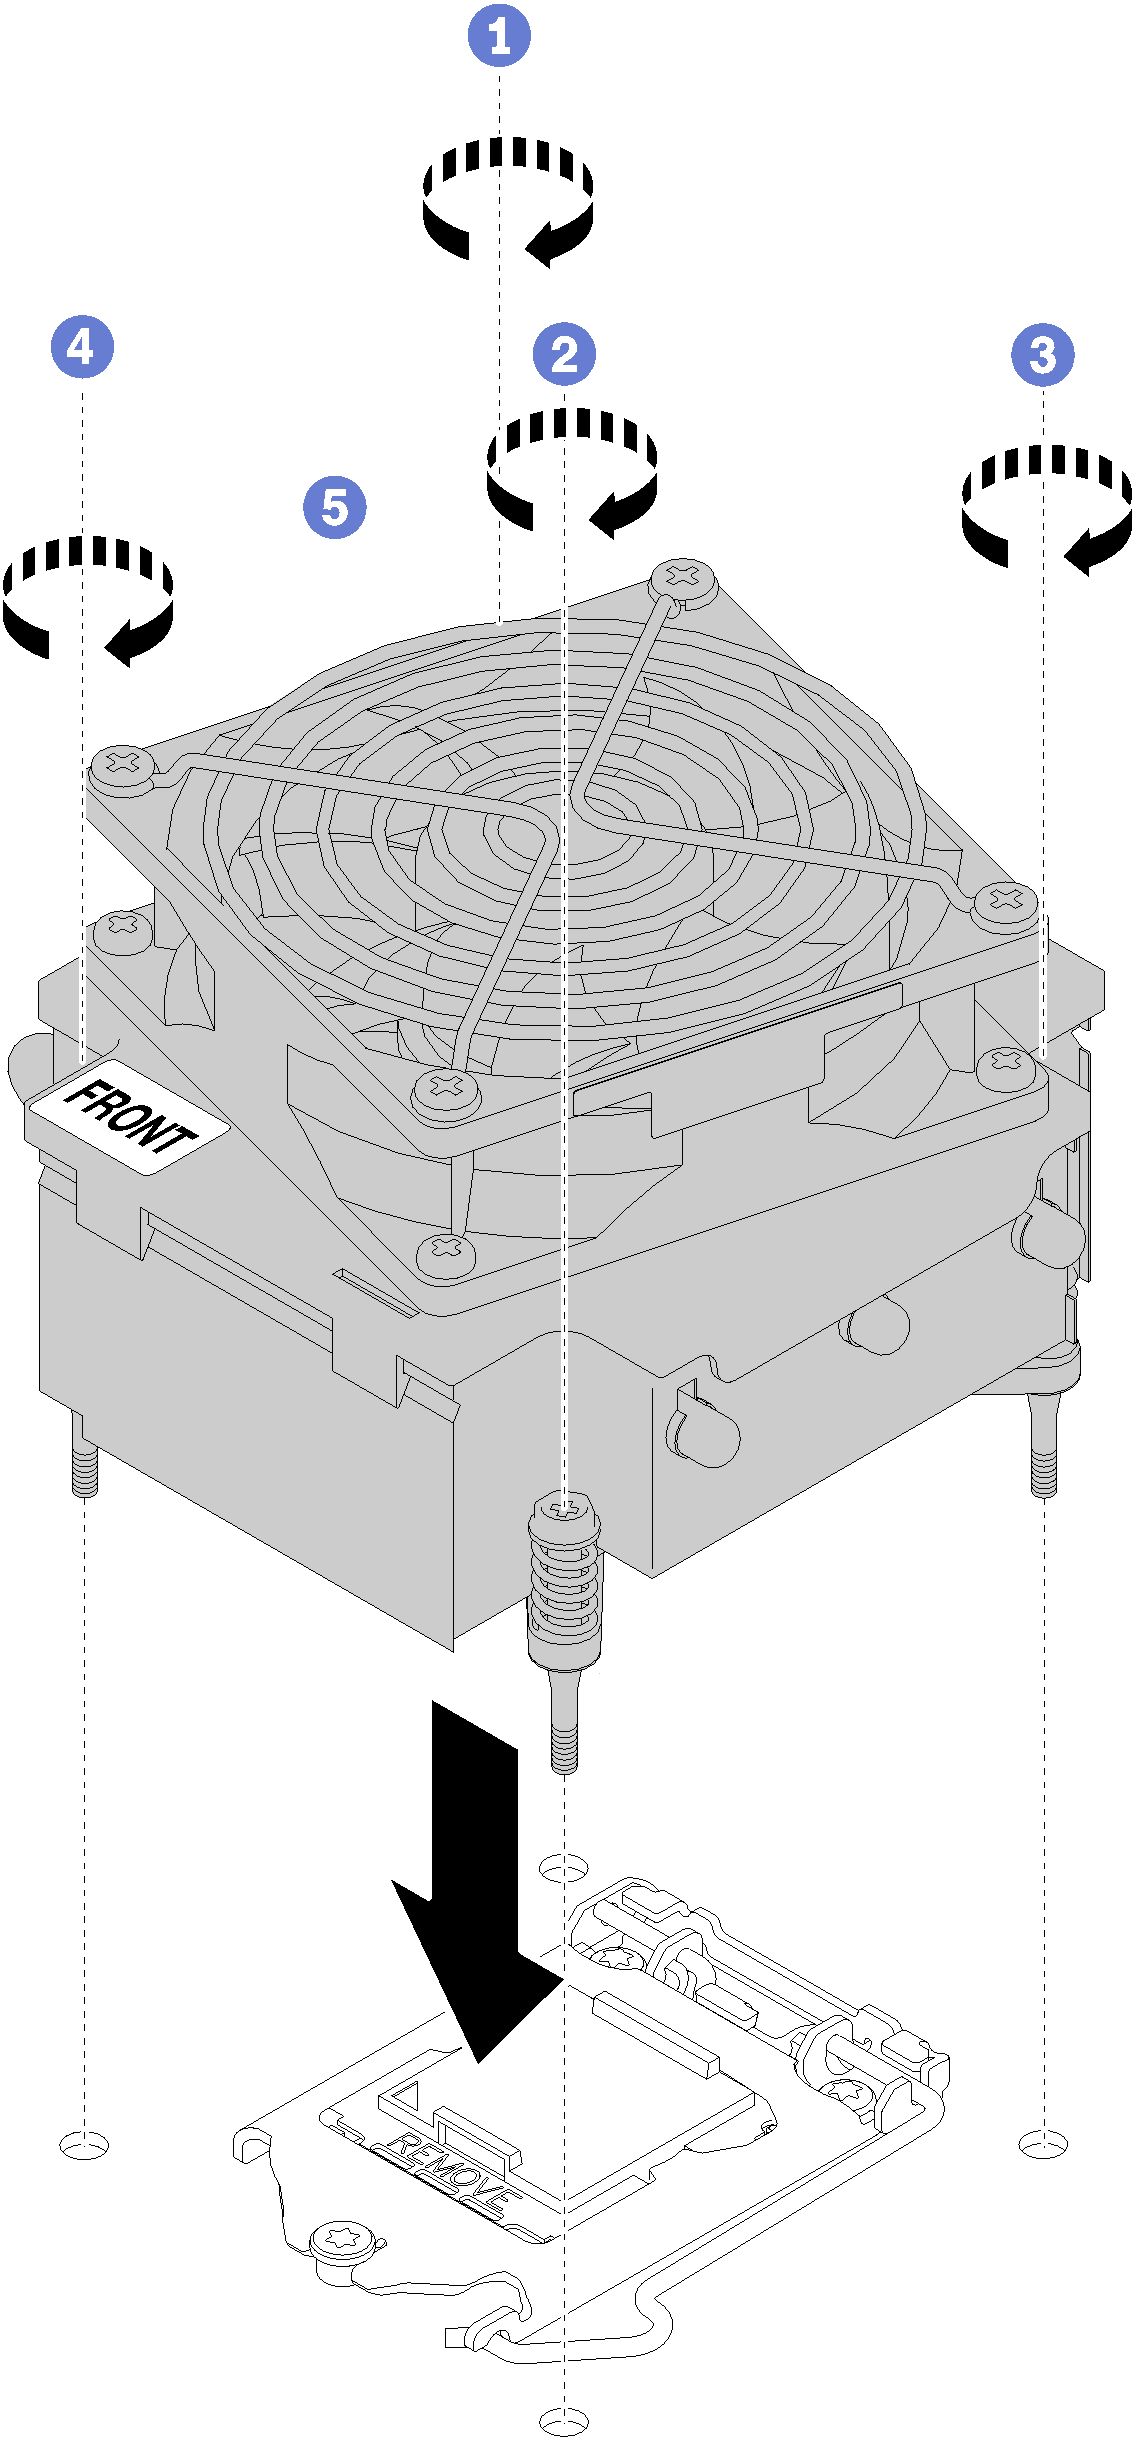
After installing the heat sink and the fan module:
Complete the parts replacement. See Complete the parts replacement.
Demo video
Give documentation feedback