Install the compute slide rails
Procedures for installing ThinkAgile CP compute block slide rails in a rack.
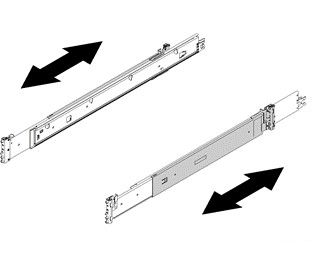
The slide rails are extensible as shown in the following illustration:
Figure 1. Slide rails
To install the ThinkAgile CP compute block slide rails, do the following:
- Push the slide rail so that the pins and the latch snap into place.Note
The holes on the rack are either be square-shaped or round-shaped.
Figure 2. Left slide rear installation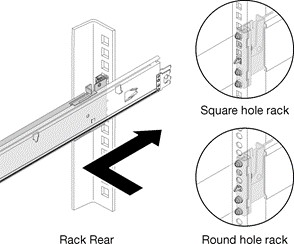
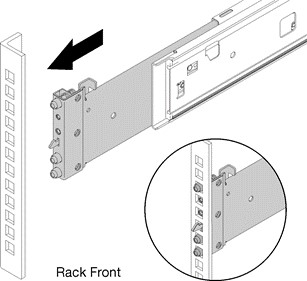
- Pull the slide forward and insert the pins and the latch into the flange holes at the front of the rack.Figure 3. Left slide front installation
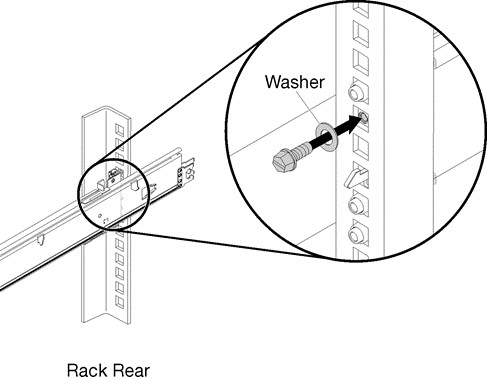
- Insert a M5 screw and washer into the rear bracket of each slide rail, and then fasten the two M5 screws to secure the slide rails to the rack flanges.Figure 4. Securing the compute block slide rails
The installation of the compute block slide rails in a rack is now complete.
To continue with the installation of the ThinkAgile CP compute block, follow these steps: Install the compute enclosure
Give feedback