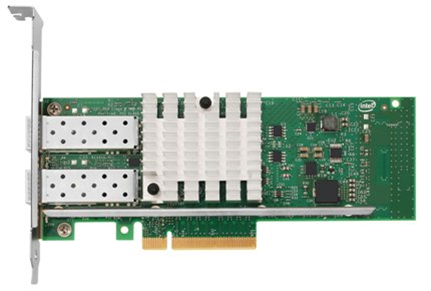
Replacing a network interface card (NIC)
The Lenovo Converged HX Series appliances can support up to eight network ports: two or four 10 GbE ports (up to 2 NICs) and four 1 GbE ports on the system board. A node requires network connectivity to function as part of a cluster. If one network interface is available, the failure of the other network interfaces does not cause service interruption but may cause service degradation.
No LED is illuminated for the network interface.
Guest VM performance degrades.
Guest VMs, the Nutanix web console, and oneCLI are unavailable.
VM migration fails with an error message such as the following: The migration was cancelled because the amount of changing memory for the VM was greater than the available network bandwidth

The Lenovo Converged HX Series appliances contain one or two NICs. For nodes with two NICs, ensure you verify which one has failed. Identify the failed NIC by either checking in XClarity Administrator or checking the indicator lights on the network ports.
Shut down the node by following the hypervisor specific Node Shutdown procedure described in the Nutanix Hardware Replacement Documentation.
Power off the node and disconnect all the cables if the cable management arm is not in place. Pull the node chassis out of the rack.
Remove the top cover as described in Removing the cover.
Replace the first (and sometimes only) NIC as described in Replacing an adapter.
Replace the top cover as described in Replacing the cover.
Push the node chassis back into the rack and reconnect the cables as necessary. Power on the node.
Start the node by following the hypervisor specific Node Start procedure described in the Nutanix Hardware Replacement Documentation.
Verify that the NIC has been successfully replaced by checking the following:
Orange warning light on the node front panel is extinguished.
All network ports are again fully functional.