修復元件
使用 Repair(修復)選項來修復已安裝的元件、登錄值,以及已安裝元件的其他項目。
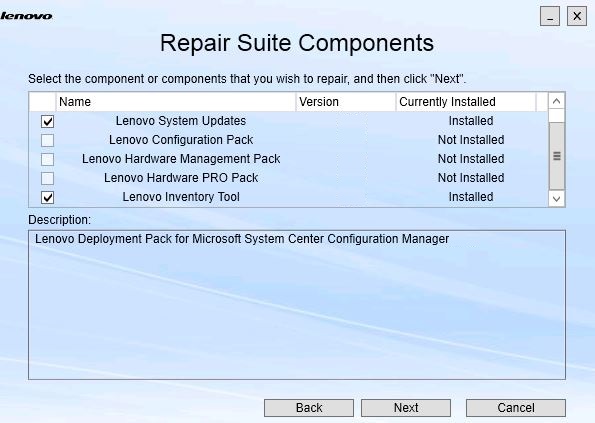
Repair(修復)選項和 Change(變更)選項的使用者介面基本上都相同。例如,Repair Suite Components(修復套組元件)頁面會列出您可以修復的元件,正如 Repair Suite Components(修復套組元件)頁面上所示。解除安裝的元件已停用。
程序
- 從 Maintenance(維護)頁面選取 Repair(修復)。Repair Suite Components(修復套組元件)頁面隨即開啟。圖 1. Repair Suite Components(修復套組元件)頁面
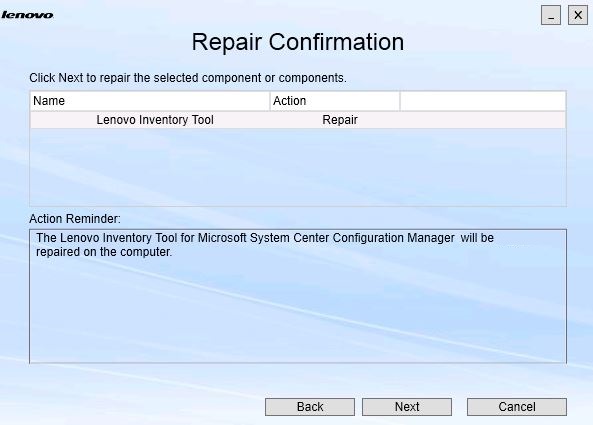
- 選取您要修復的元件的勾選框,然後按一下 Next(下一步)。Repair Confirmation(修復確認)頁面隨即開啟。圖 2. 修復確認頁面
- 若要開始修復動作,請按一下 Next(下一步)。安裝精靈隨即開啟。圖 3. 安裝精靈
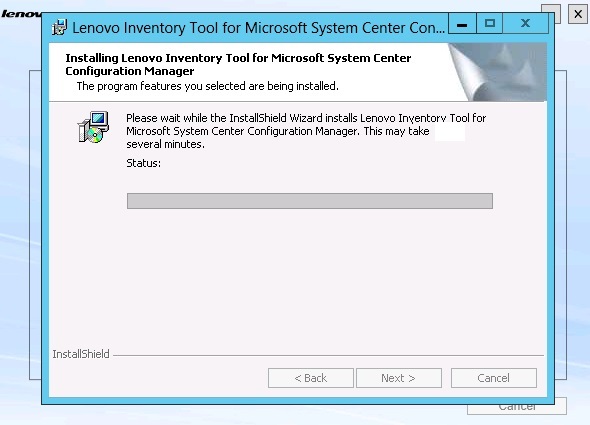
每個元件的安裝應用程式會各自執行該元件的修復工作。這會按照元件逐一進行修復。
安裝完成時,Results(修復)頁面會開啟並顯示修復的狀態。
圖 4. 修復結果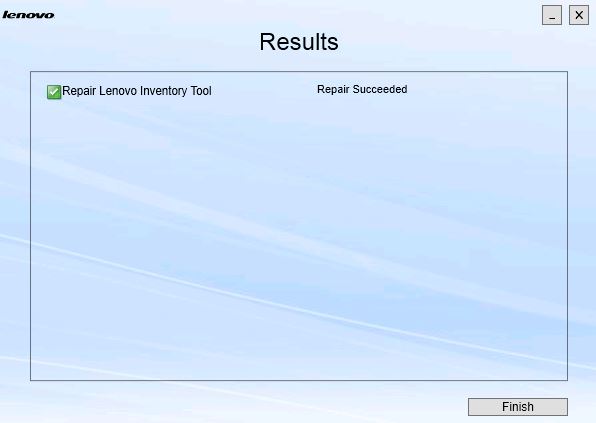
提供意見回饋