Install the front air baffle

Use this information to install the front air baffle.

About this task
Attention
Read the Installation Guidelines to ensure that you work safely.

Procedure

Figure 1. Front air baffle installation
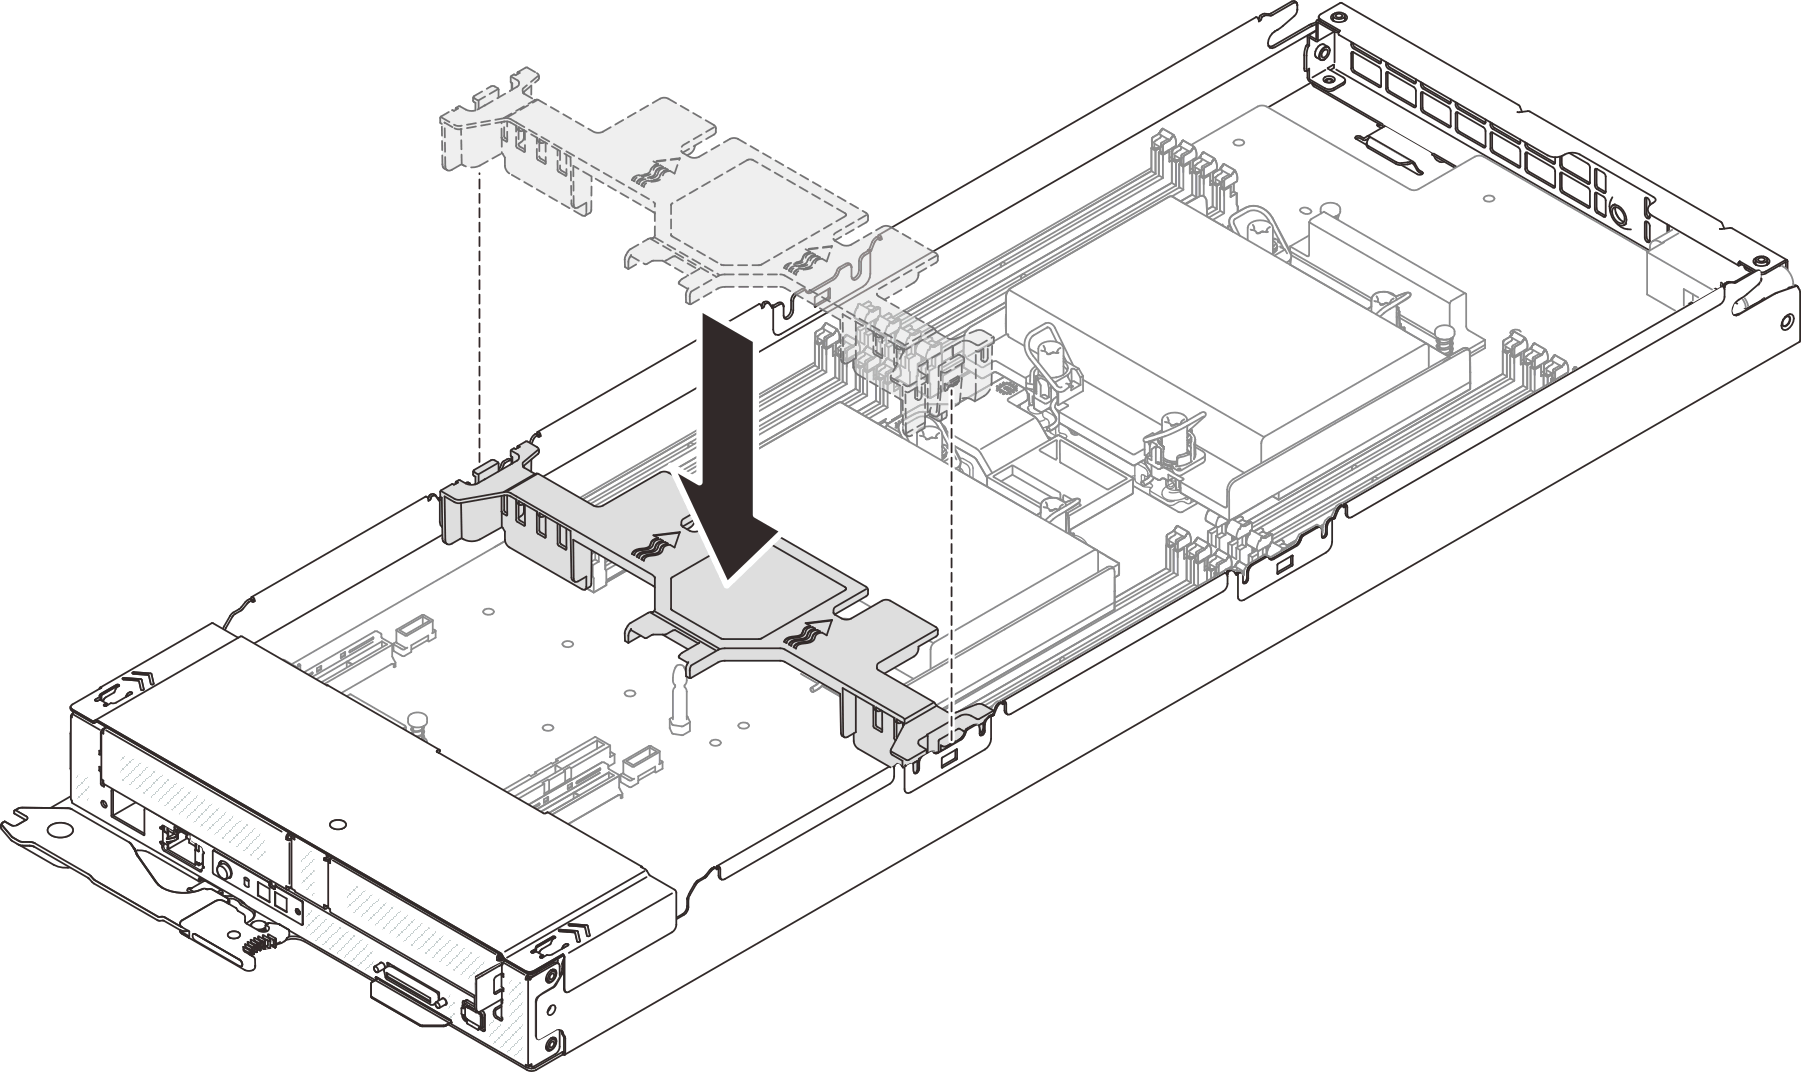
Front air baffle installation

  1. Align the front air baffle tabs with the baffle slots located on both sides of the compute node in between the drive cage assembly/PCIe riser assembly and DIMM connectors 1 to 8.
  2. Lower the front air baffle into the compute node and press it down until it is securely seated.
    Attention
    • For proper cooling and airflow, reinstall the front air baffle before you turn on the compute node. Operating the node without the front air baffle might damage node components.

    • Ensure that the M.2 adapter pull tab is tucked under the front air baffle.

    • Pay attention to the cables routed along the sidewalls of the compute node as they may catch under the front air baffle.

After you finish

  1. Reinstall the compute node into the enclosure (see Install a compute node in the enclosure).
  2. Check the power LED on each node to make sure it changes from fast blink to slow blink to indicate the node is ready to be powered on.

Demo video

Watch the procedure on YouTube