Install the hot-swap SMM2
Use this information to install the hot-swap System Management Module 2 (SMM2).
About this task
Attention
Read the Installation Guidelines to ensure that you work safely.
Procedure
Figure 1. Hot-swap SMM2 installation
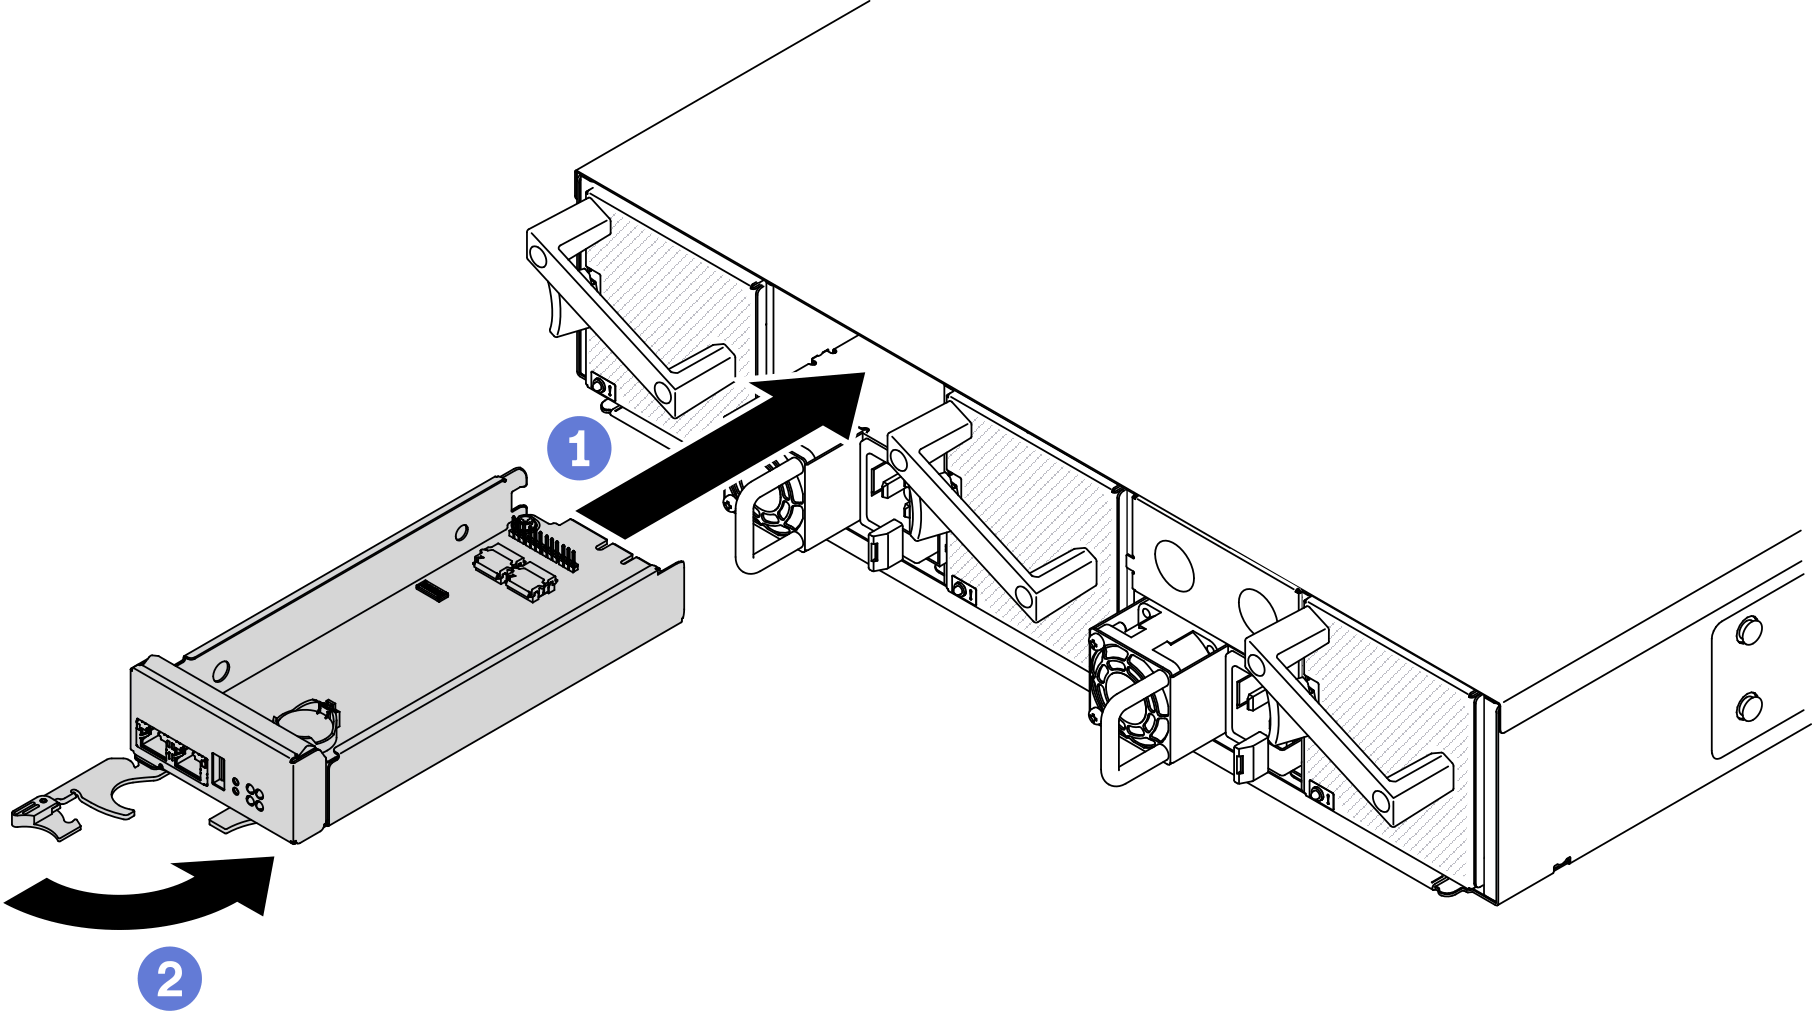
Install the hot-swap SMM2 in the enclosure.
 Make sure that the front handle on the SMM2 is in the fully open position. Then, slide the SMM2 into the enclosure until it stops.
 Rotate the front handle to the fully closed position until the handle latch clicks into place.
After you finish
When the status LED on the SMM2 goes from fast blinking to slow blinking, it indicates the SMM2 is ready. Meanwhile, if the status LED is off or continuously lit, it indicates the SMM2 has encountered one or more problems.
Check the power LED on each node to make sure it changes from fast blink to slow blink to indicate the node is ready to be powered on.
Demo video
Give documentation feedback