Use this information to remove and install the USB flash drive from and to the SMM2 for data backup and restore.
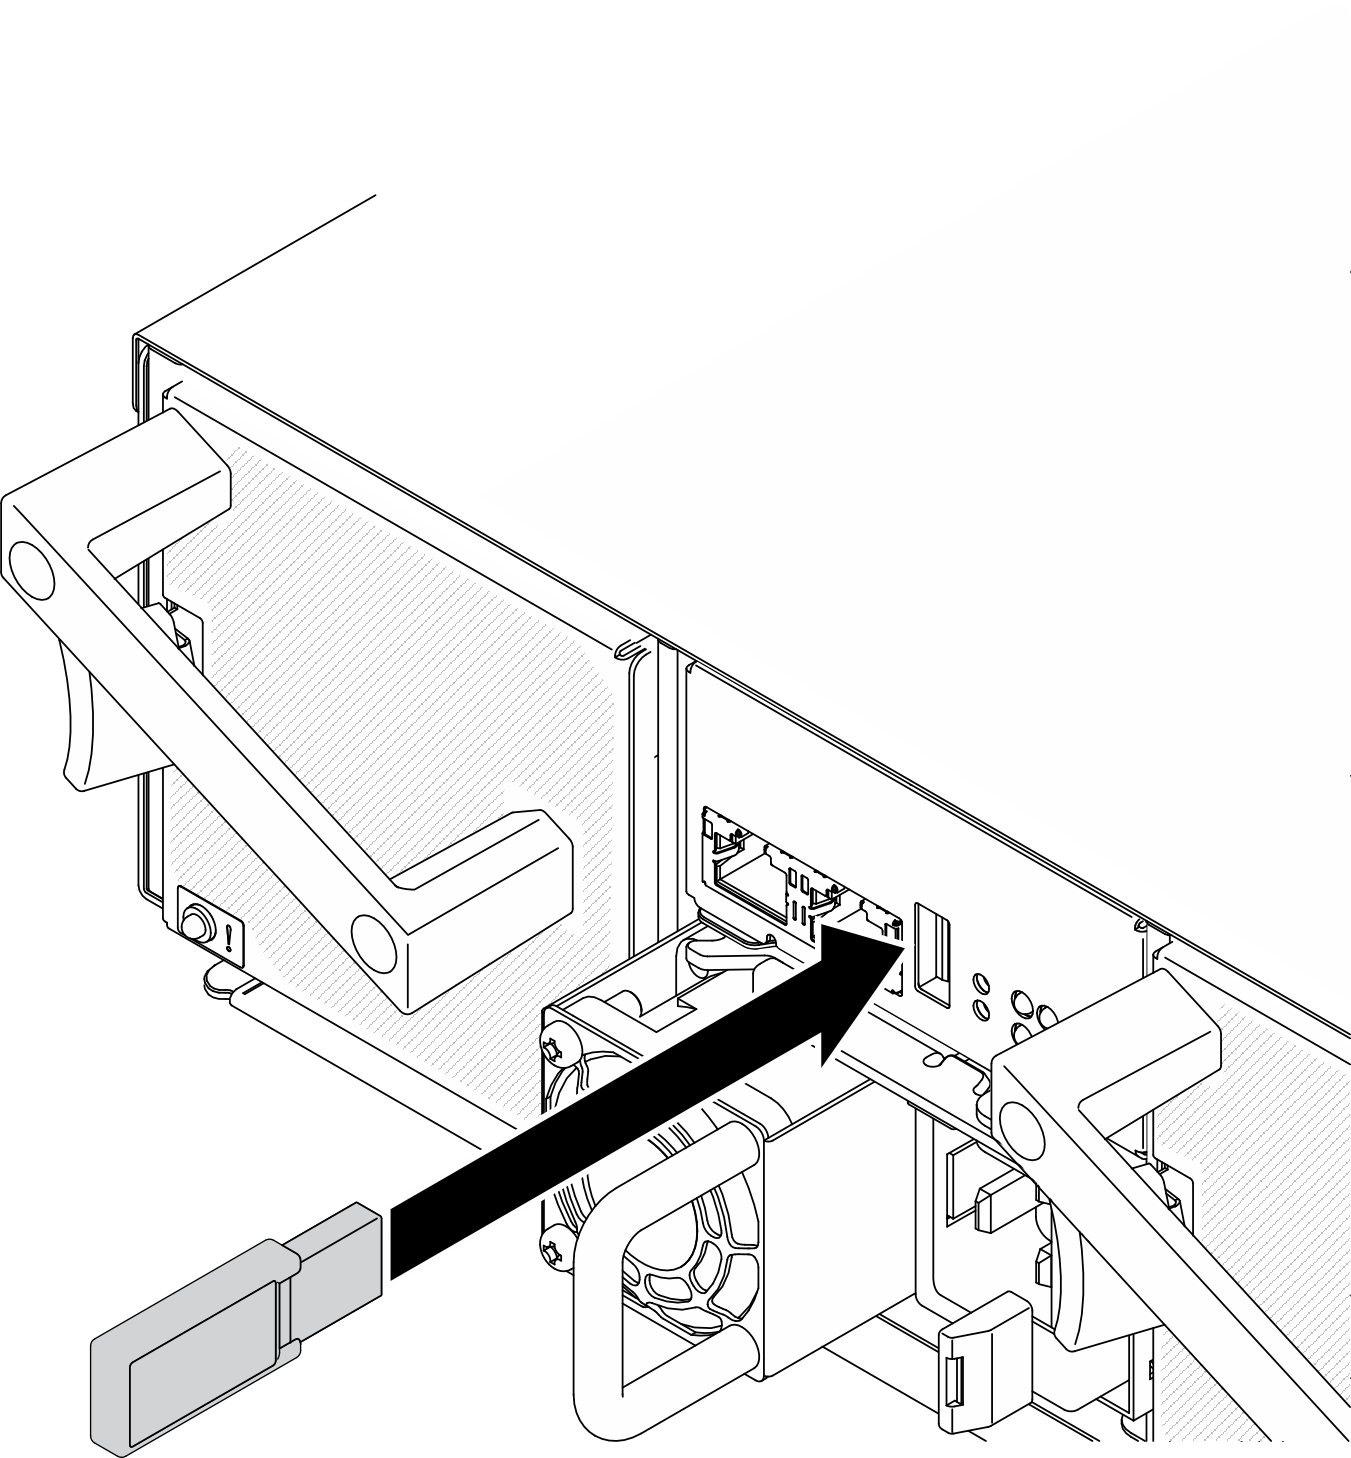
Align the USB flash drive with the connector on the SMM2 and push it in until it is firmly connected. Figure 1. USB flash drive installationComplete the following steps to perform backup of SMM2 settings, enclosure VPD and PDB (power distribution boards) VPD. Update the solution firmware to the latest level. Log in to SMM2 web interface. Go to the Configuration section, select Backup and Restore Configuration , and perform SMM2 settings backup via Backup Configuration to Storage Device . Alternatively, you can choose to back up SMM2 settings via Backup Configuration from Network .
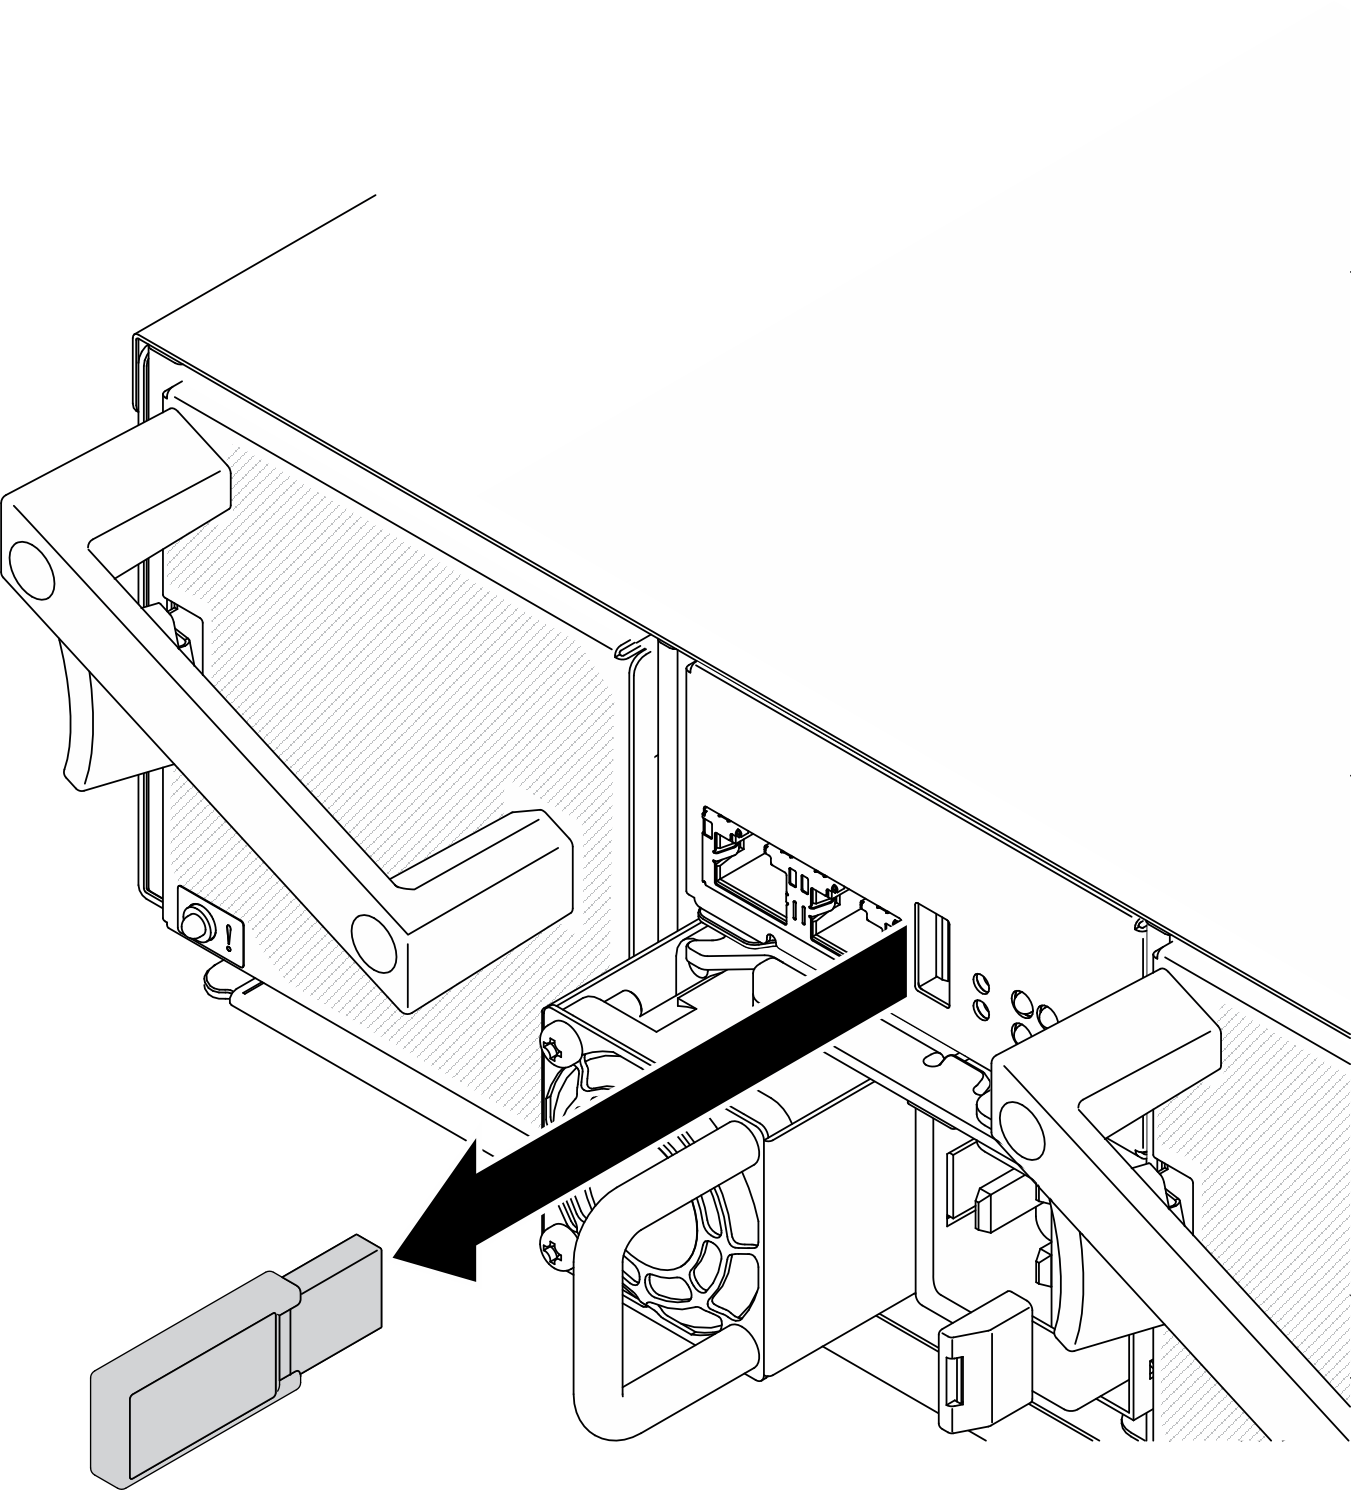
Go to the System Information section, select Enclosure VPD or PDB VPD , and perform data backup respectively. After data backup is completed, pull the USB flash drive out of the connector to remove it from the SMM2. Figure 2. USB flash drive removal Remove the SMM2 from the enclosure (see Remove the hot-swap SMM2 ). Install the new SMM2 (see Install the hot-swap SMM2 ). Keep the USB flash drive and install it to the new SMM2 (see Step 1). Log in to the SMM2 web interface and perform data restore of SMM2 settings, enclosure VPD and PDB VPD. If SMM2 settings are backed up via the network, restore and apply the configurations via Restore from Network Backup Configuration in Backup and Restore Configuration .
After you finish
For more detailed information, see Backup and Restore SMM2 Configurations