Install the compute node cover
Use this procedure to install the compute node cover.
About this task
Attention
Read Safety inspection checklist and Installation Guidelines to ensure that you work safely.
If you are replacing the cover, make sure that you have the system service label kit on hand for use during the replacement procedure. See Parts list for more information.
You cannot insert the compute node into the Lenovo Flex System Enterprise Chassis until the cover is installed and closed. Do not attempt to override this protection.
Procedure
- Install the top cover.
- Align the posts inside the cover with the slots on the sides of compute node.
- Place down the cover on the compute node.
- Hold the front of the compute node and slide the cover forward to the closed position, until it clicks into place.
Figure 1. Compute node cover installation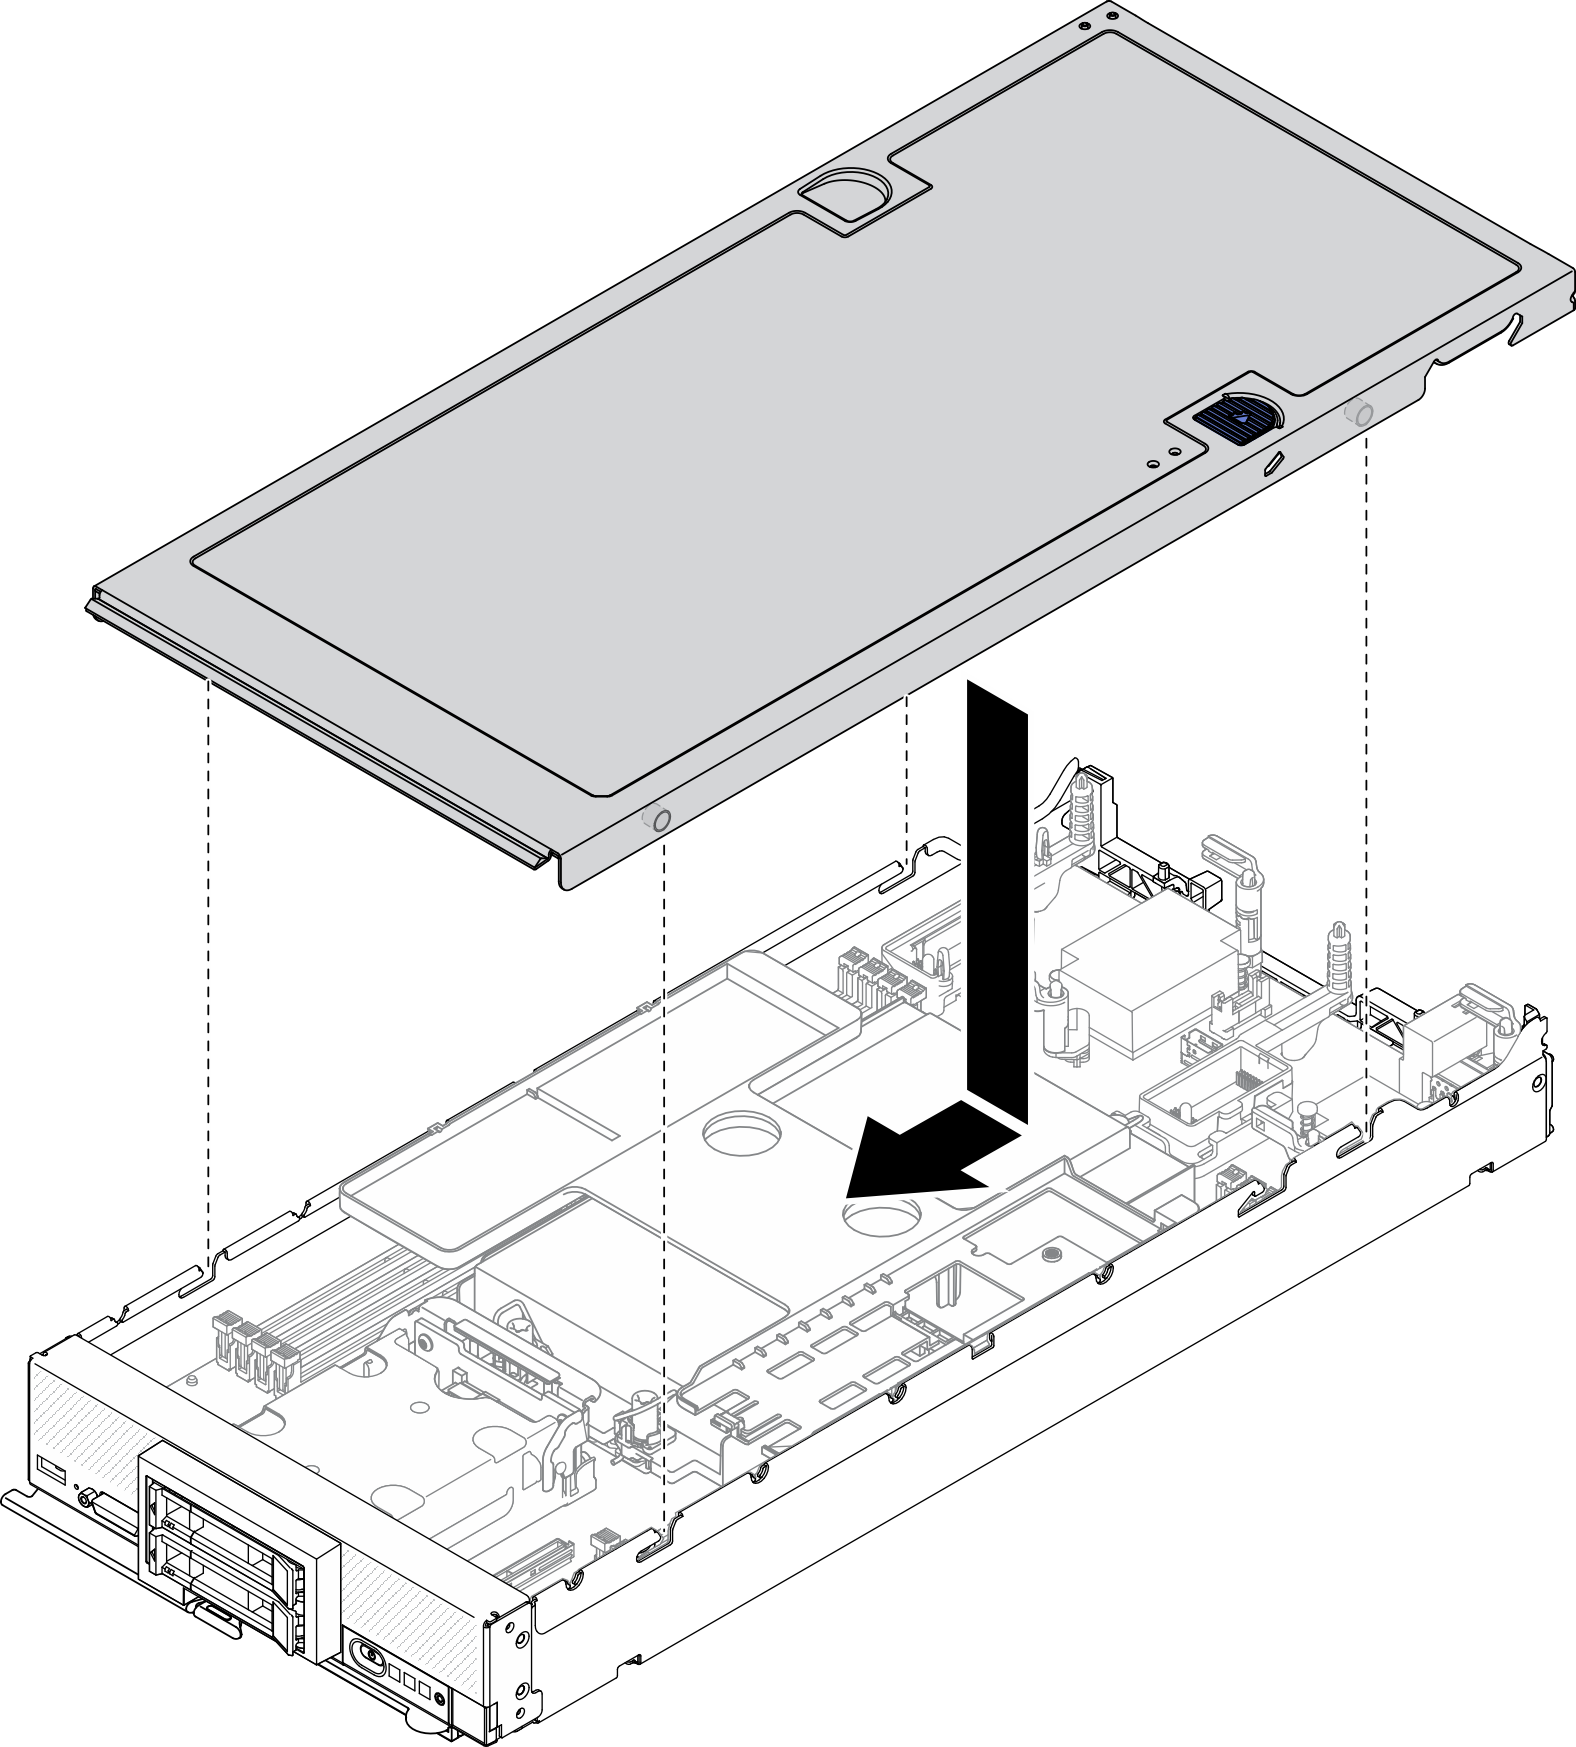
Demo video
Give documentation feedback