エアー・バッフルの取り外し
以下の情報を使用して、エアー・バッフルを取り外します。

エアー・バッフルを取り外す前に:
トップ・カバーを取り外します。トップ・カバーの取り外し を参照してください。
エアー・バッフルに RAID 超コンデンサー・モジュールが取り付けられている場合は、先に RAID 超コンデンサー・モジュール・ケーブルを切り離します。
エアー・バッフルに GPU が取り付けられている場合、まず GPU を取り外します。GPU の取り外し を参照してください。
エアー・バッフルを取り外すには、次のステップを実行します。
動画で見る
YouTubeにて、この手順を説明した動画をご覧いただけます。
エアー・バッフルをつかんで、慎重にサーバーから持ち上げて取り外します。
重要
冷却と通気を確保するため、サーバーの電源をオンにする前にエアー・バッフルを取り付けてください。エアー・バッフルを取り外したままサーバーを作動させると、サーバーのコンポーネントが損傷する可能性があります。
図 1. 標準エアー・バッフルの取り外し
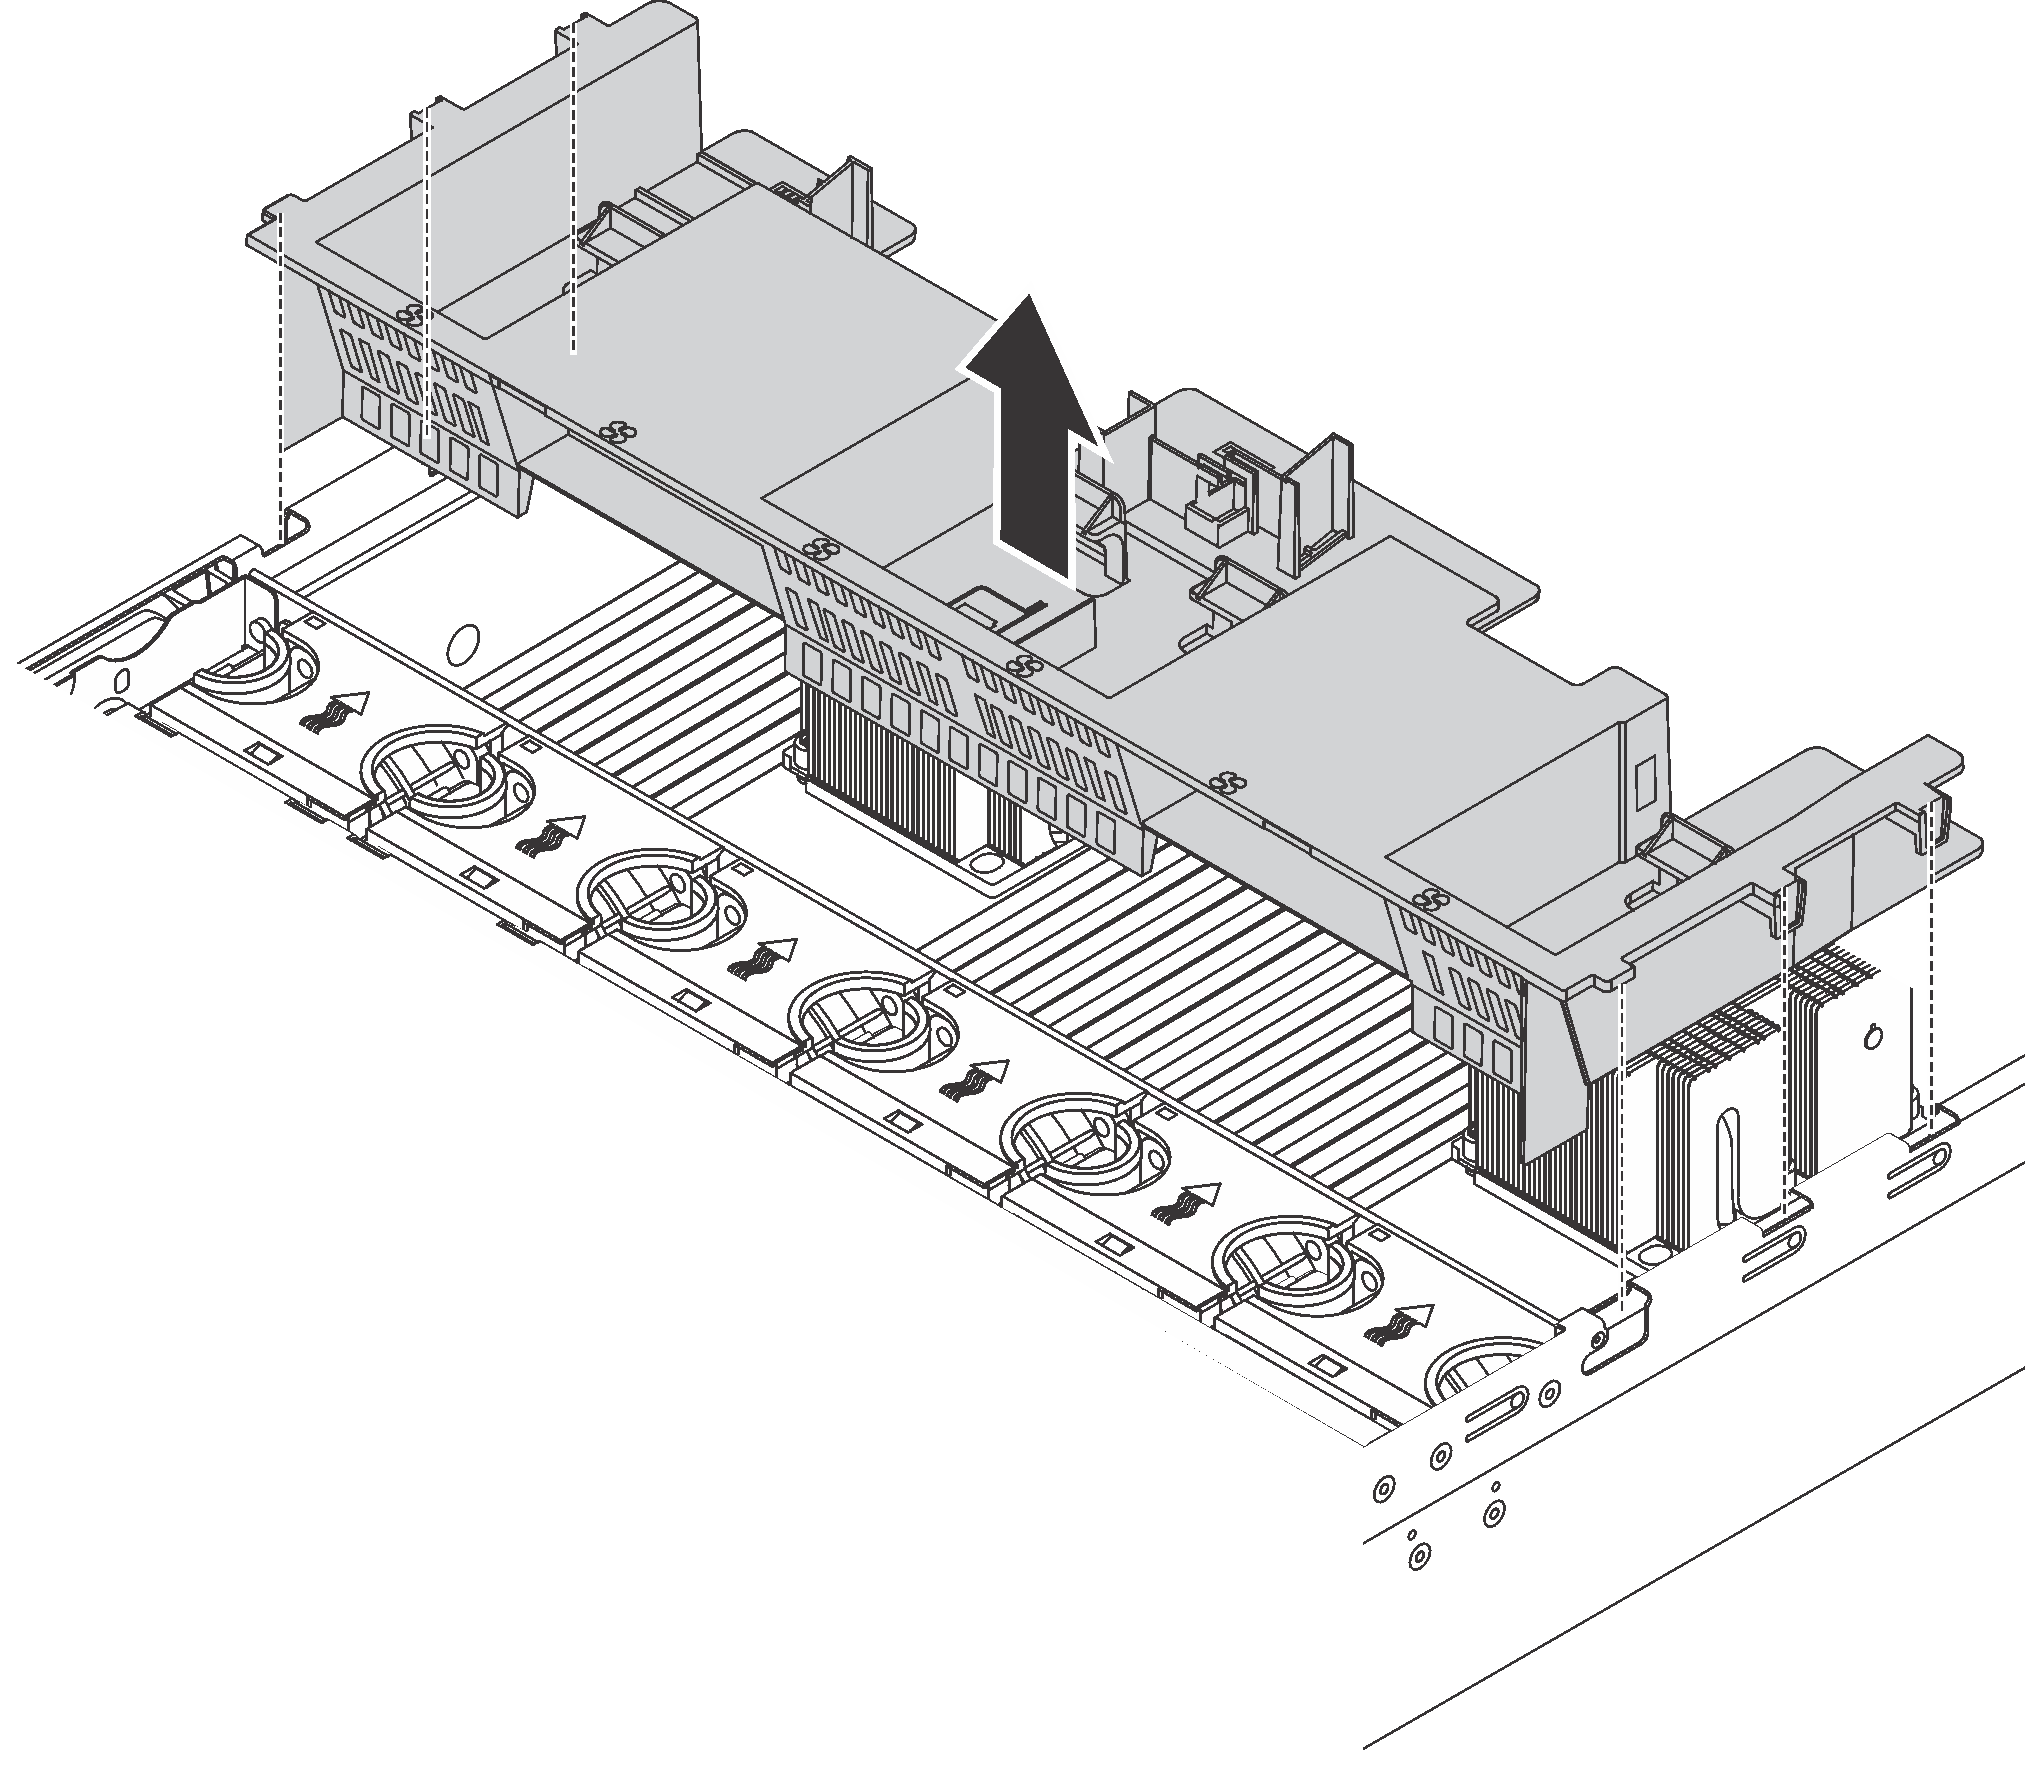
図 2. 大型エアー・バッフルの取り外し

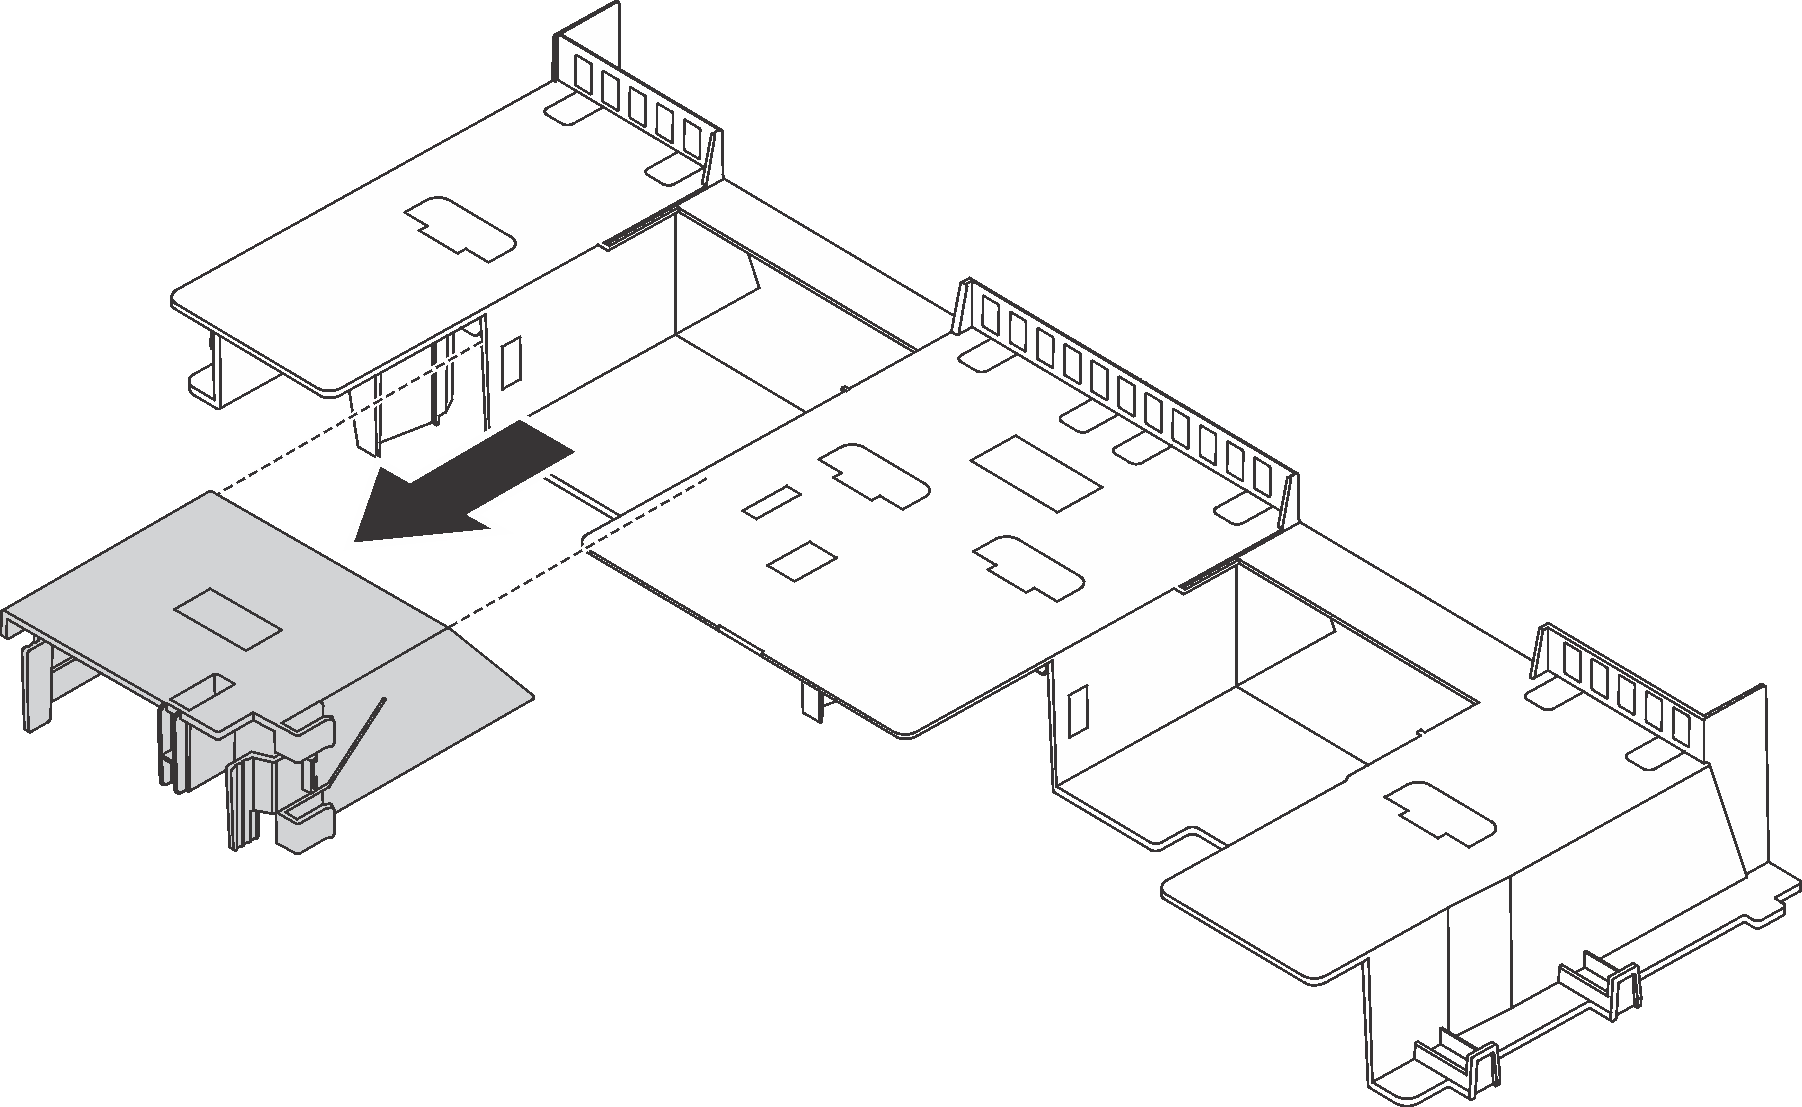
標準エアー・バッフルを取り外した後、エアー・バッフルにプラスチック製フィラーが取り付けられている場合は、プラスチック製フィラーを取り外します。
図 3. プラスチック・フィラーの取り外し
フィードバックを送る