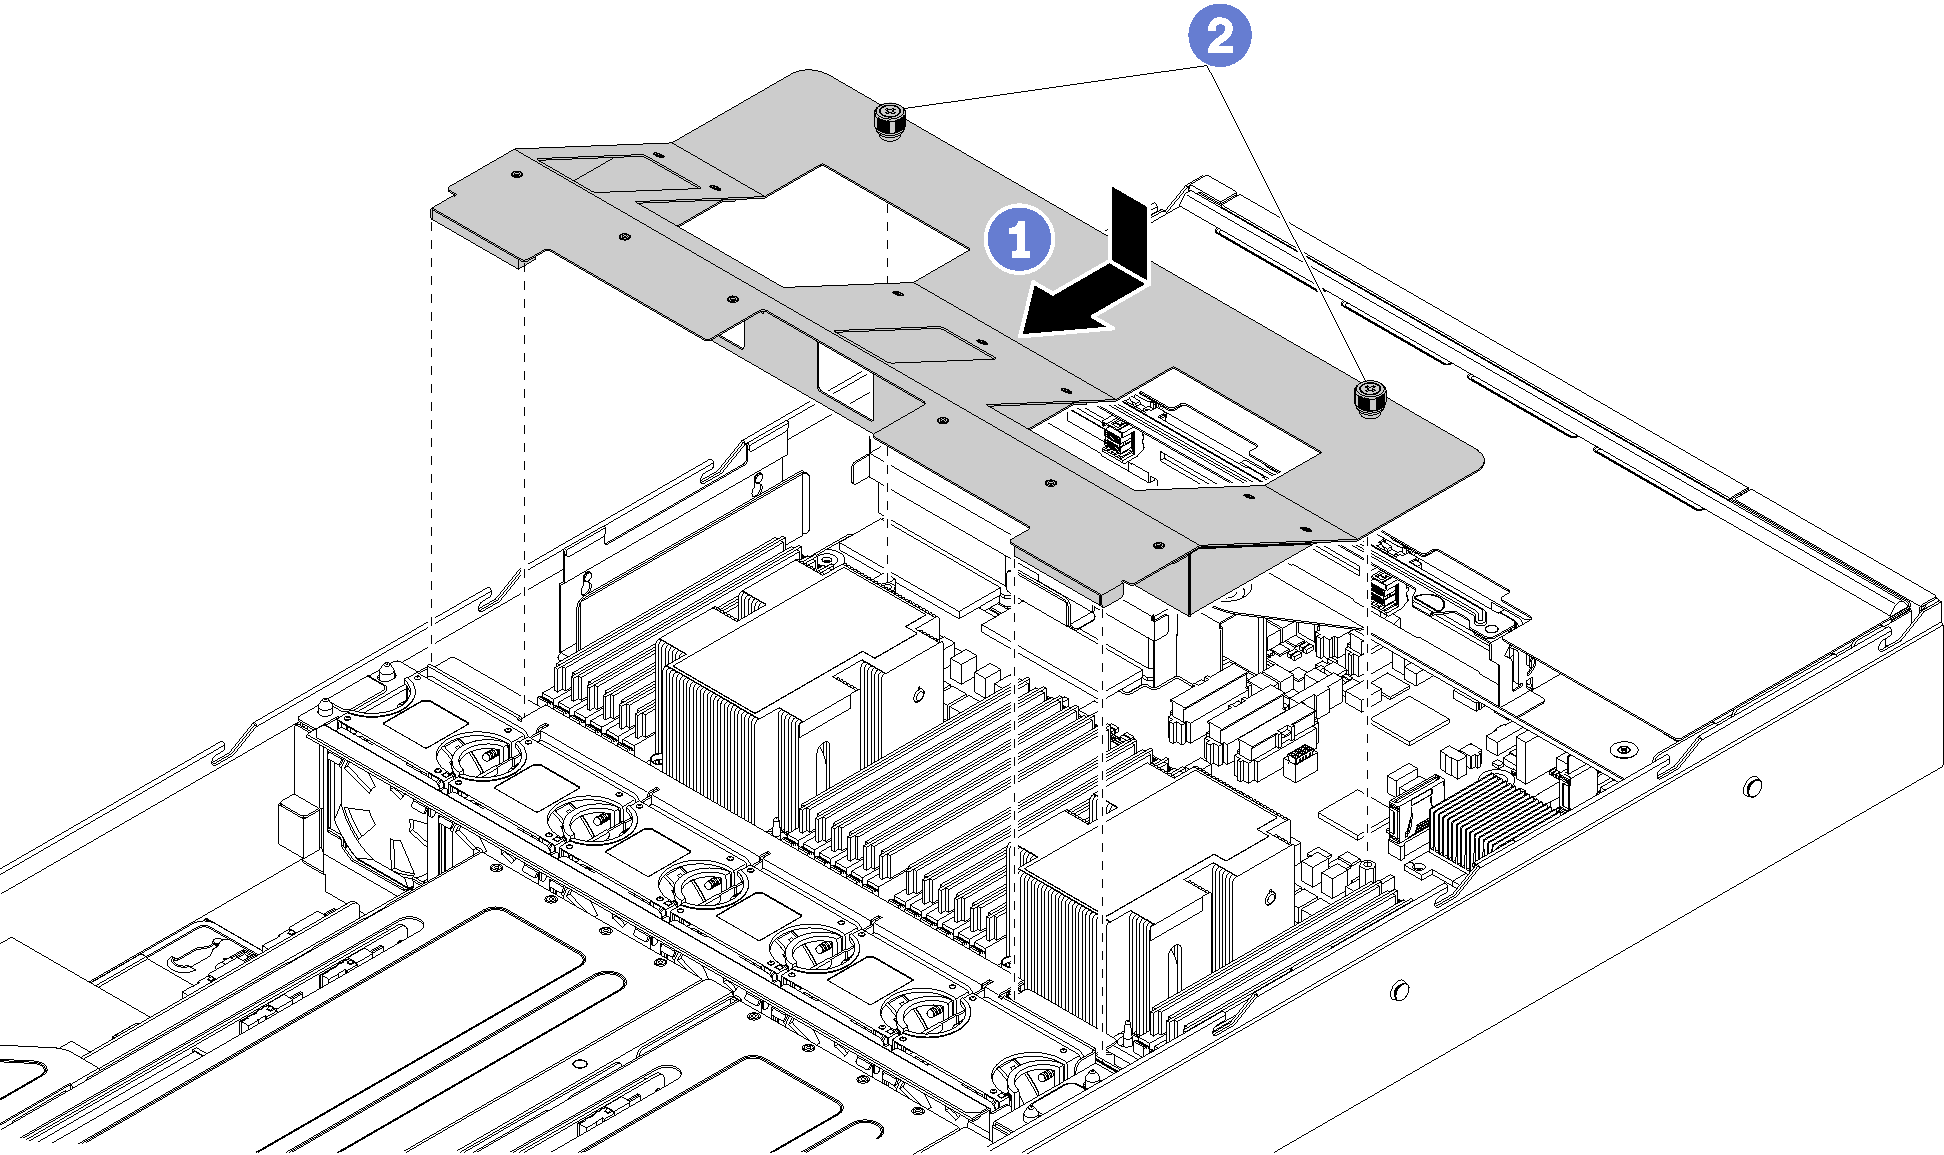
Install the air baffle
Use this information to install the air baffle.
Ensure that no tools or loose screws are left inside your server.
Ensure that all components have been reassembled correctly.
Ensure that all cables inside the server have been properly routed and they will not interfere with installing the air baffle.
To install the air baffle, complete the following steps:

Install the top cover. See Install the top cover
Push up on the latches on the slide rails and push the server back into the rack.
Tighten the two captive screws located on the front of the server to secure the server in the rack.
NoteAlways secure the system in the rack if your are moving the rack.Connect all cables to the ports on the front of the server, including the management port, if necessary, and all PCIe adapter ports. The management port and PCIe adapter ports are located in the I/O expansion cage.
Connect power cords to both power supplies, which are located at the rear of the server.
Demo video

