Remove the top cover

Use this information to remove the top cover.
S014
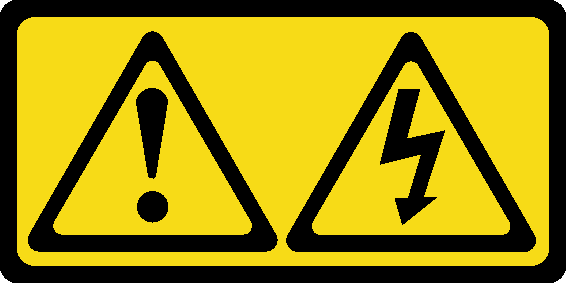
shock hazard
CAUTION
Hazardous voltage, current, and energy levels might be present. Only a qualified service technician is authorized to remove the covers where the label is attached.
S033
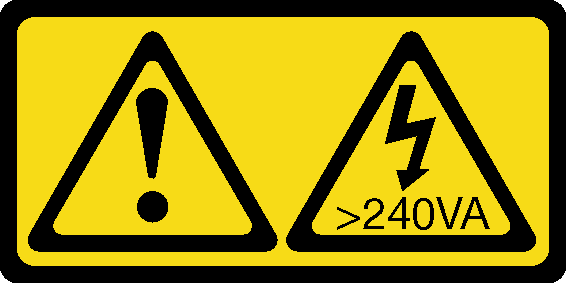
240VA shock hazard
CAUTION

Hazardous energy present. Voltages with hazardous energy might cause heating when shorted with metal, which might result in spattered metal, burns, or both.

Before removing the top cover, complete the following steps:
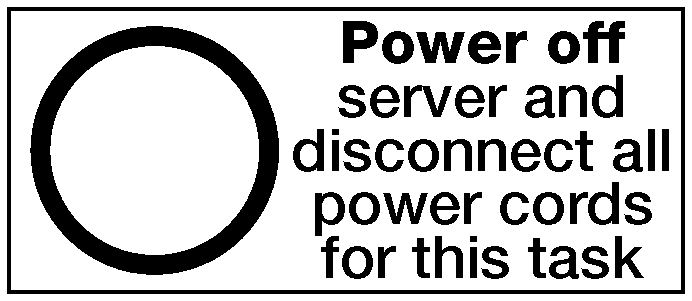
  1. Power off the server. See Power off the server.

  2. Disconnect power cords from both power supplies, which are located in the rear of the server.

  3. Record the location of the cables in the front of the PCIe adapters that are installed in the I/O expansion cage at the front of the server, and disconnect the cables.

  4. Disconnect the management port cable from the management port in the I/O expansion cage, if necessary.

  5. Loosen the two captive screws located on the front of the server. If necessary, use a P2 screwdriver to loosen the screws.

  6. Pull the server forward until the slide rails click into place.

To remove the top cover, complete the following steps:
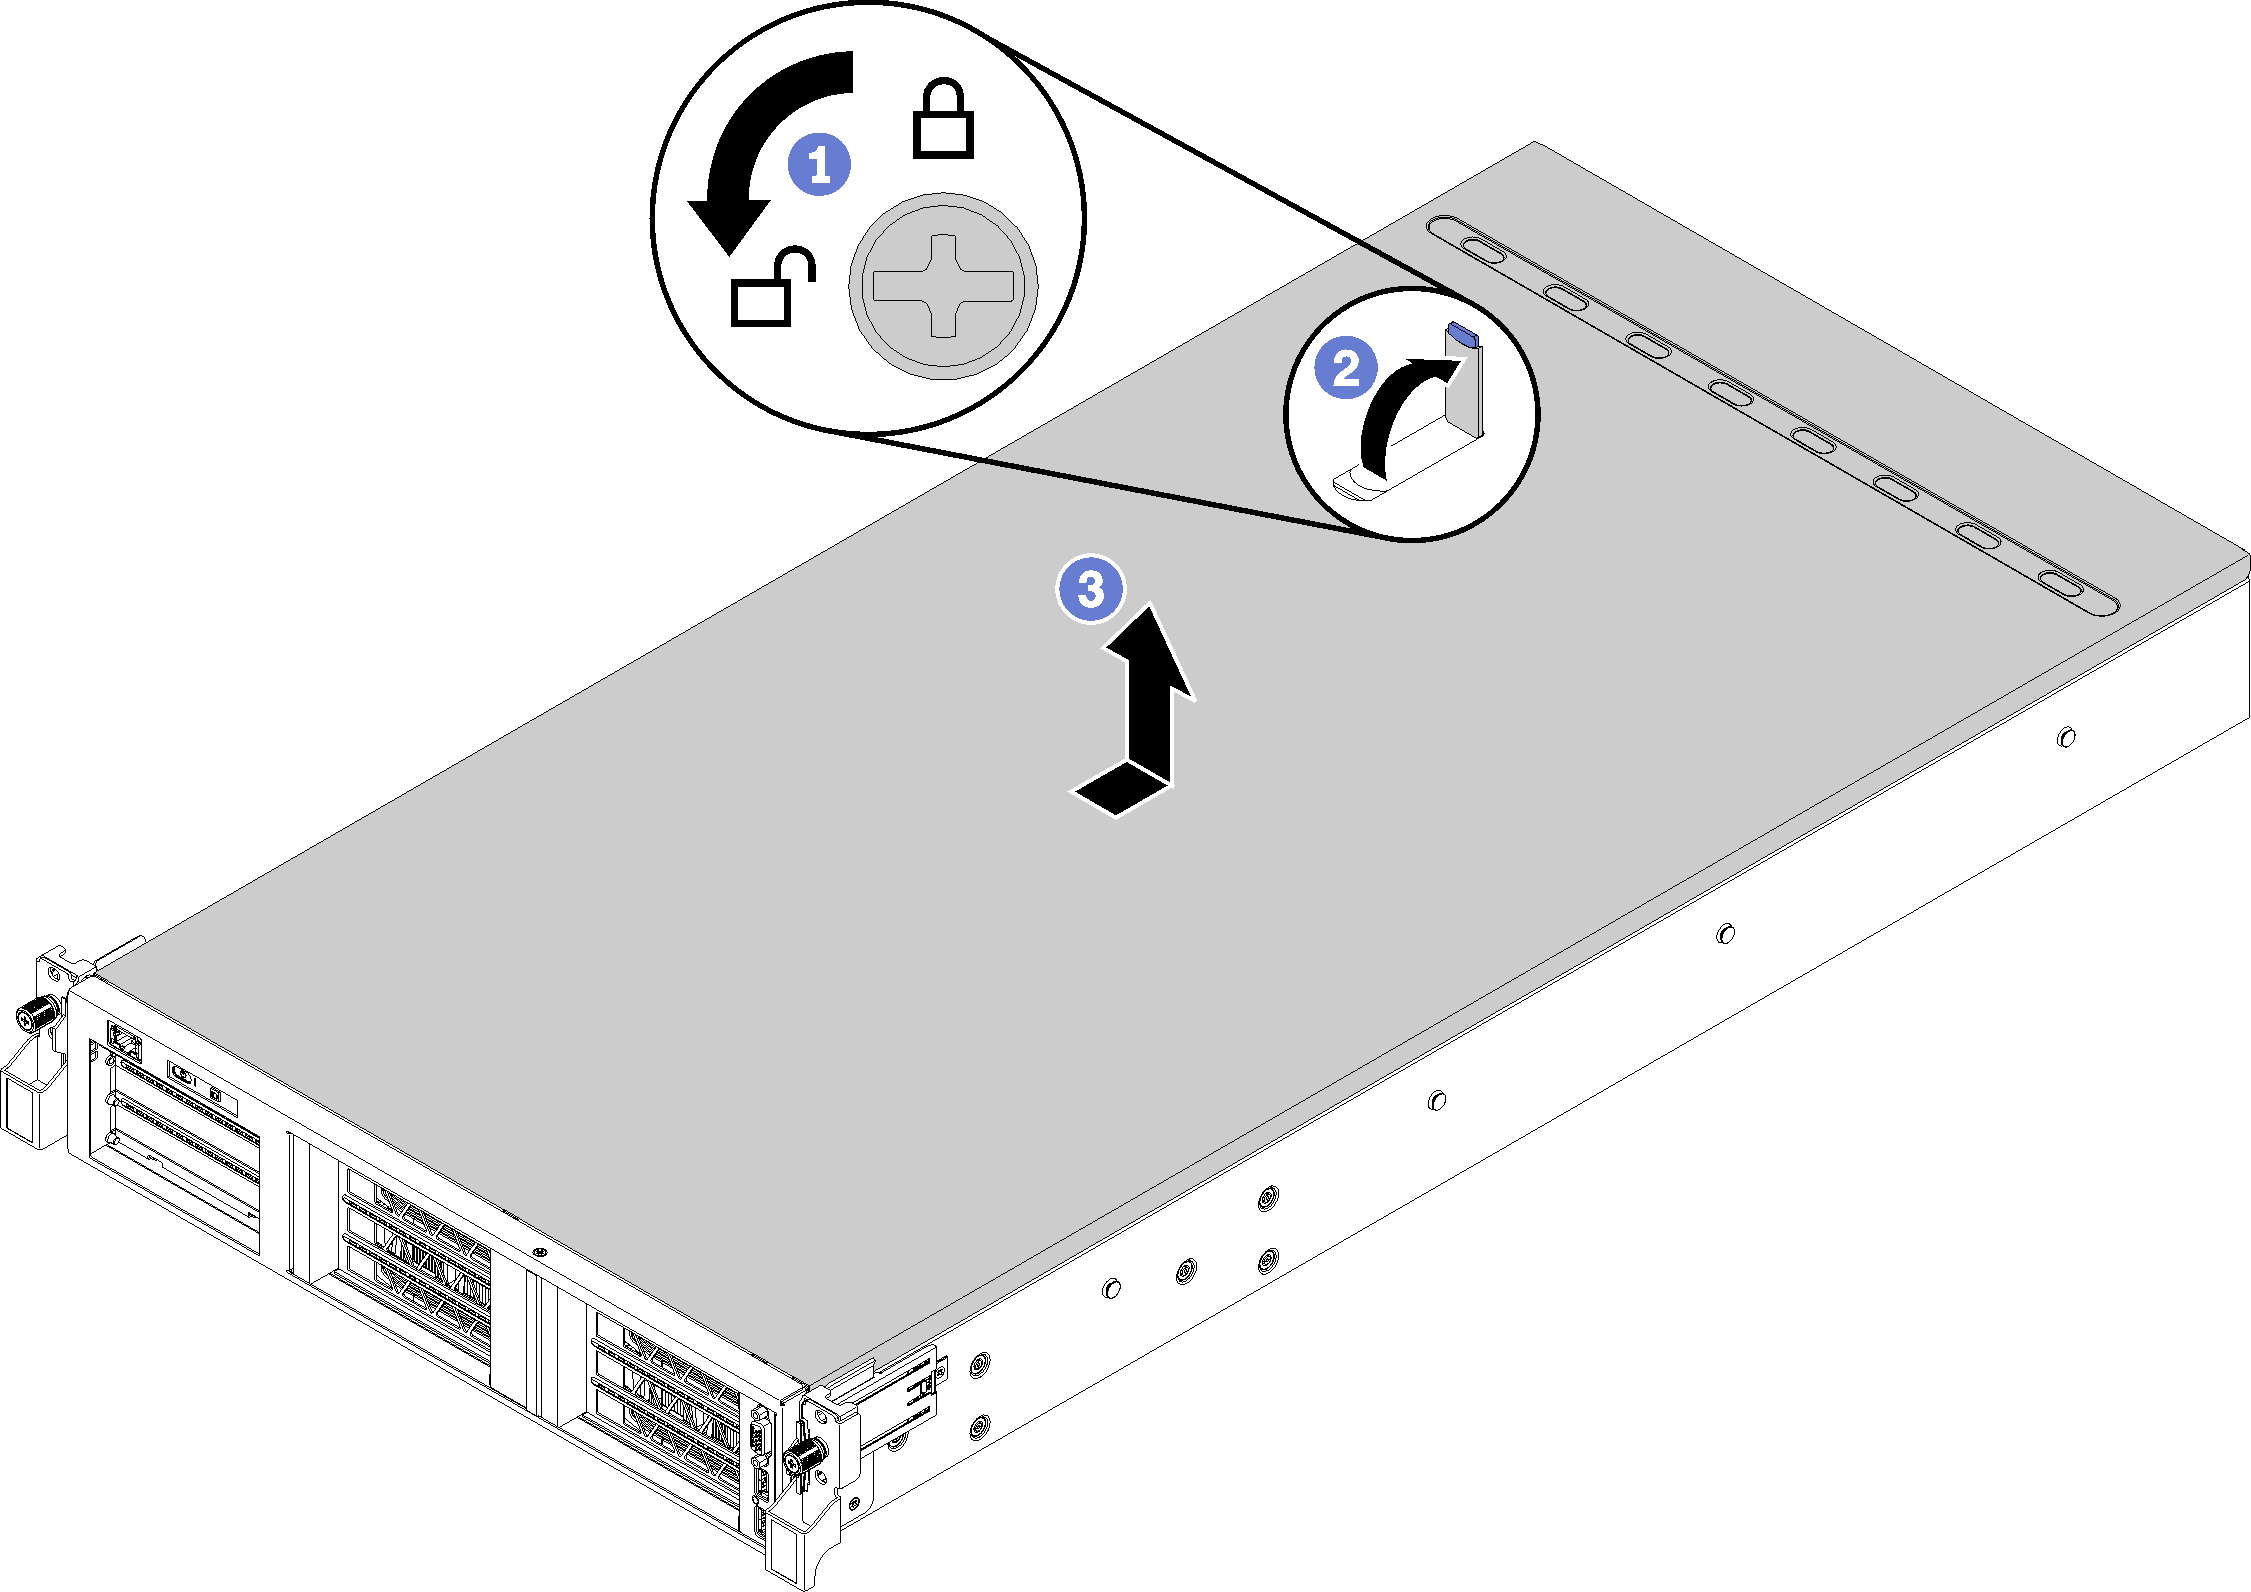
Figure 1. Top cover removal
Top cover removal

  1. Use a screwdriver to turn the cover lock to the unlocked position.
  2. Press the release button on the cover latch and then fully open the cover latch.
  3. Slide the top cover to the rear until it is disengaged from the server. Then, lift the top cover off the server and place it on a flat clean surface.
    Attention
    • Service labeling is located on the inside of the cover.

    • Handle the top cover carefully. Dropping the top cover with the cover latch open might damage the cover latch.

    • For proper cooling and airflow, install the top cover before you power on the server. Operating the server with the top cover removed might damage server components.