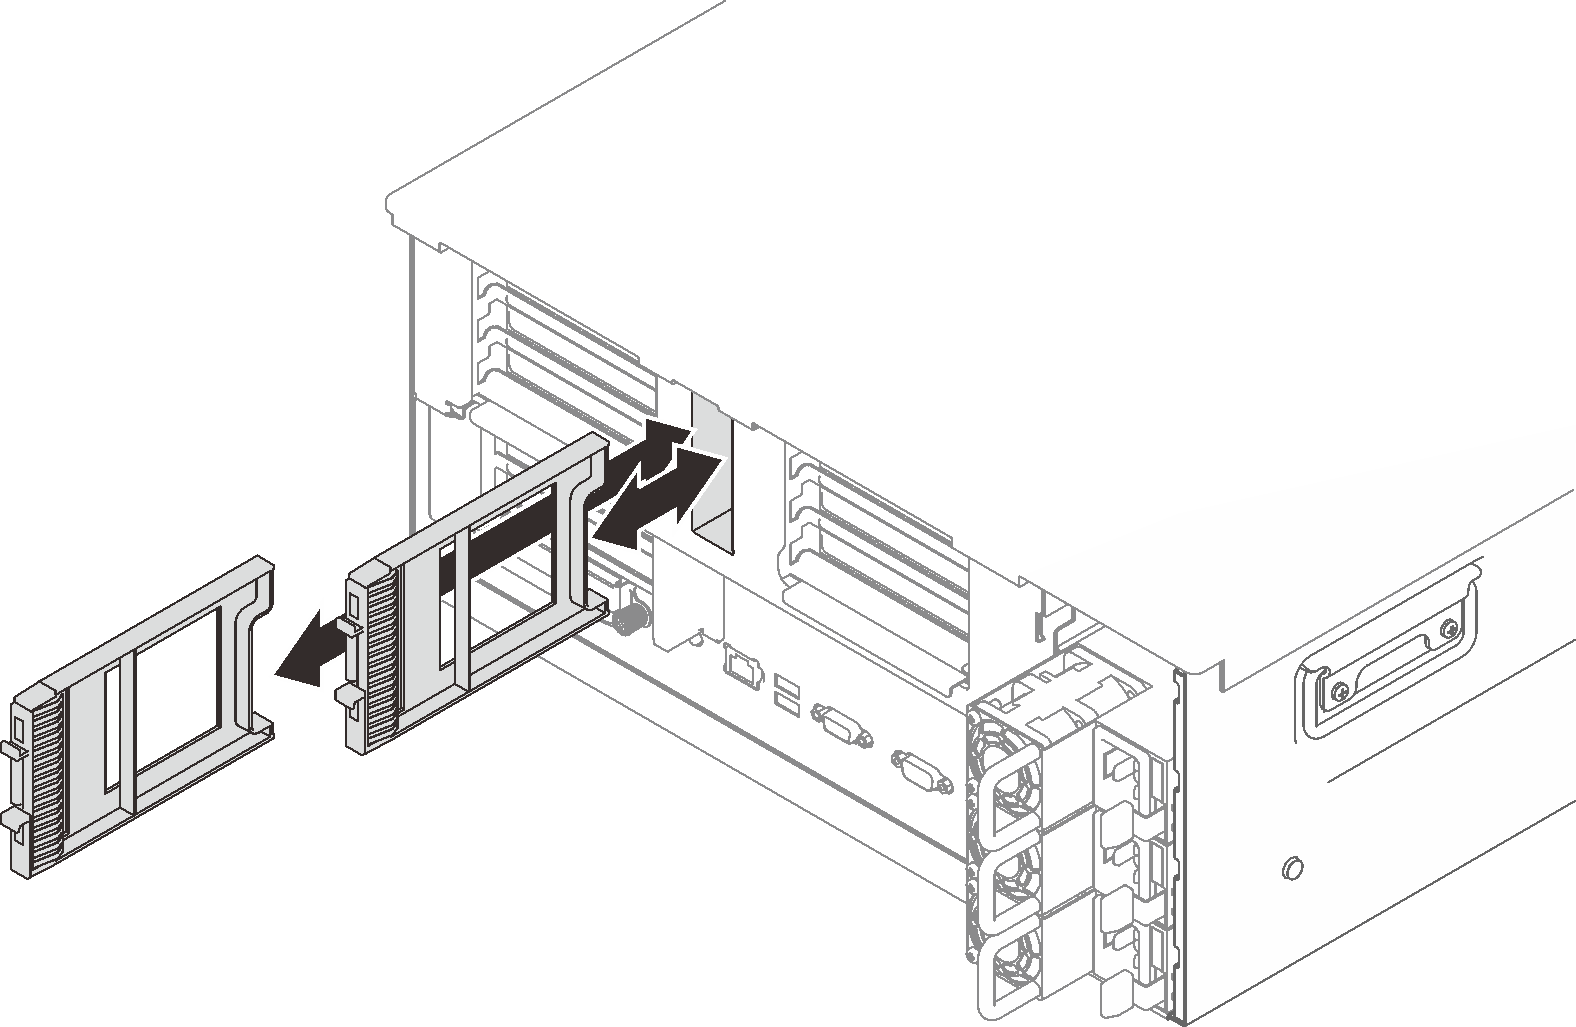
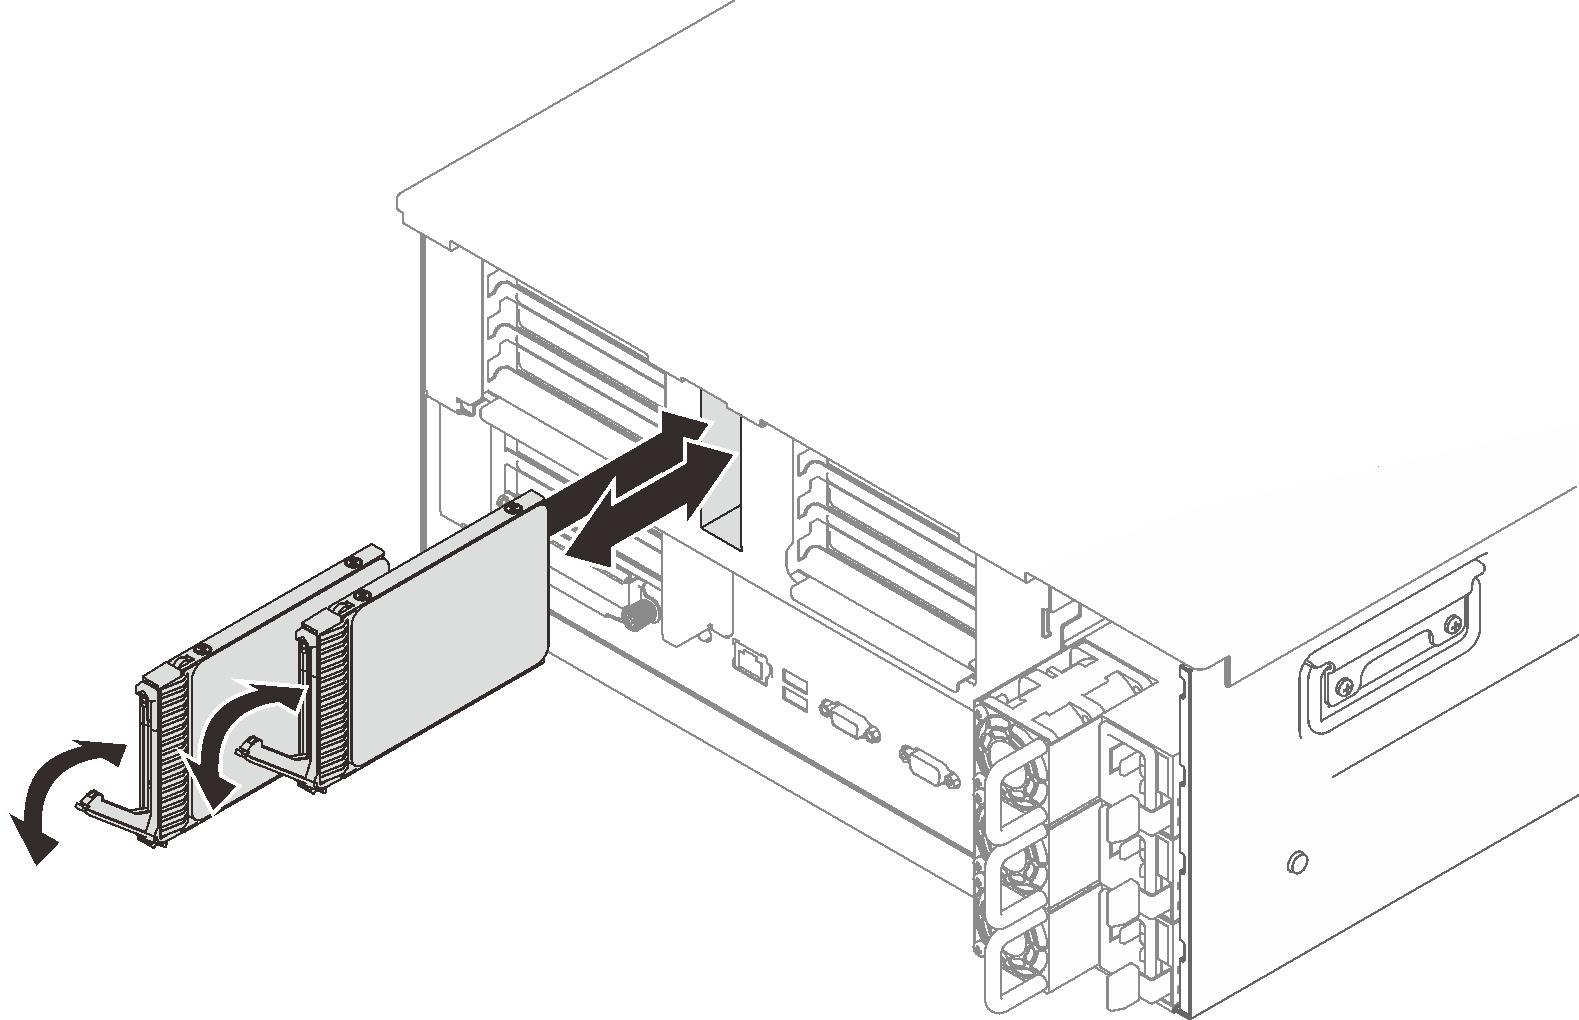
Install a 7mm drive
Follow the instructions in this section to install a 7mm drive.
About this task
Attention
Go over Installation Guidelines to ensure that you work safely.
Turn off the server and peripheral devices and disconnect the power cords and all external cables (see Power off the server).
If the server is installed in a rack, slide the server out on its rack slide rails to gain access to the top cover, or remove the server from the rack.
Procedure
After this task is completed
Check the drive status LED to verify if the drive is operating correctly:
- If the yellow LED is lit continuously, it is malfunctioning and must be replaced.
- If the green LED is flashing, the drive is functioning.
Note
If the server is configured for RAID operation through a ThinkSystem RAID adapter, you might have to reconfigure your disk arrays after you install drives. See the ThinkSystem RAID adapter documentation for additional information about RAID operation and complete instructions for using ThinkSystem RAID adapter.
Demo video
Give documentation feedback

