Install a tape drive

Use this information to install a tape drive.

Before installing a tape drive:

  1. Touch the static-protective package that contains the component to any unpainted metal surface on the server; then, remove it from the package and place it on a static-protective surface.

To install a tape drive, complete the following steps:

  1. The tape drive must be installed into the lower optical drive bay. If the drive bay is covered by a filler, remove it first. Store the filler in case that you later remove the tape drive and need the filler to cover the place.
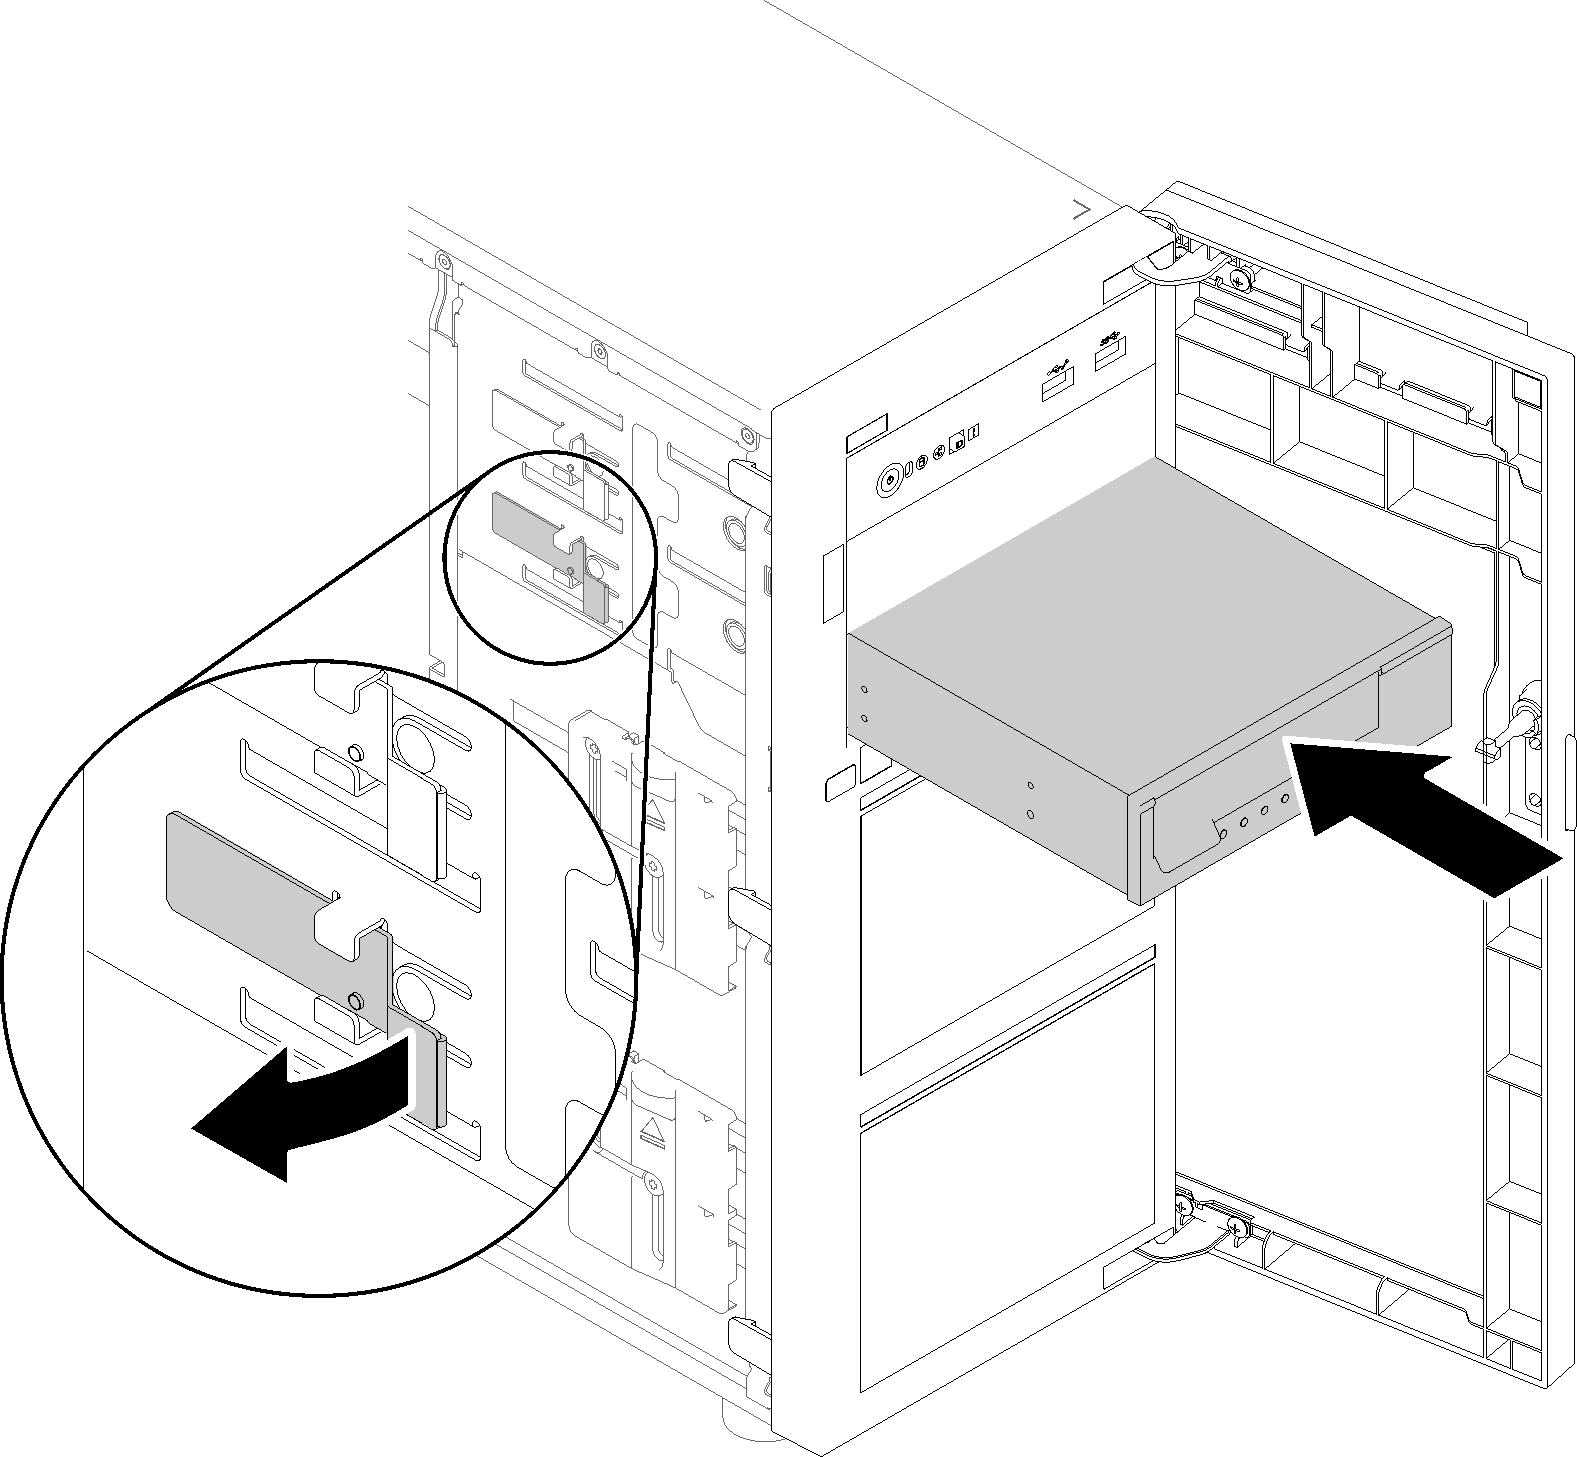
  2. Insert the tape drive into the lower drive bay and slide it in until it is obstructed. Gently pull the metal tab on the side of the chassis, and then continue to slide the tape drive in until it snaps into position.
    Figure 1. Tape drive installation
    Tape drive installation
  3. Connect the power and signal cables to the rear of the tape drive. See Tape drive.
    Note
    For the LTO tape drive, connect one end of the signal cable to the LTO tape drive; then, connect the other end of the signal cable to the RAID adapter.

After installing the tape drive:

Complete the parts replacement. See Complete the parts replacement

Demo video

Watch the procedure on YouTube